Bottom job nearing completion and other updates

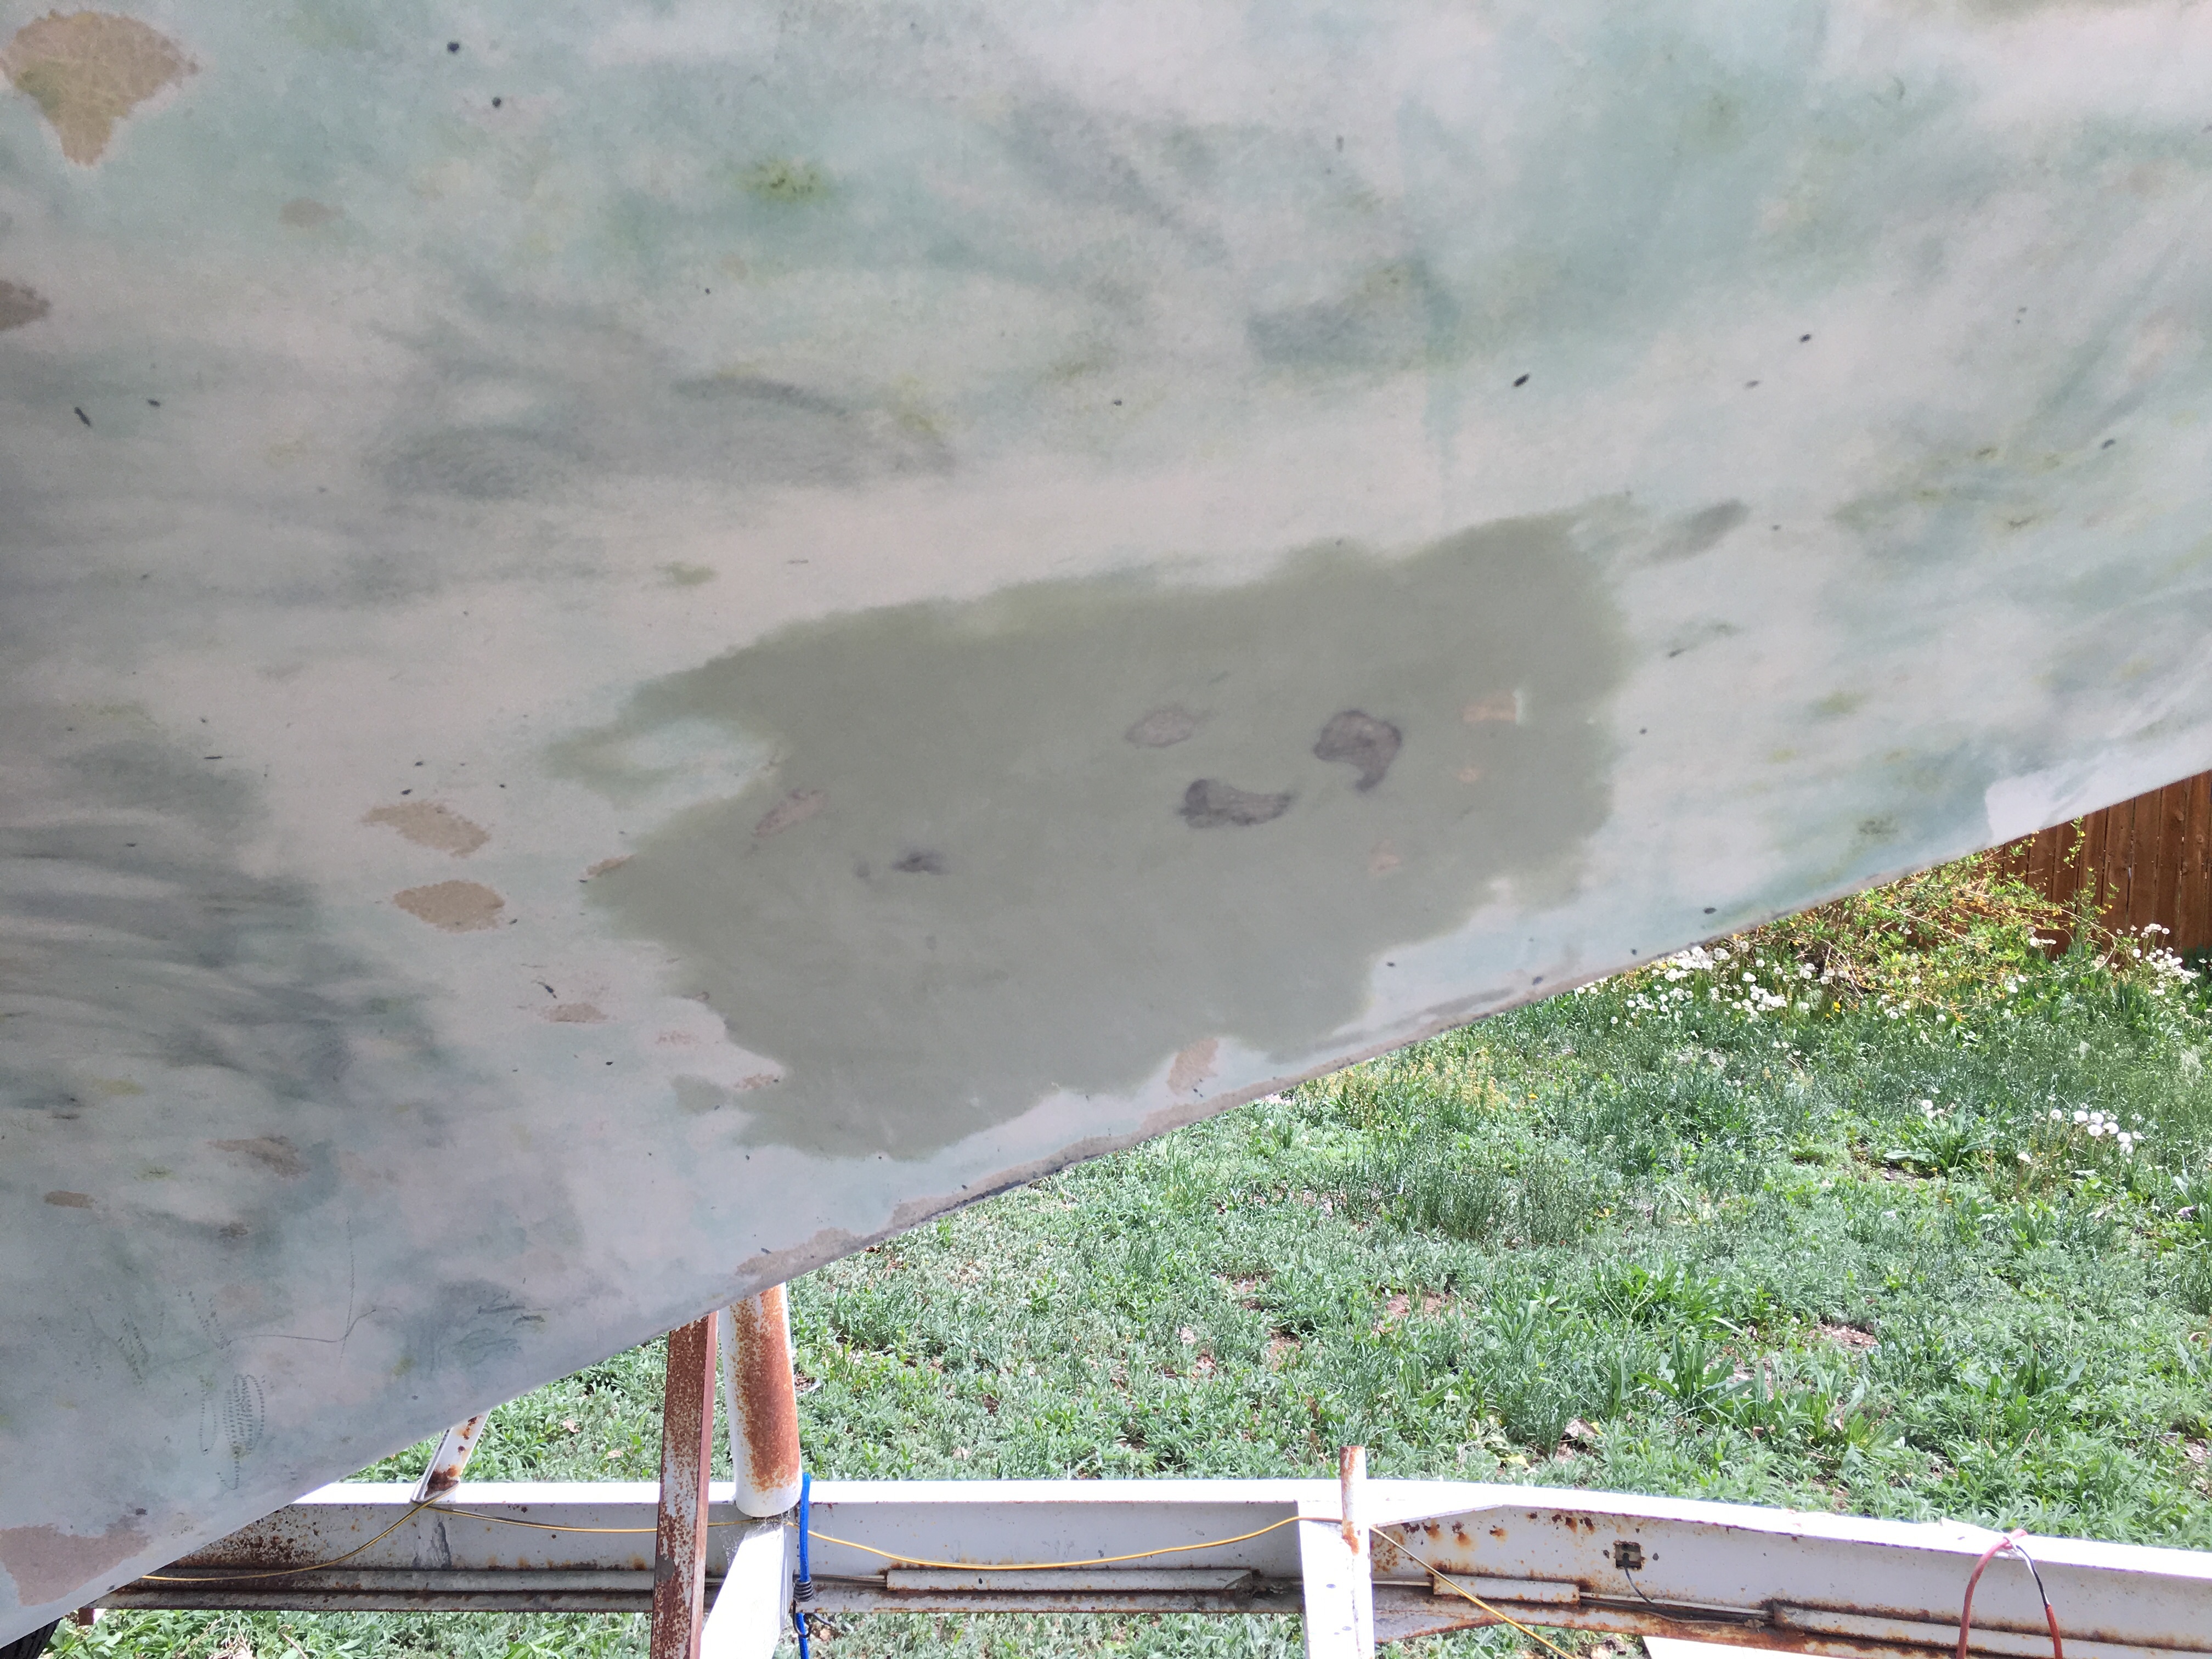
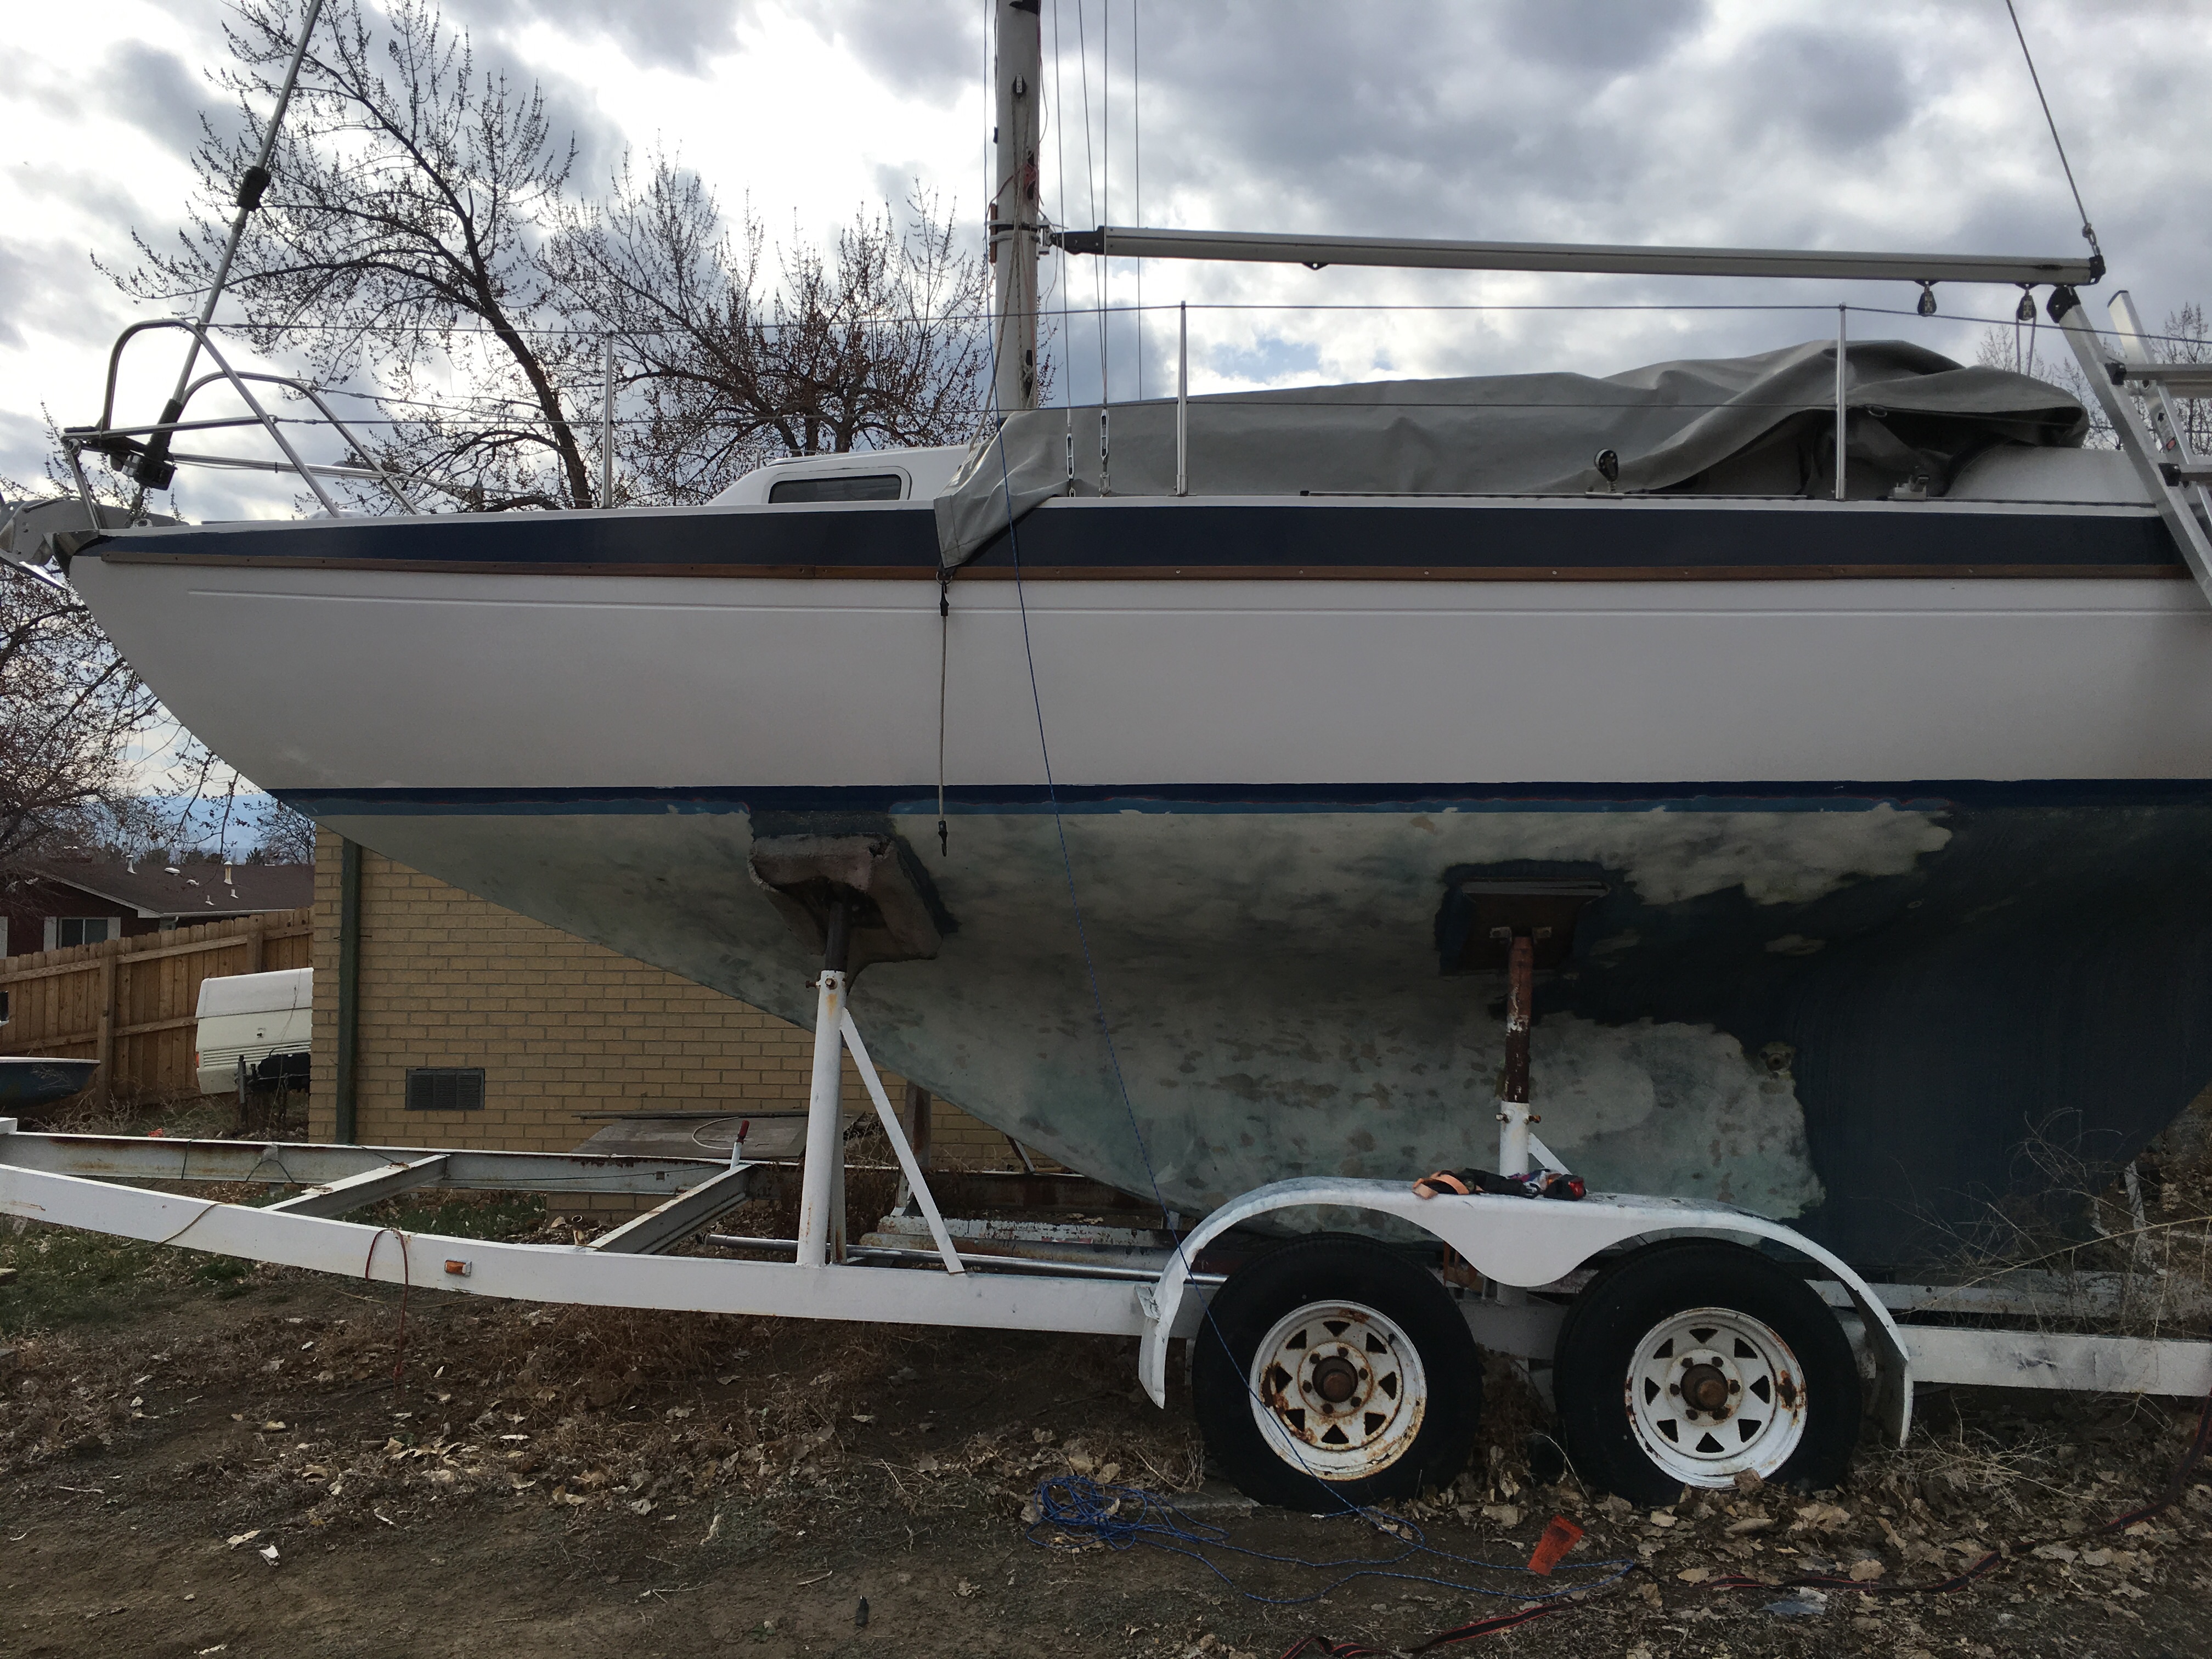
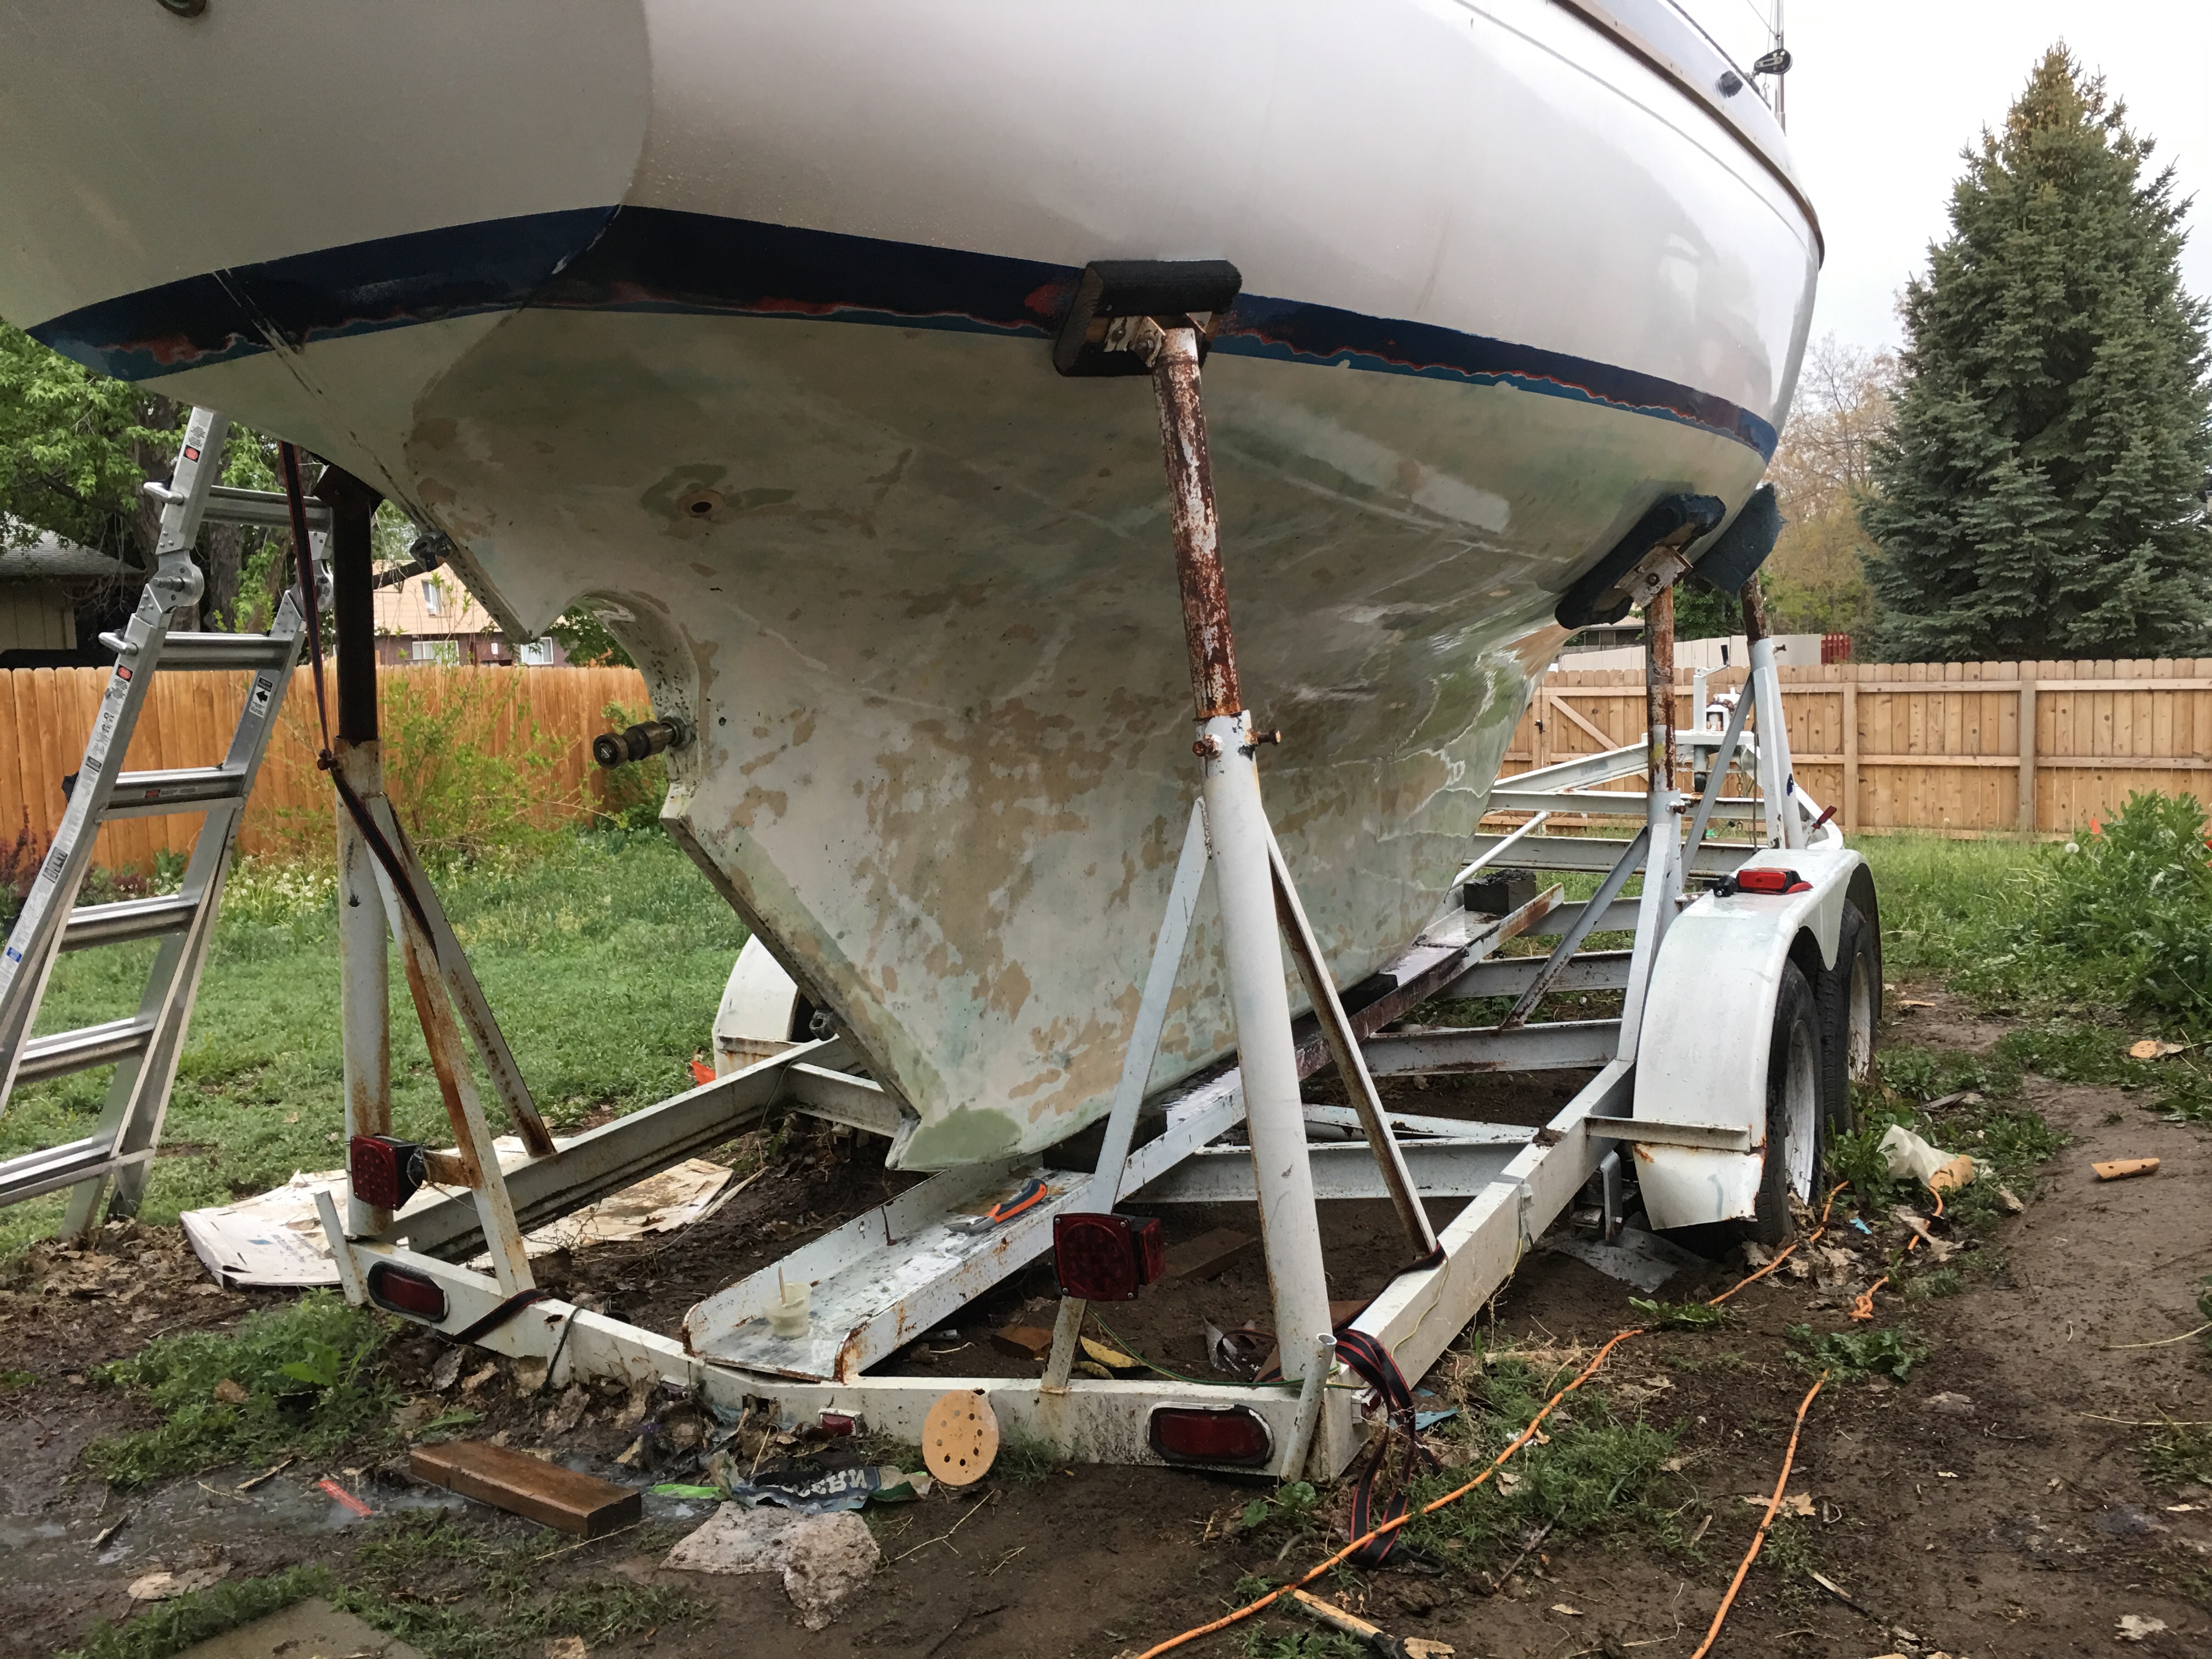
This right after we finished sanding but before we had patched the sink drain through hull.  It’s been raining here for days and I can’t seem to get a window of dry weather long enough to do the bottom paint and it’s required cure time before getting it wet.

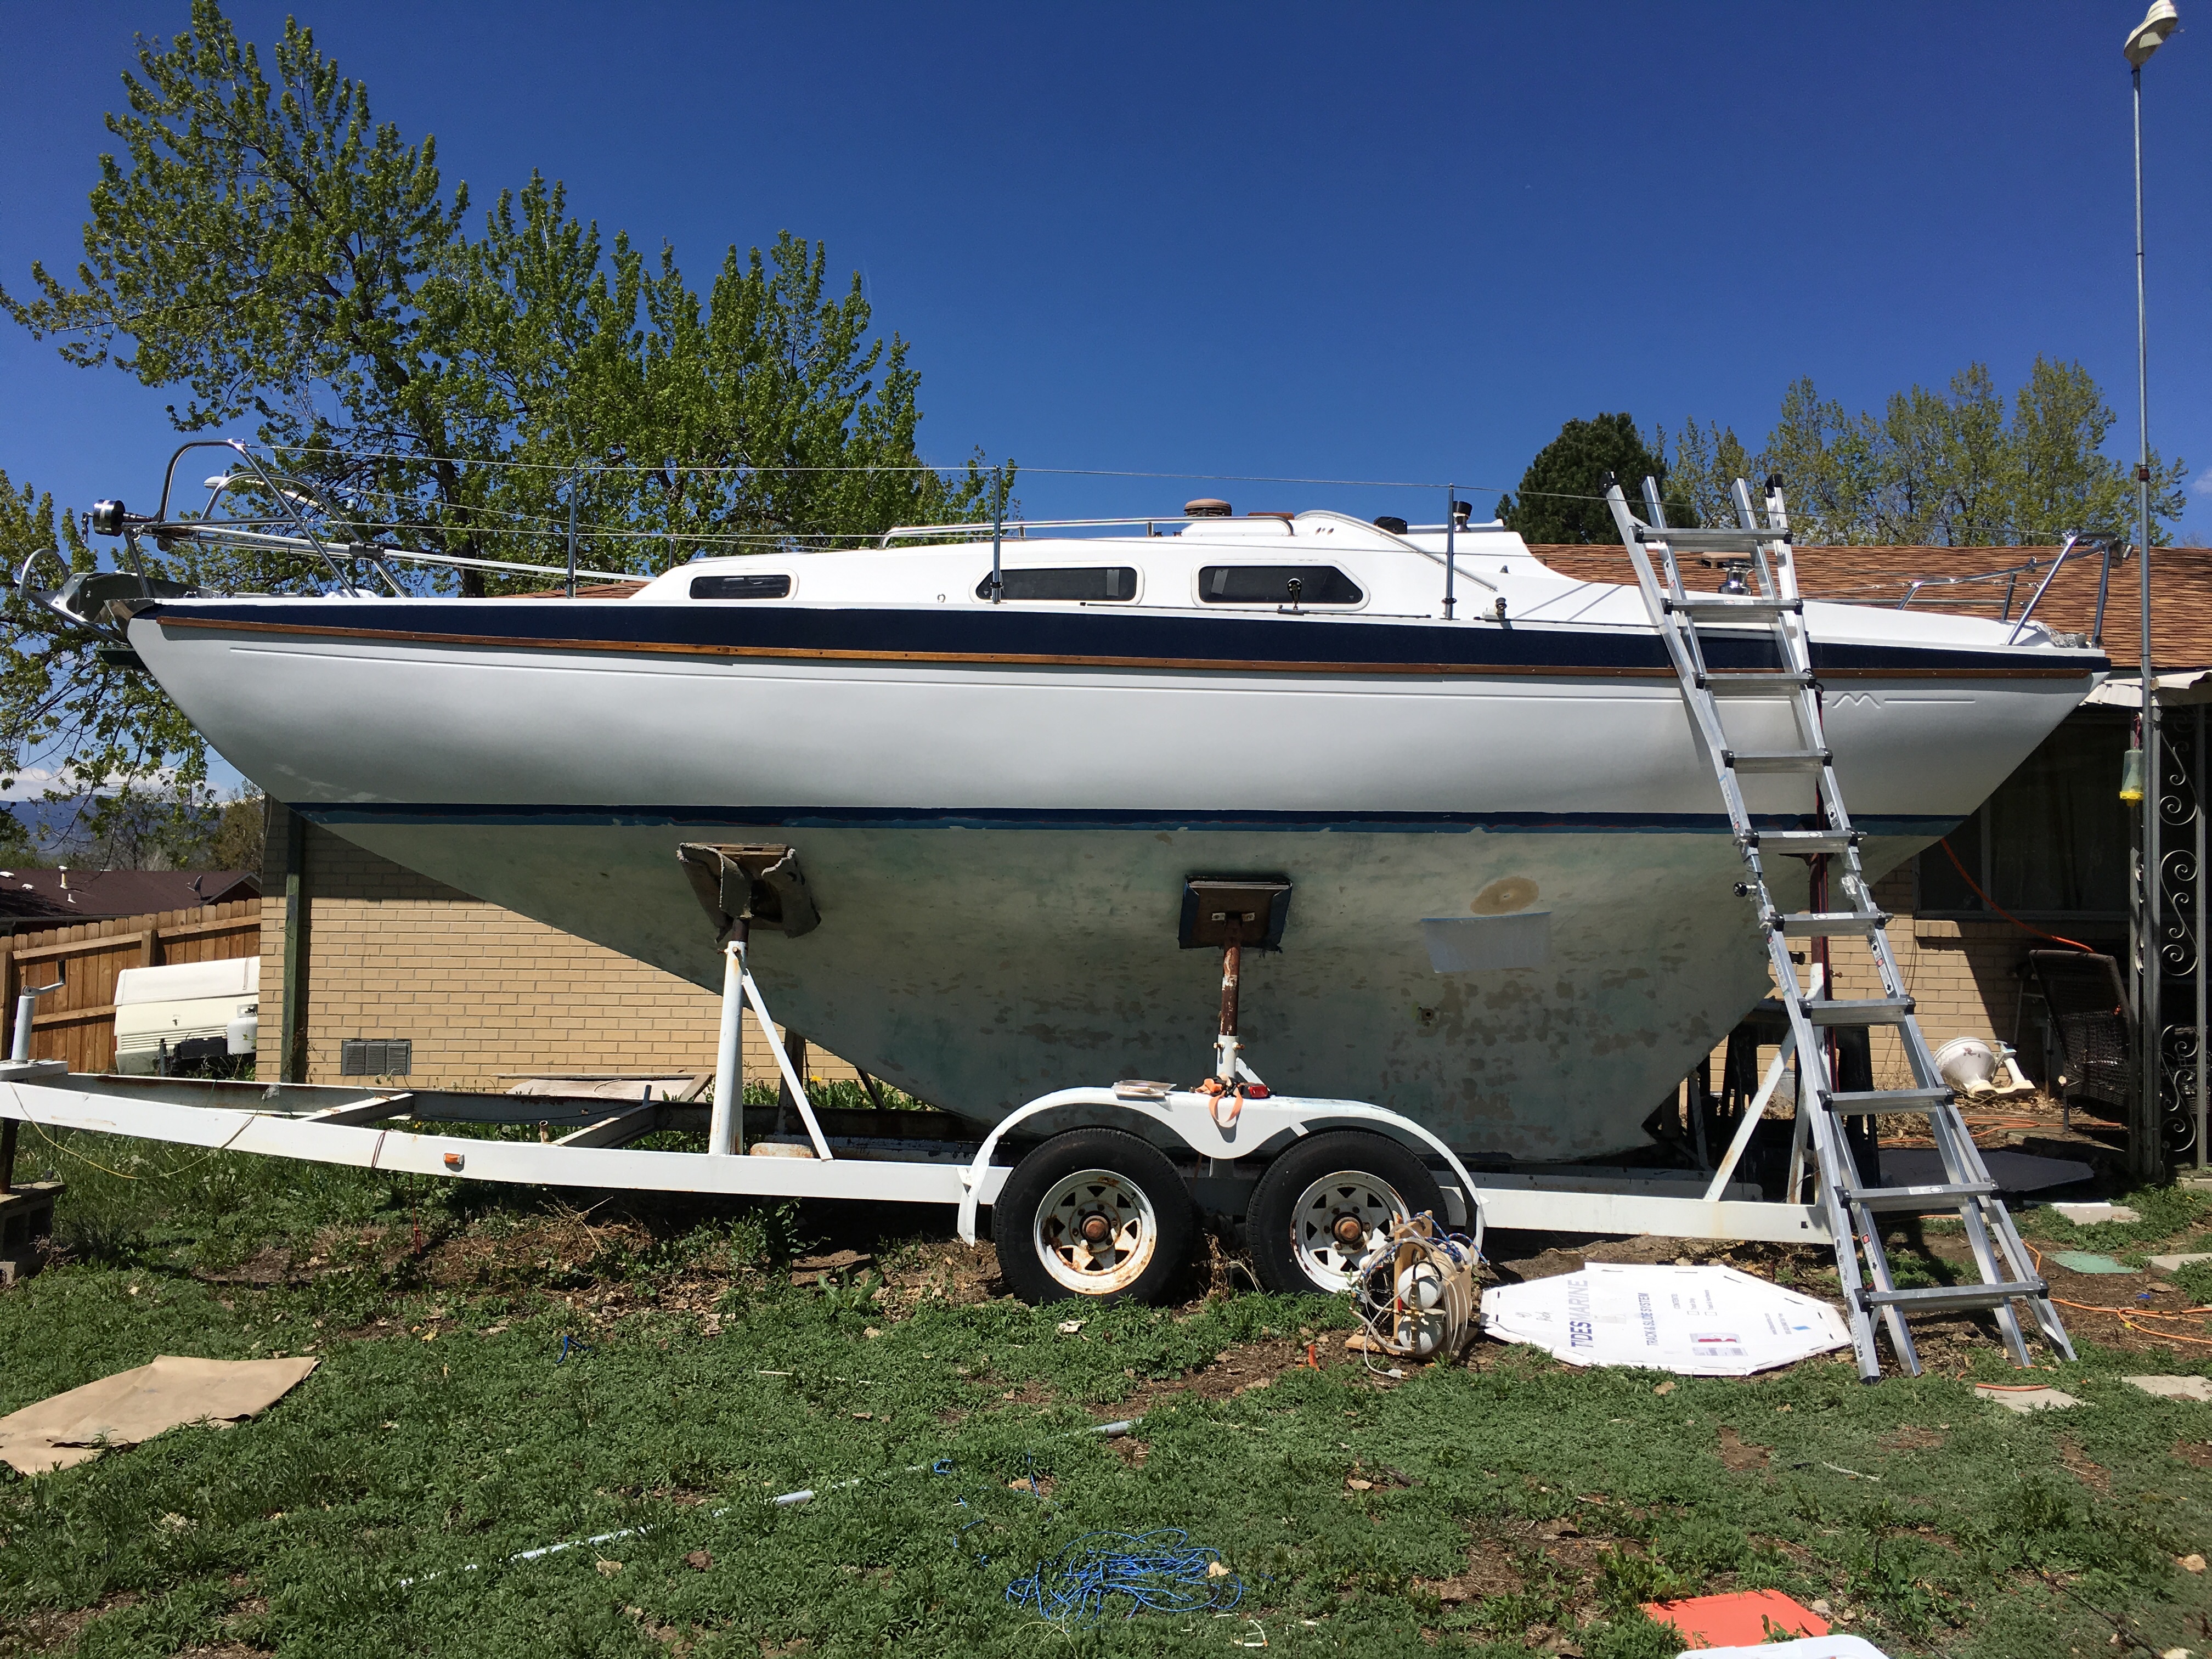
Forgive me, these are a bit out of order.  Tonight I went out and finish sanded all the fairing compound, sanded the bottom of the keel, and then scrubbed the entire hull with scotchbrite and water to remove all the sanding residue.  My arms are wrecked again.

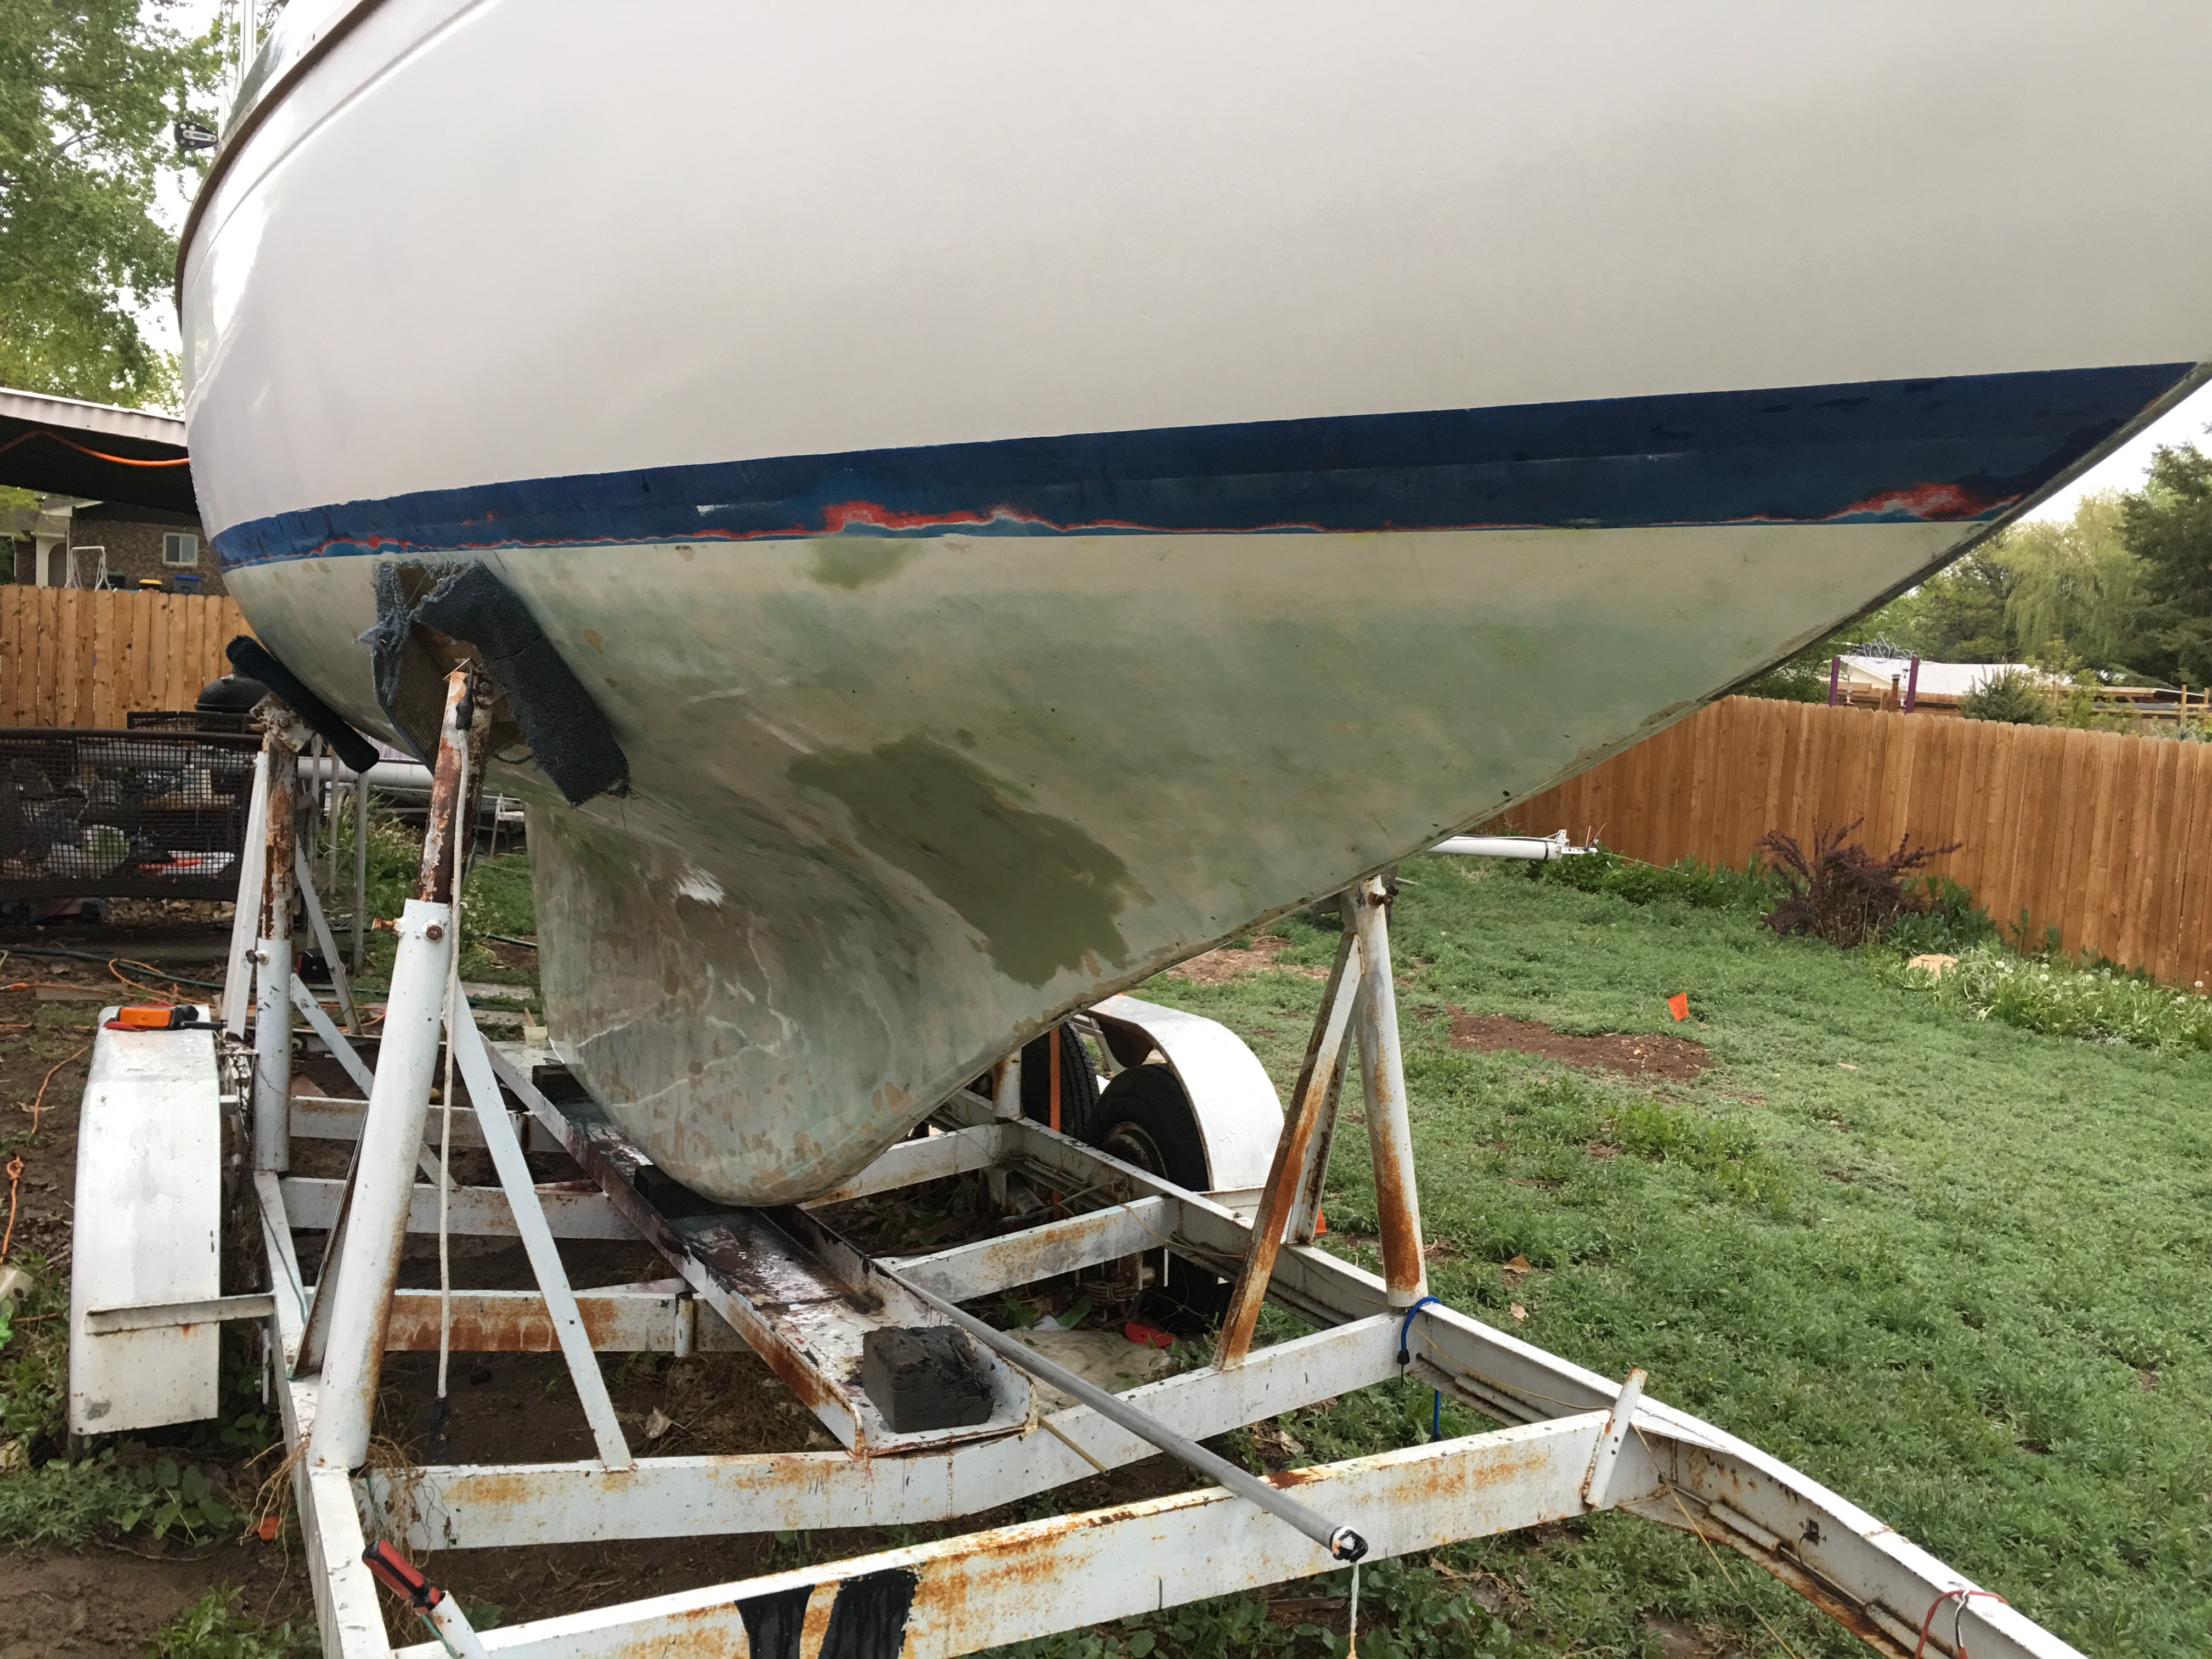
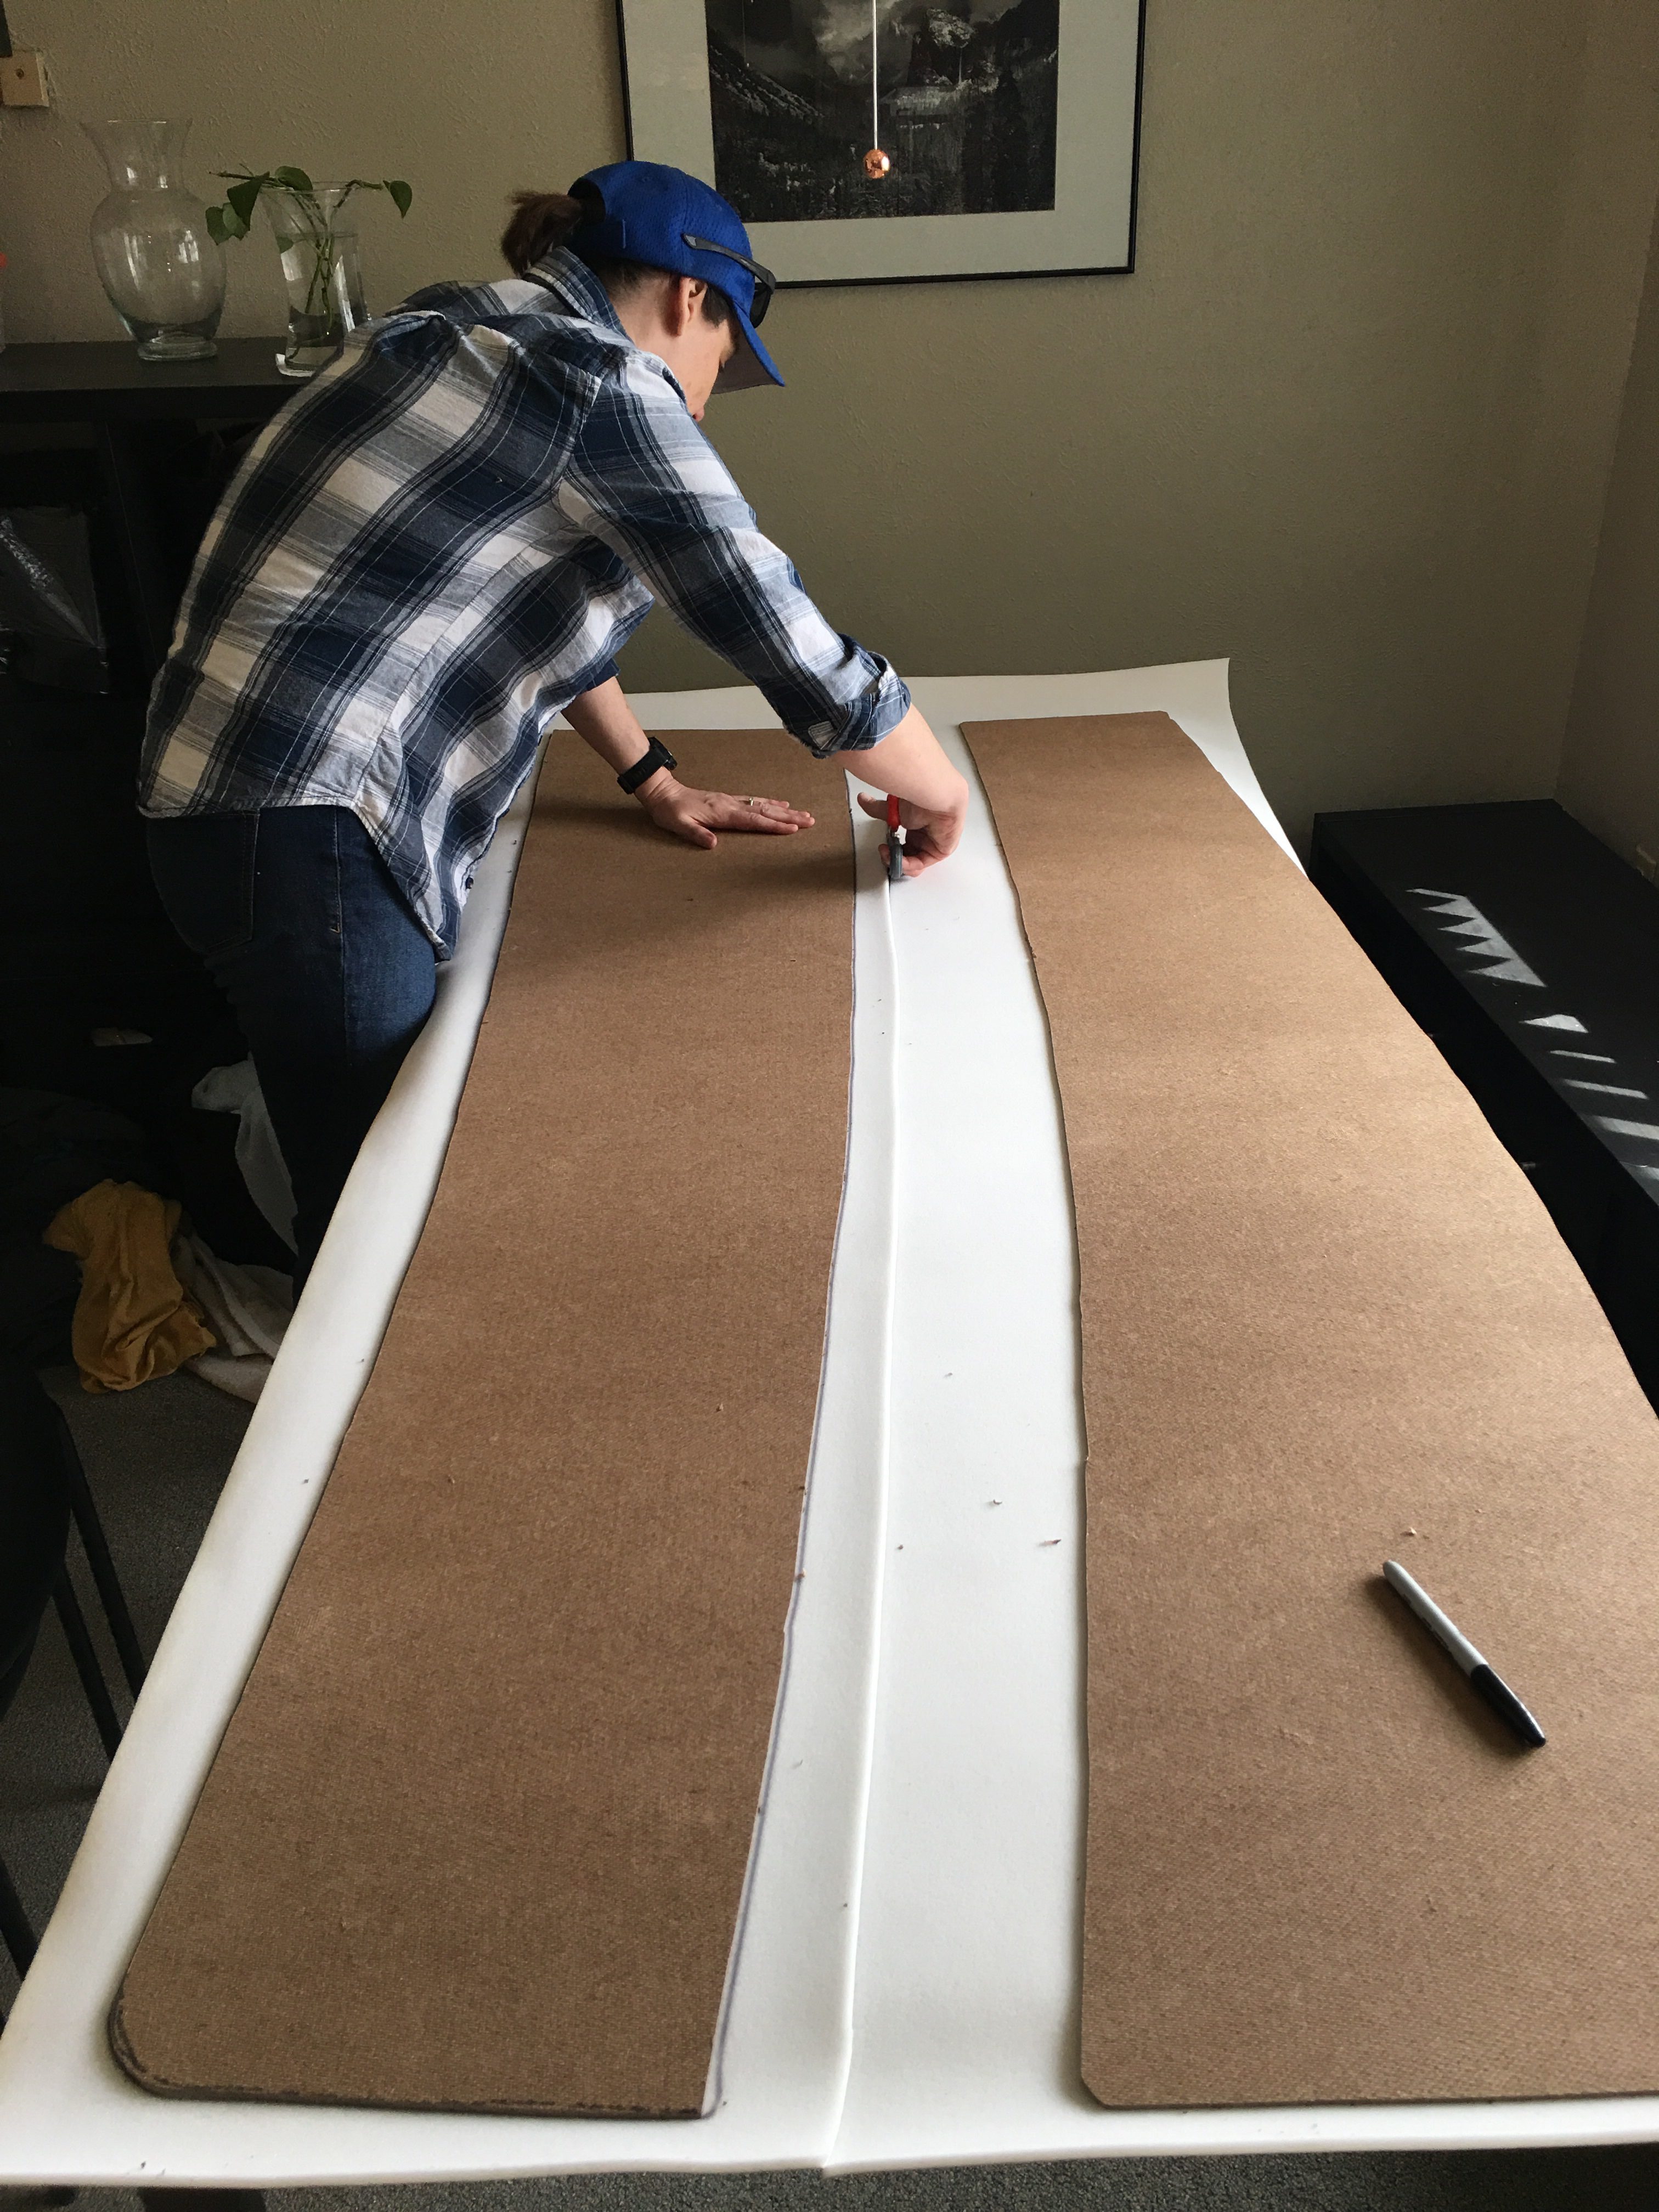
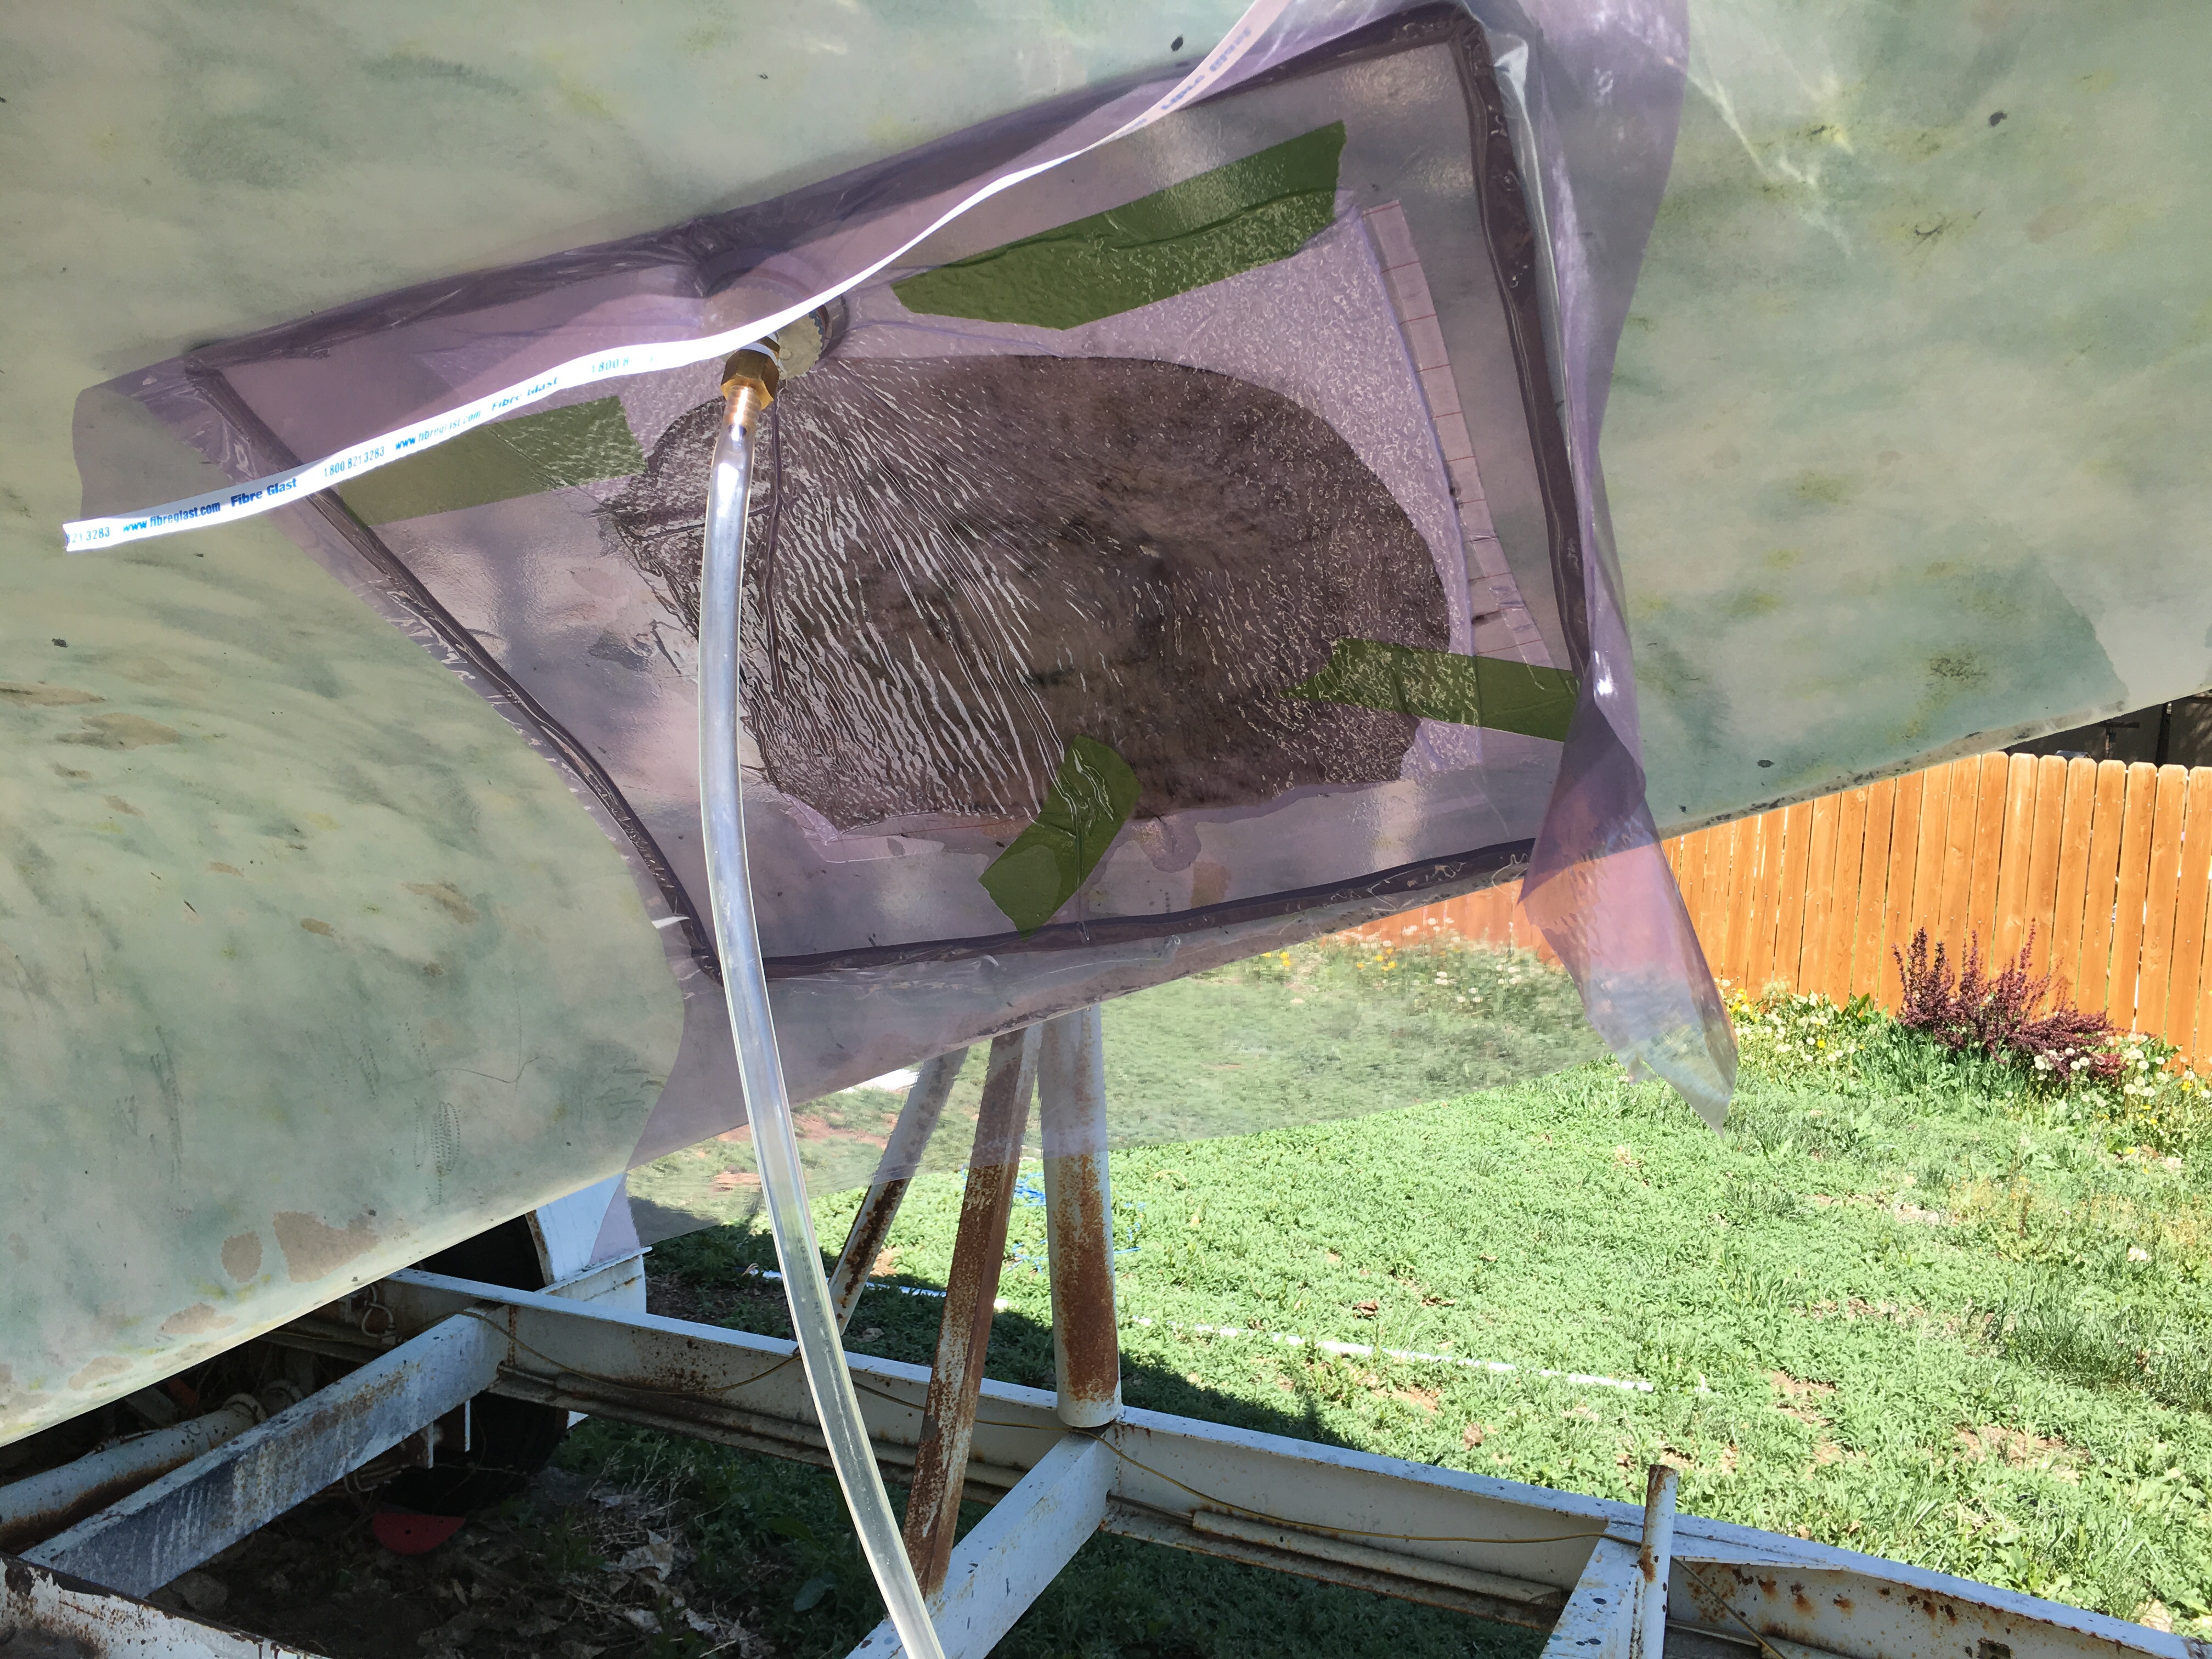
This is when we were patching.  Patches were 2 layers of alternating 10 oz woven cloth and 18 oz woven roving.  Once this initial patch had kicked but before it was fully cured I pulled the peel ply off and added 5 layers of the same.

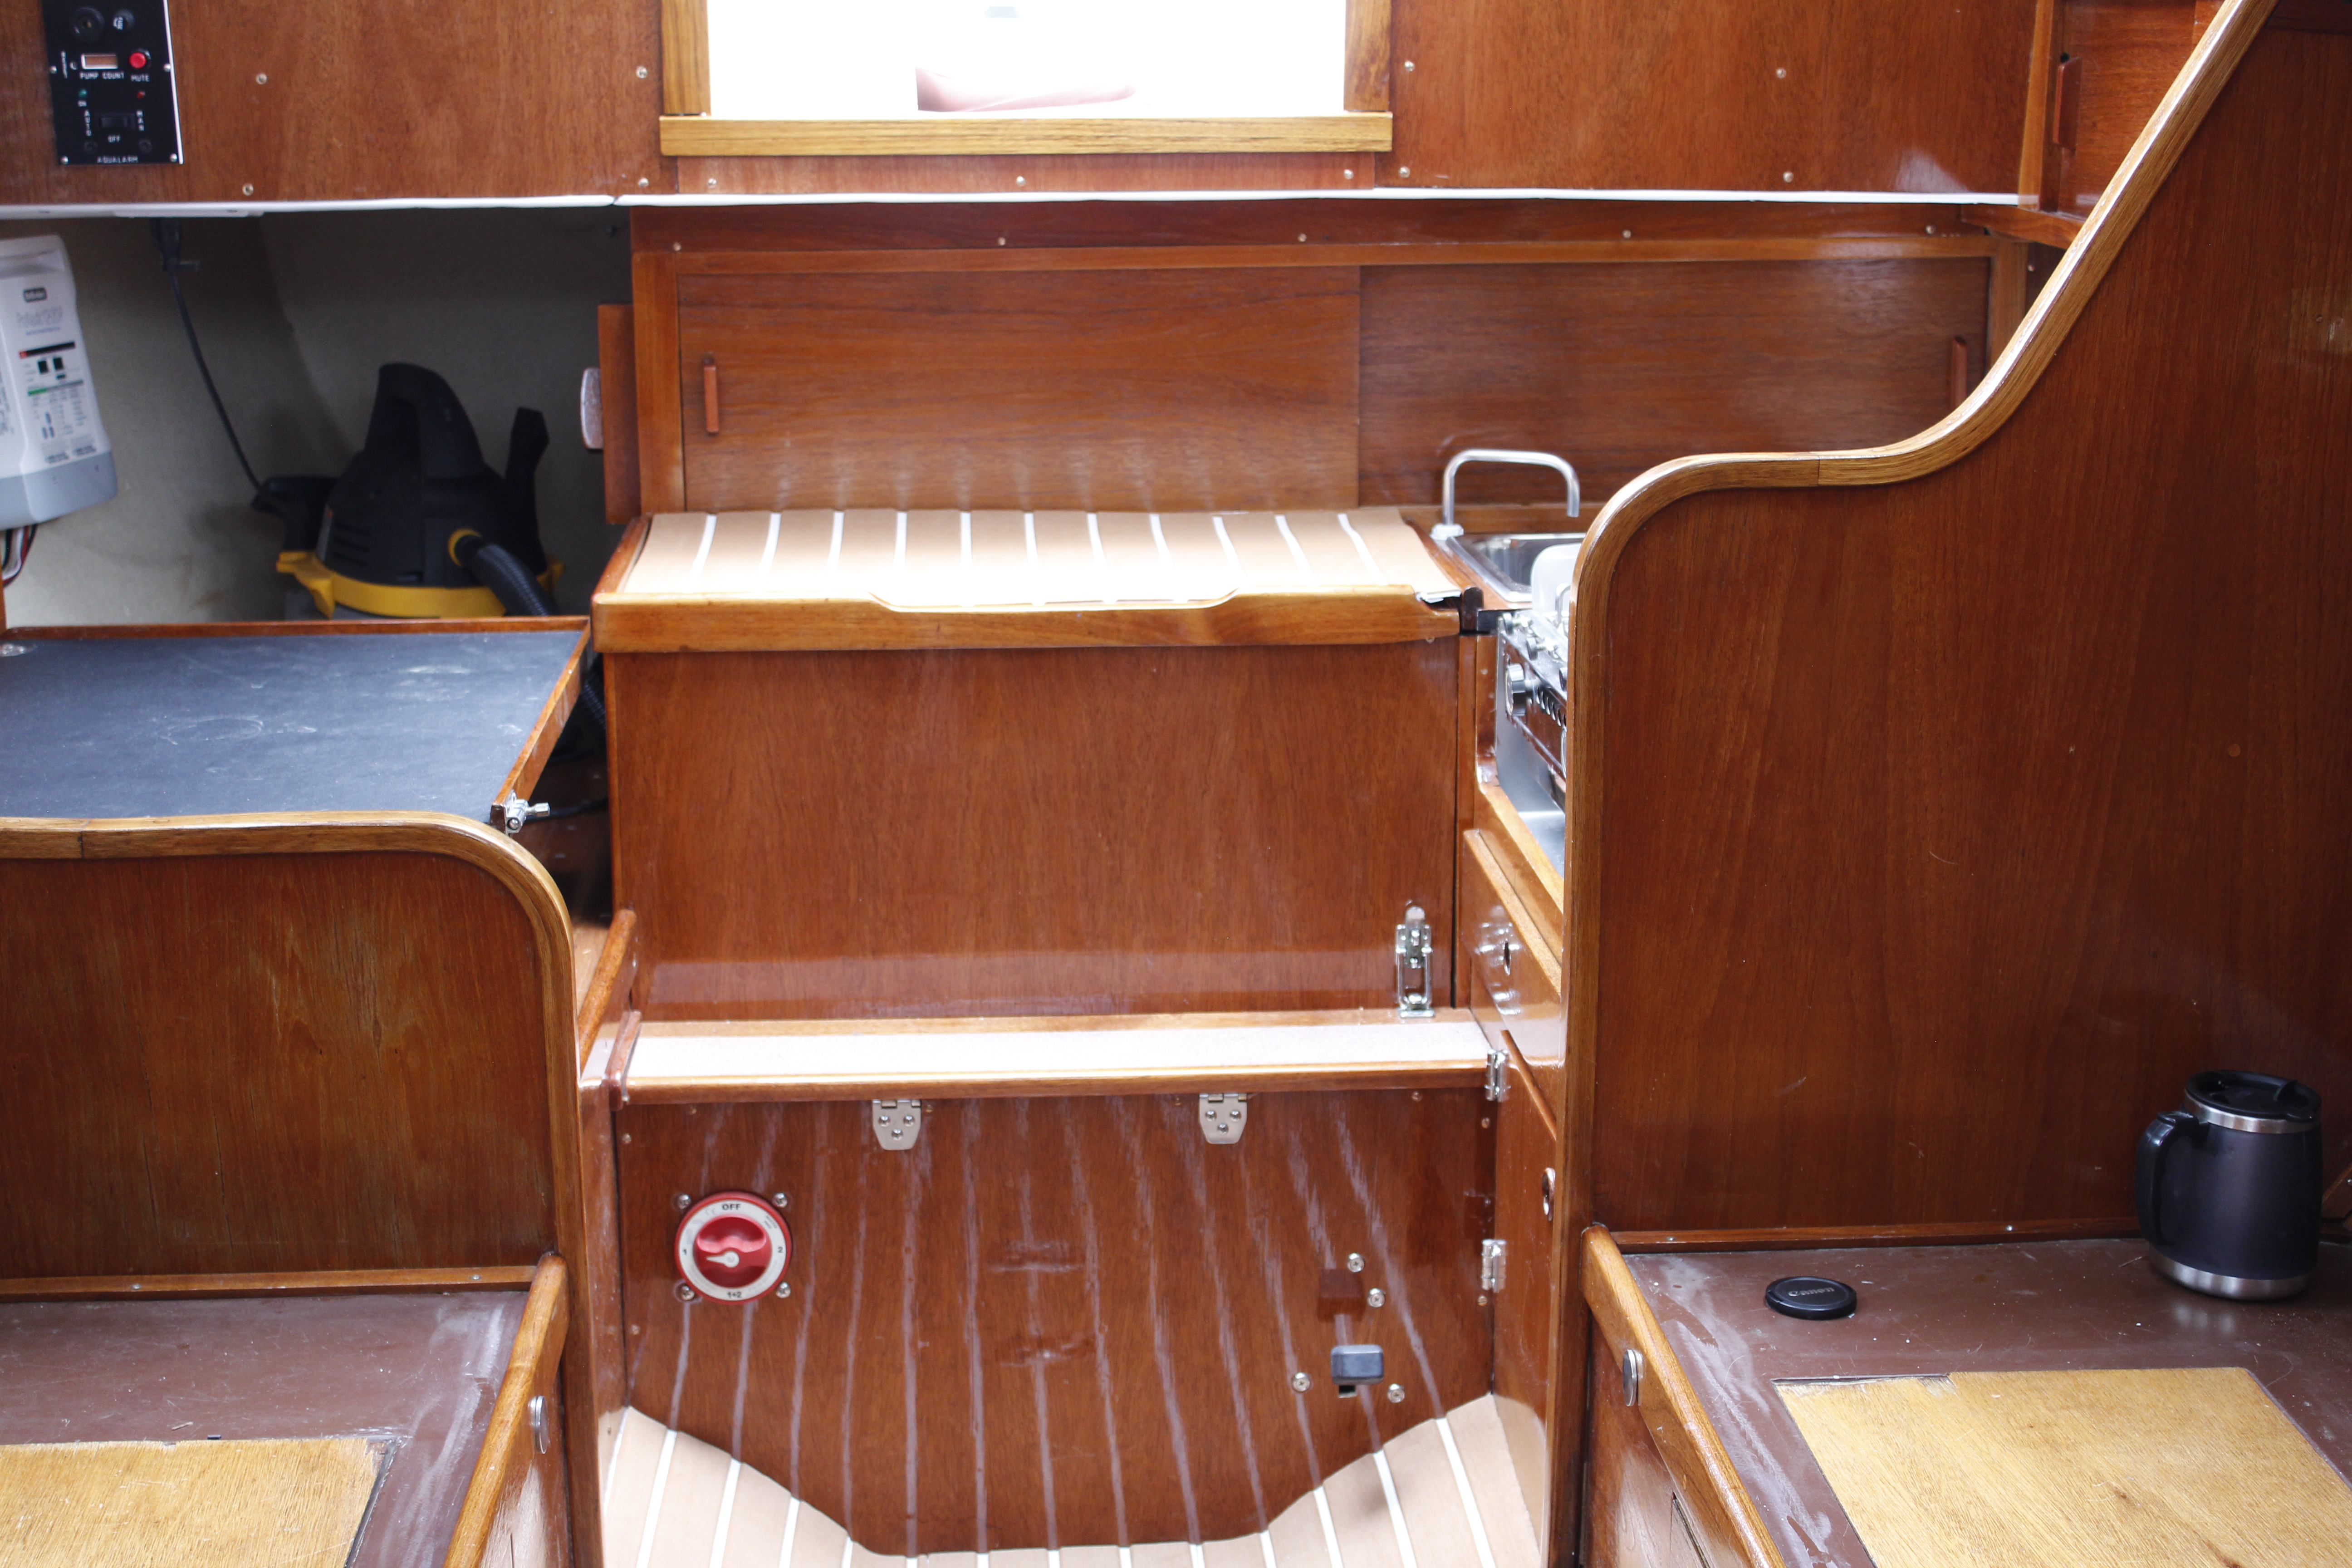
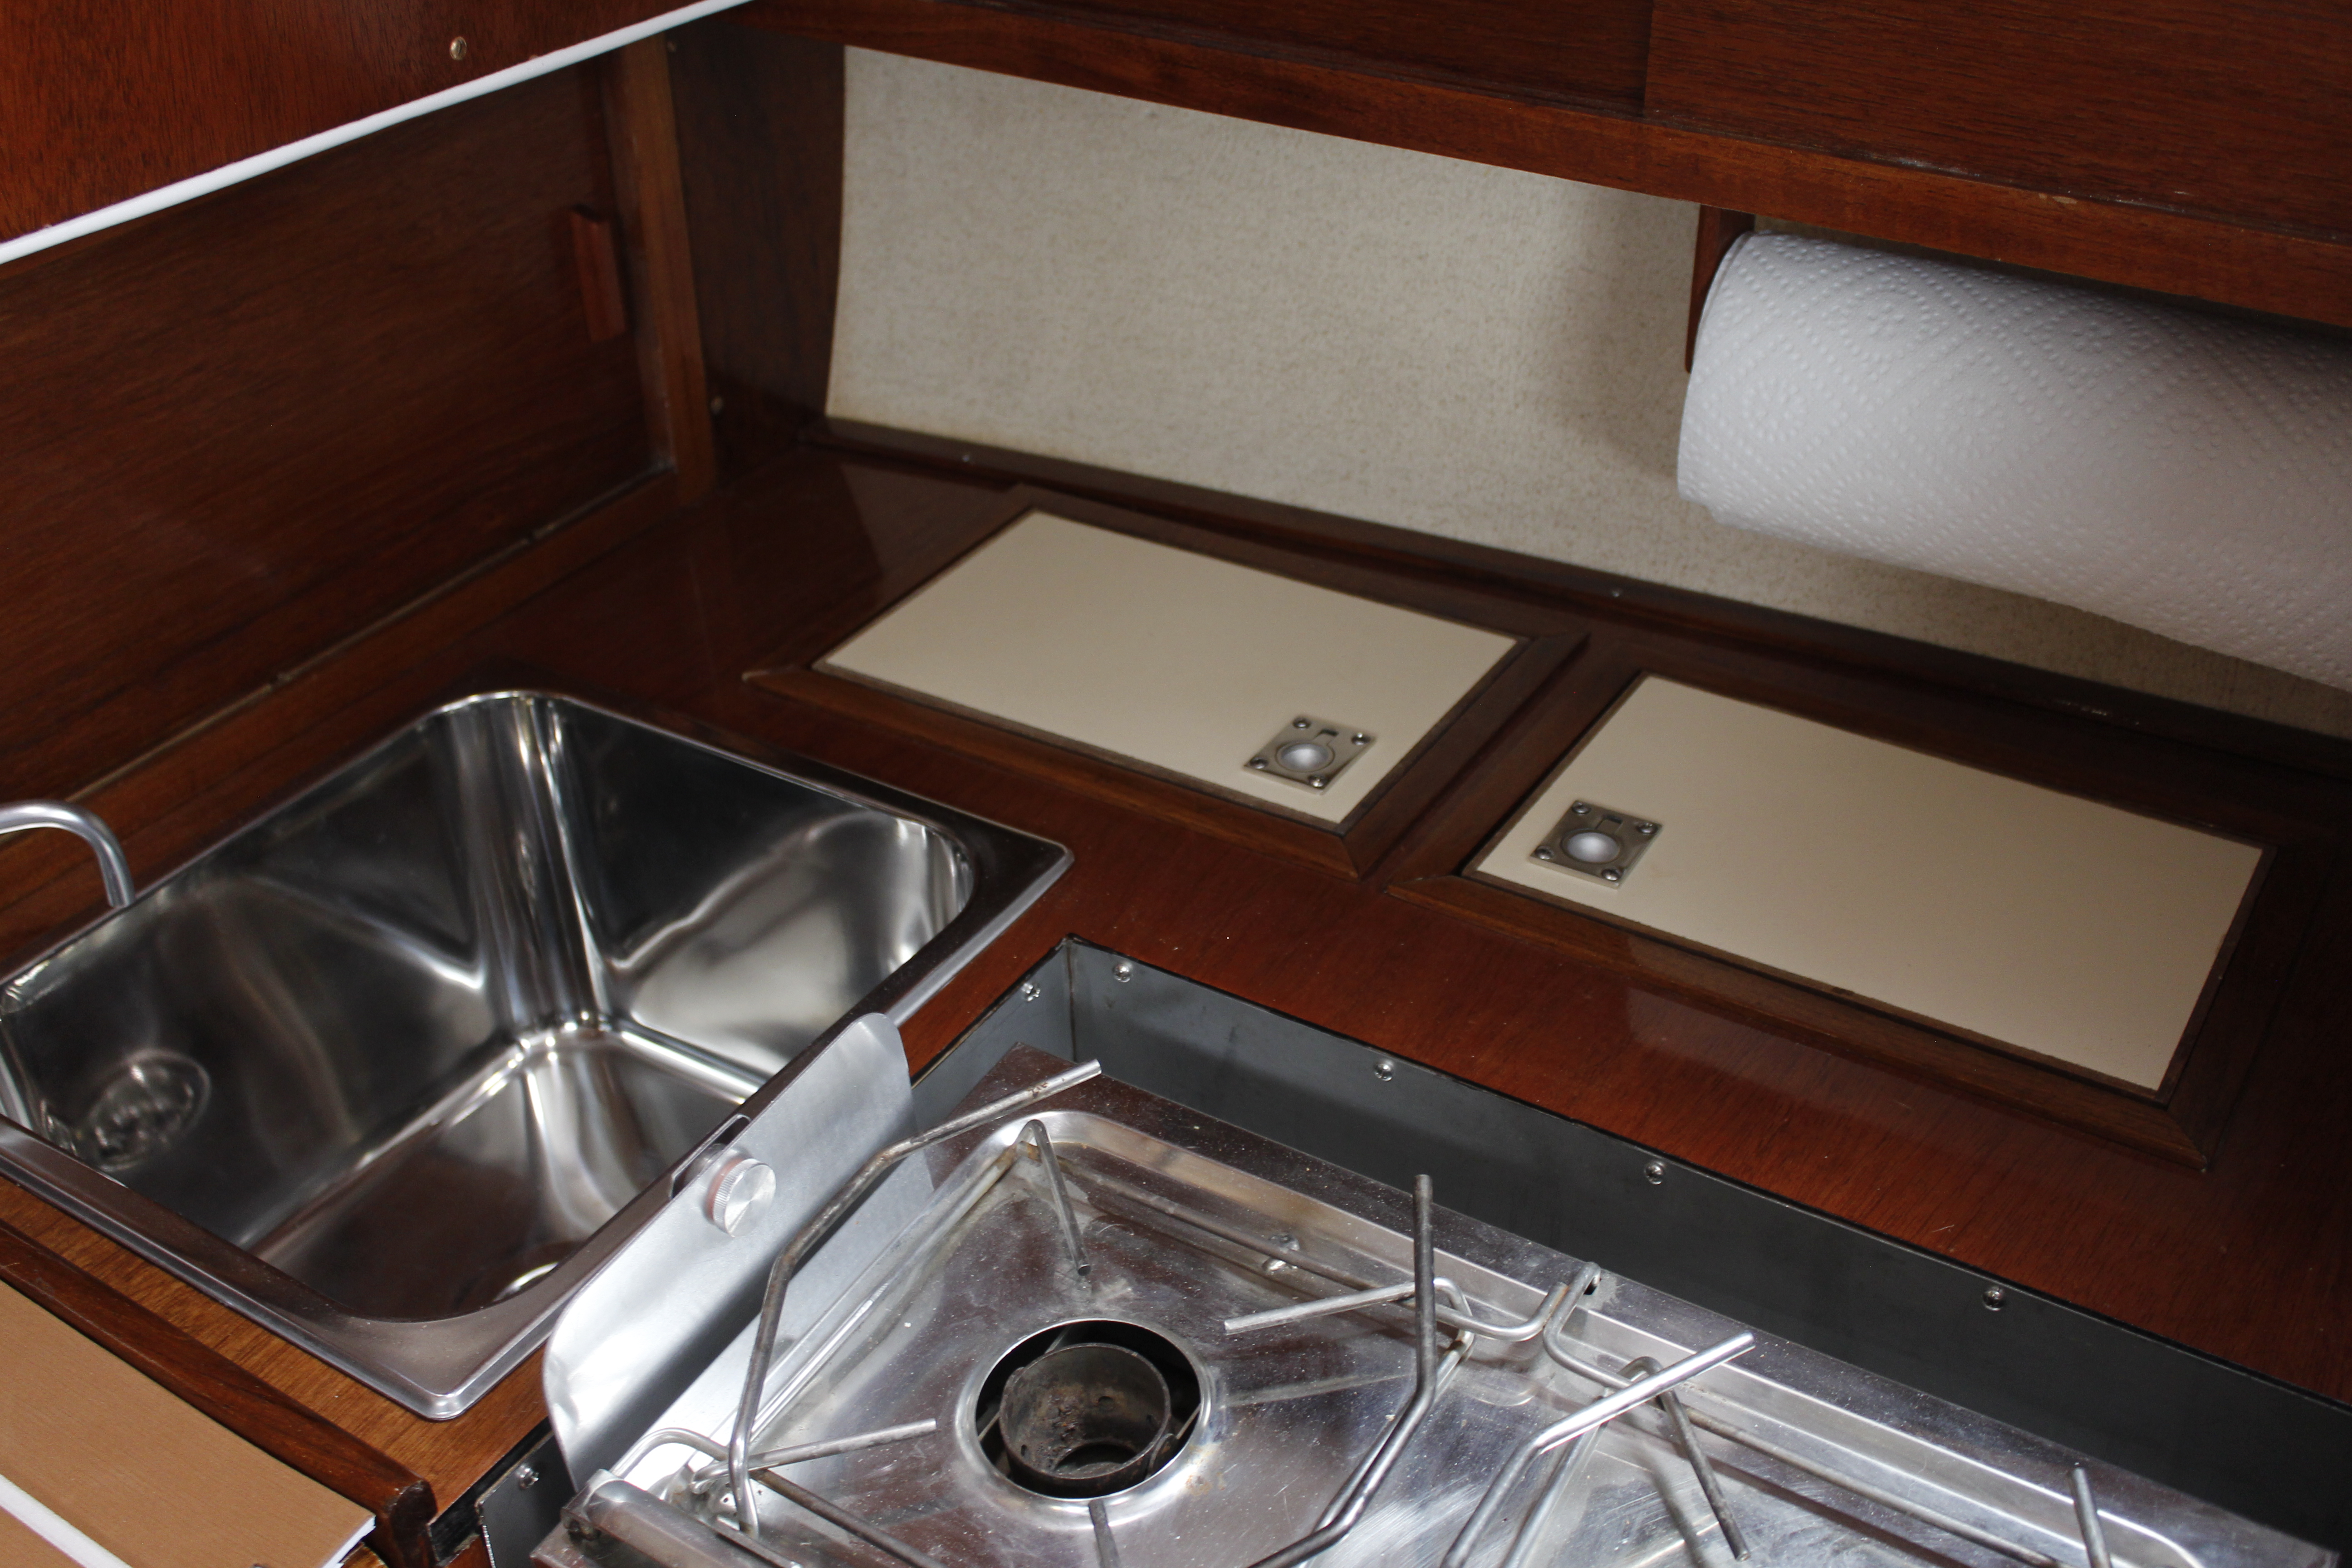
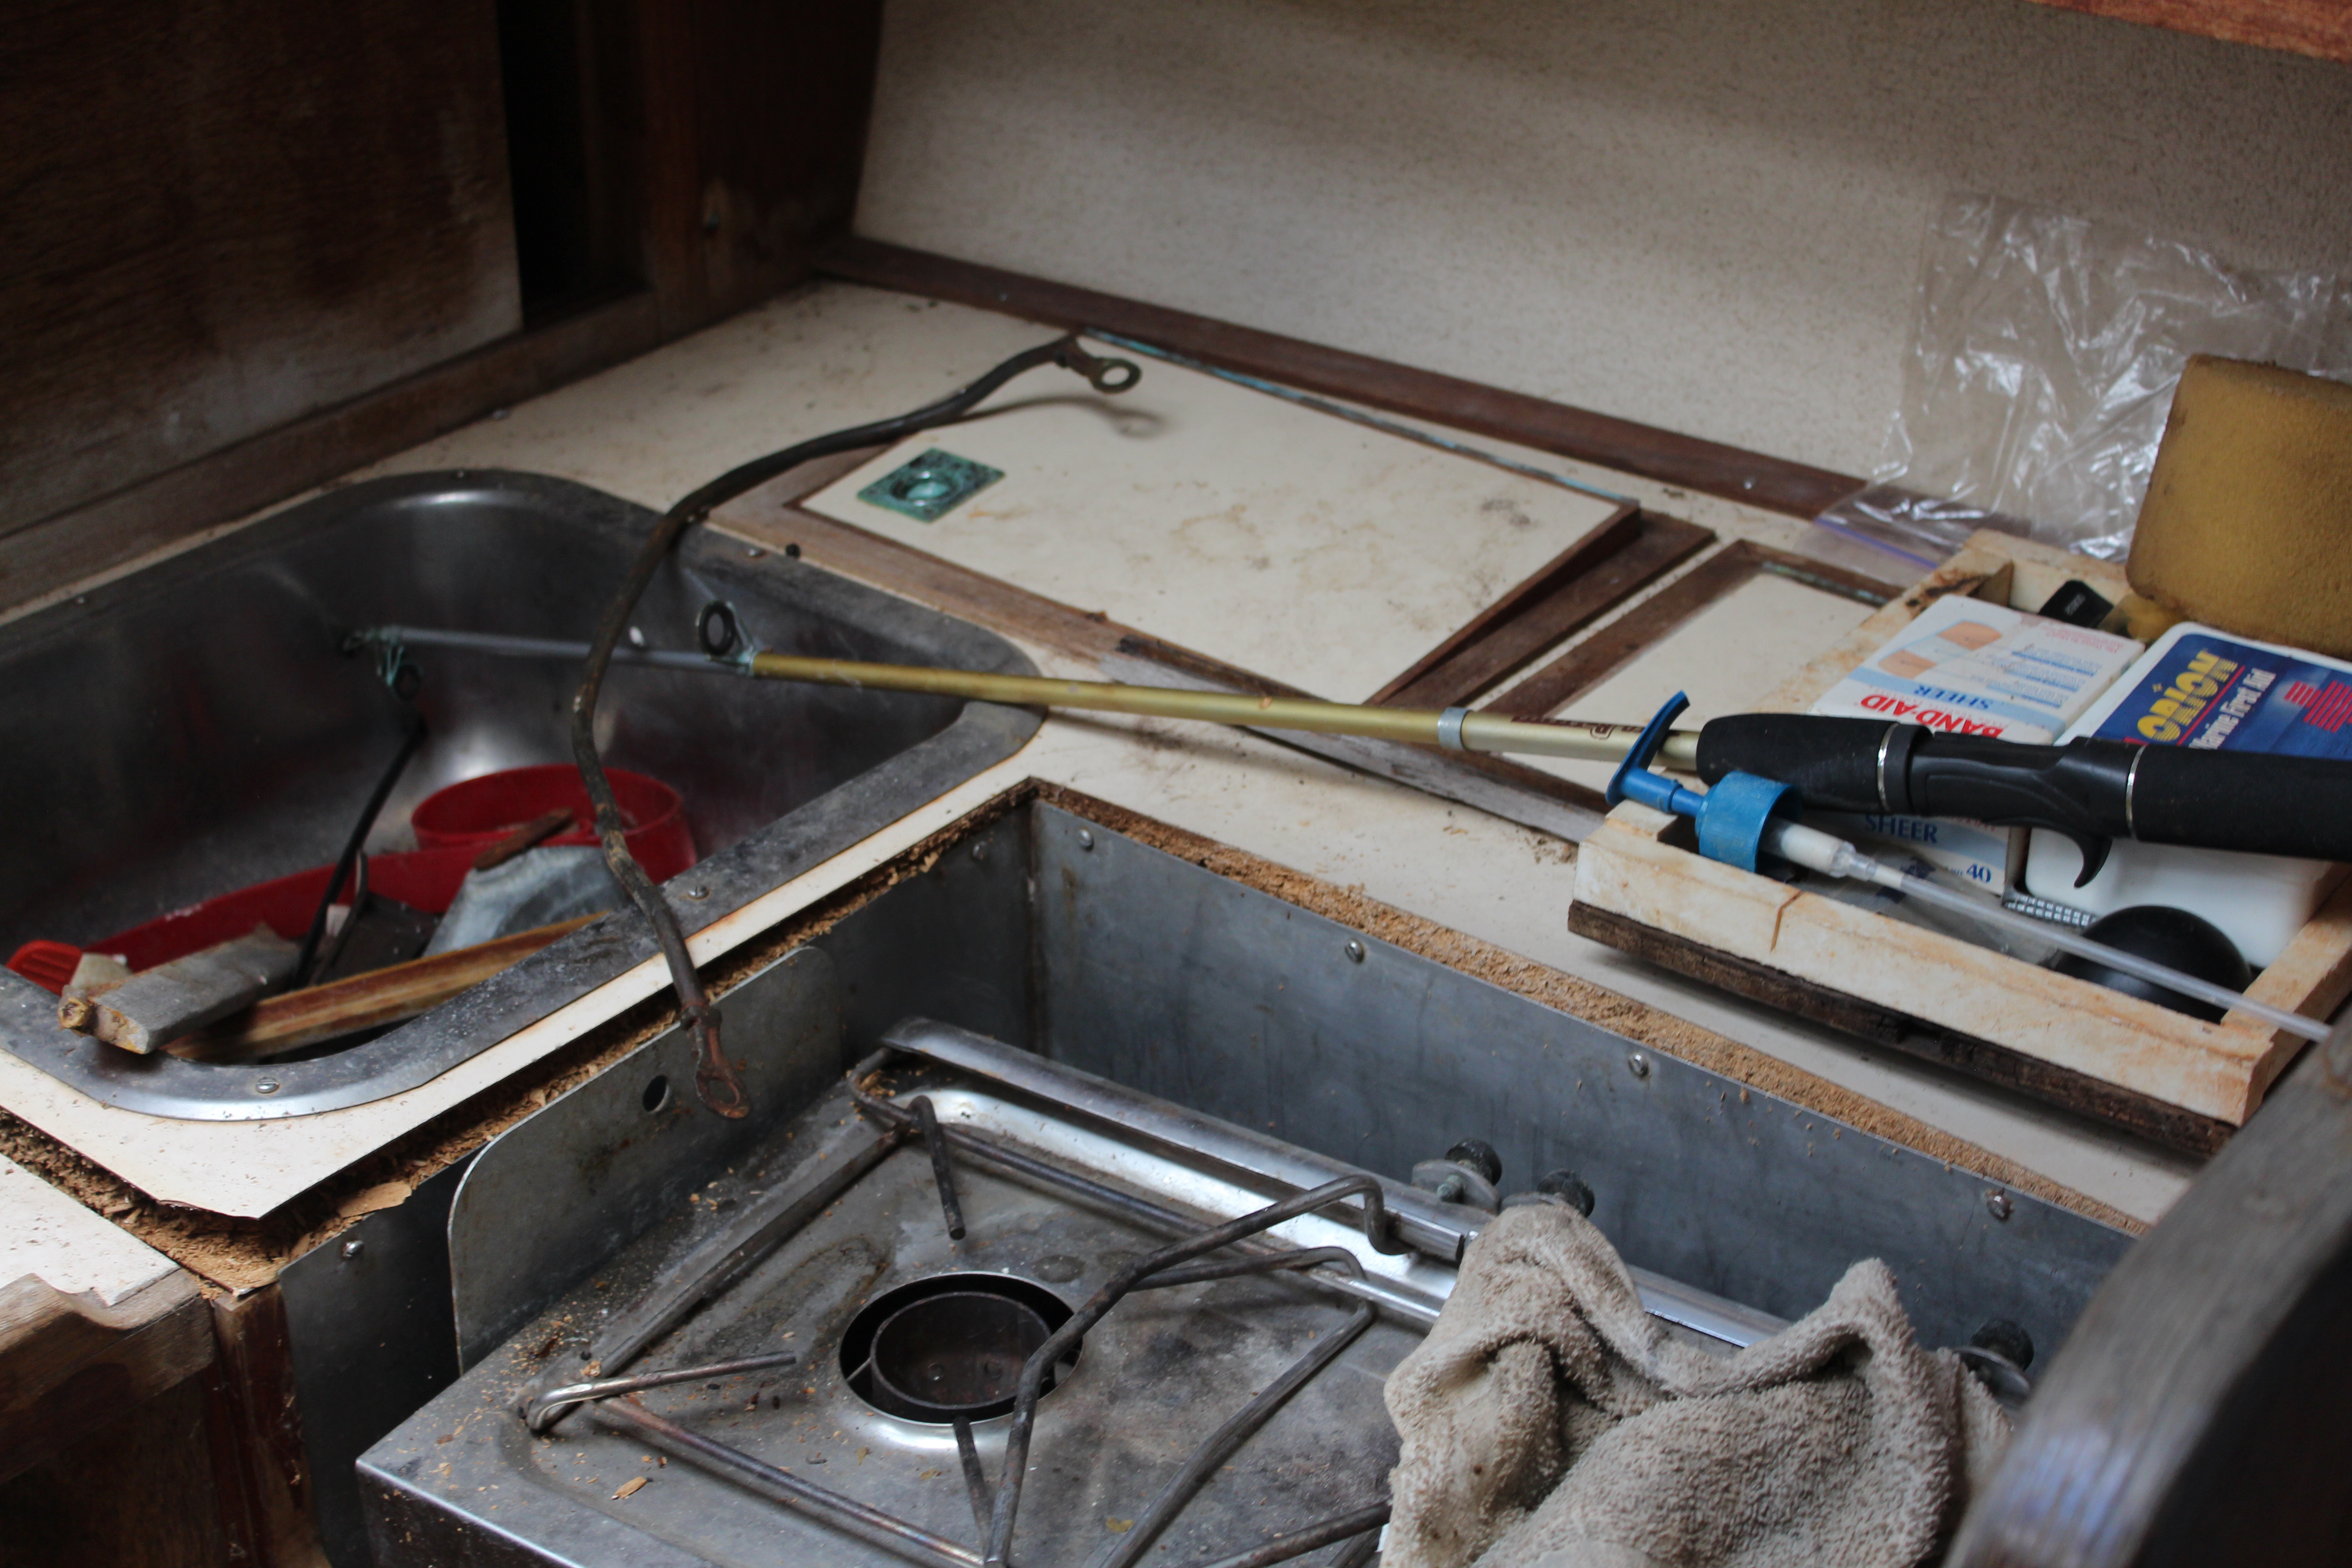
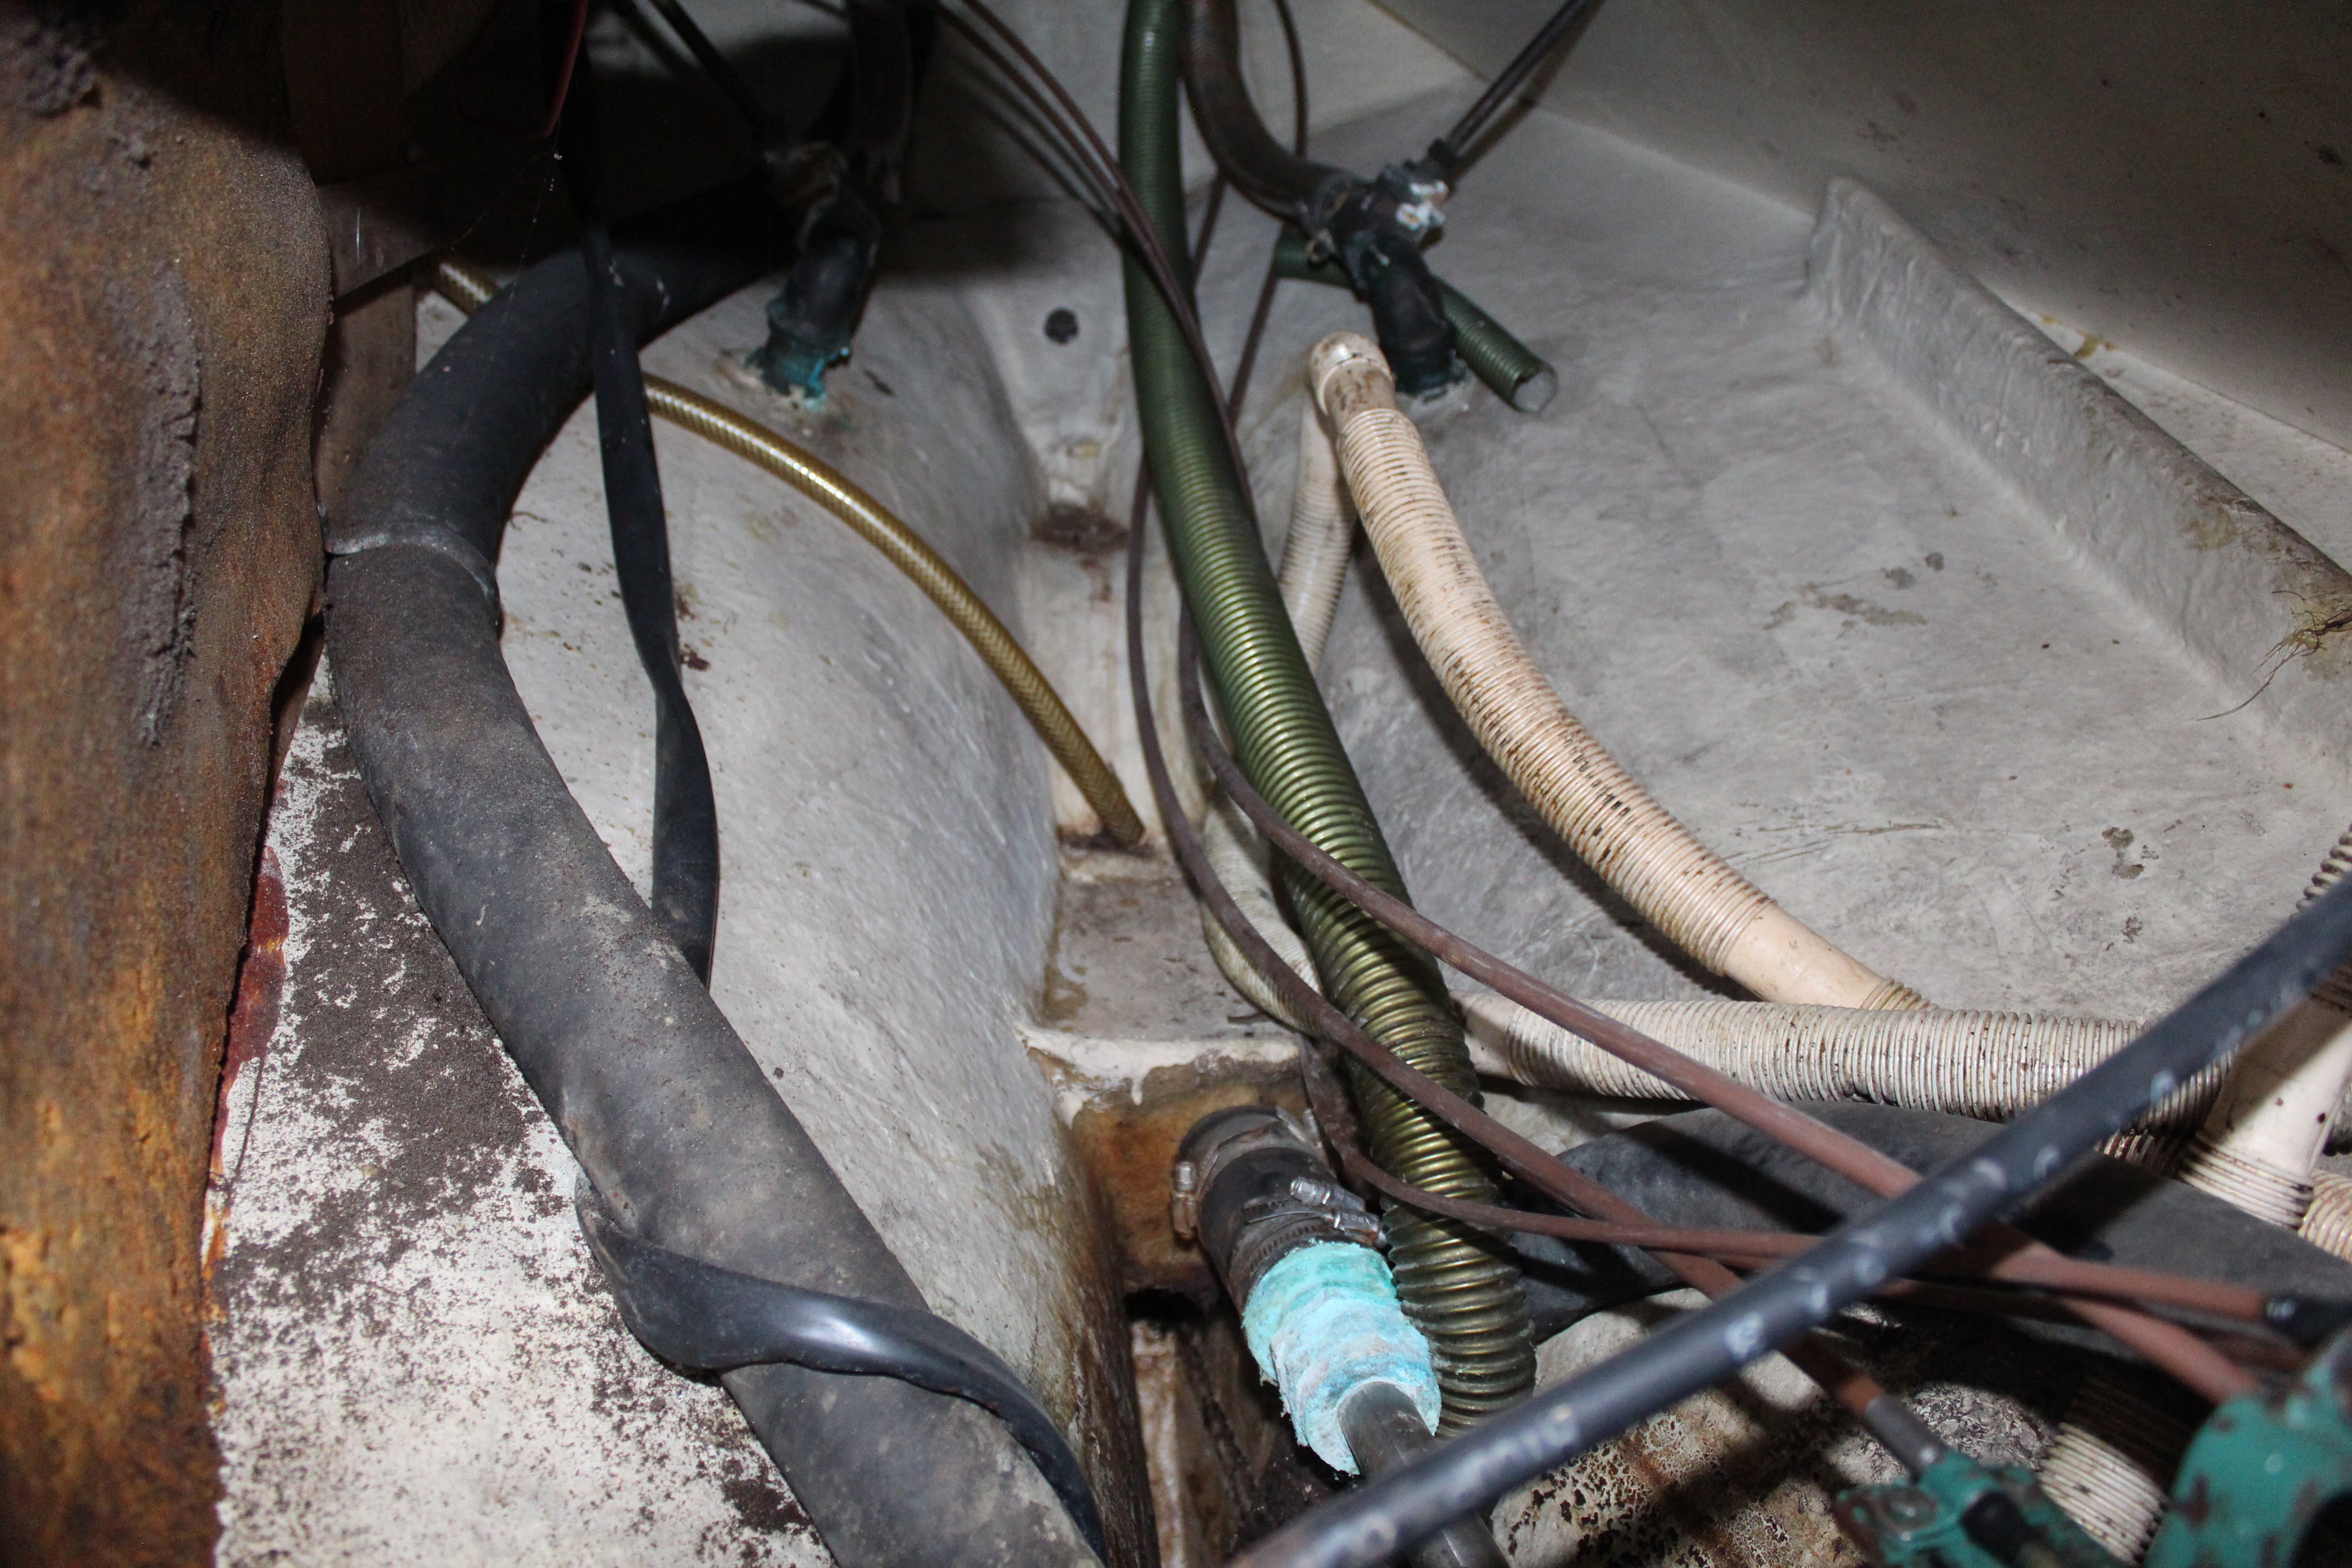
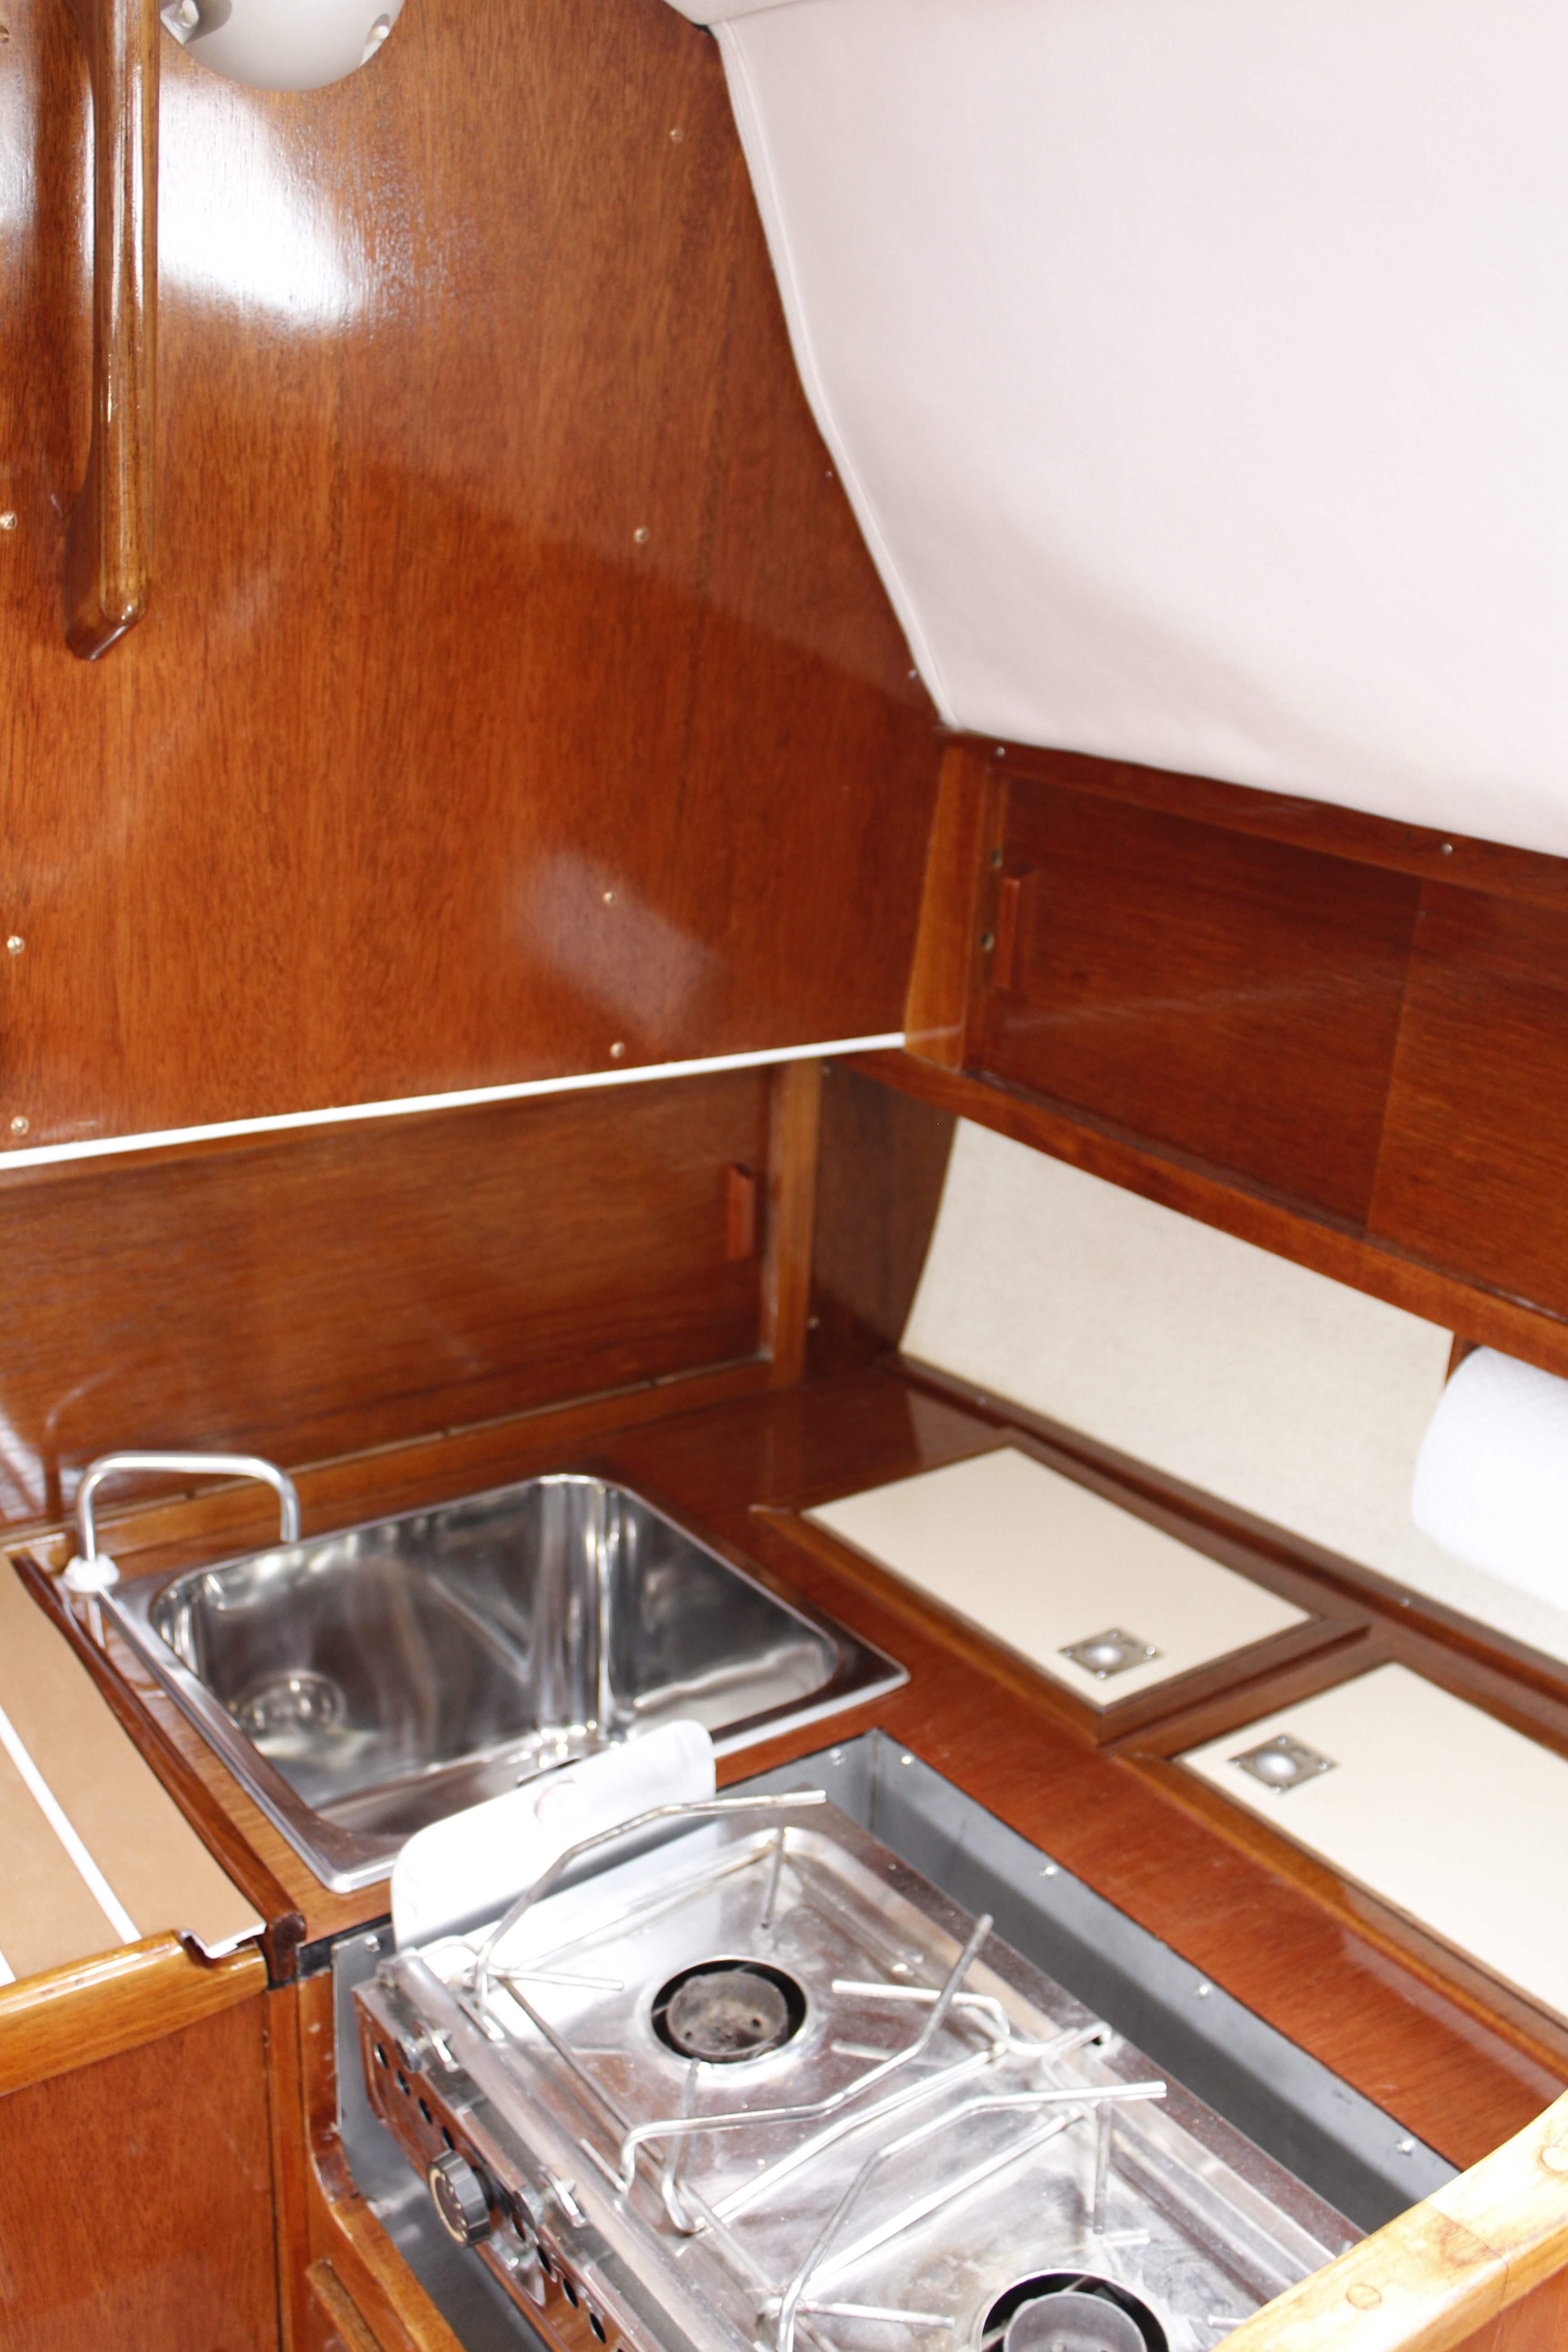
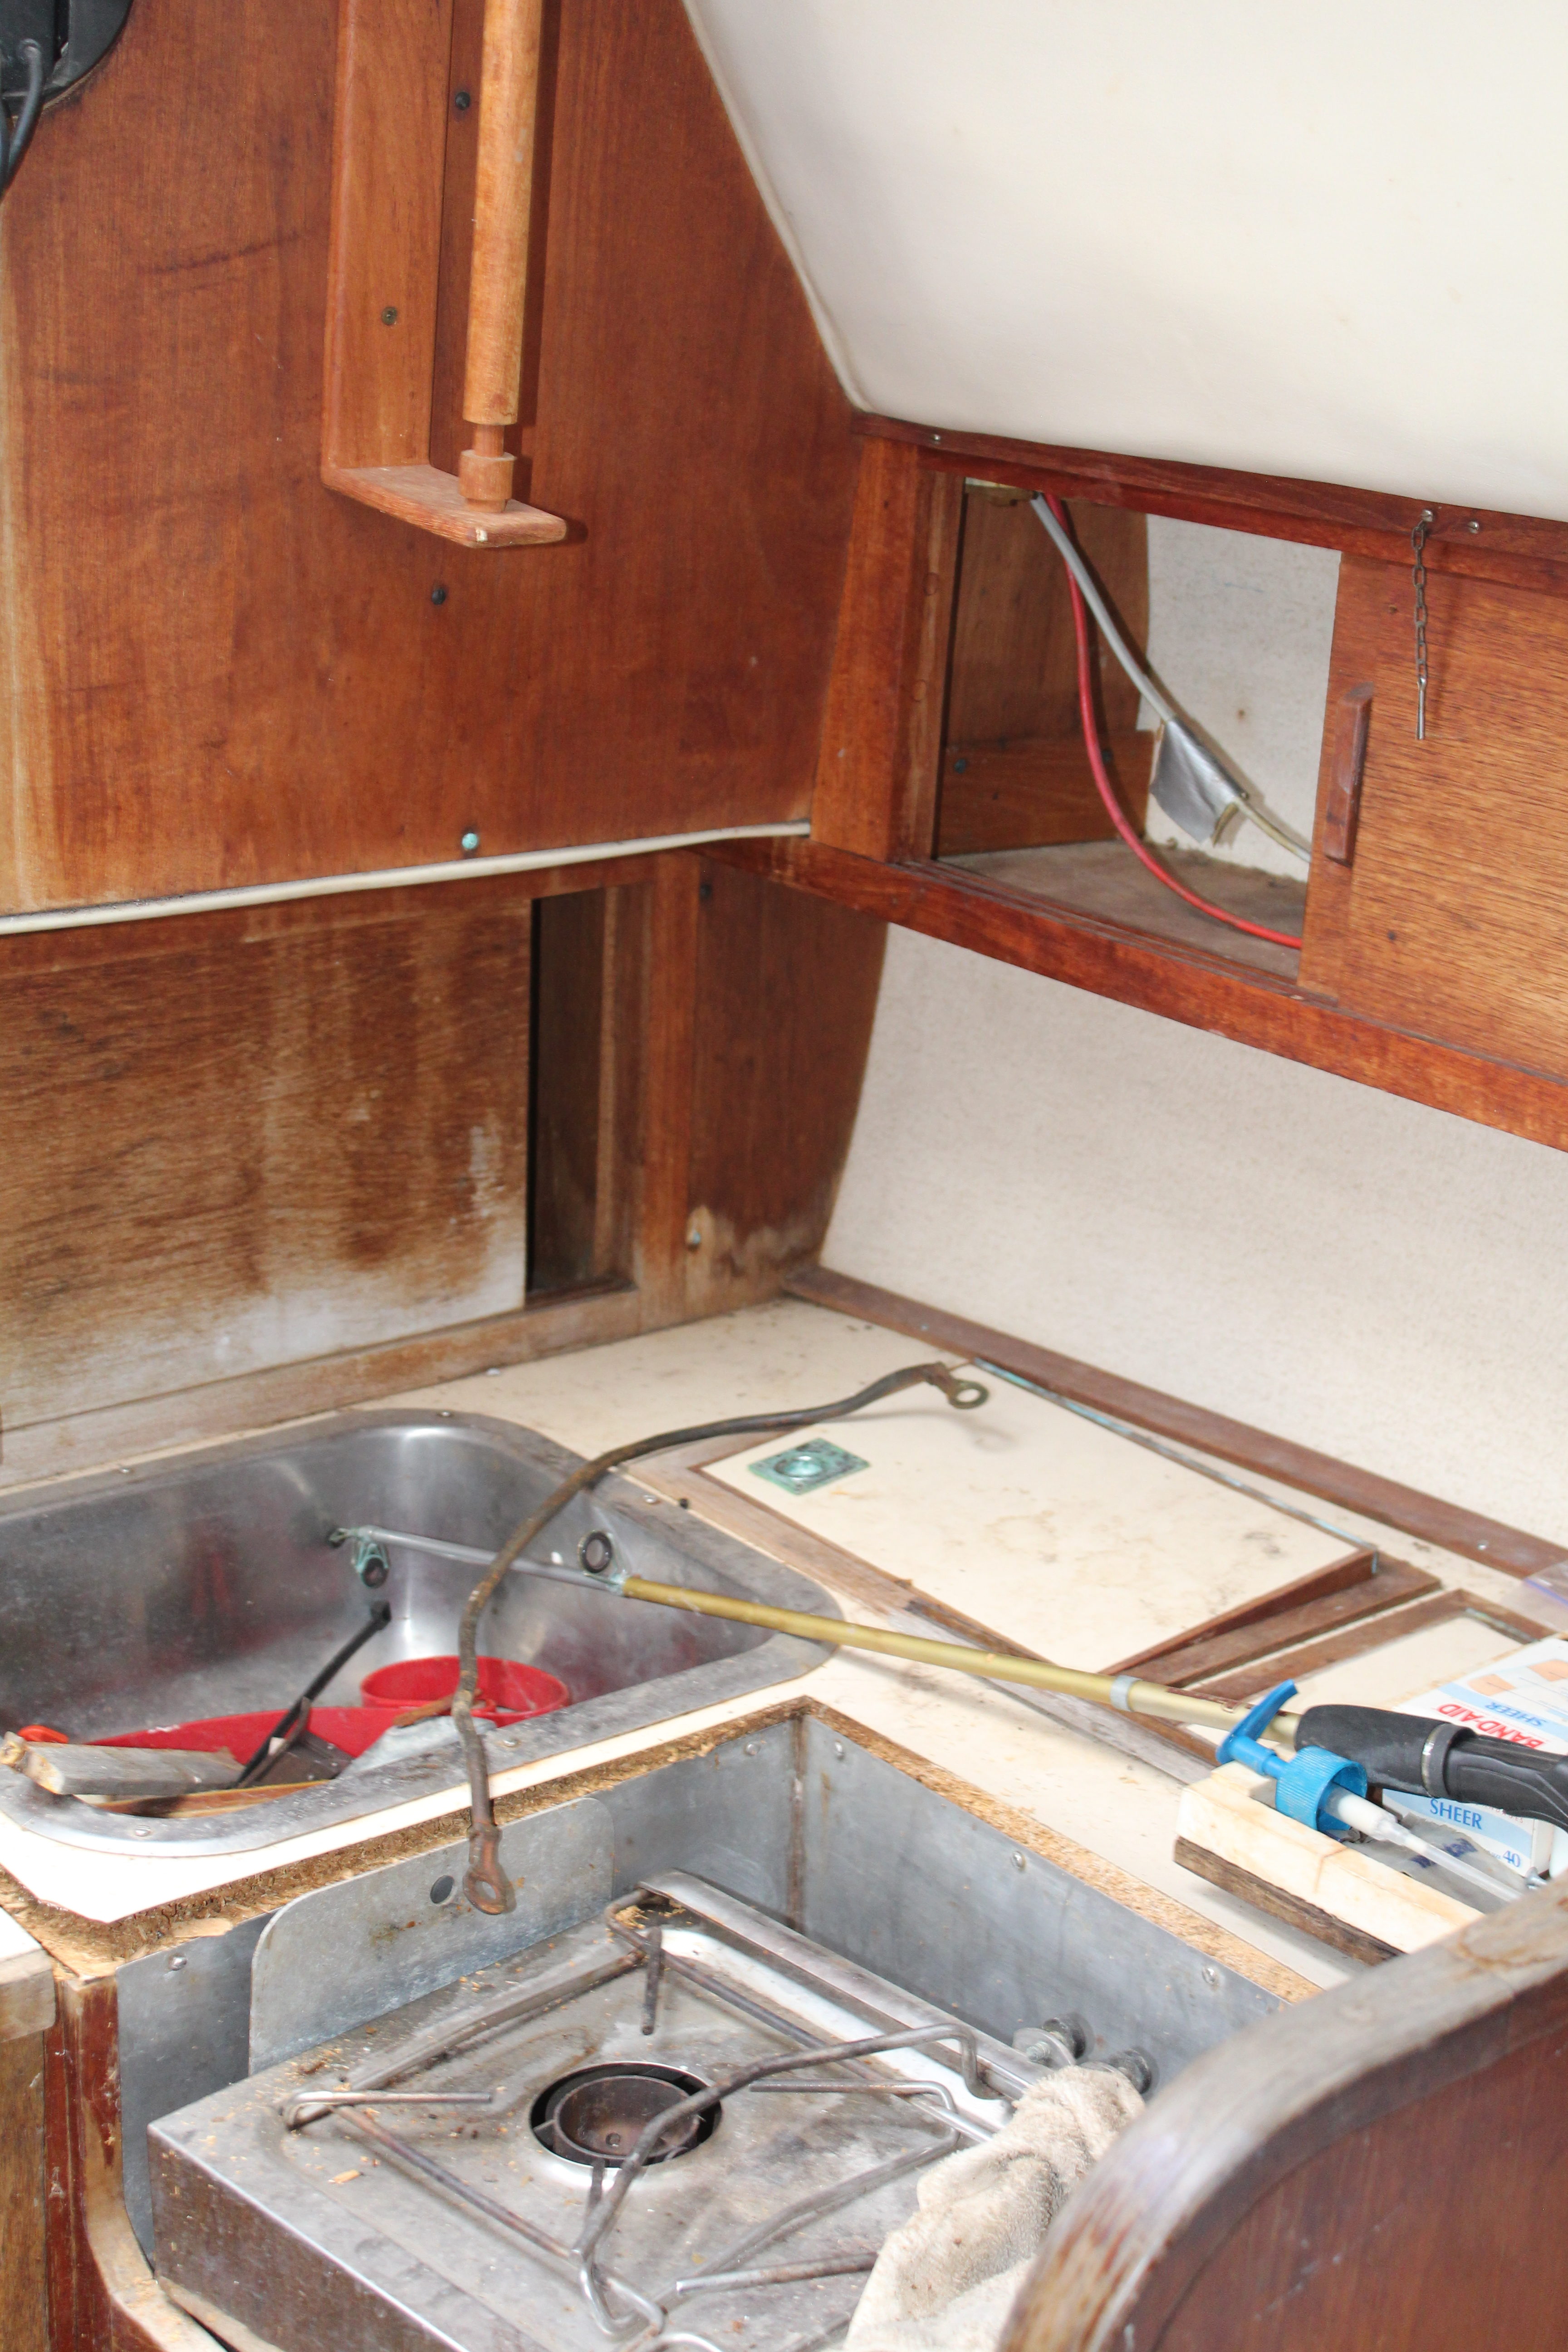
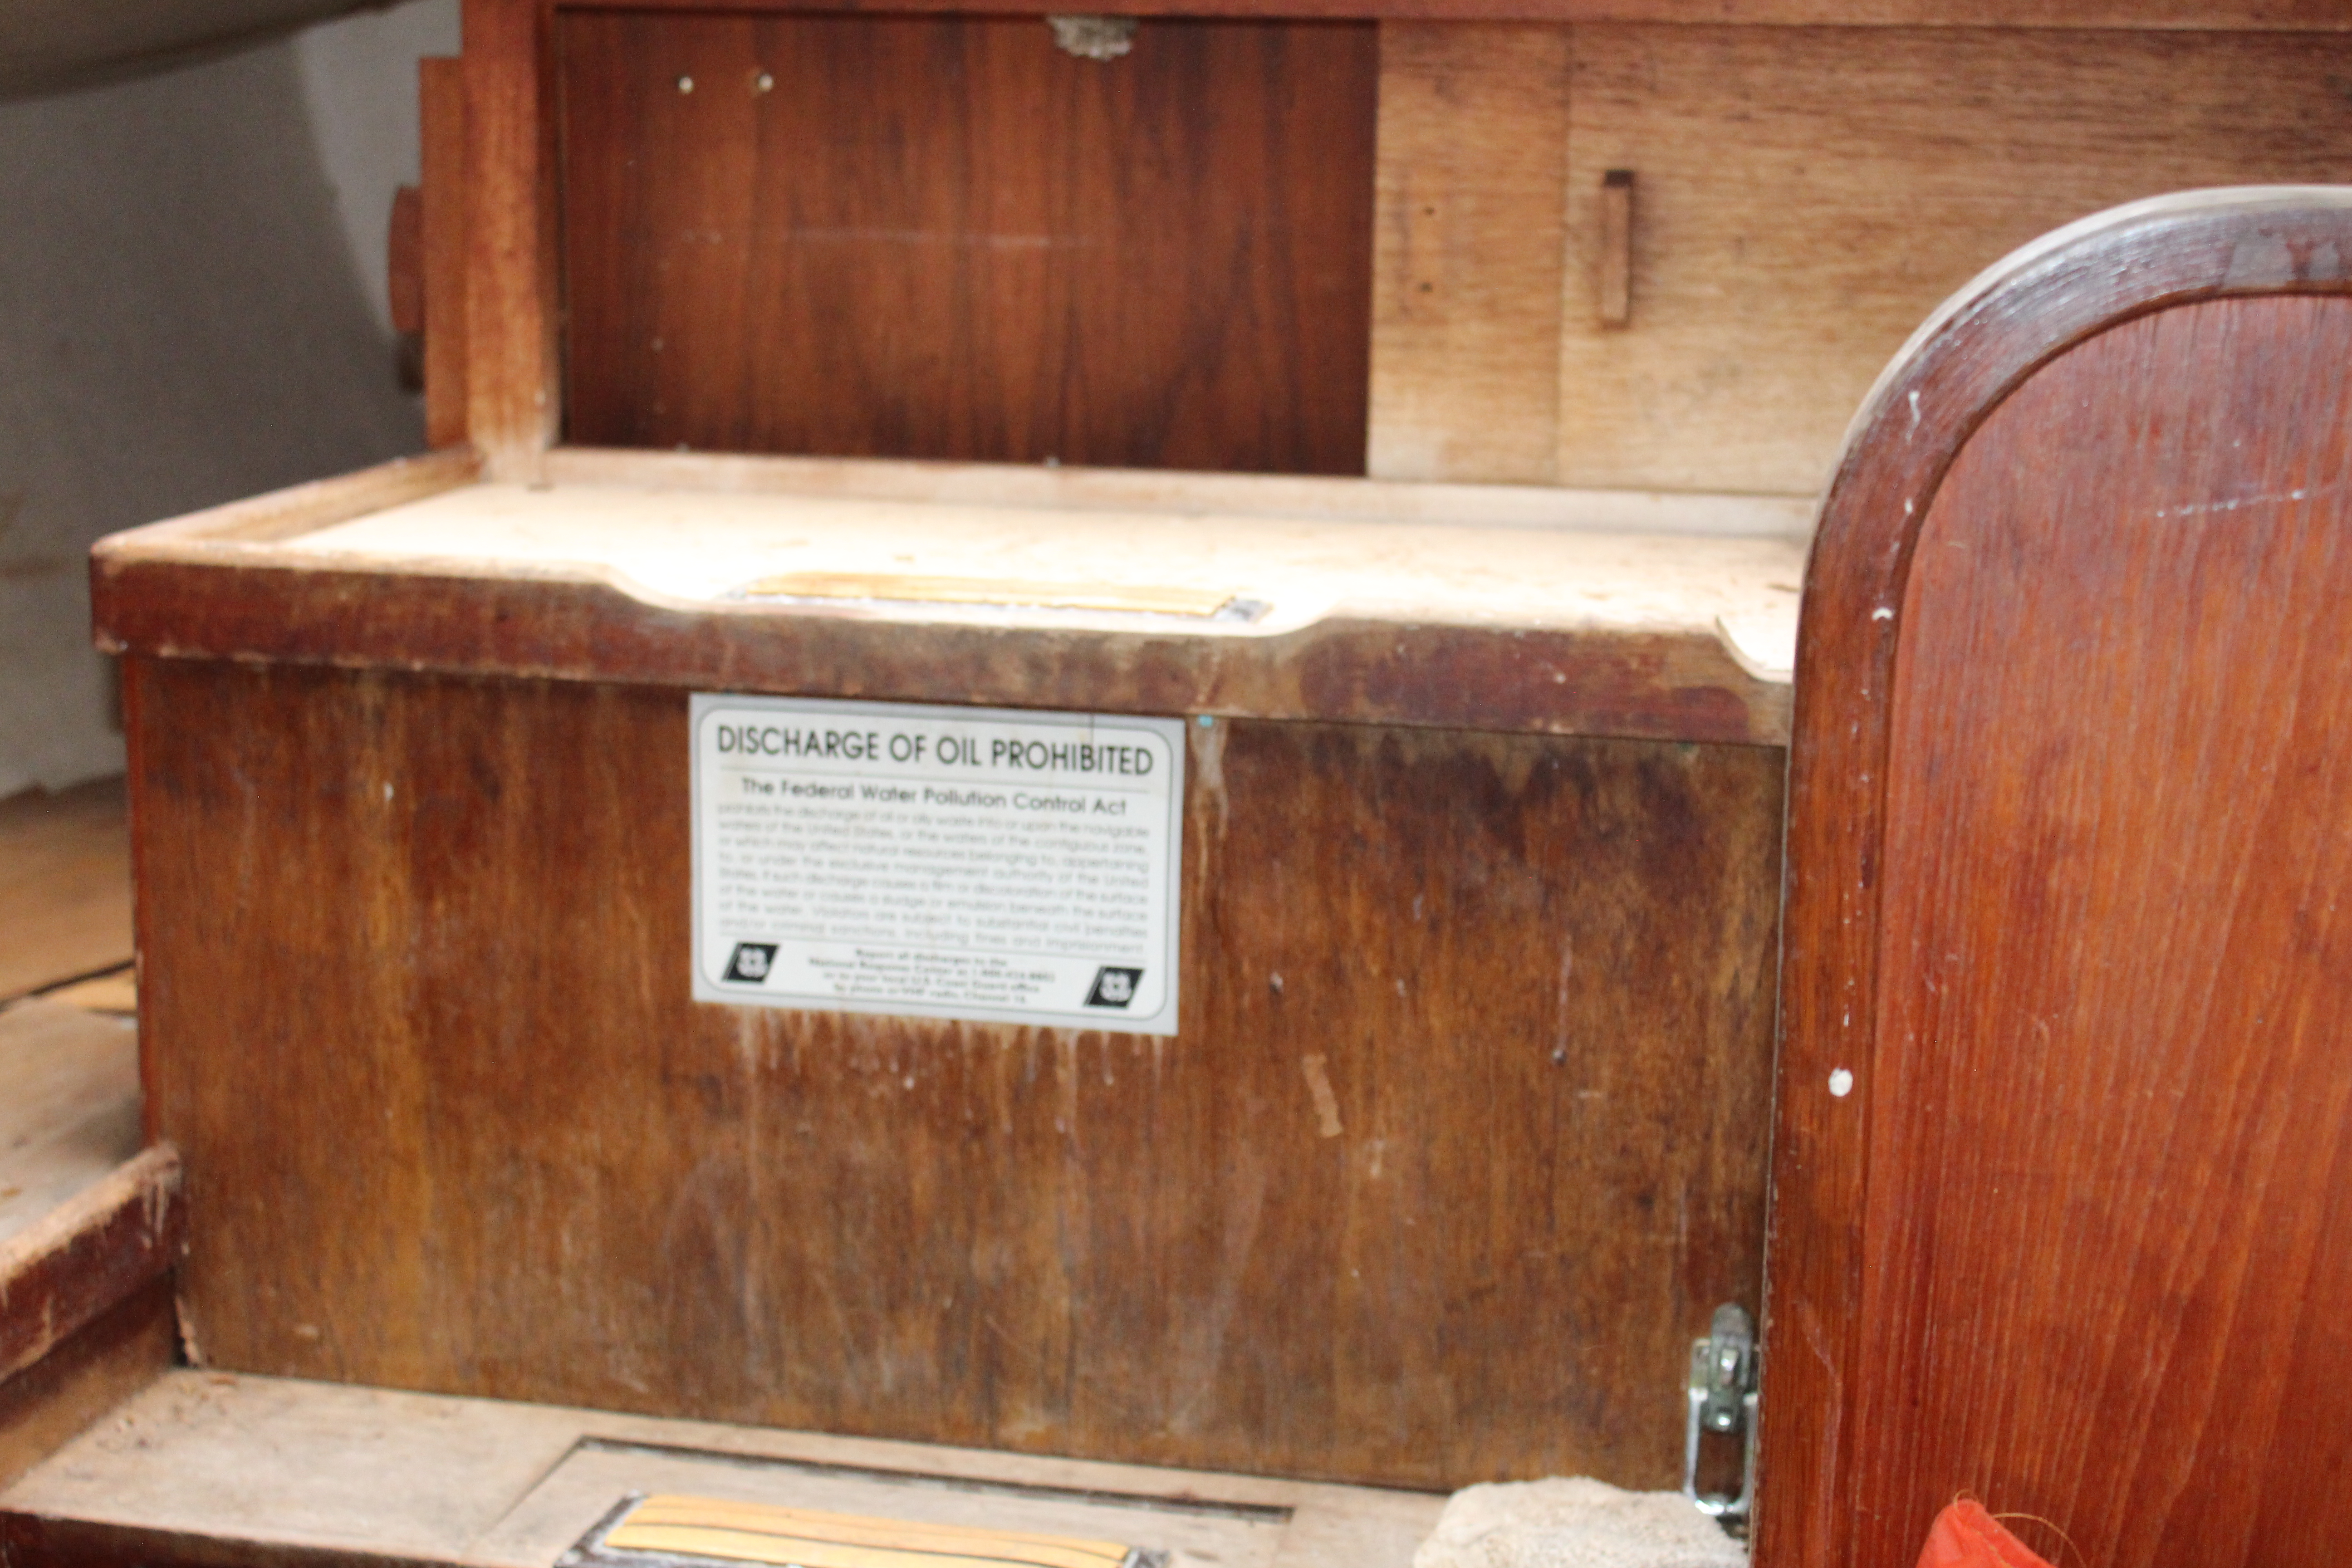
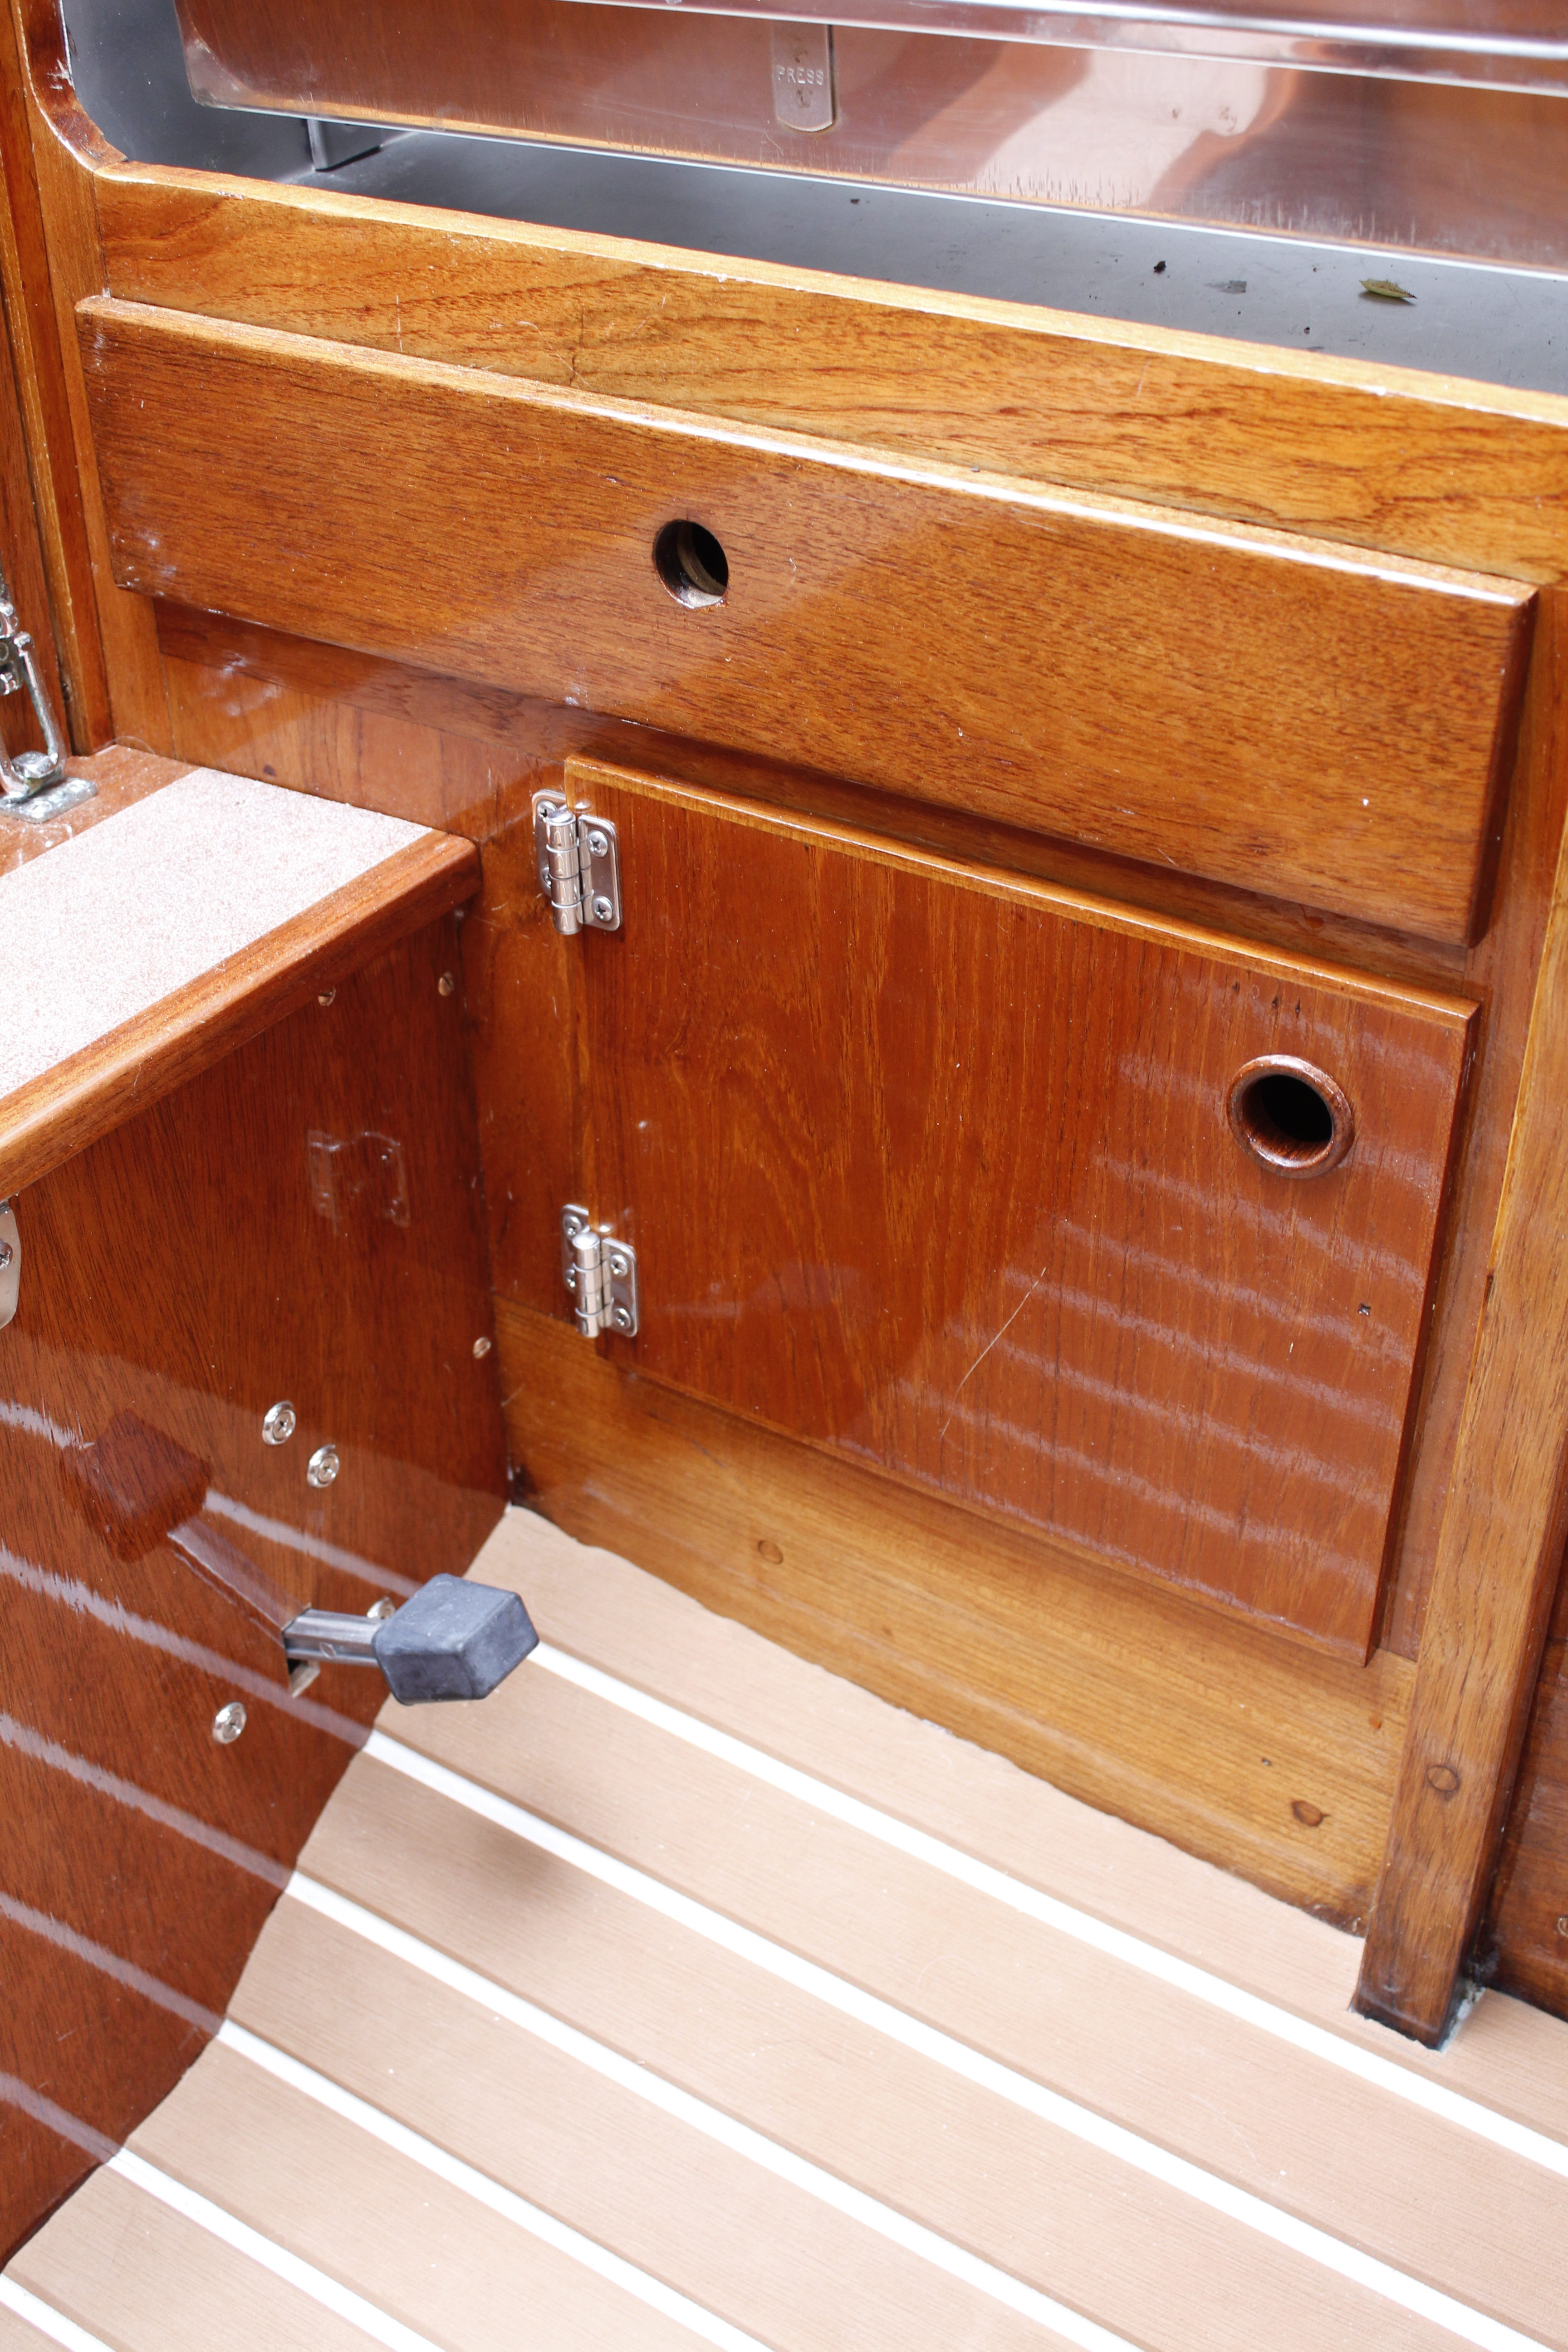
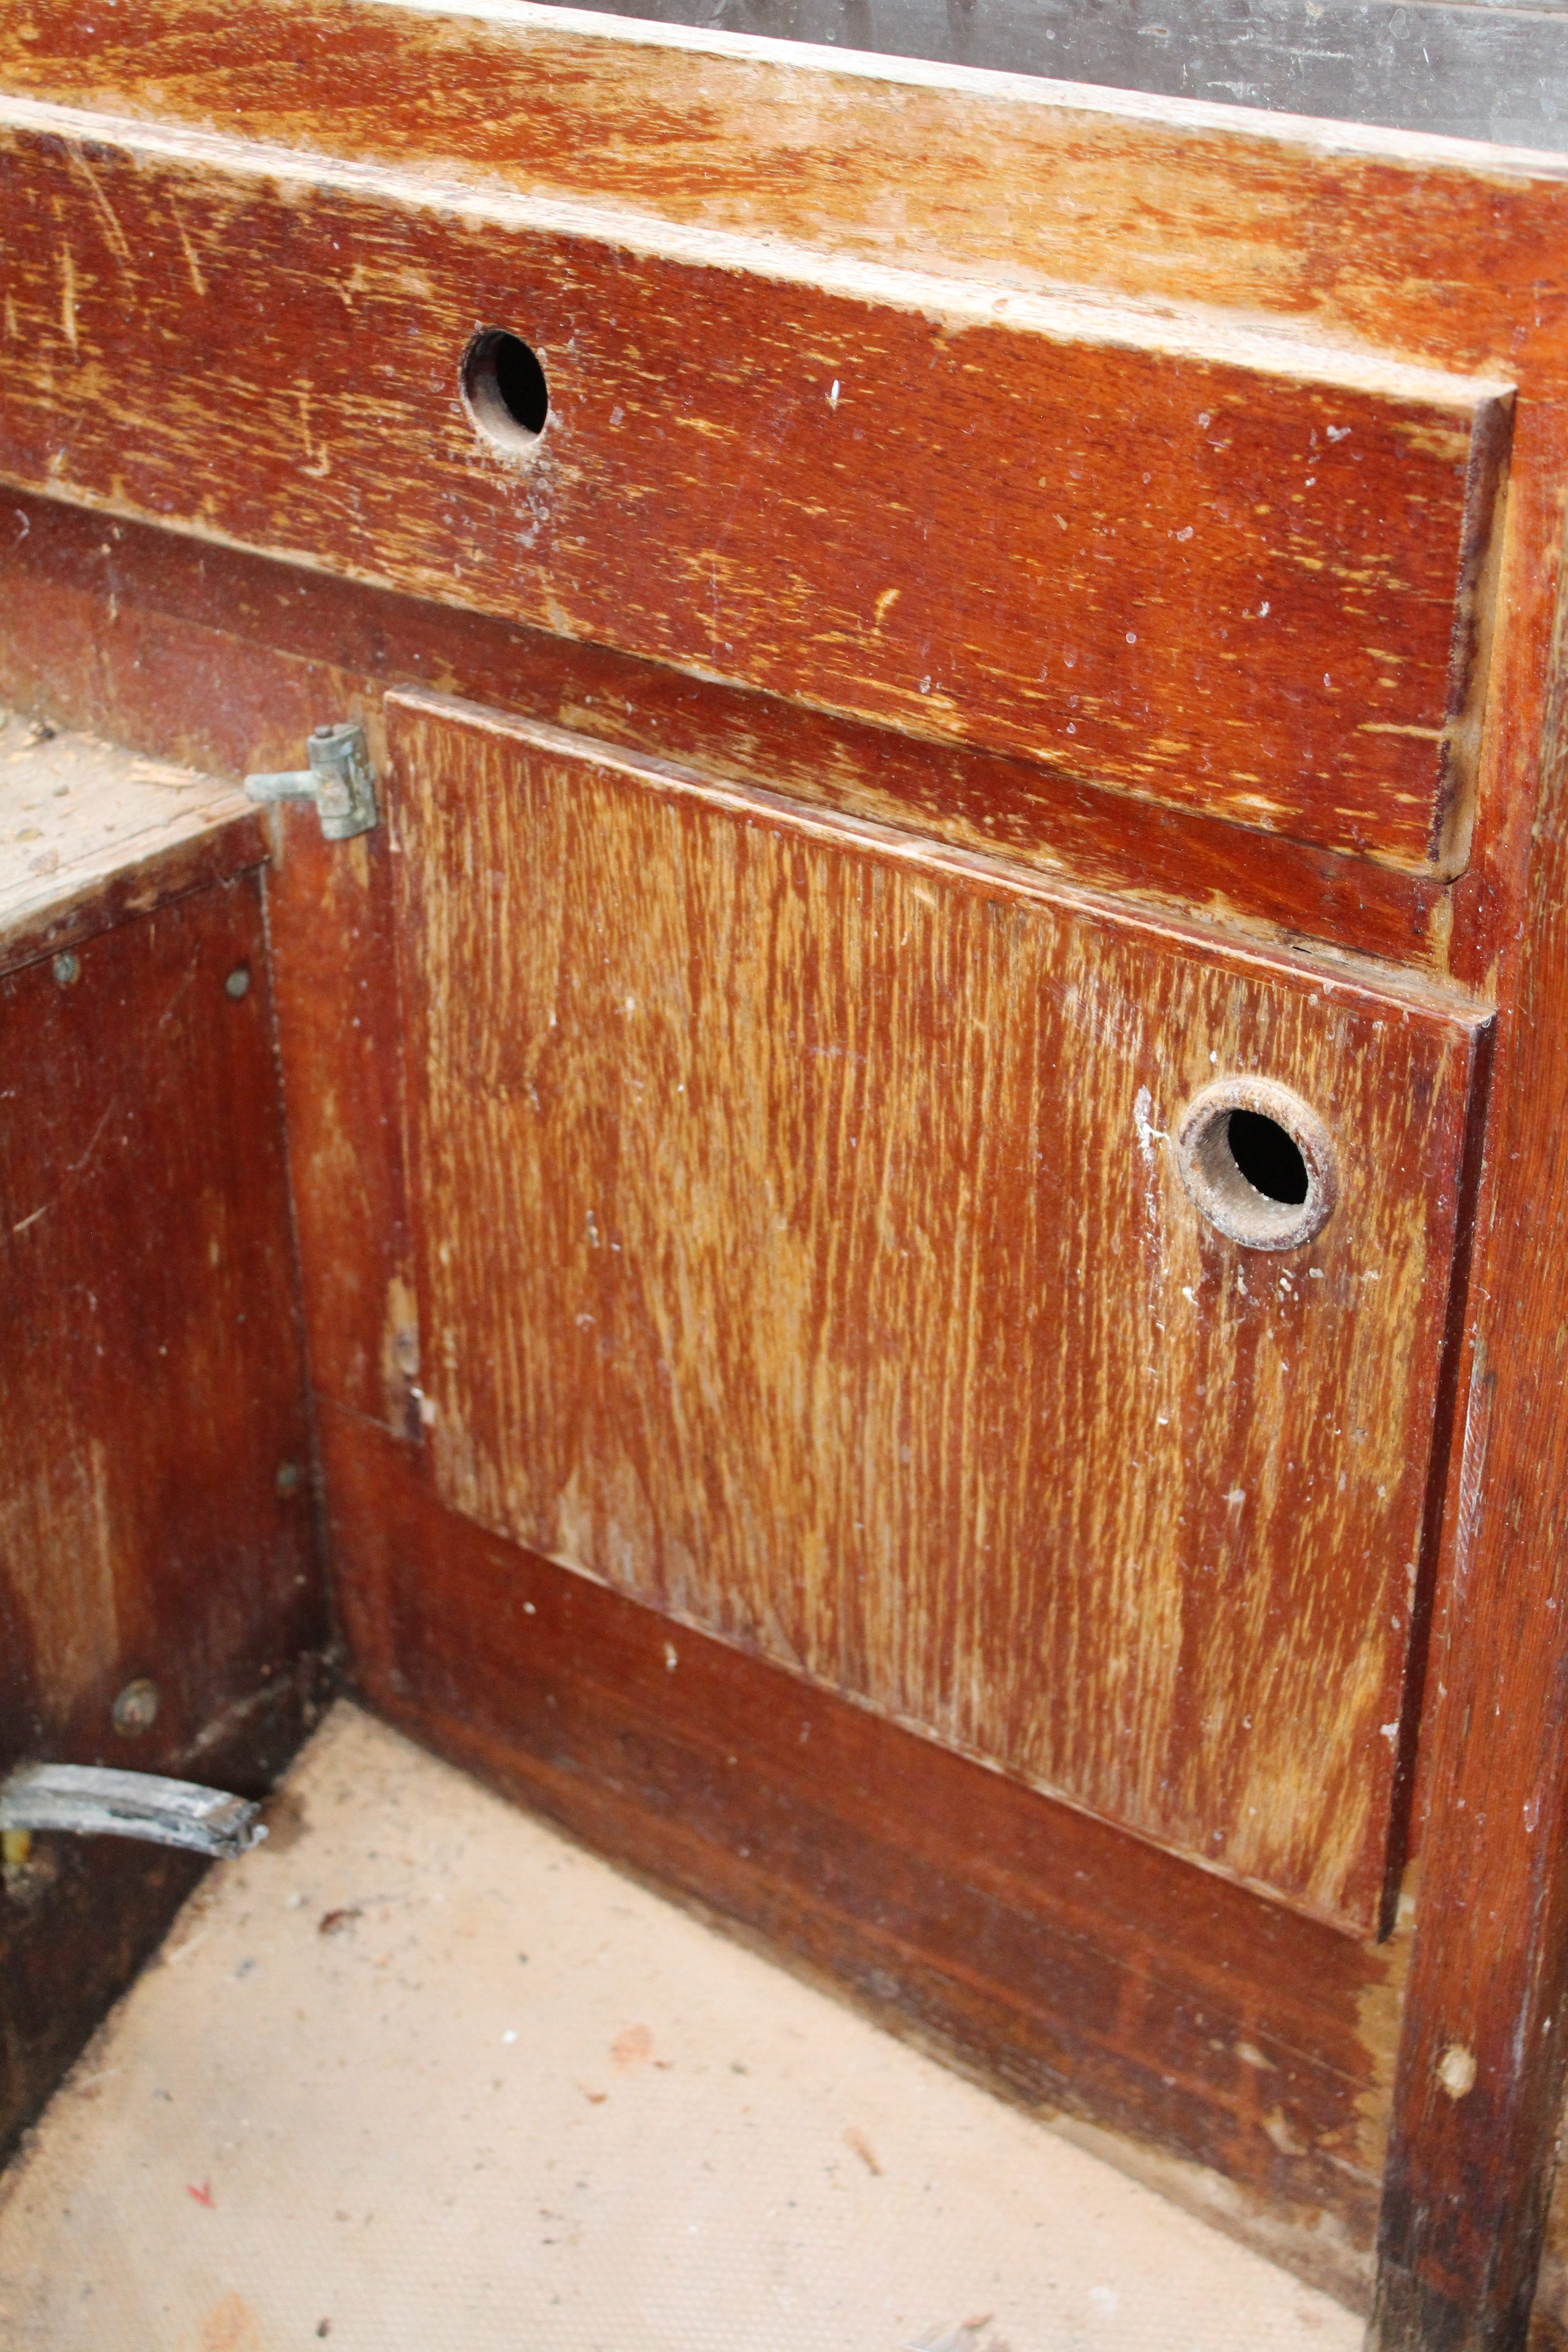
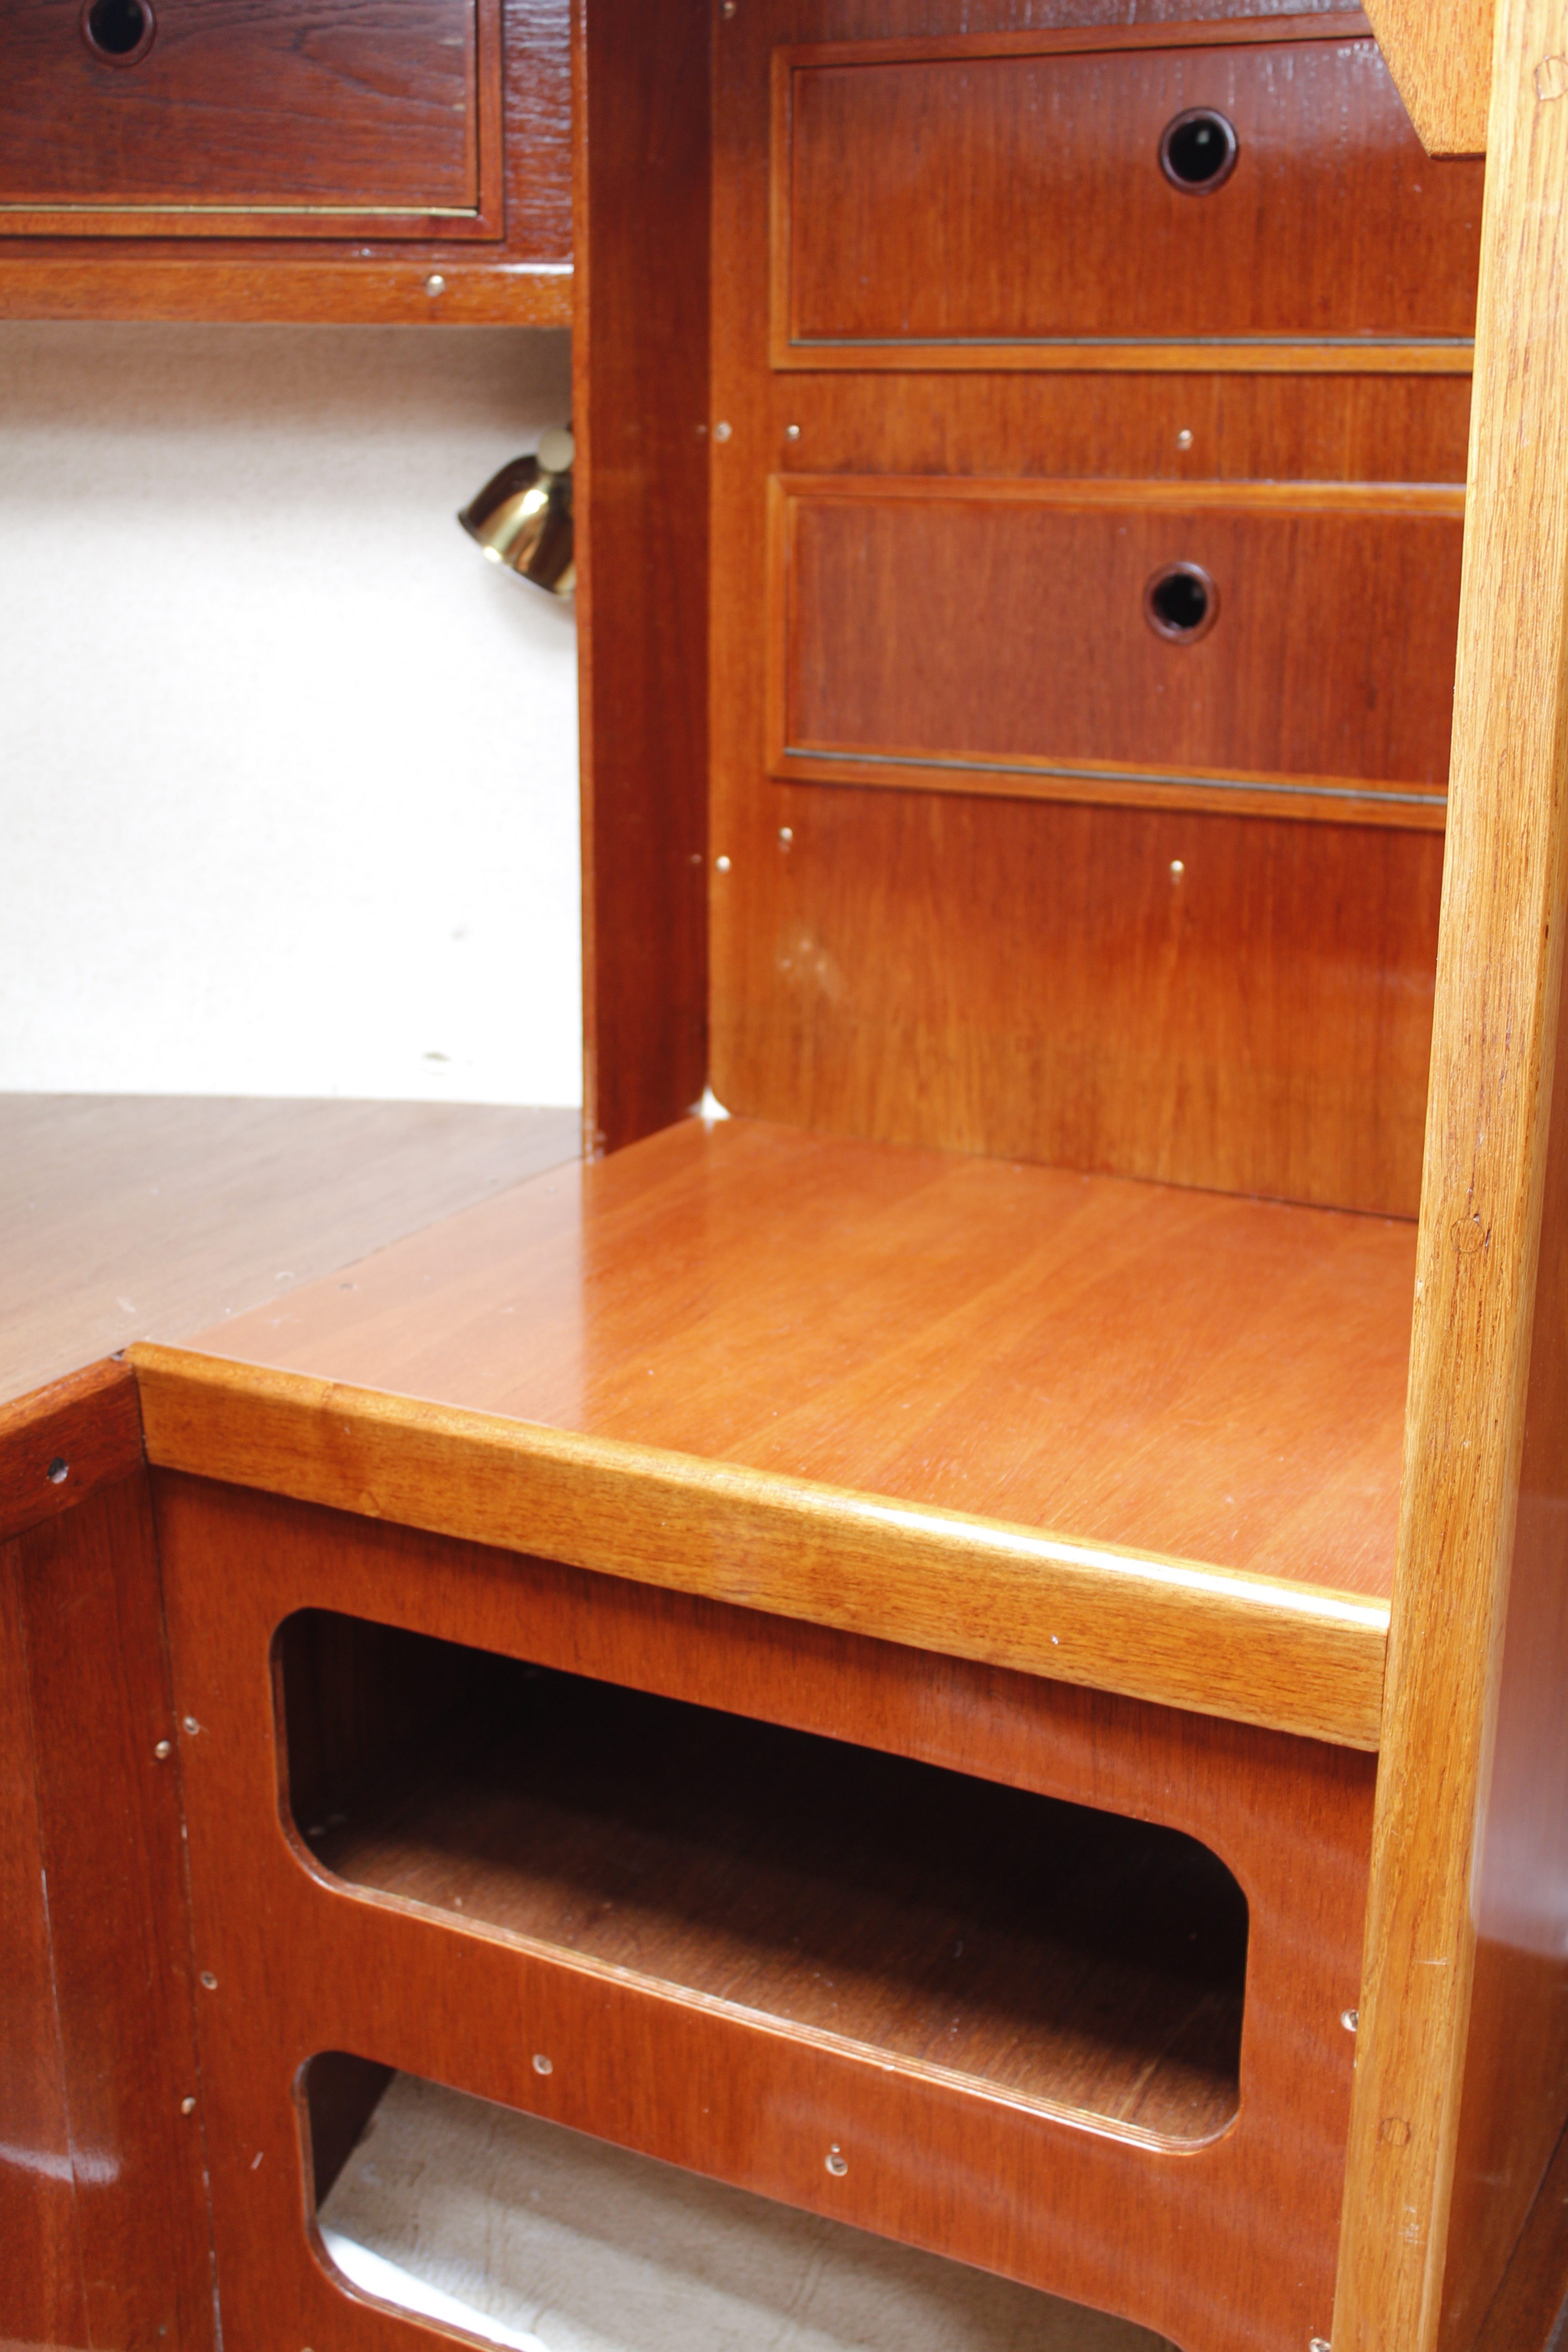
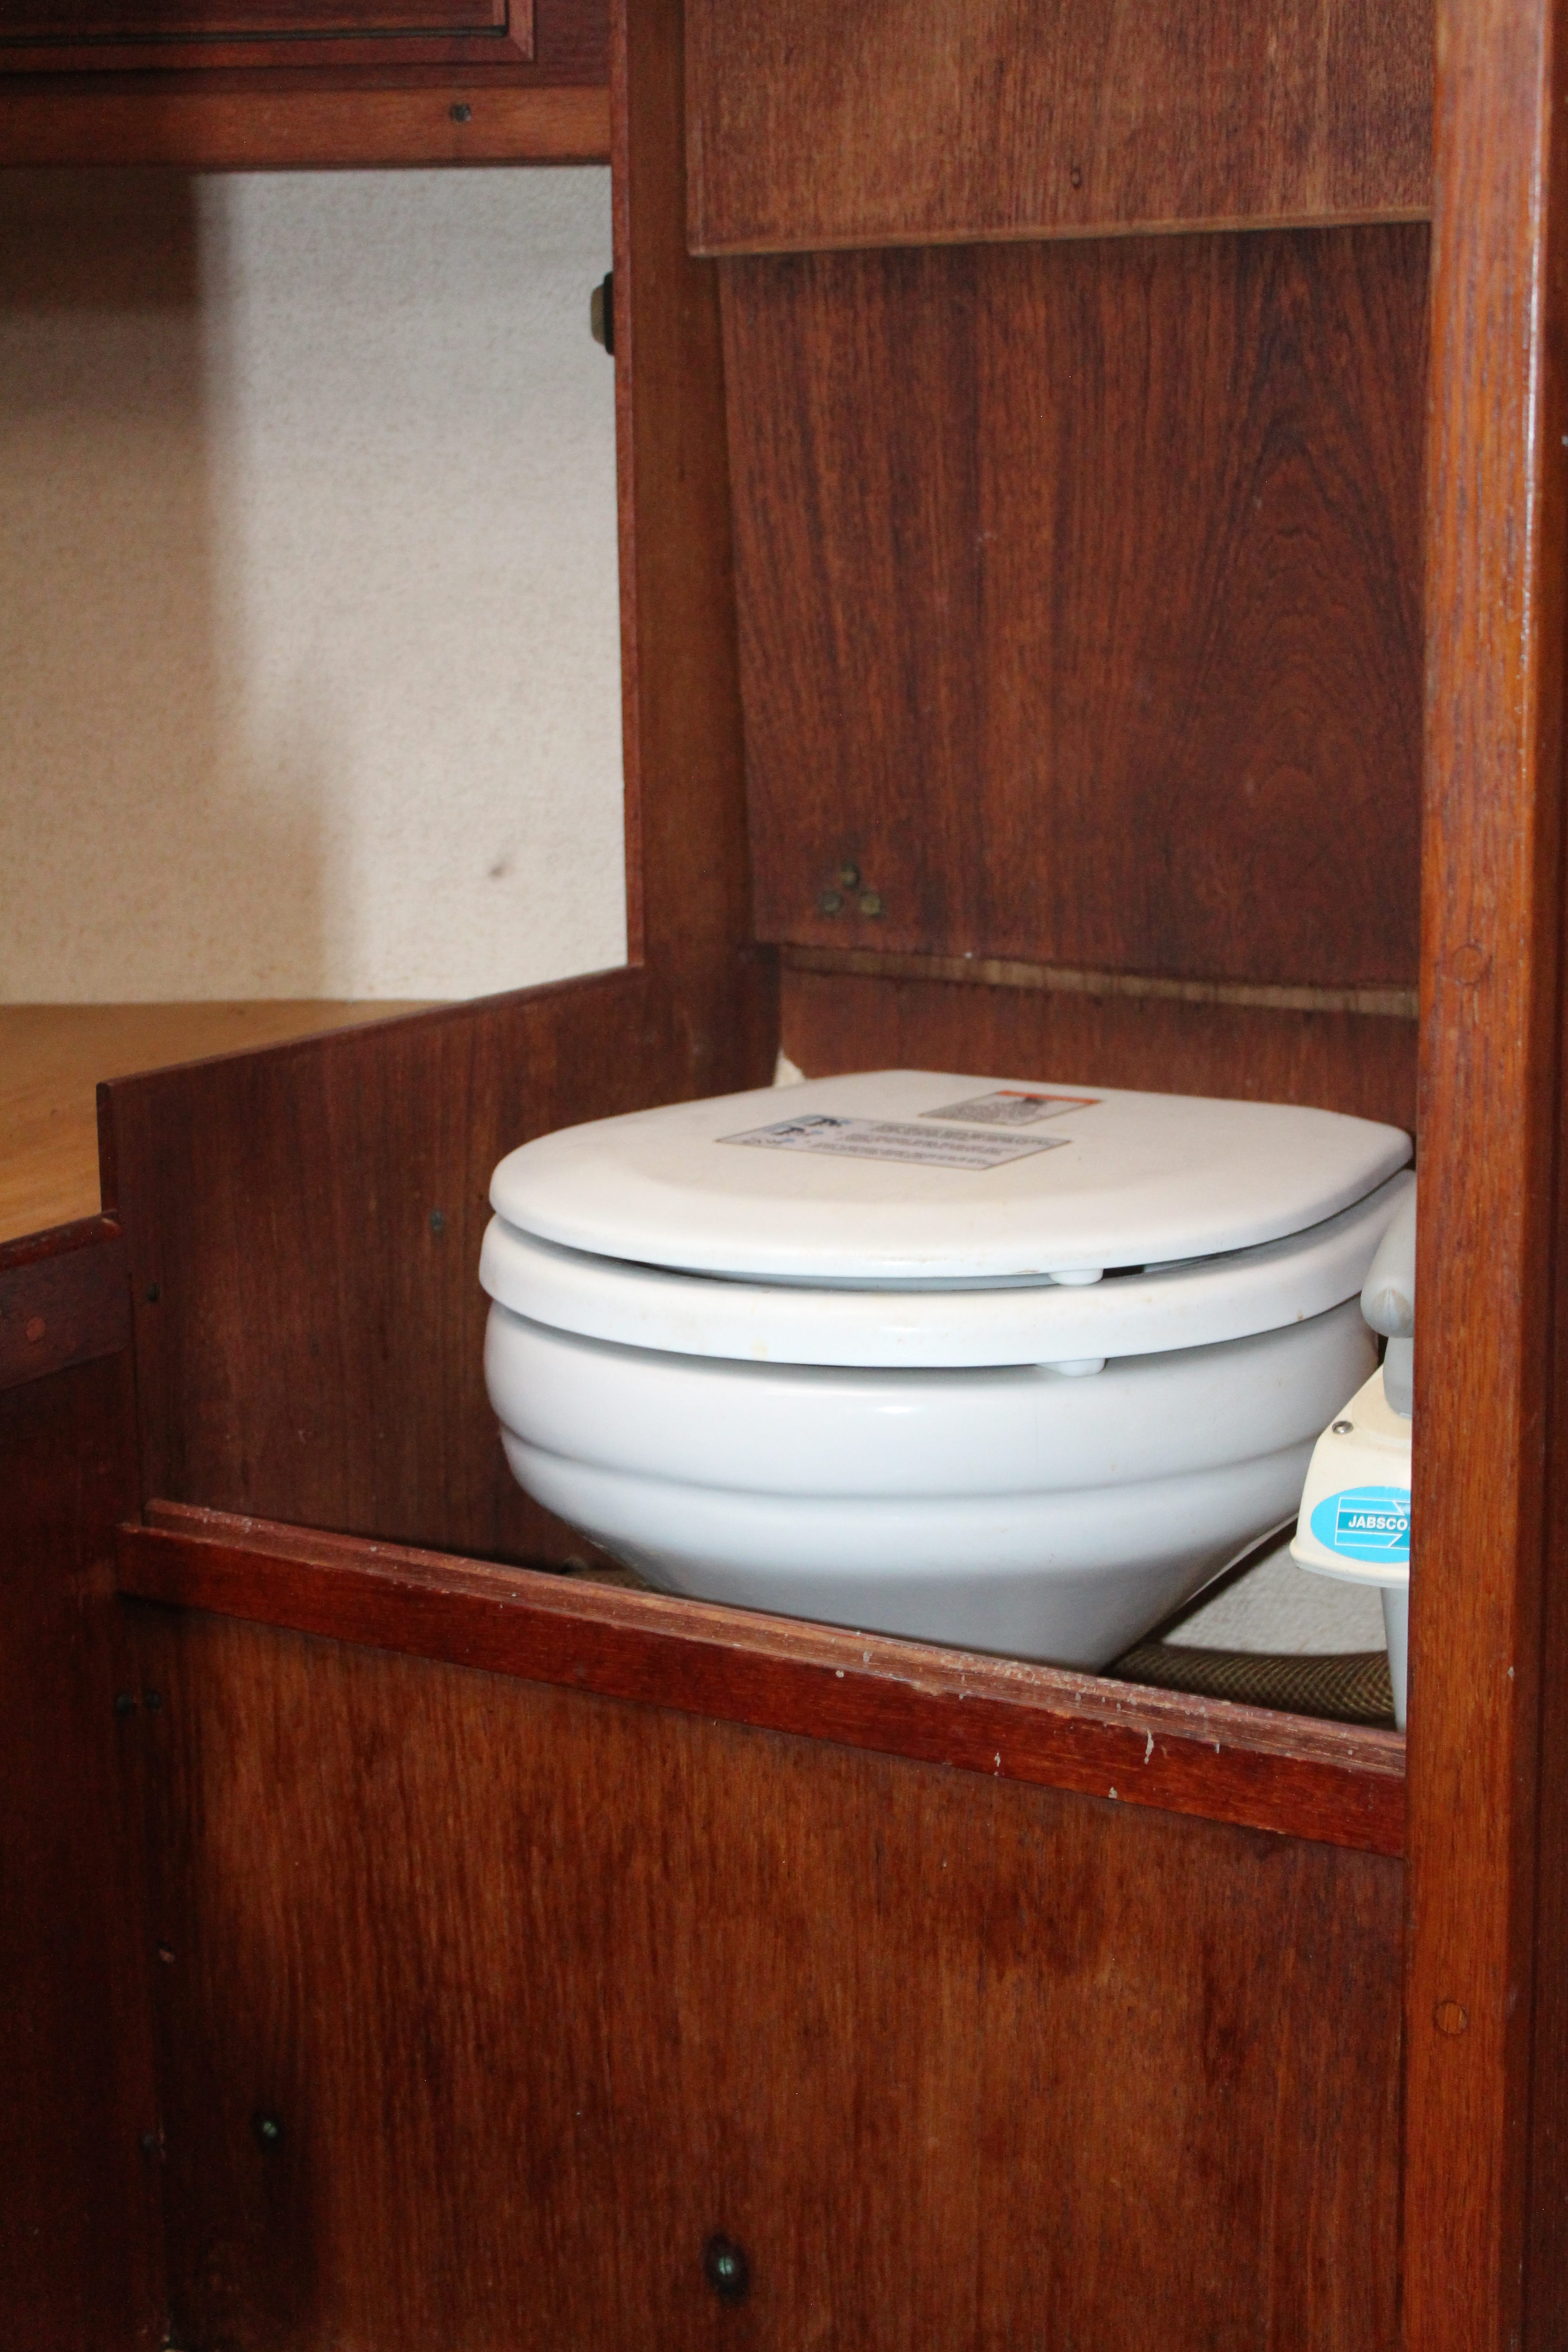
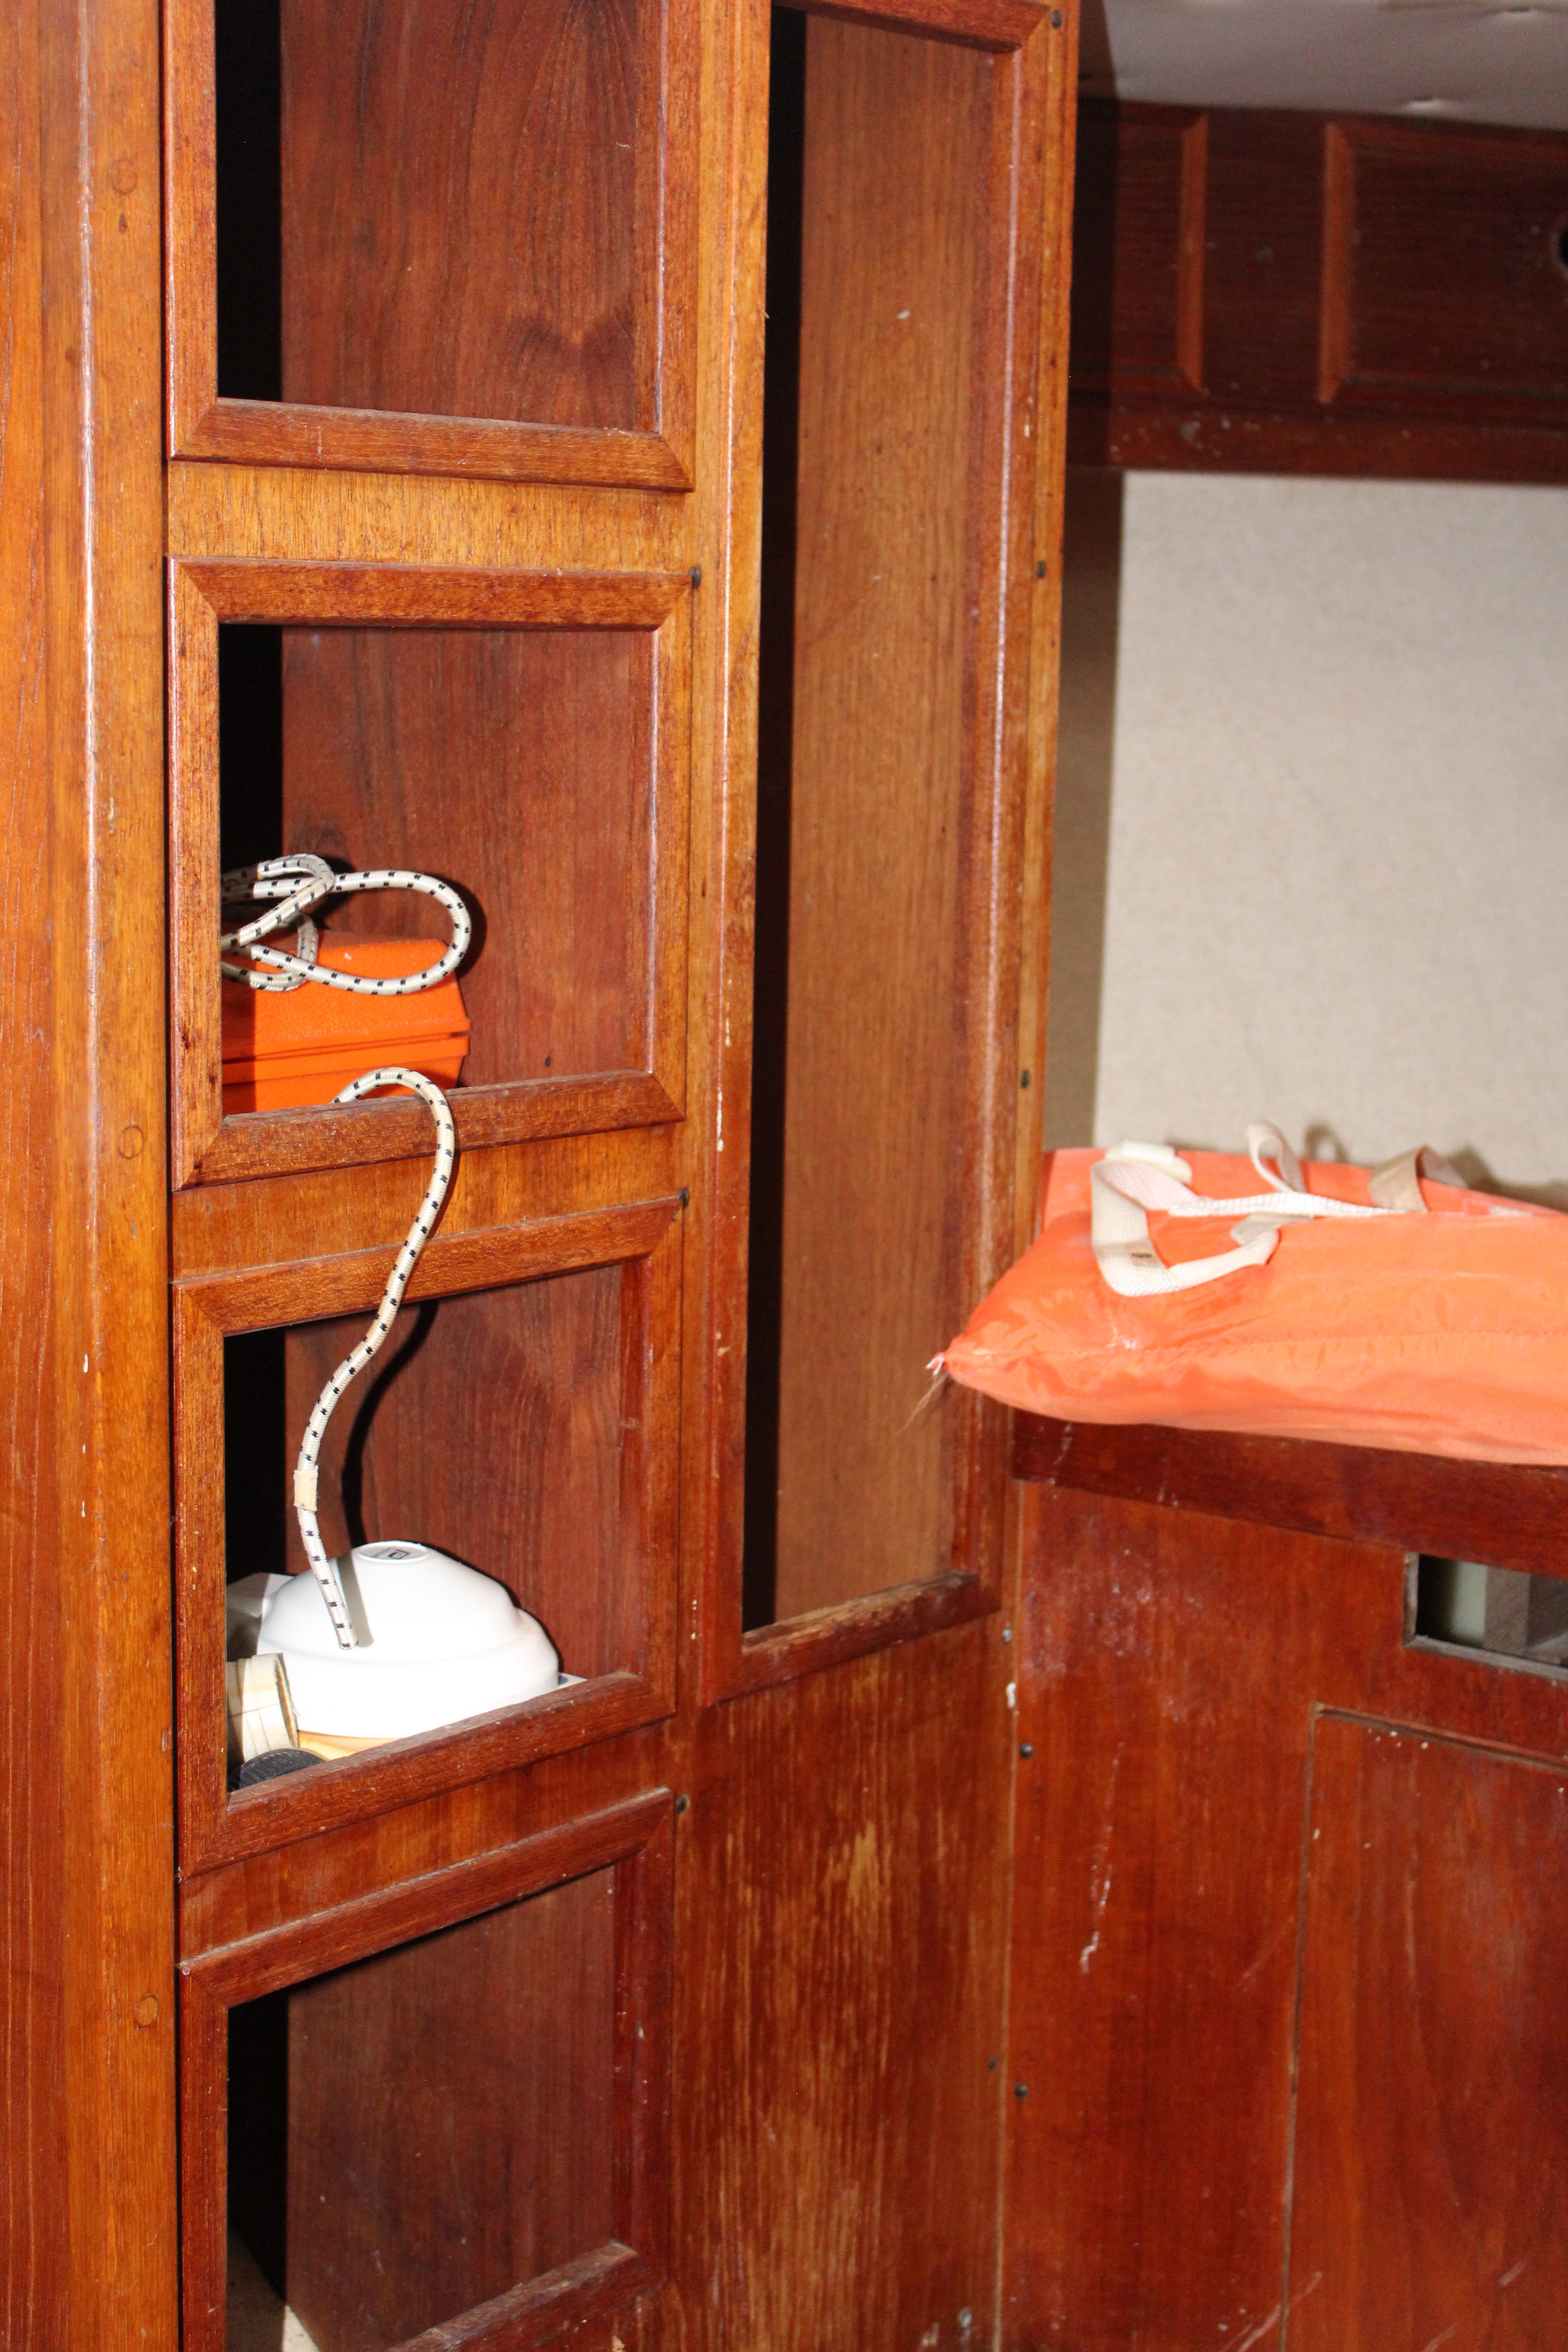
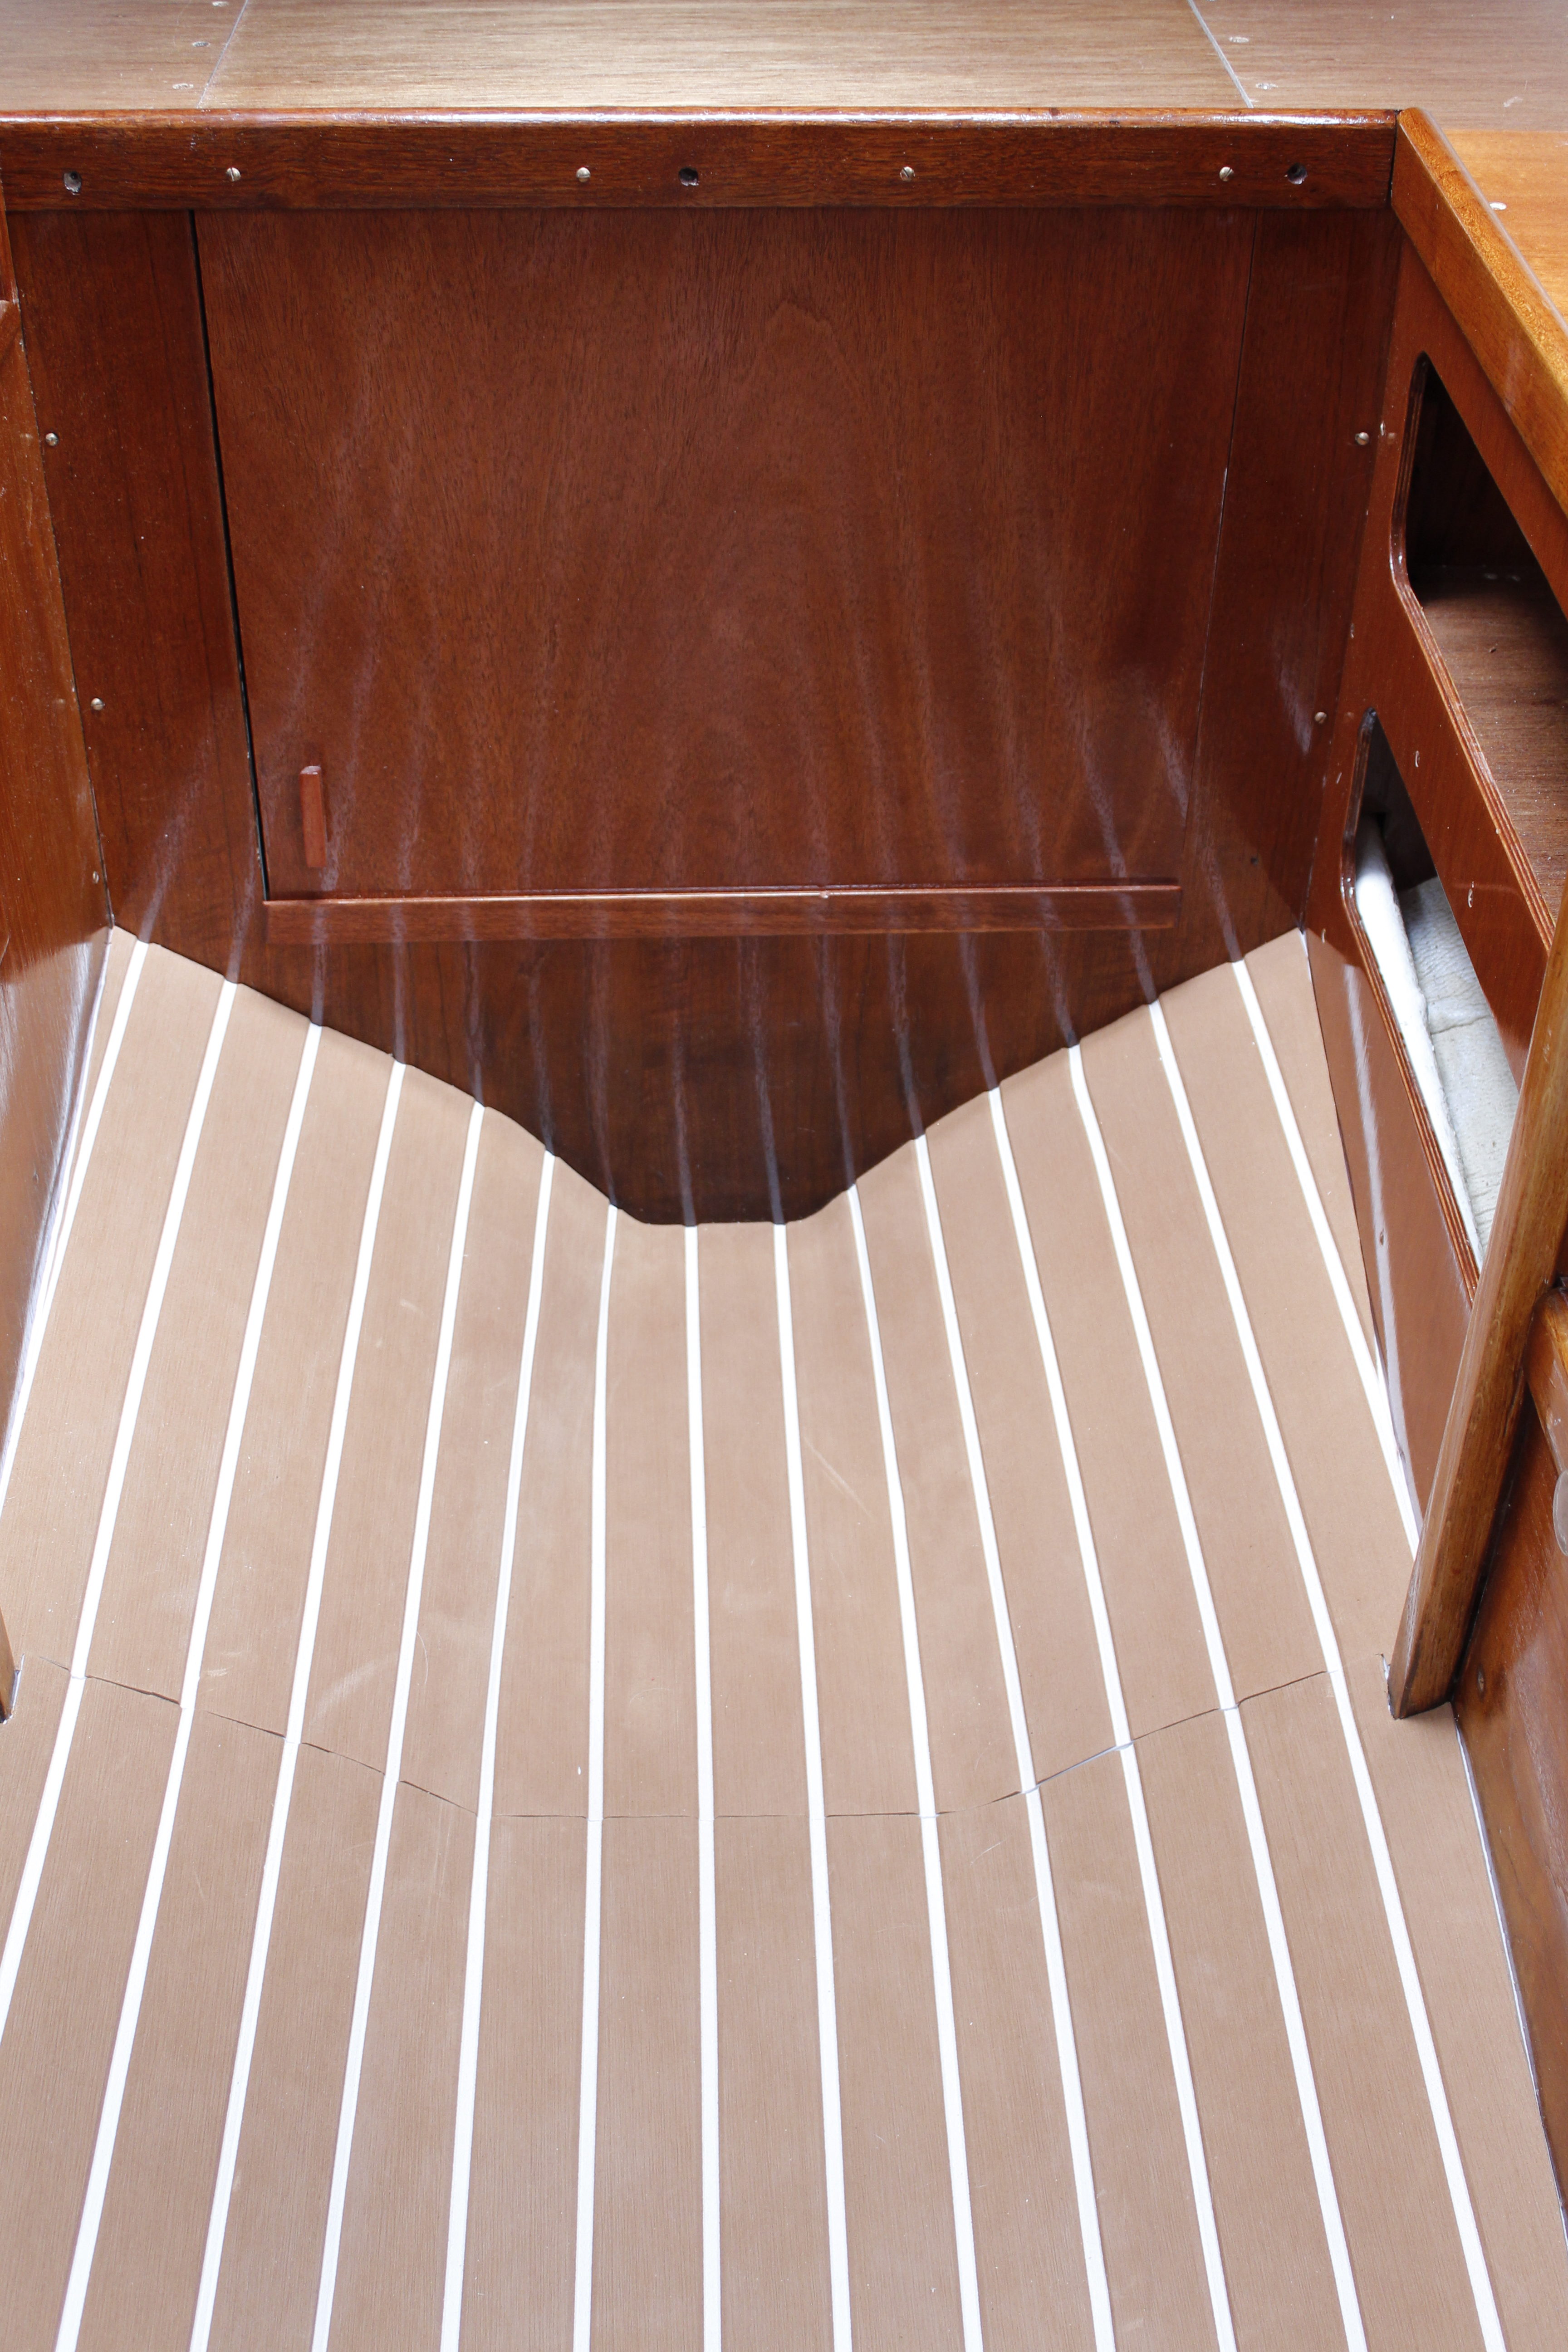
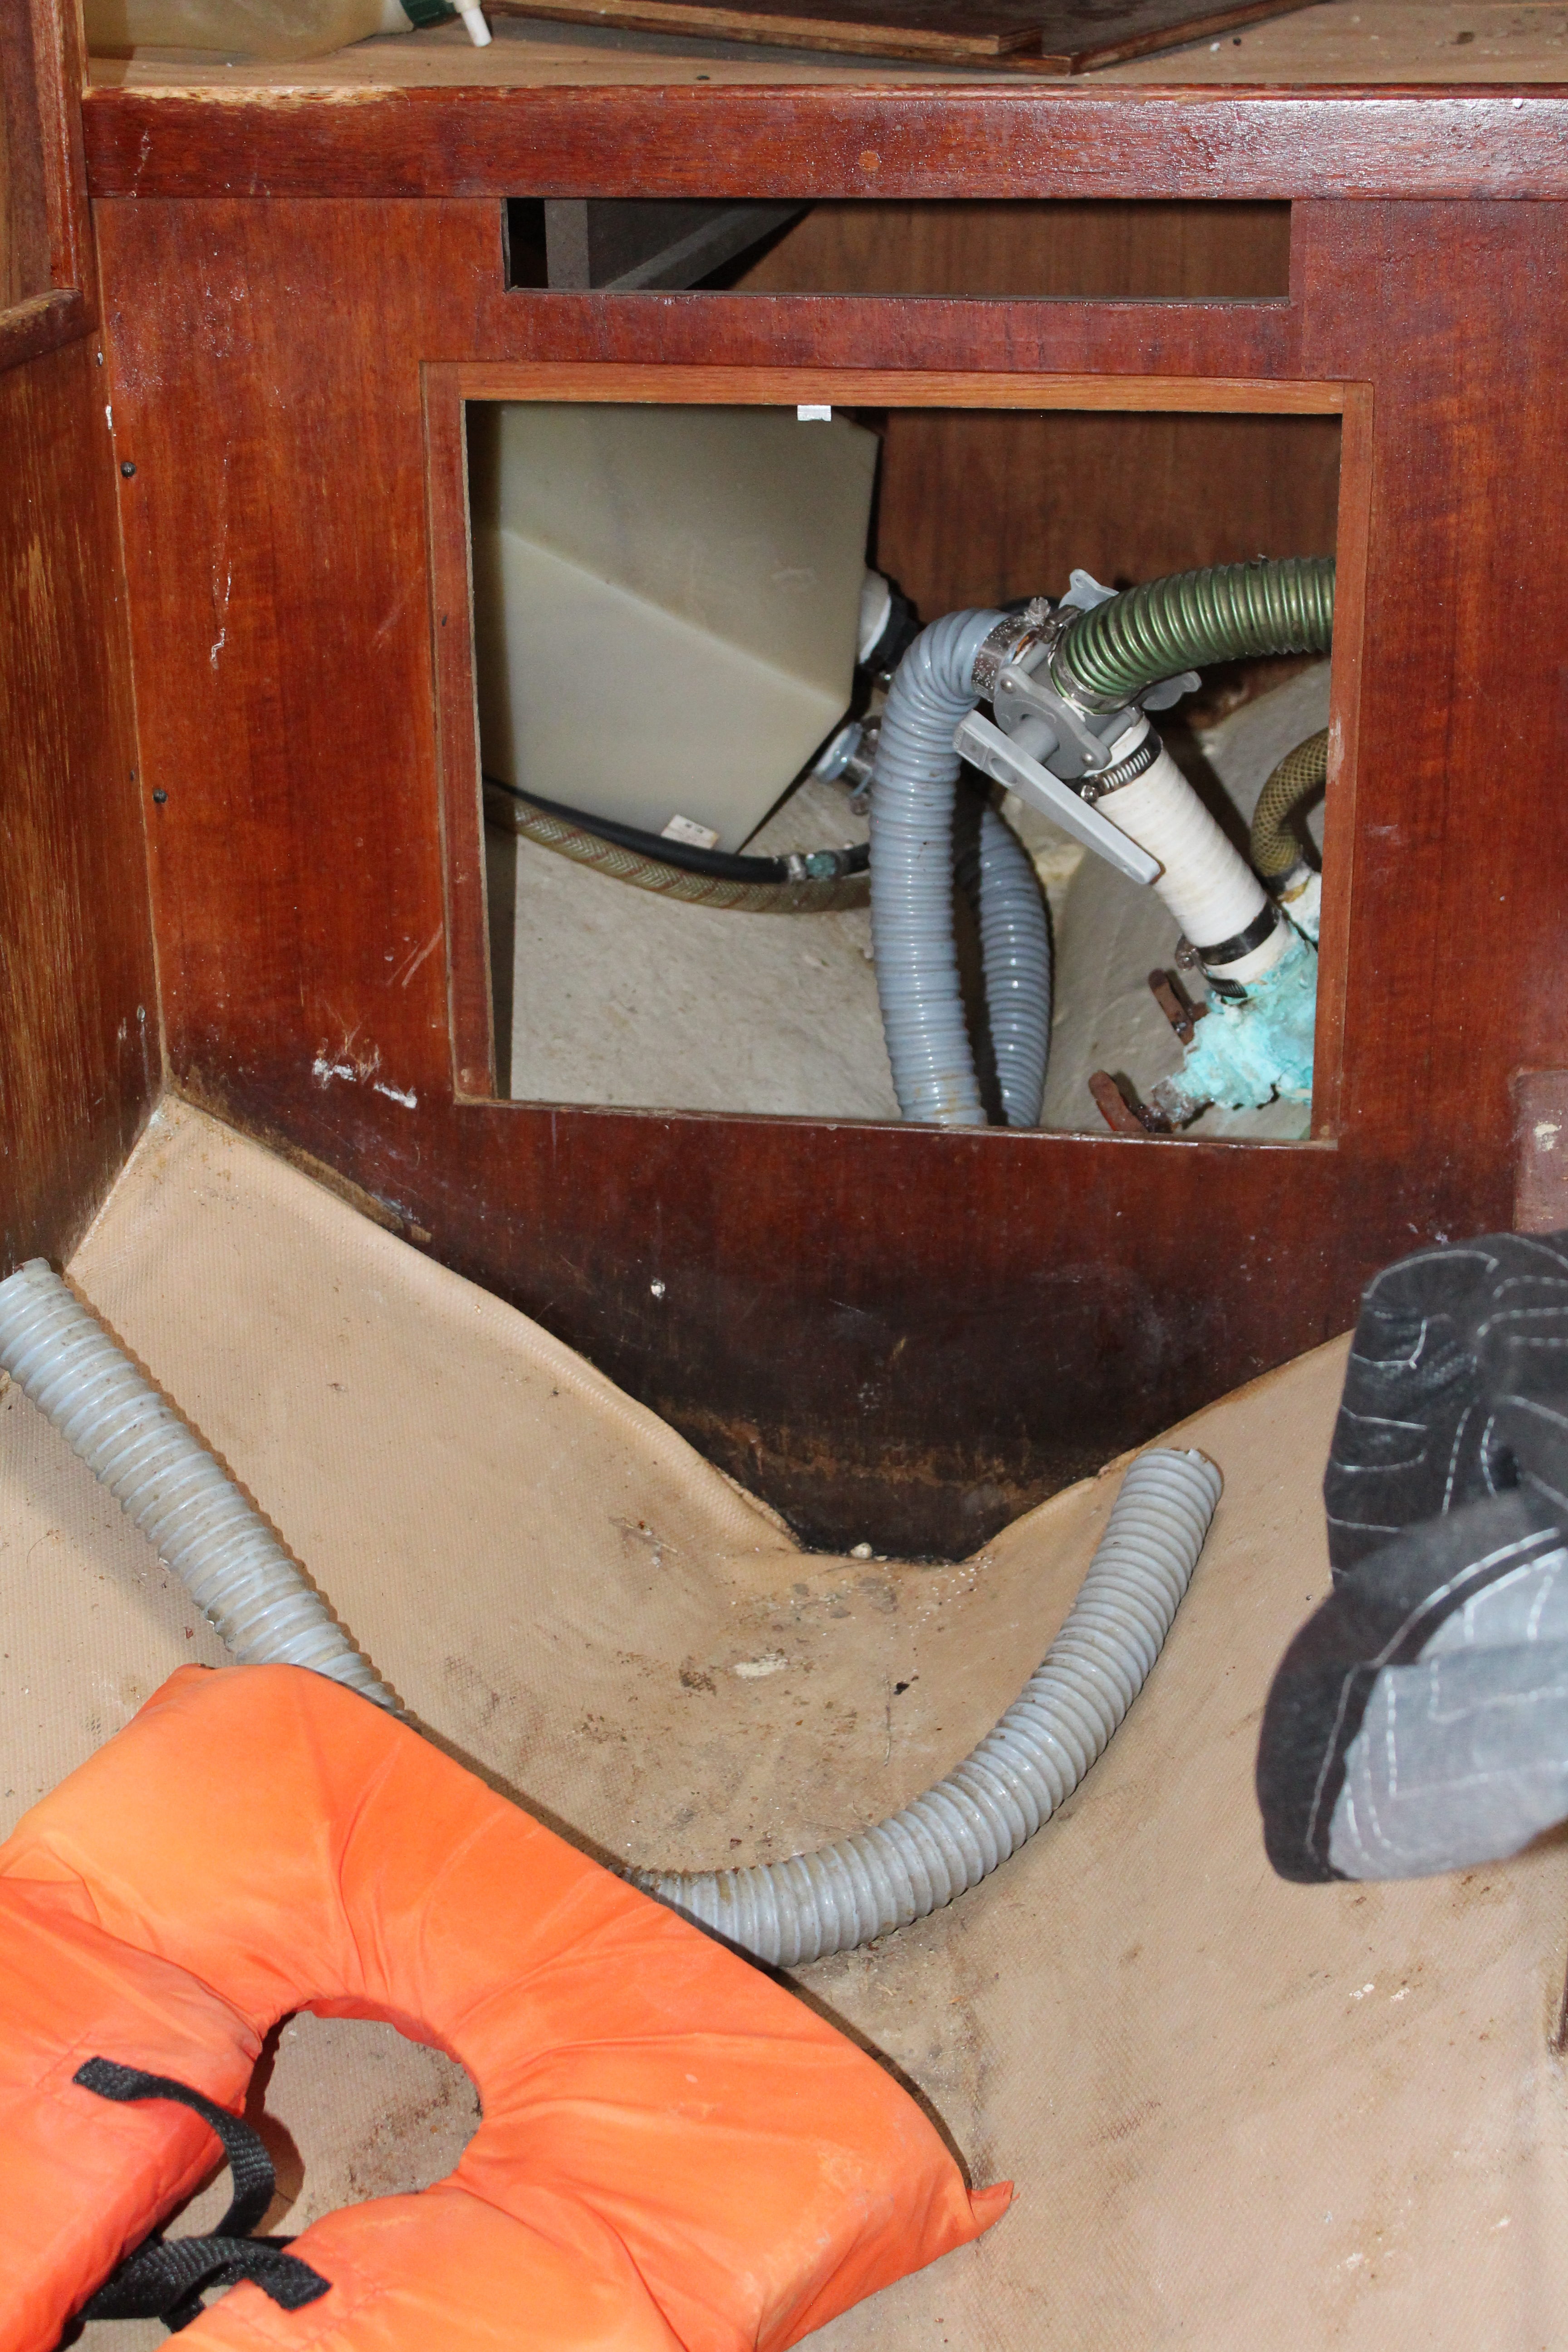
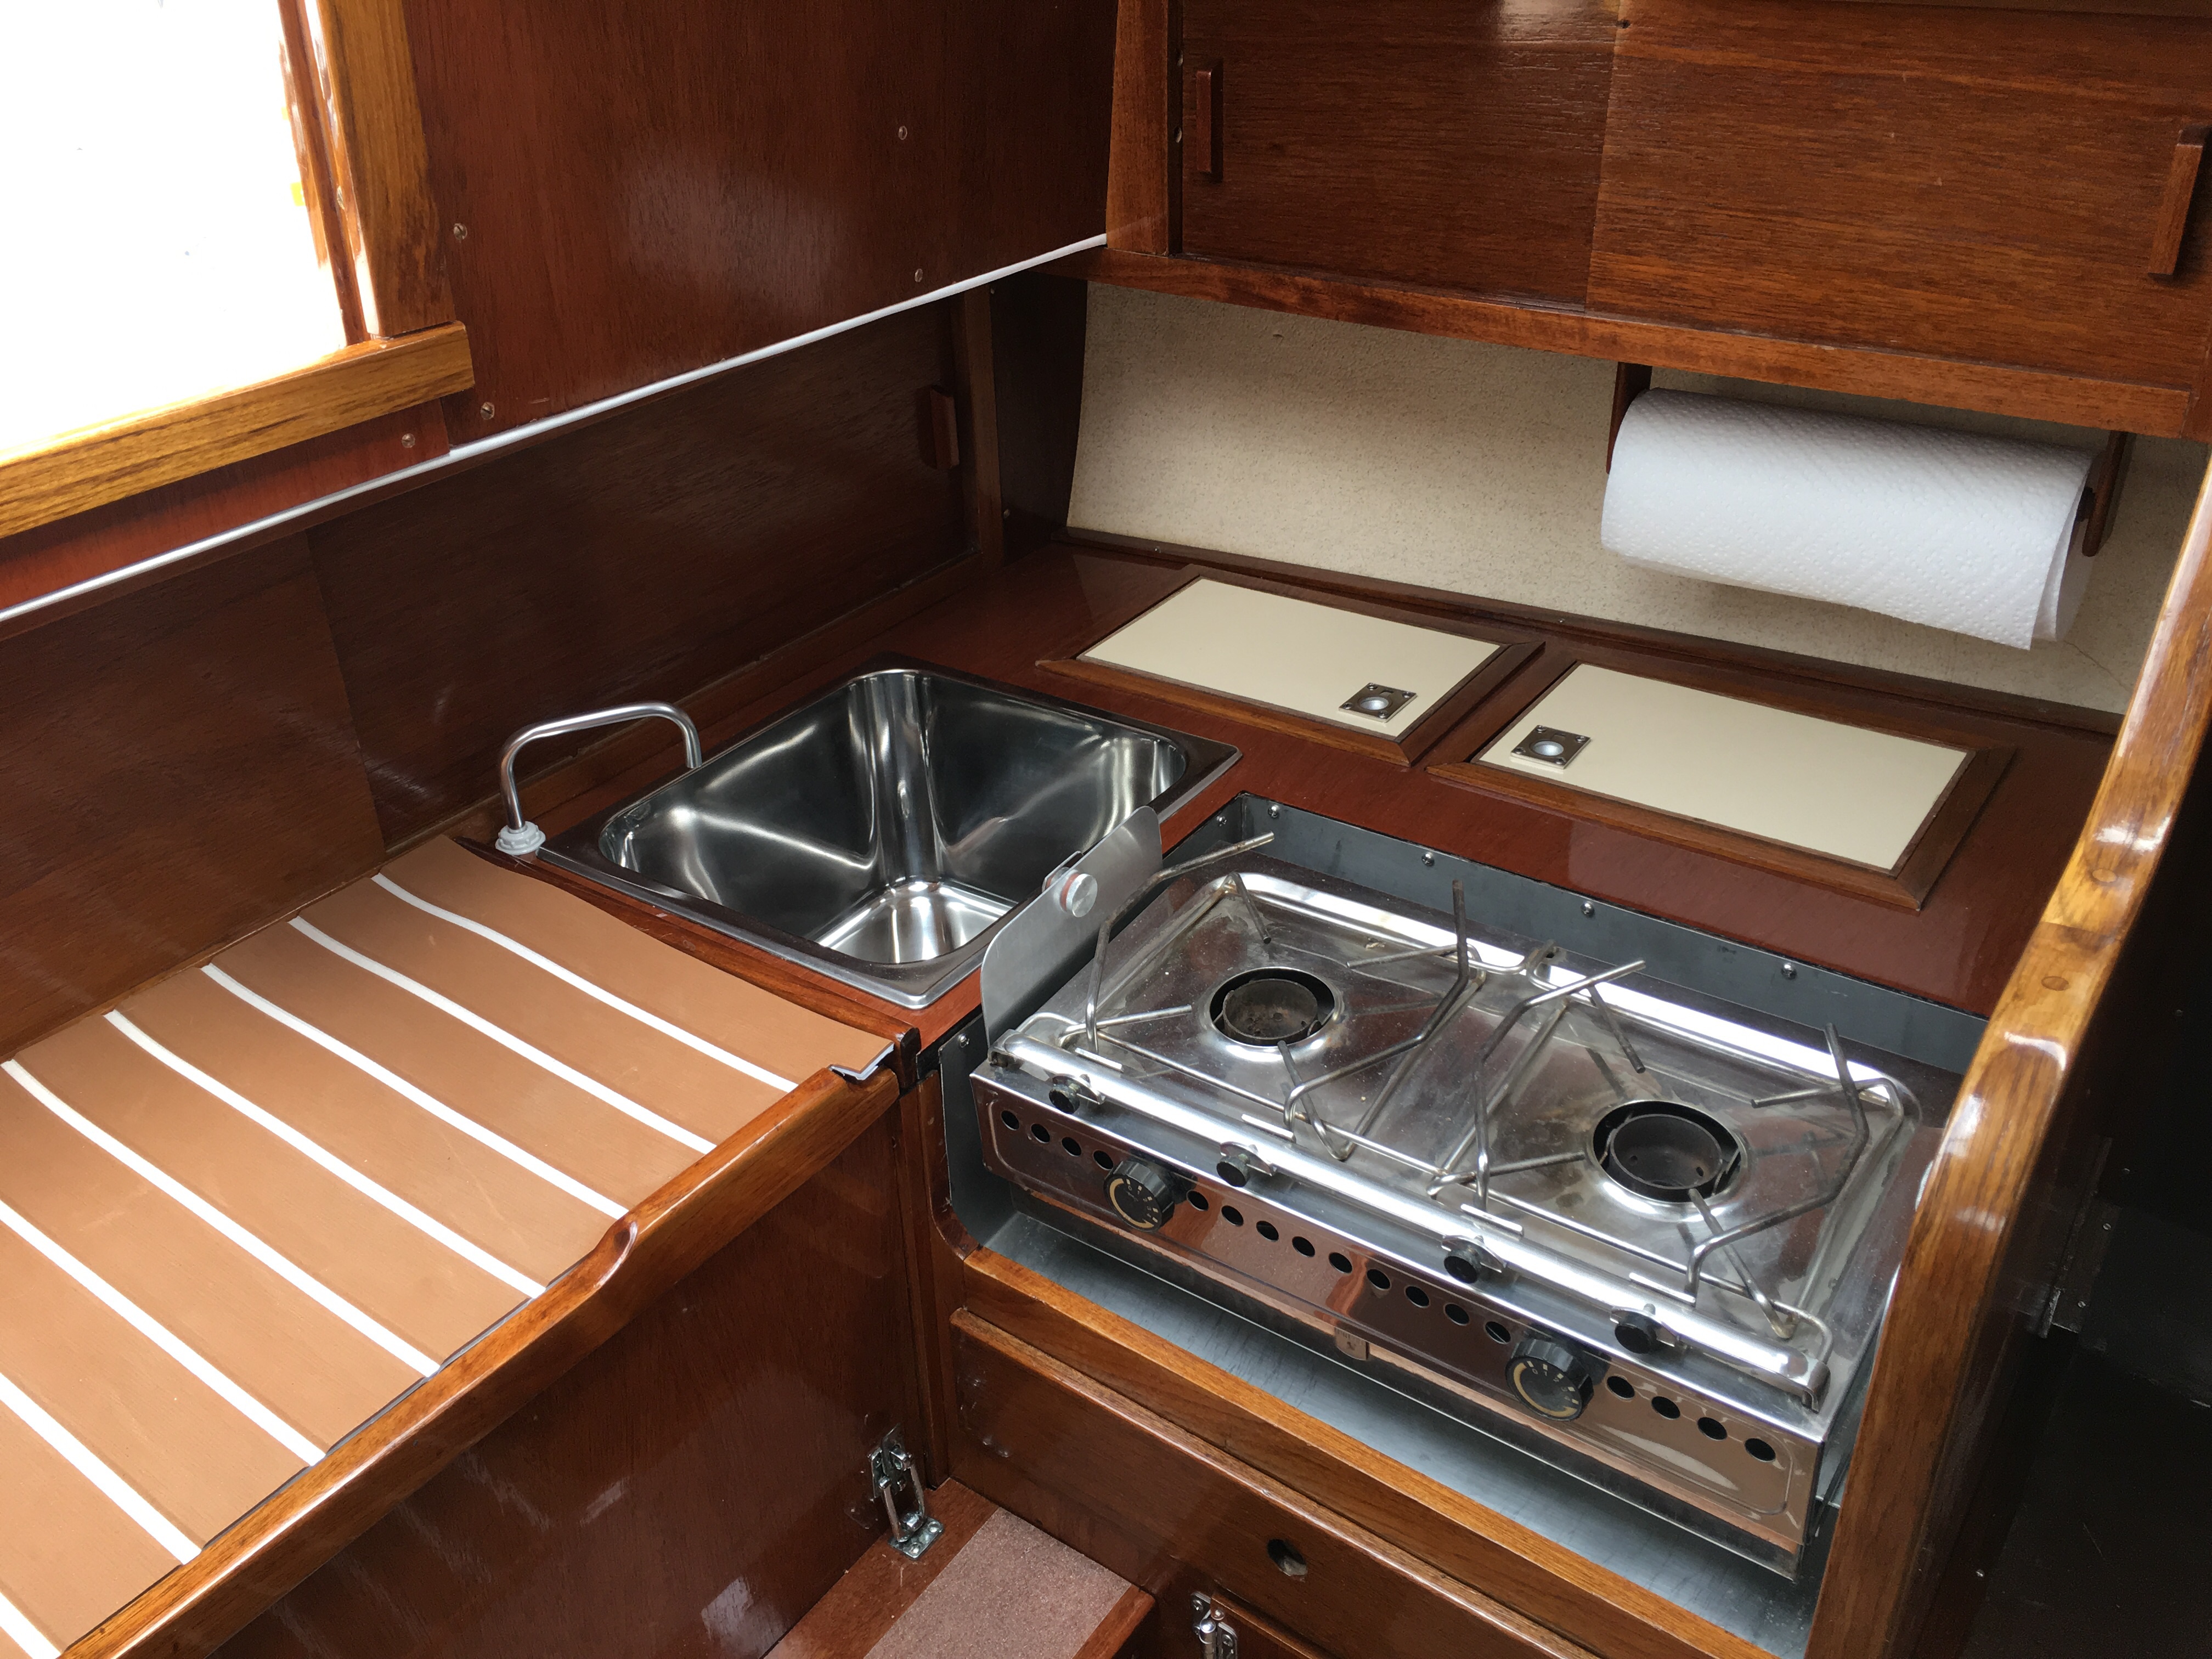
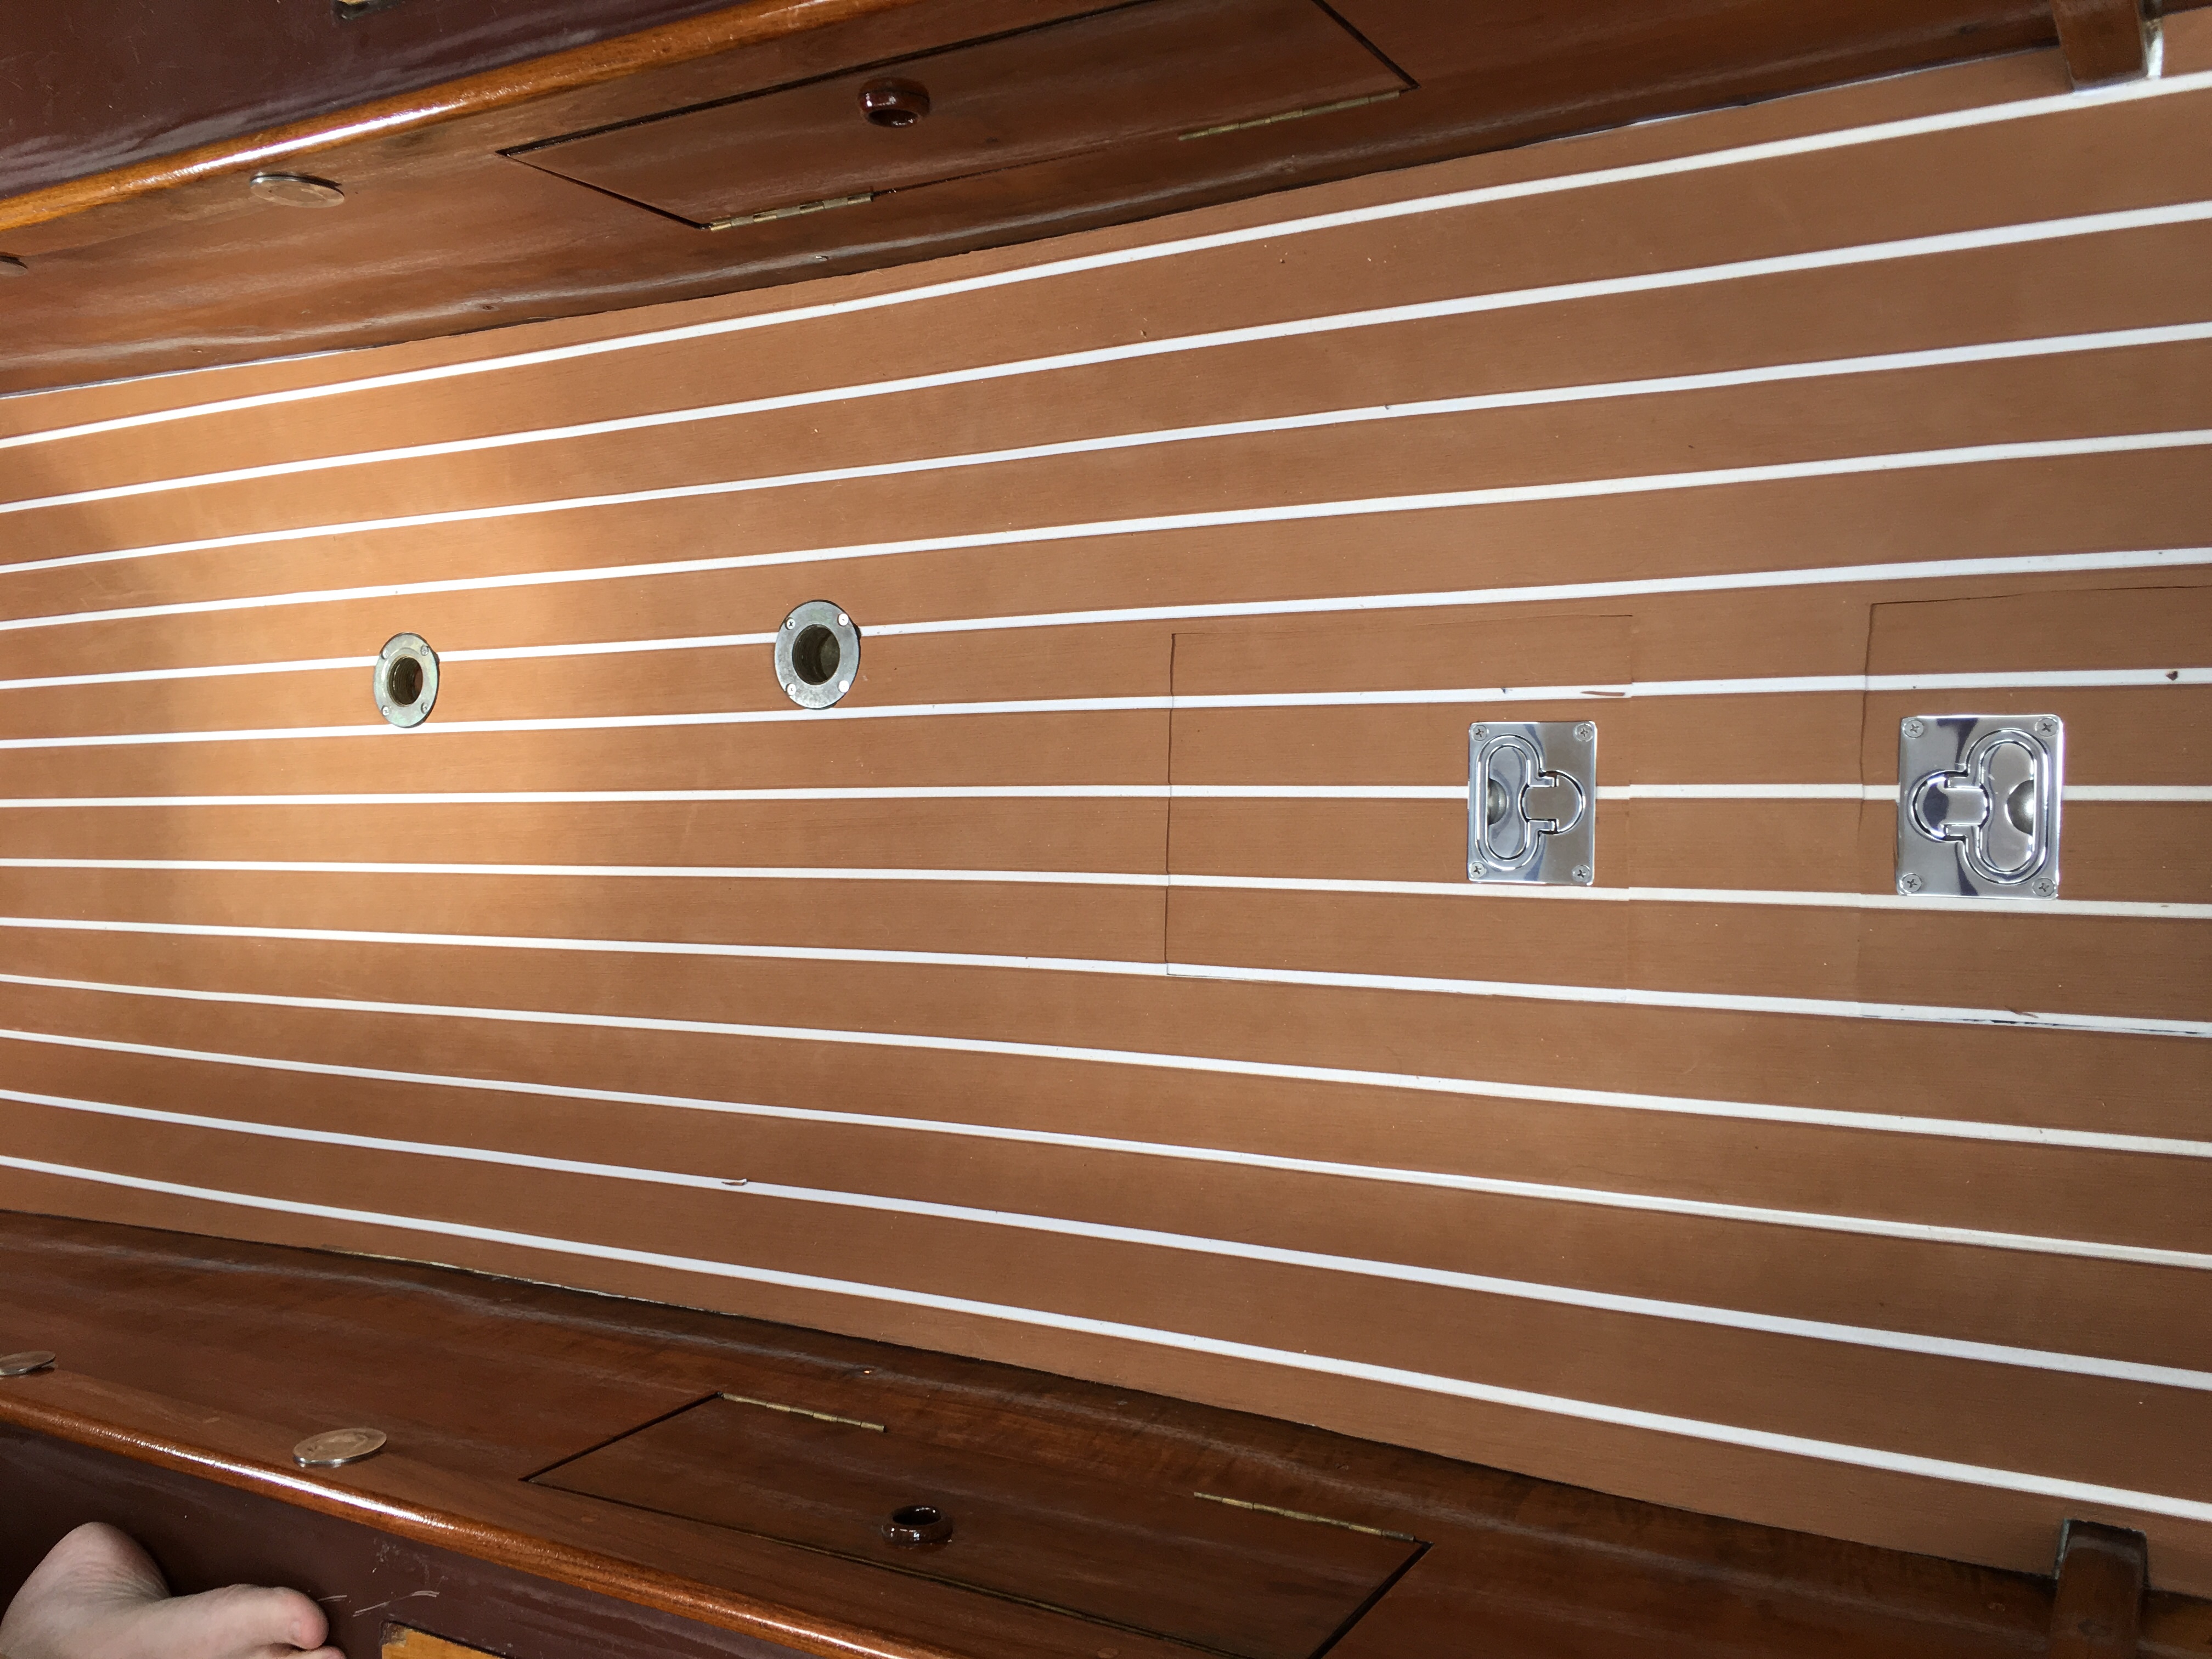
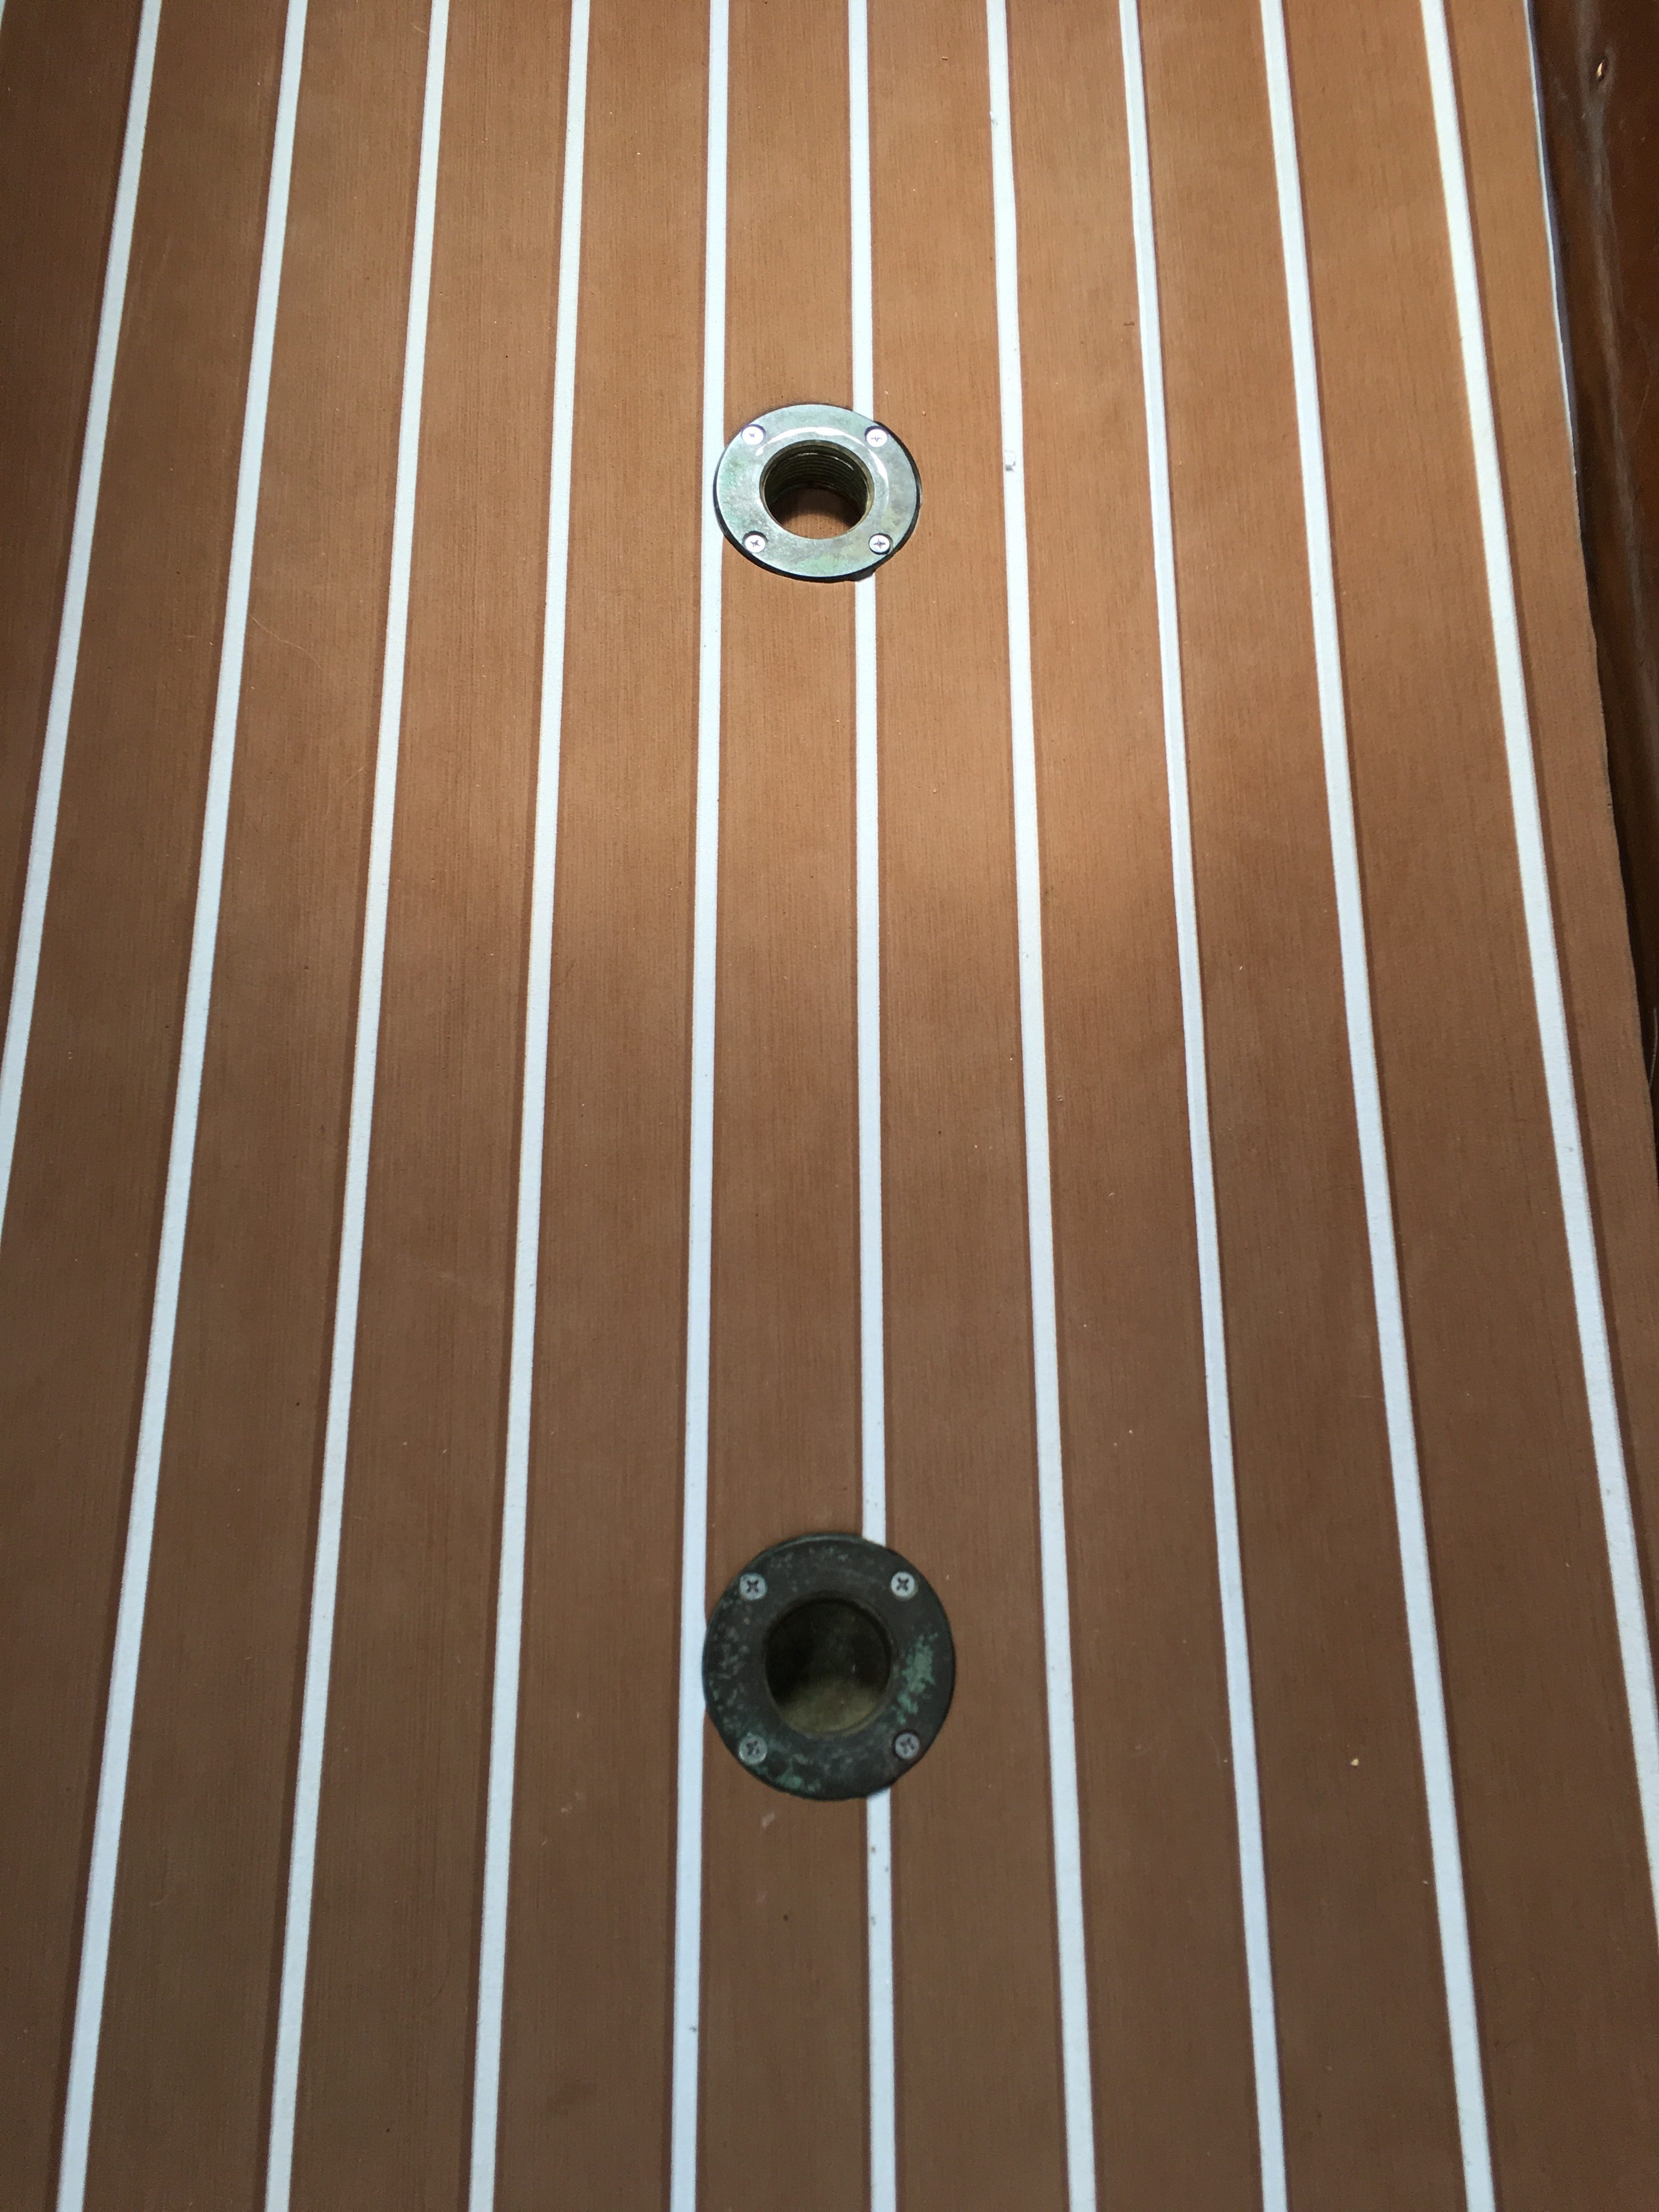
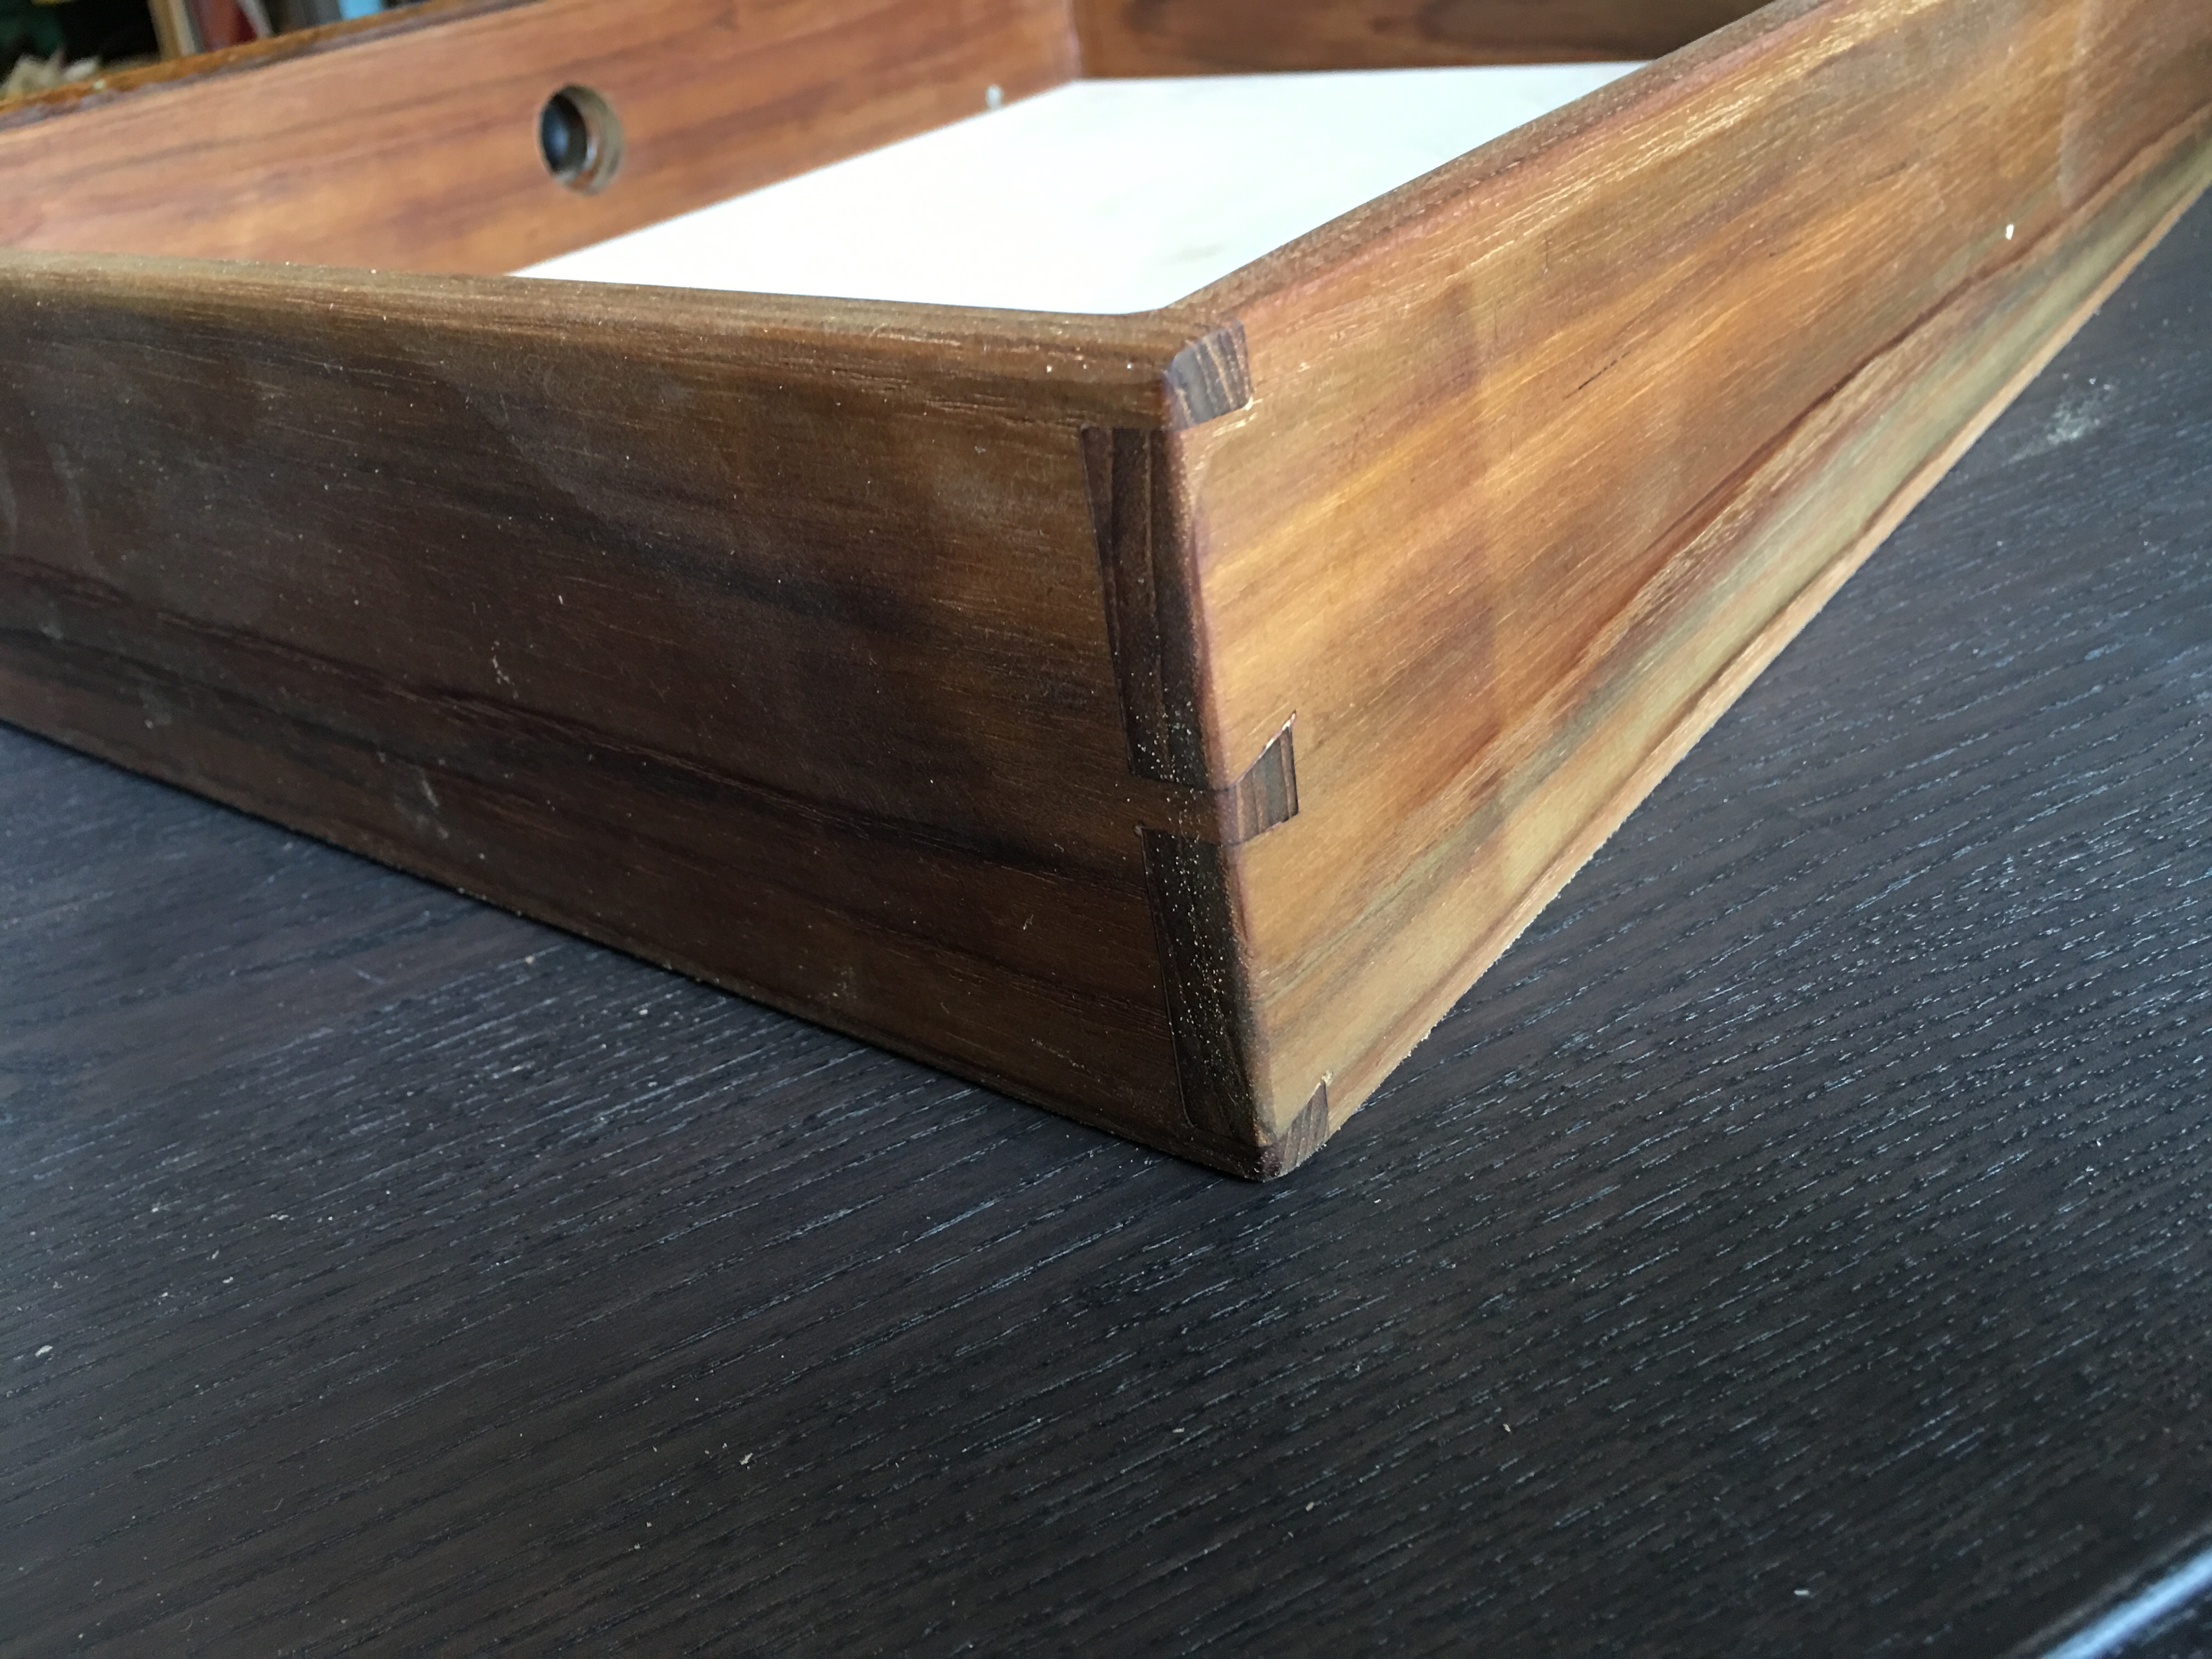
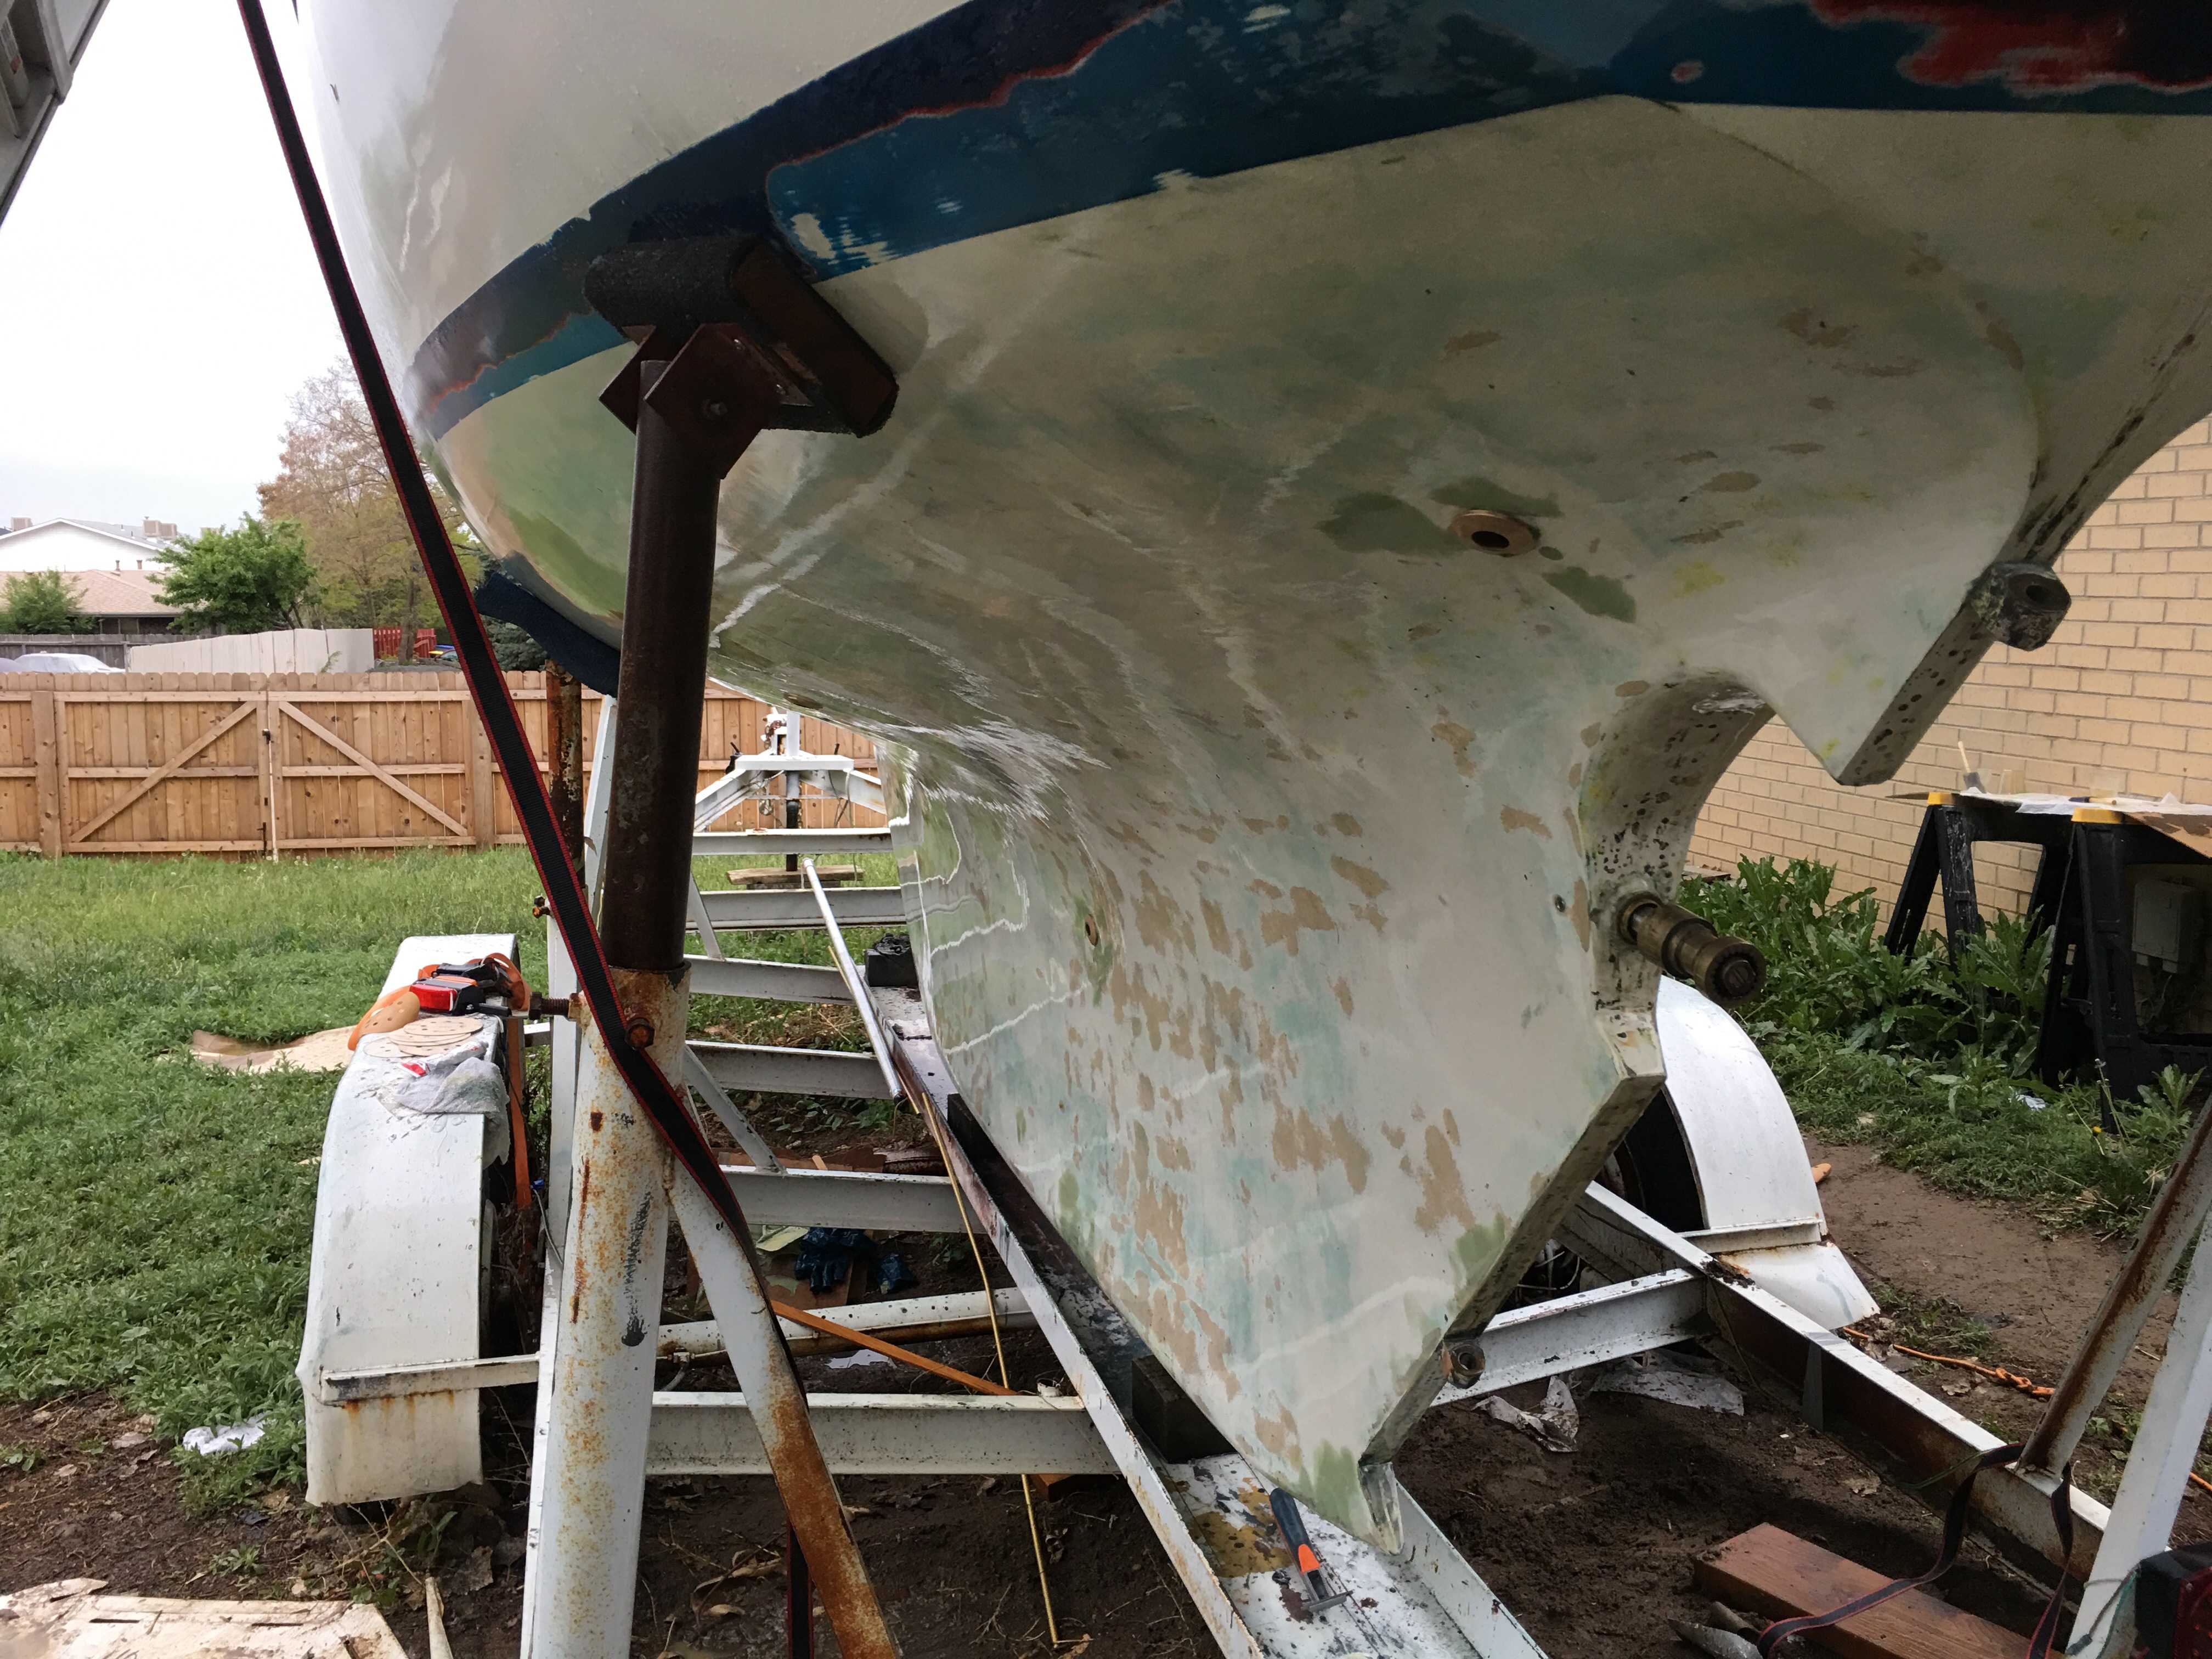
Patches were sanded with a flap wheel to roughly level them and then I used TotalBoat TotalFair to fair them up.  I love WEST System but for fairing this stuff is the best.  Goes on really smooth and sands easy.  You can see in the following pic where I moved the sink drain from the turn of the bilge to further down nearer the keel.   Where it was, only an octopus would have been able to close it in an emergency.  Now it’s right inside a cabinet door where I can get to it.

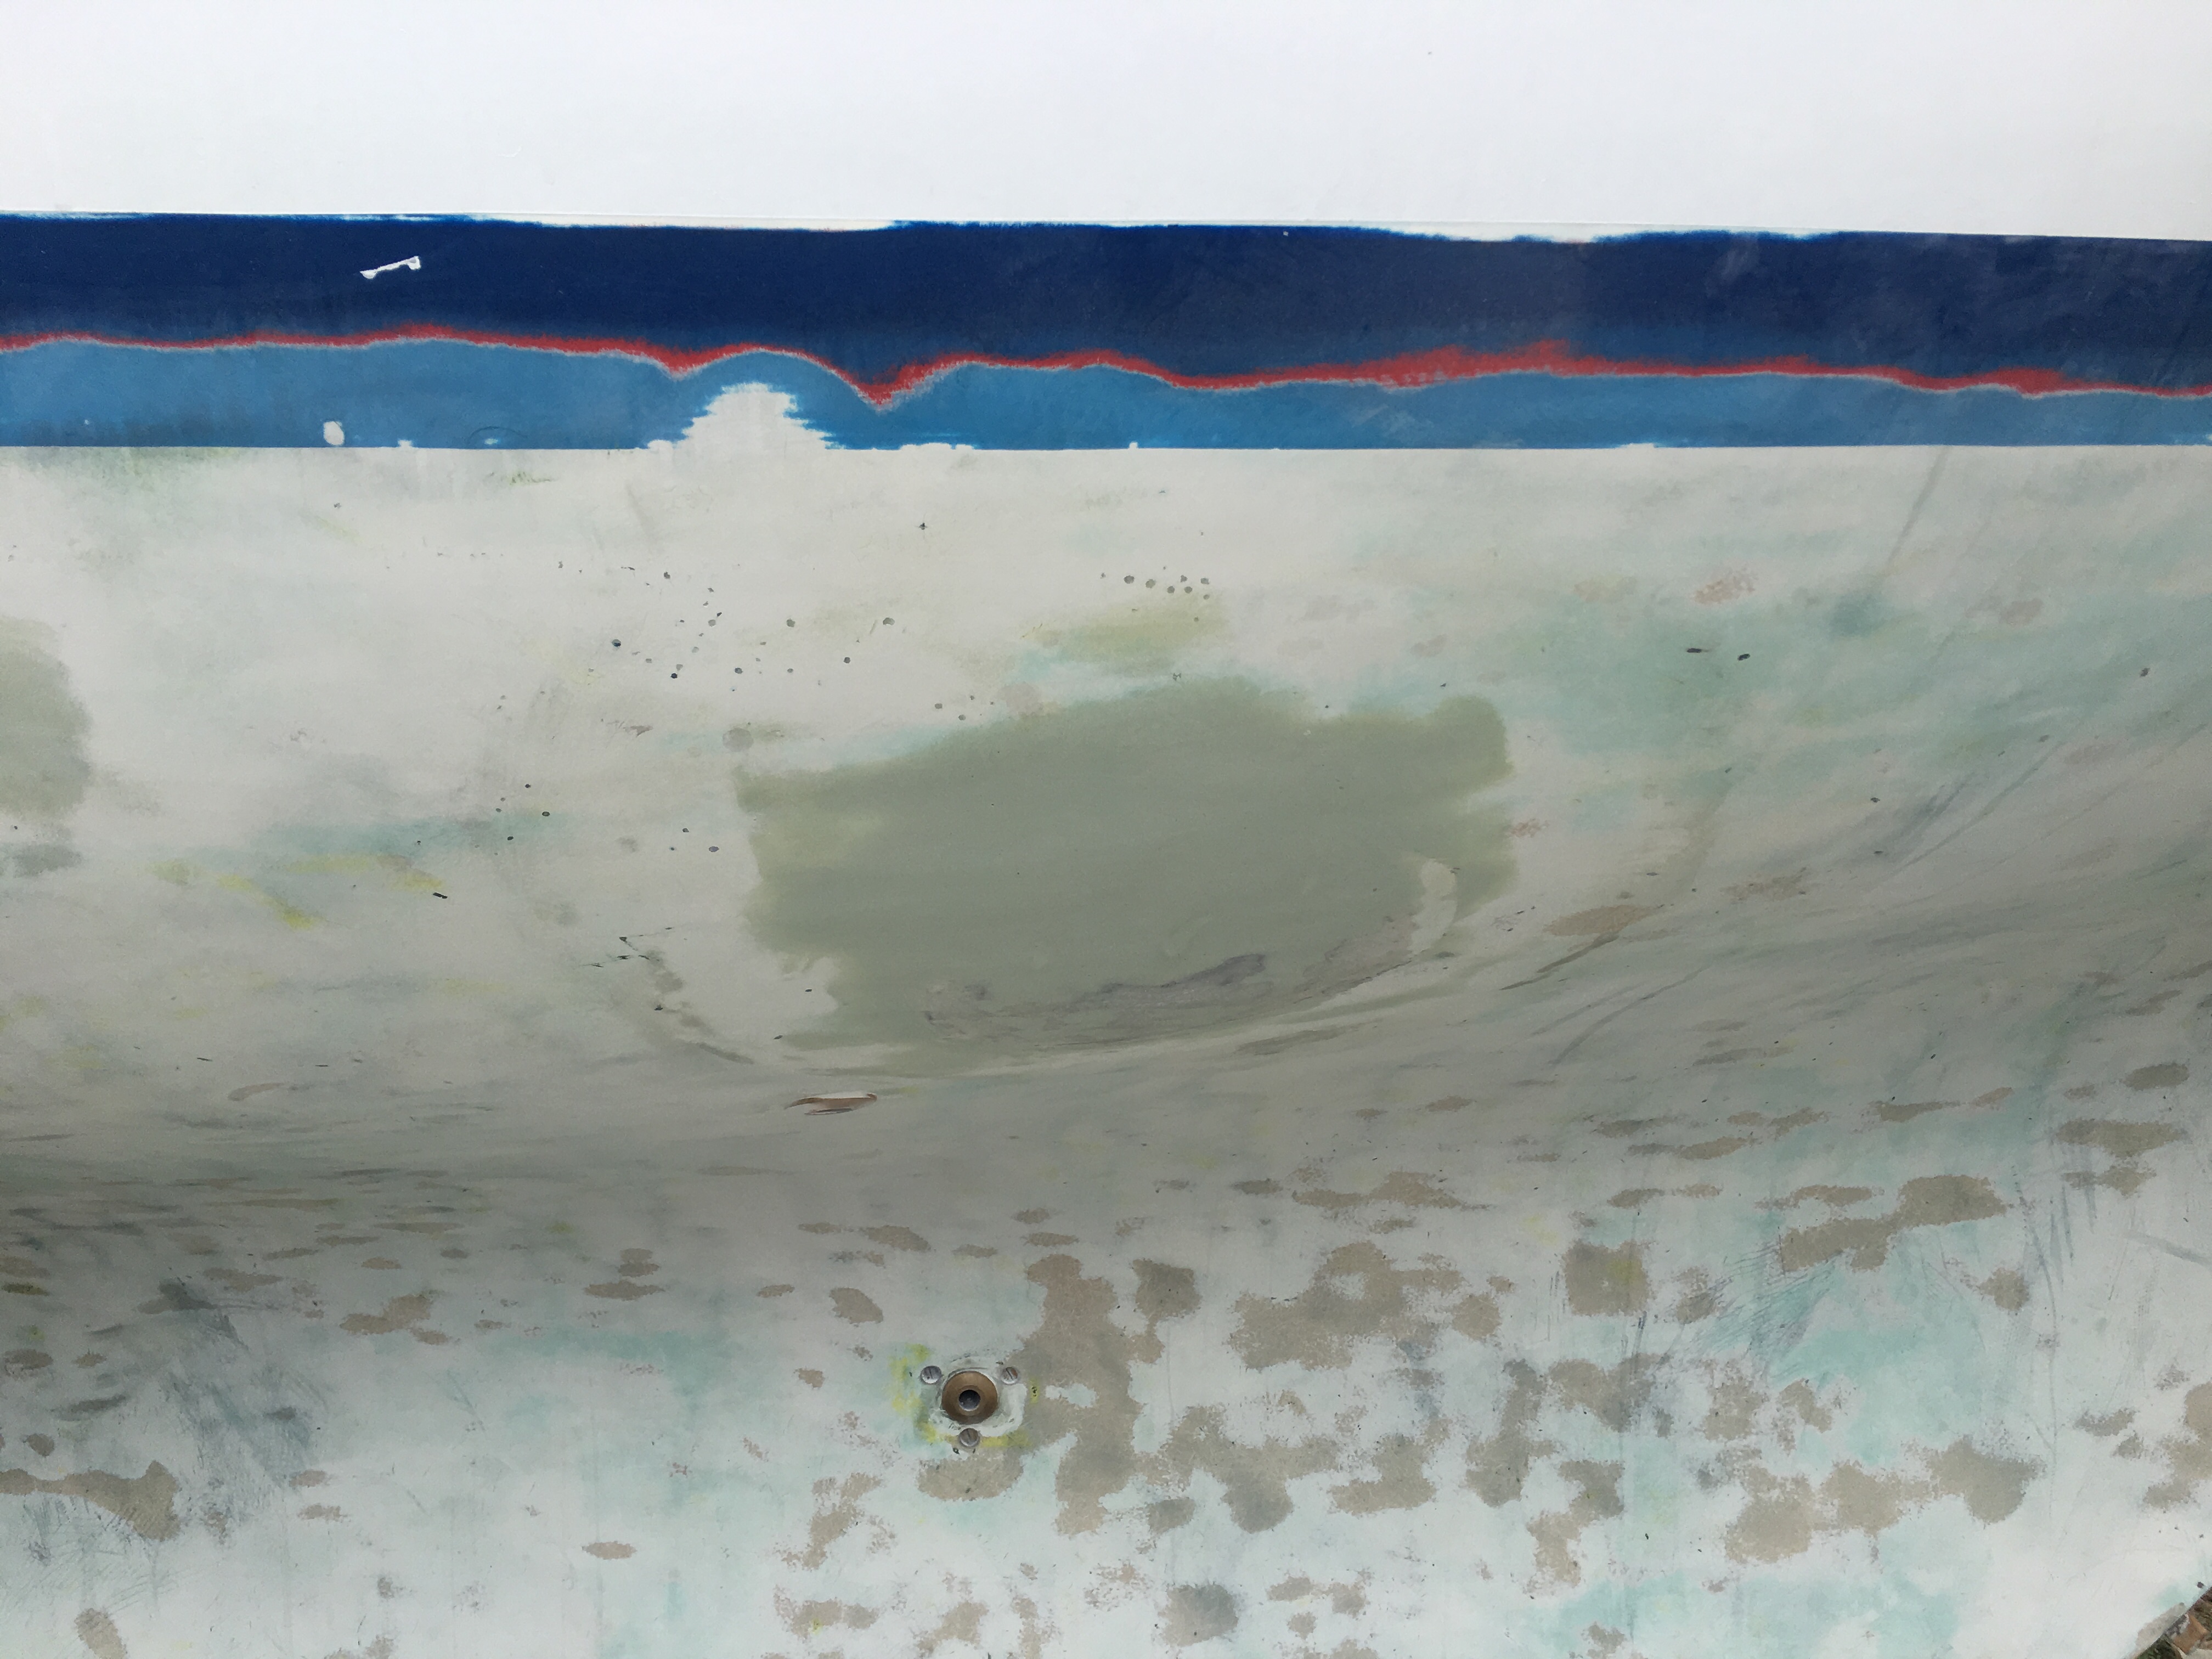
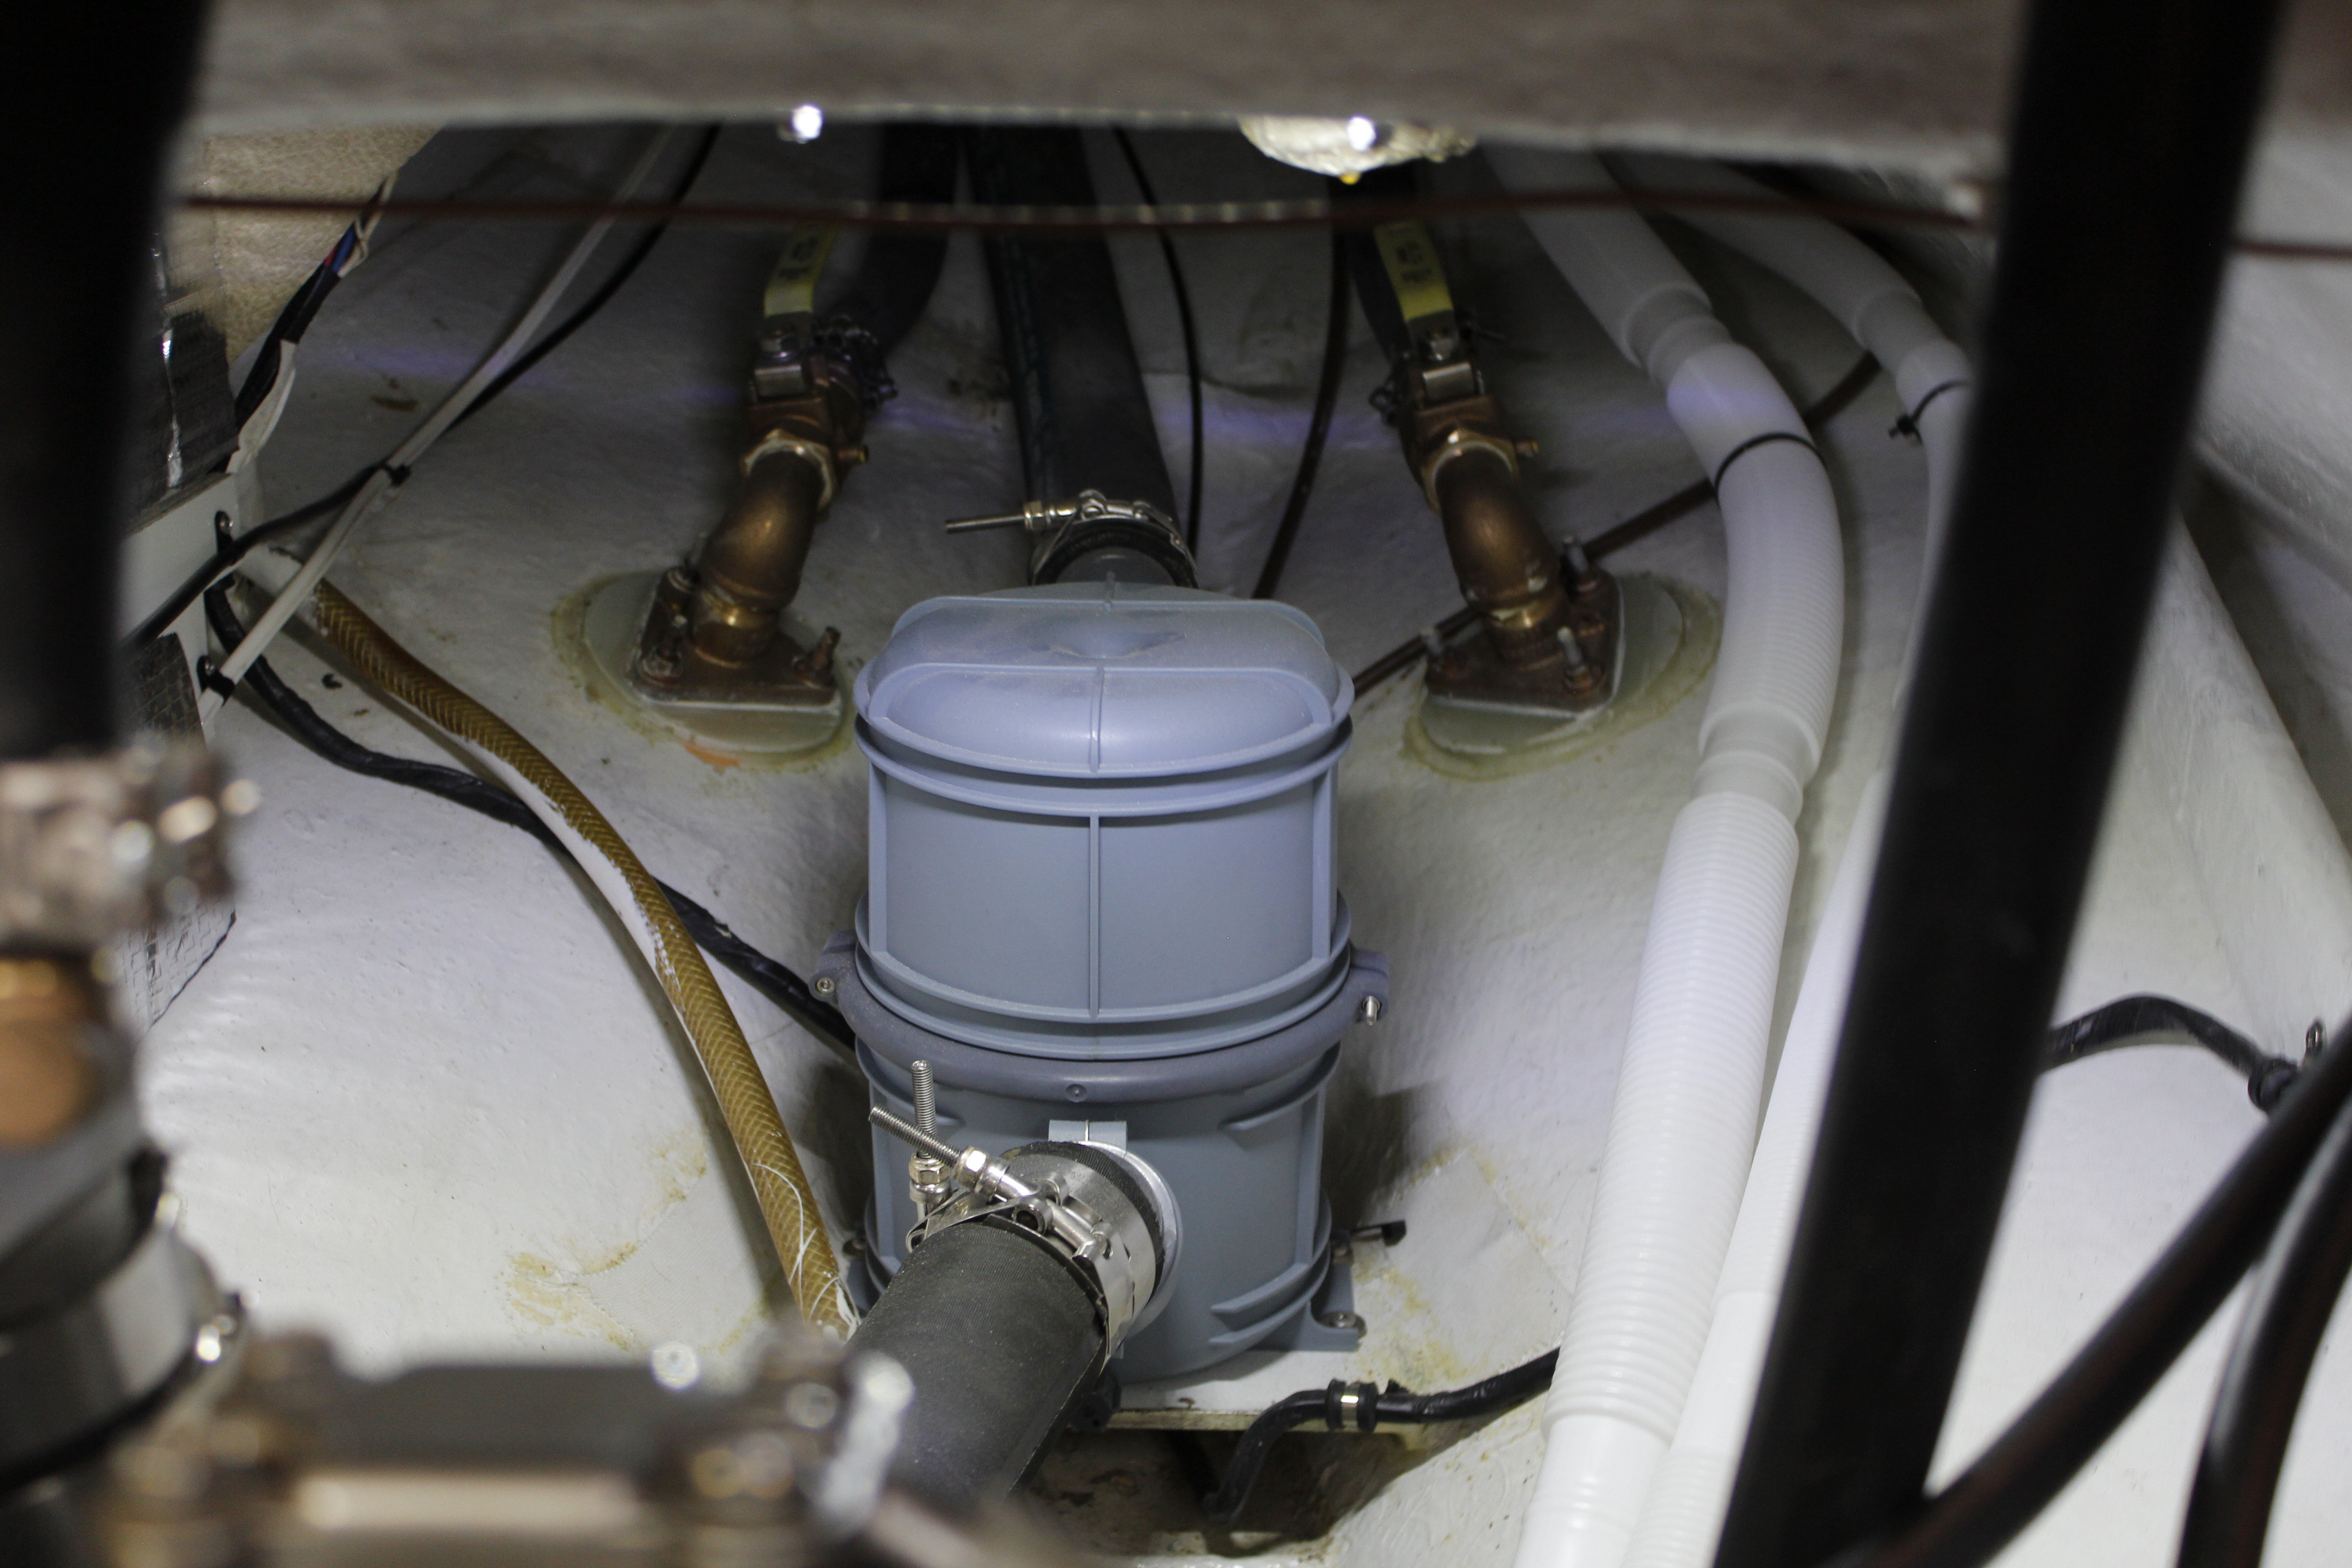
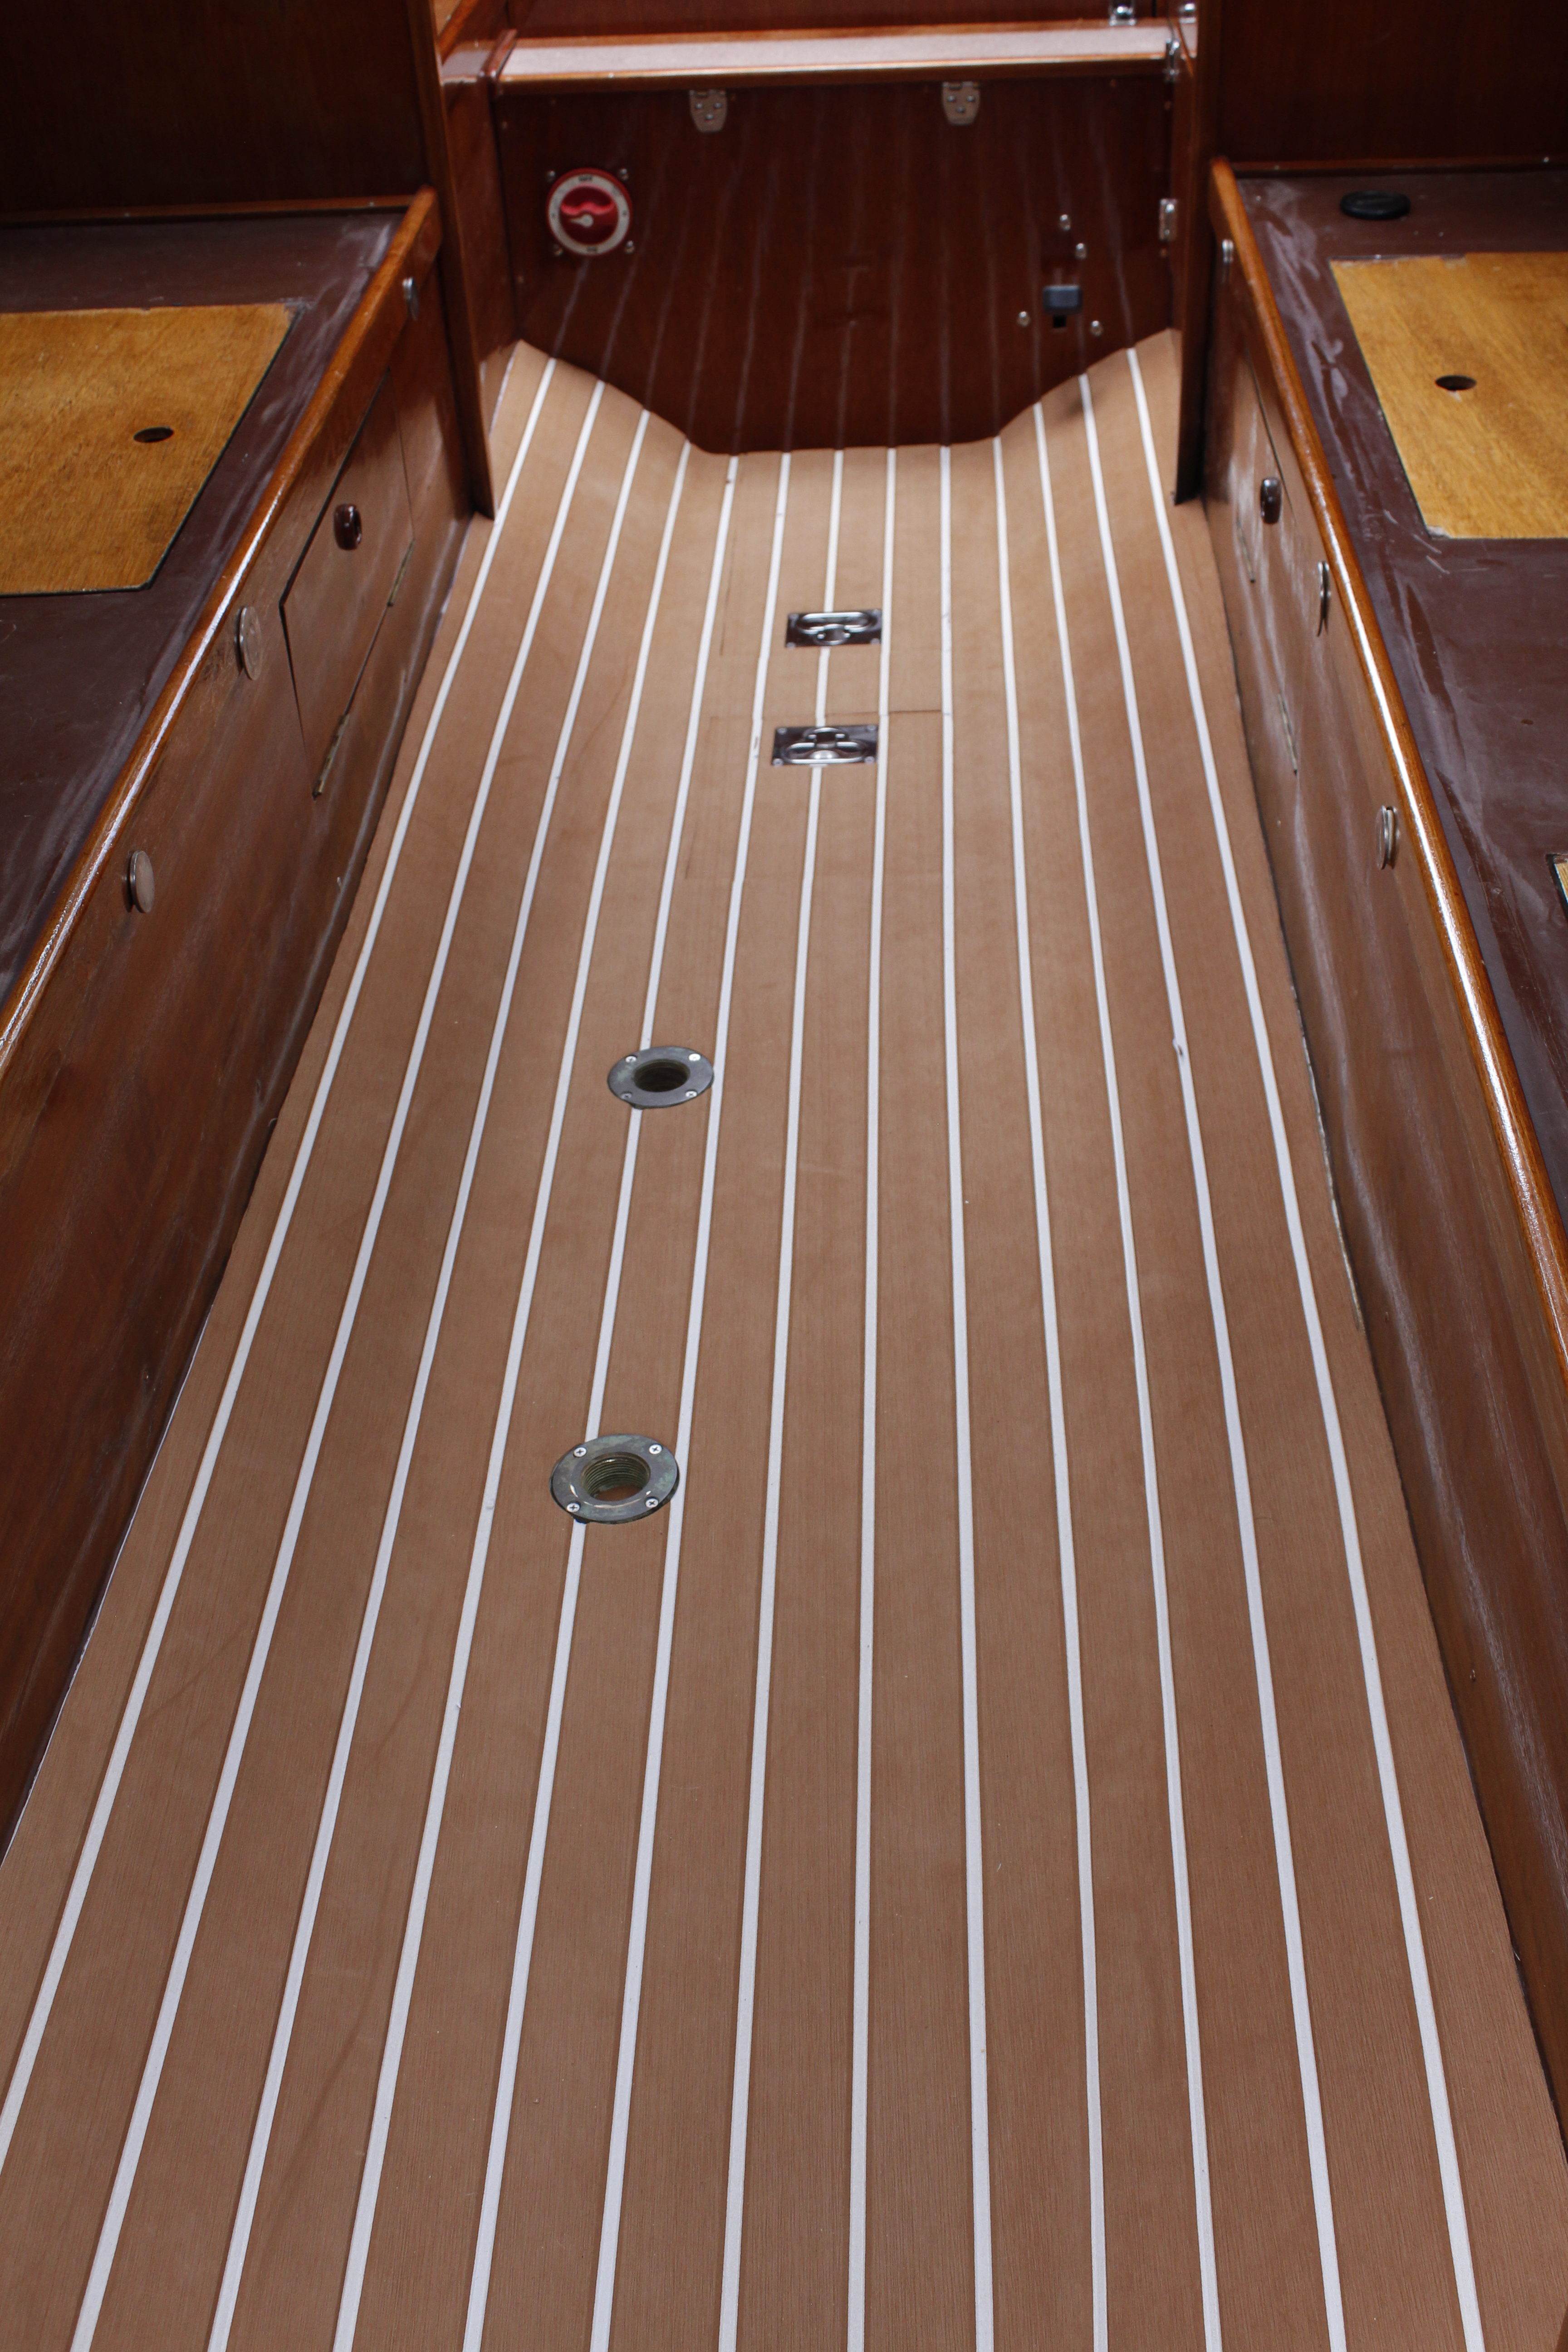
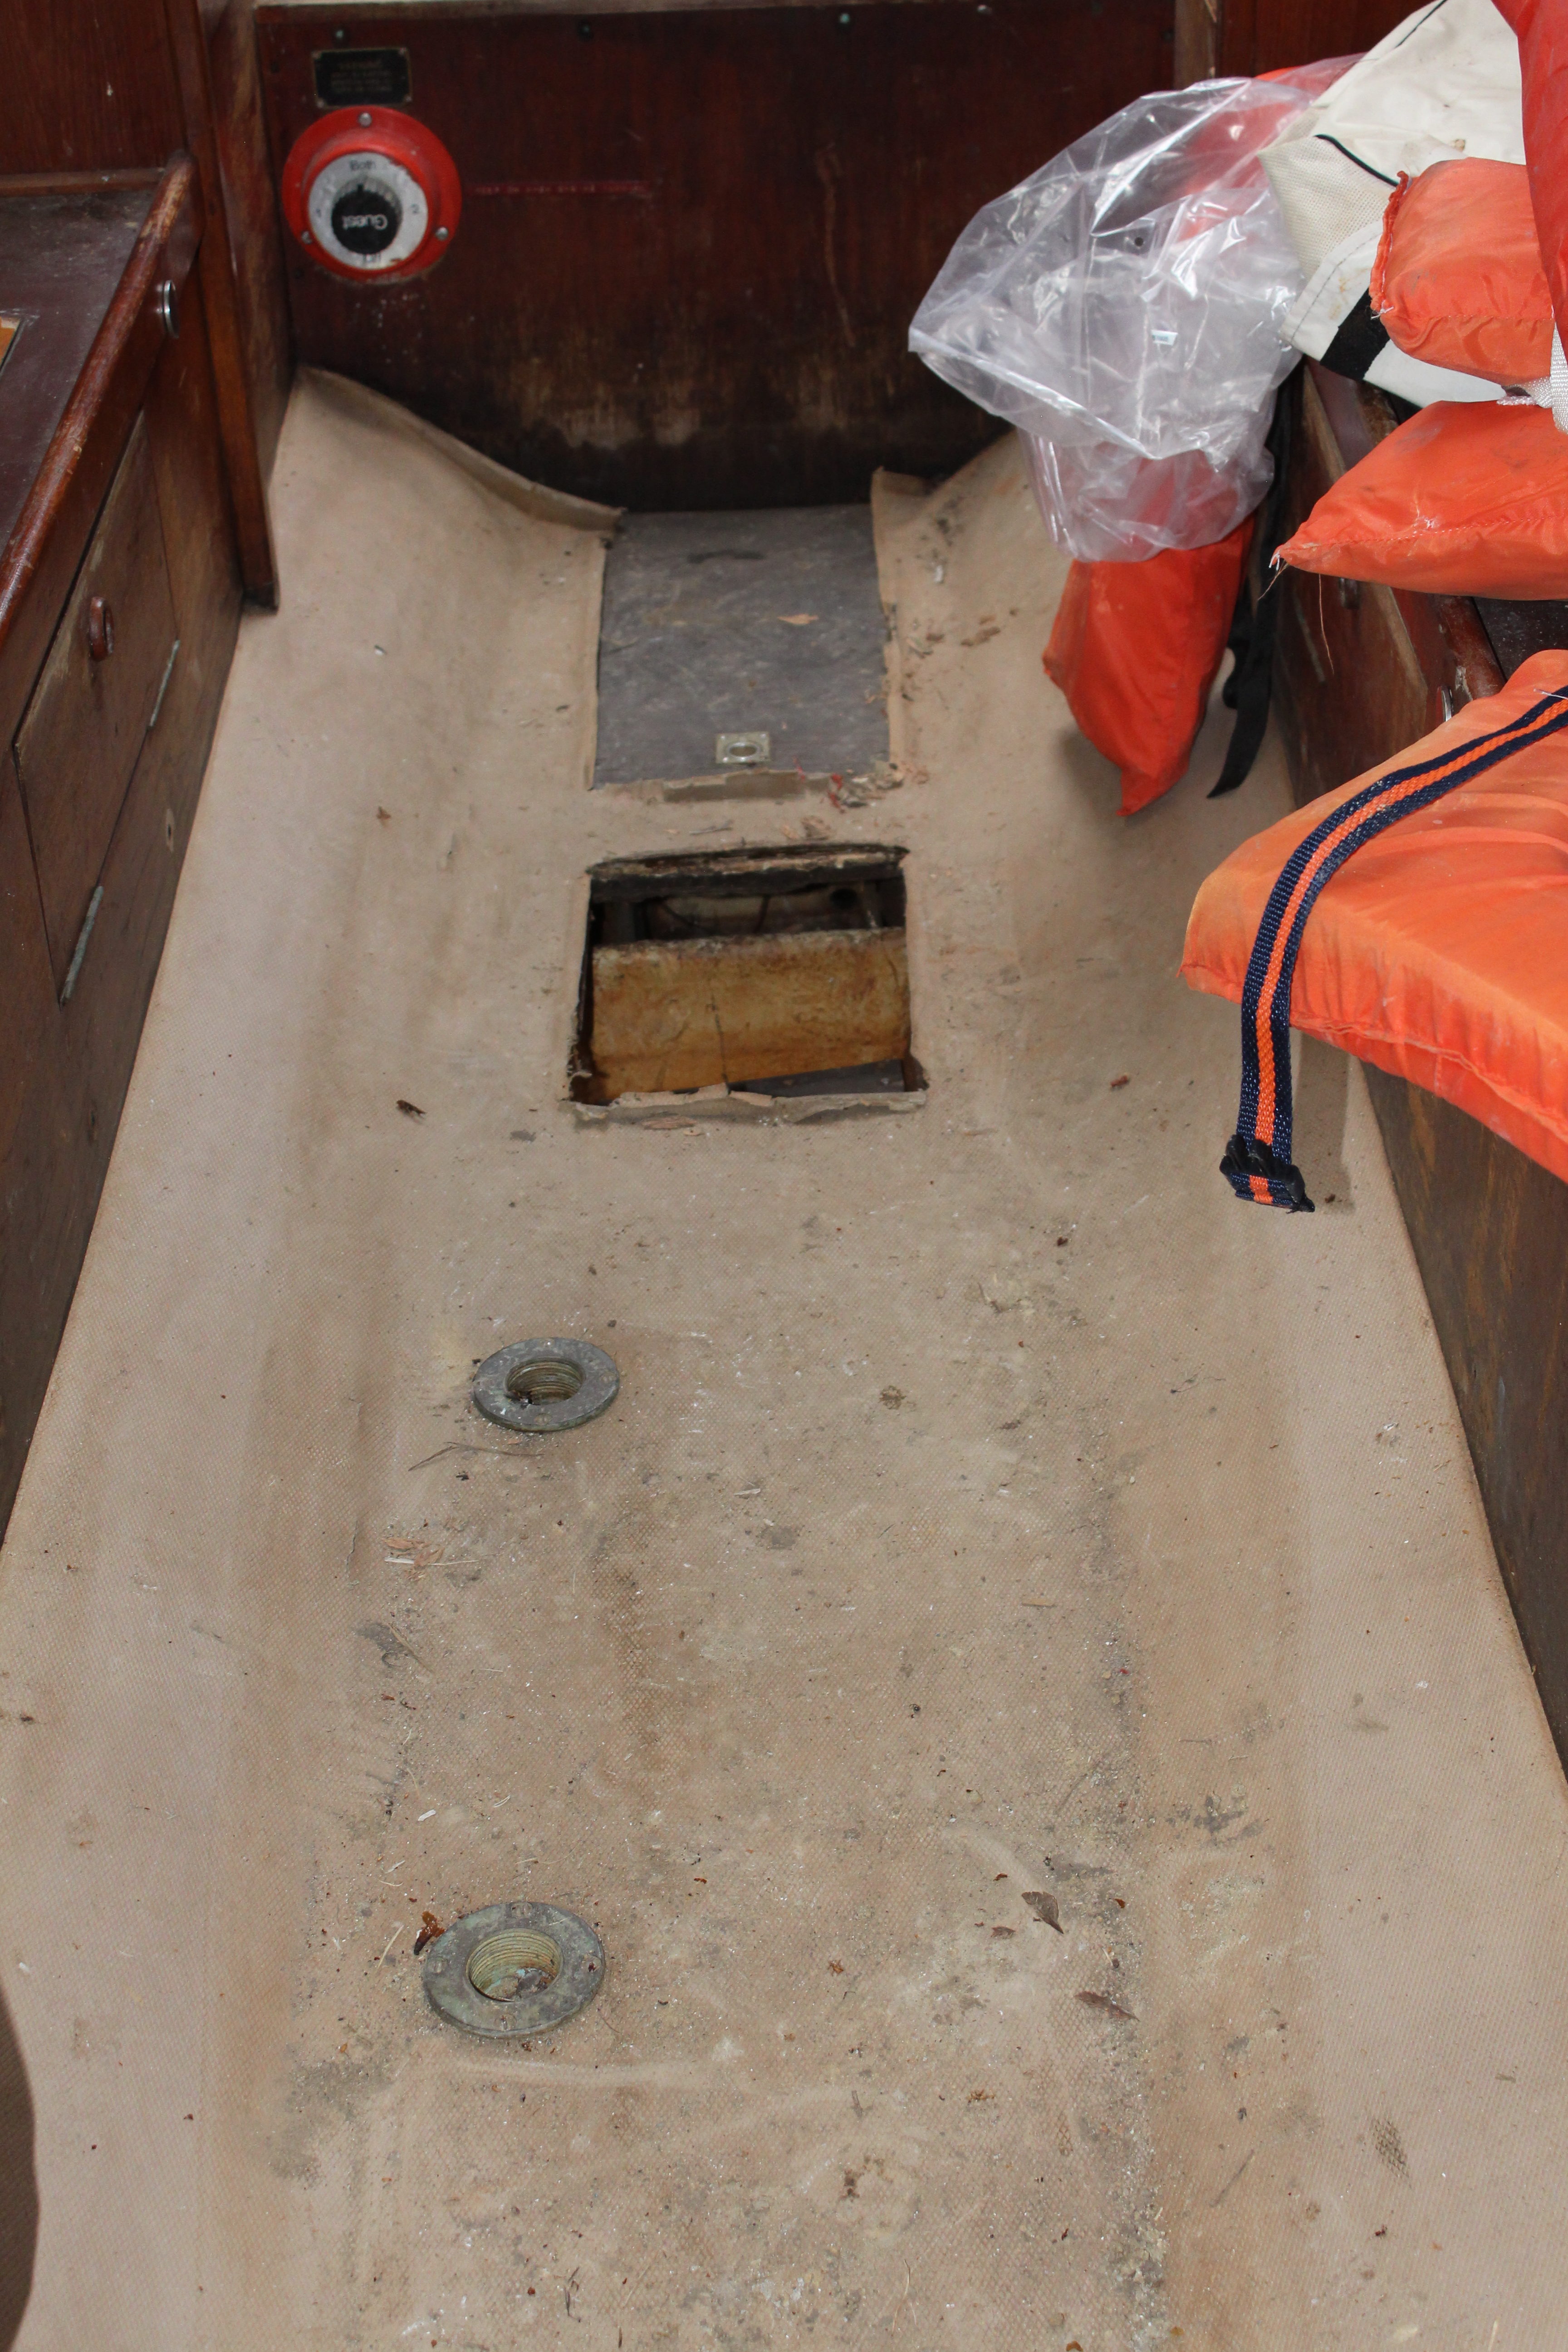
These were the inlet and exit for the old marine head.  I installed a composting head so they weren’t needed.  Closing up through-hulls is a pain in the ass.

Before and After pics

Interior done… more or less

I think the interior is done enoug that I can live with it at this point.  Time to finish the bottom, rig it, and get it in the water.

A word of caution about headliner glue.  I had originally been recommended Weldwood HHR glue and when I started using it I noticed it was a little lumpy.  It looks extra bad here because of the raking light, but the one on the left was done with 3m 90 spray adhesive.  Turns out the solvent in the Weldwood softens the foam on the back of the headliner and makes for some lumps.  We’re planning on replacing the 4 bad panels next winter.  I don’t want to deal with it right now and it’s not as terrible as it looks here, but it is annoying.  Fortunately we’re pros at making headliners now so it won’t take long.

Flooring in. Tons done.

This was a big weekend to get a ton done.  We got all of the finished headliners installed (3 left – we ran out of headliner material)  Lorena cut all the headliner parts, I just glued them and installed them.  I installed the last battery and finished the cables.   Sink and drawer mostly installed.  I keep having to revise my drawer slide strategy because I’m not smart.

And we got the flooring in!  Lorena made a pattern and cut the flooring out and it fit perfectly.  Looks great.  It’s EVA foam made to look like teak and holly.  Very nice on the feet.  I have some in the cockpit of my Finn and it wears well.

Also the overhead lamps are in.  They have a red feature for supercool after dark stealth missions.  Or if you just want to make it look like you’ve called a red alert.

But wait, there’s more (wiring)!

This is the little compartment under the bottom step.  It’s cut out next to the engine so that I can get to the raw water pump.  I am going to make a small panel that fits there to keep it separate from the engine space.  There’s also a small ‘floor’ that goes in here to separate it from the bilge as well.  From left to right we have the Blue Sea ACR up top and the battery bank use switch below it.  To the right of that is the positive bus (that’ll have a cover as well), then the shunt for the Victron BMV-712 and below that the negative bus.  To the right is a post for the negative battery cables and far right is the fresh water pump for the galley.  There’s a ton of crap crammed in there but it’s all usable.  Hooking up the start/reserve battery next, it’s in the bilge space immediately forward of this.

Added one more pic from tonight. All battery cables are in. Some wire looms still to be installed but the hard part is done. Wrestling those big cables is a pain.

Nav station table installed.

I have been obsessing about this table for a while.  It’s a huge expanse of varnished wood that you see when you first get in the boat.  It’s finished with 2 coats of WEST system with the 207 hardener and then 3 coats of varnish.  I realized that I’d end up pricking the top with dividers at some point and after a couple of years the varnish would look terrible so I bought a leather desk writing surface and glued it onto the top.   It looks great.  Pics are a bit washed out as it was rather dark when I took them and I hadn’t bothered to plug the boat in for light.

There was a fire extinguisher mounted on the bottom of it when I got the boat, hence the filled holes on the left side.  Still, in person it looks amazing, even with the repairs.