Clamp replacement and other small items.

According to my super knowledgeable friends, the clamps I had used were 1 – not enough and 2 – kind of poopy.  I hadn’t known where to find these until Alex W found the link for me at Fisheries.  These are the updated clamps on the cockpit drains.

New belts and hoses all around.

New Stainless exhaust elbow from HDI Marine.  Great service from those guys.  Not cheap but you can pretty much kiss those corrosion issues goodbye.

Just a shot of the remote oil filter and the swanky hoses for it.

Pic of the arm purchased to bring the shift cable in from the back.

More clamp pics.

Pic of the Speedseal life I installed to help with pump life.  It has those nice thumbscrews but because of where it’s mounted you have to remove it to swap the impeller anyhow.

More progress.

WordPress’s image editing suite is kind of janky so as much as I’d like to rotate that top image, it ain’t happening.  Anyhow, new clutches installed.

Through-hulls for cockpit drains installed, and the muffler hooked up.  I wish those bolts weren’t so long but if I cut them off the nut falls off when I loosen it enough to take it off.

I did cut the extra bolt off here because I thought it’d interfere with adjusting the packing nut.  New stuffing box installed.

Here you can see the new through-hulls, valves, and hoses in place.  Way nicer than what was there before.

Muffler and packing gland.  Once I get the throttle/shifter cables in the engine can go back in.  Can’t wait.

Lots of work done last Saturday.

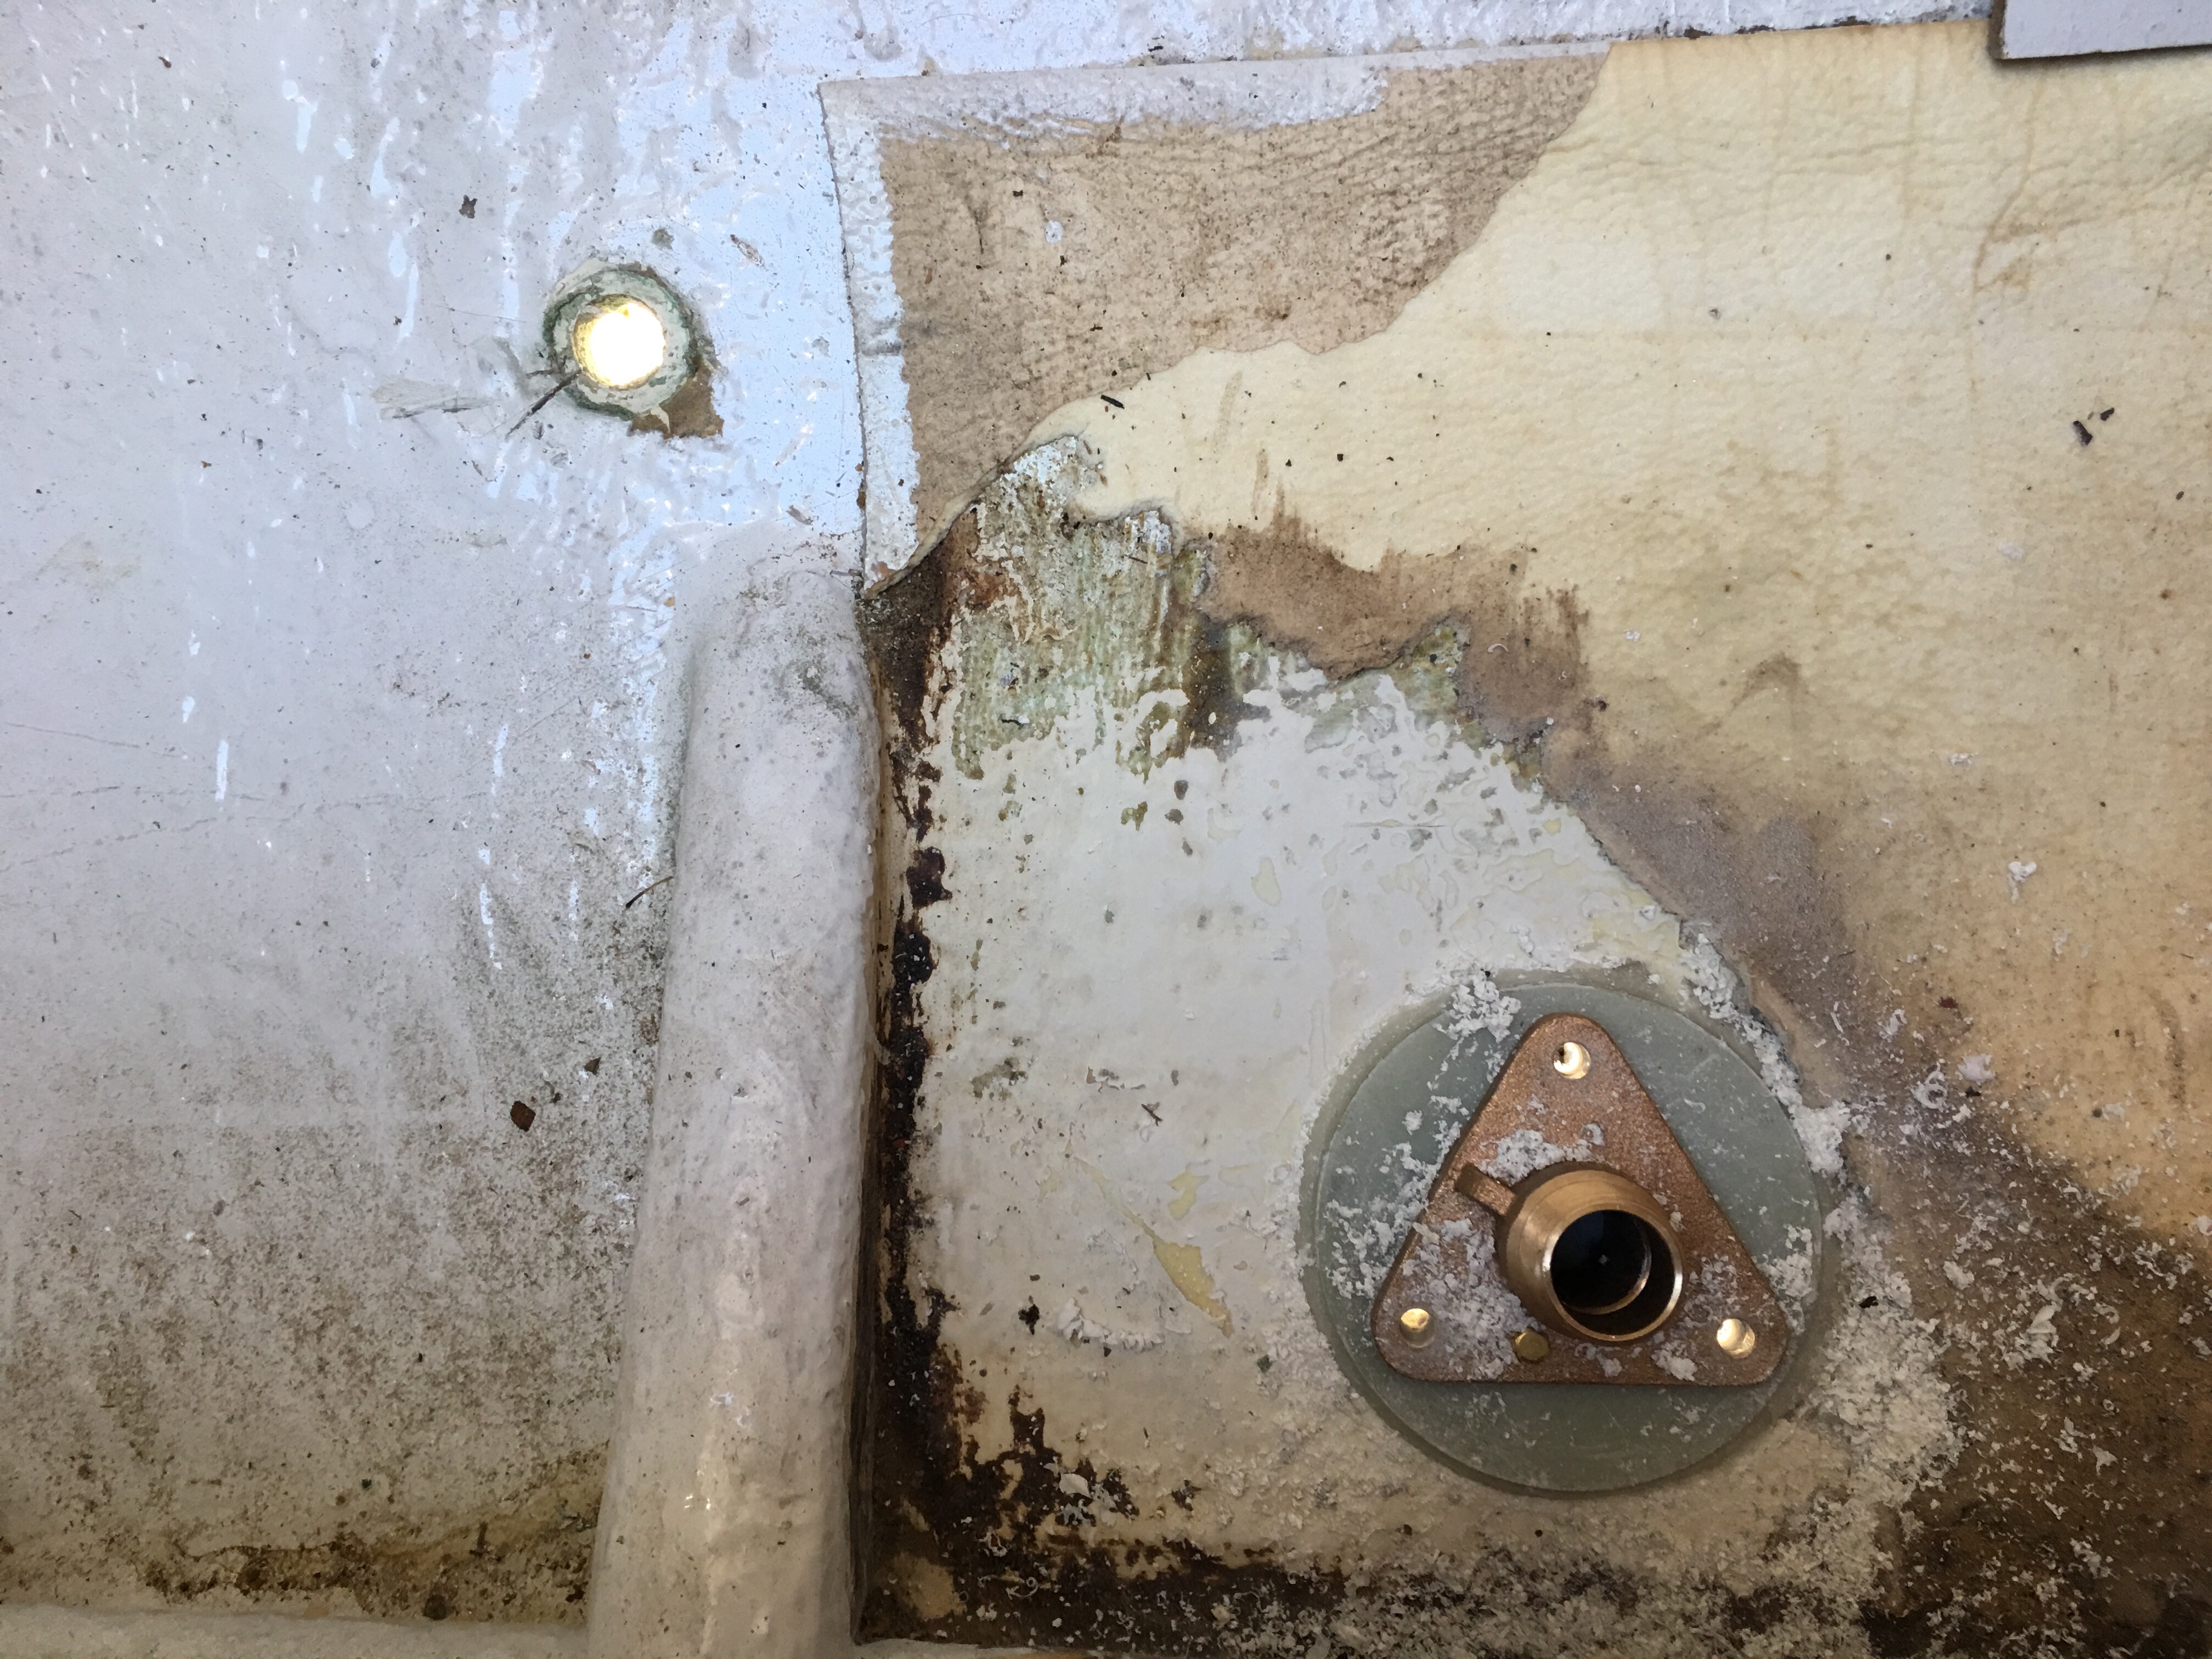
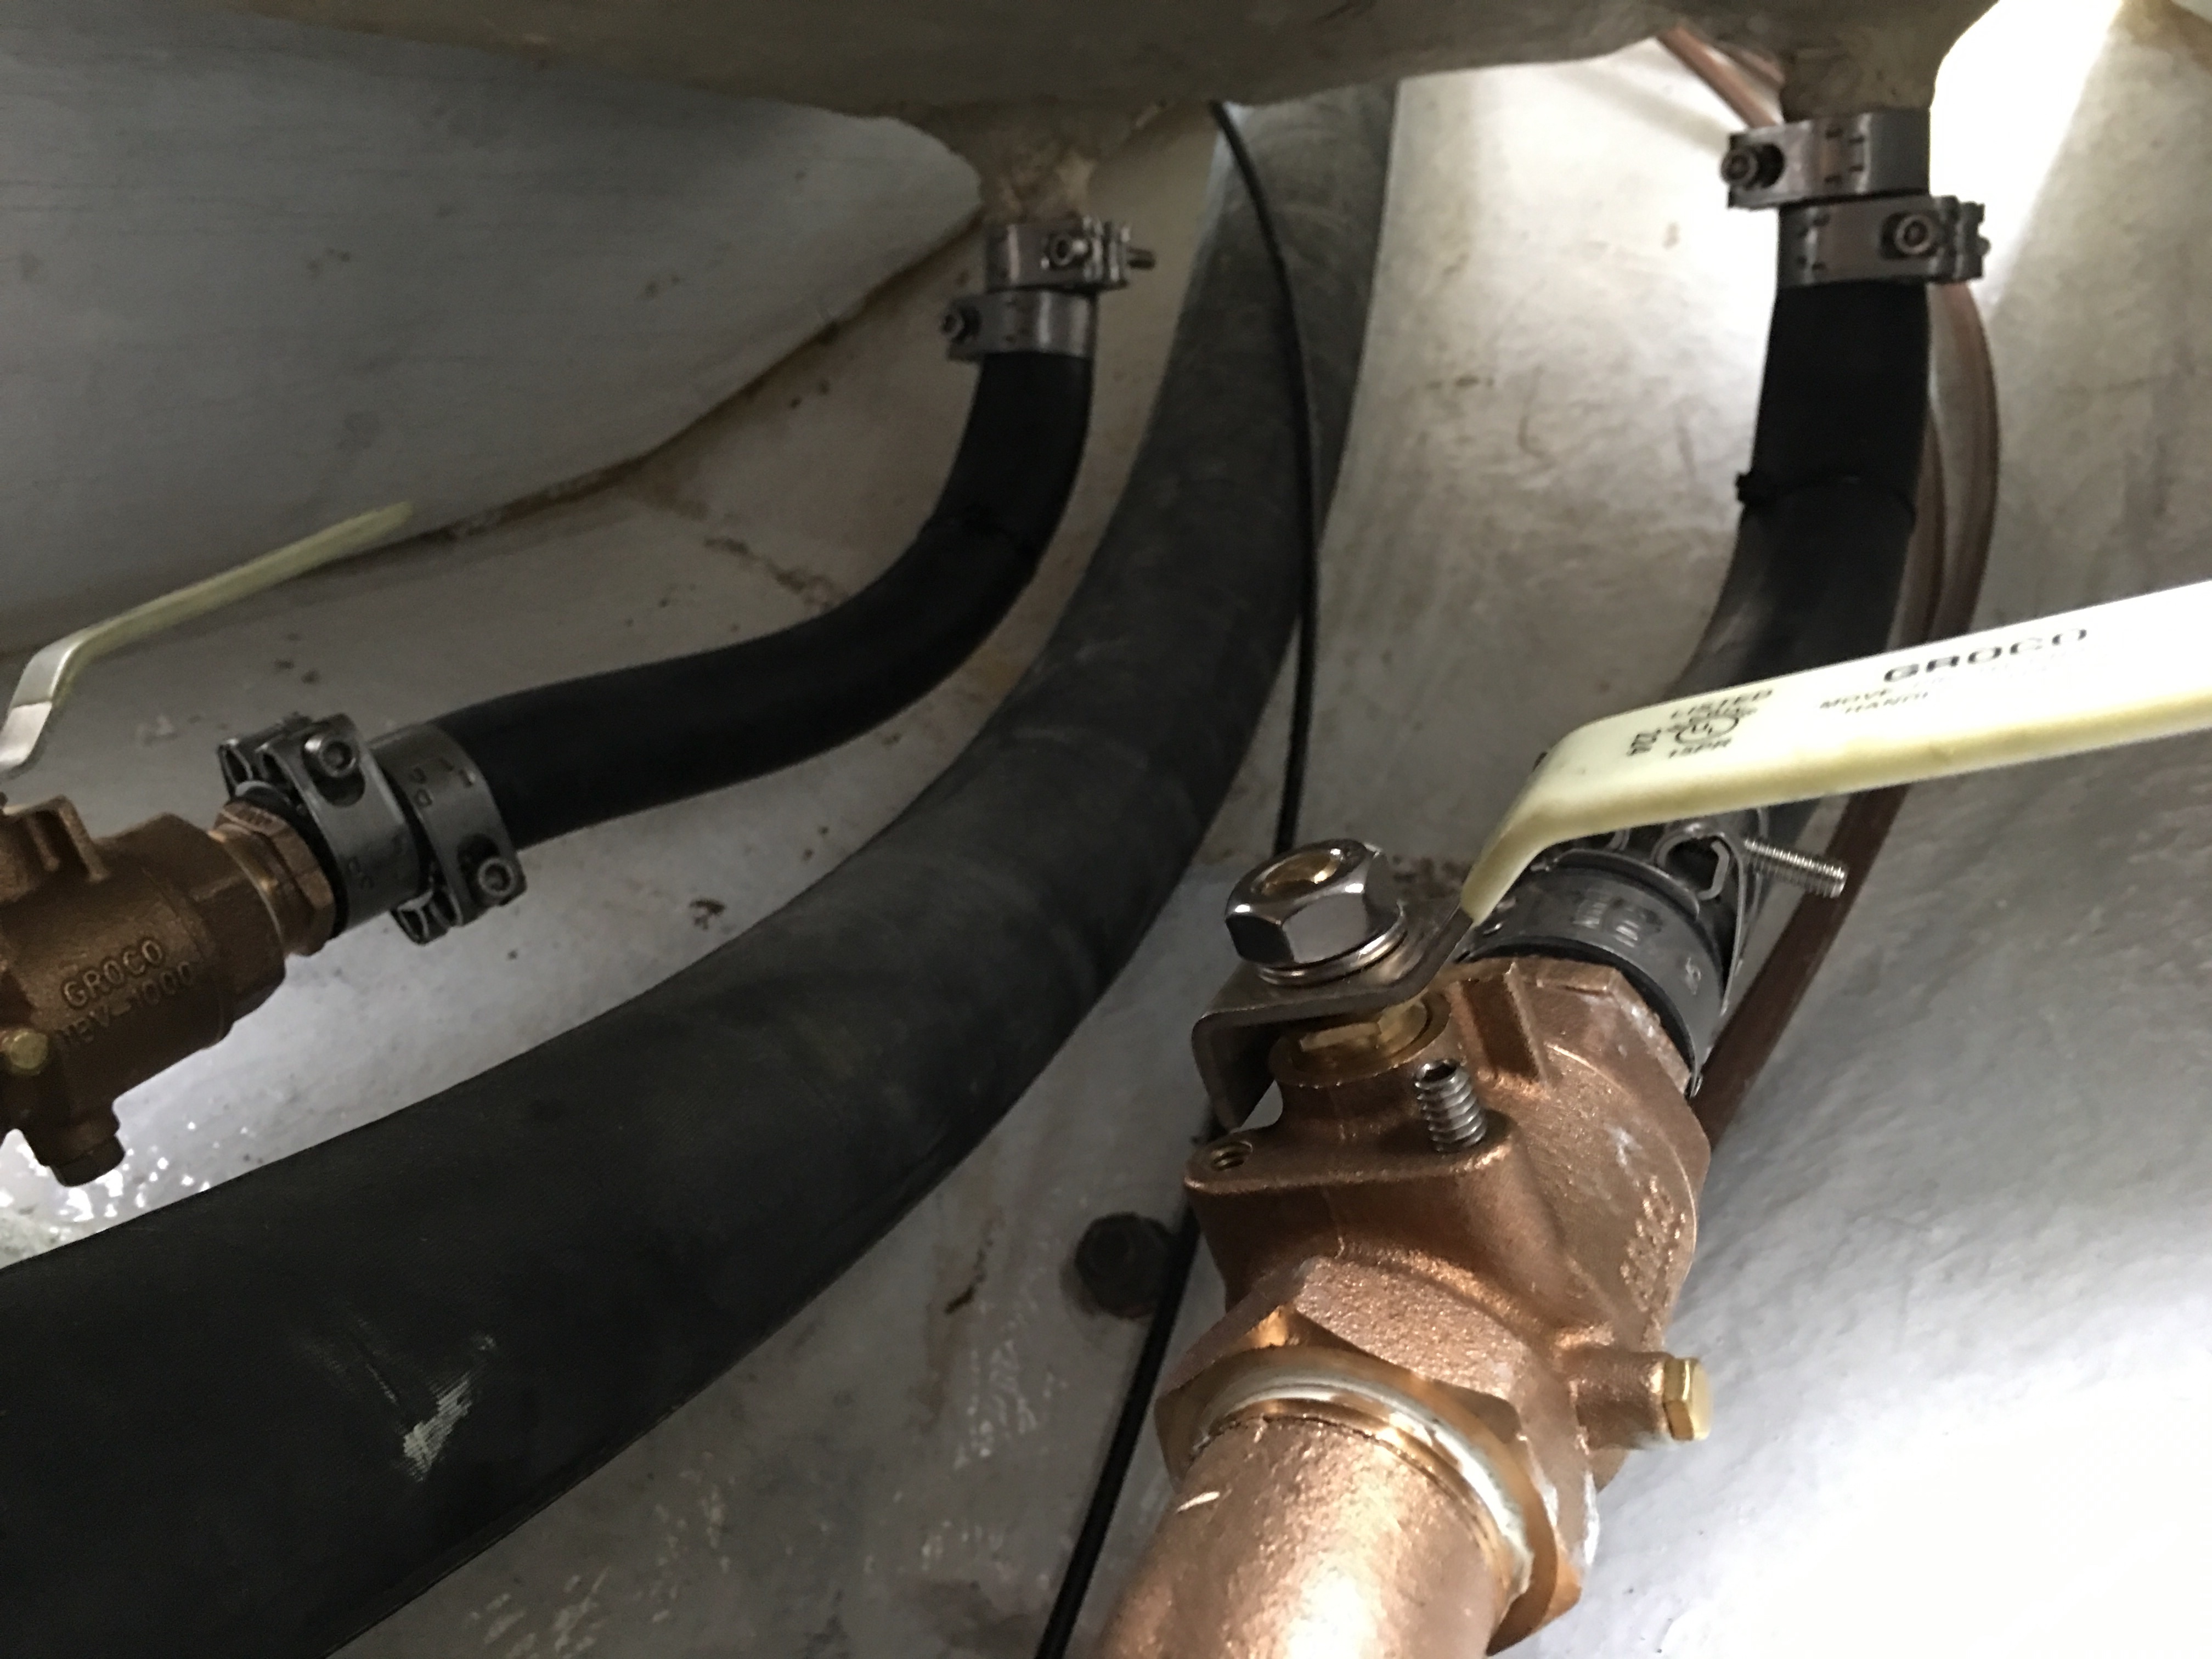
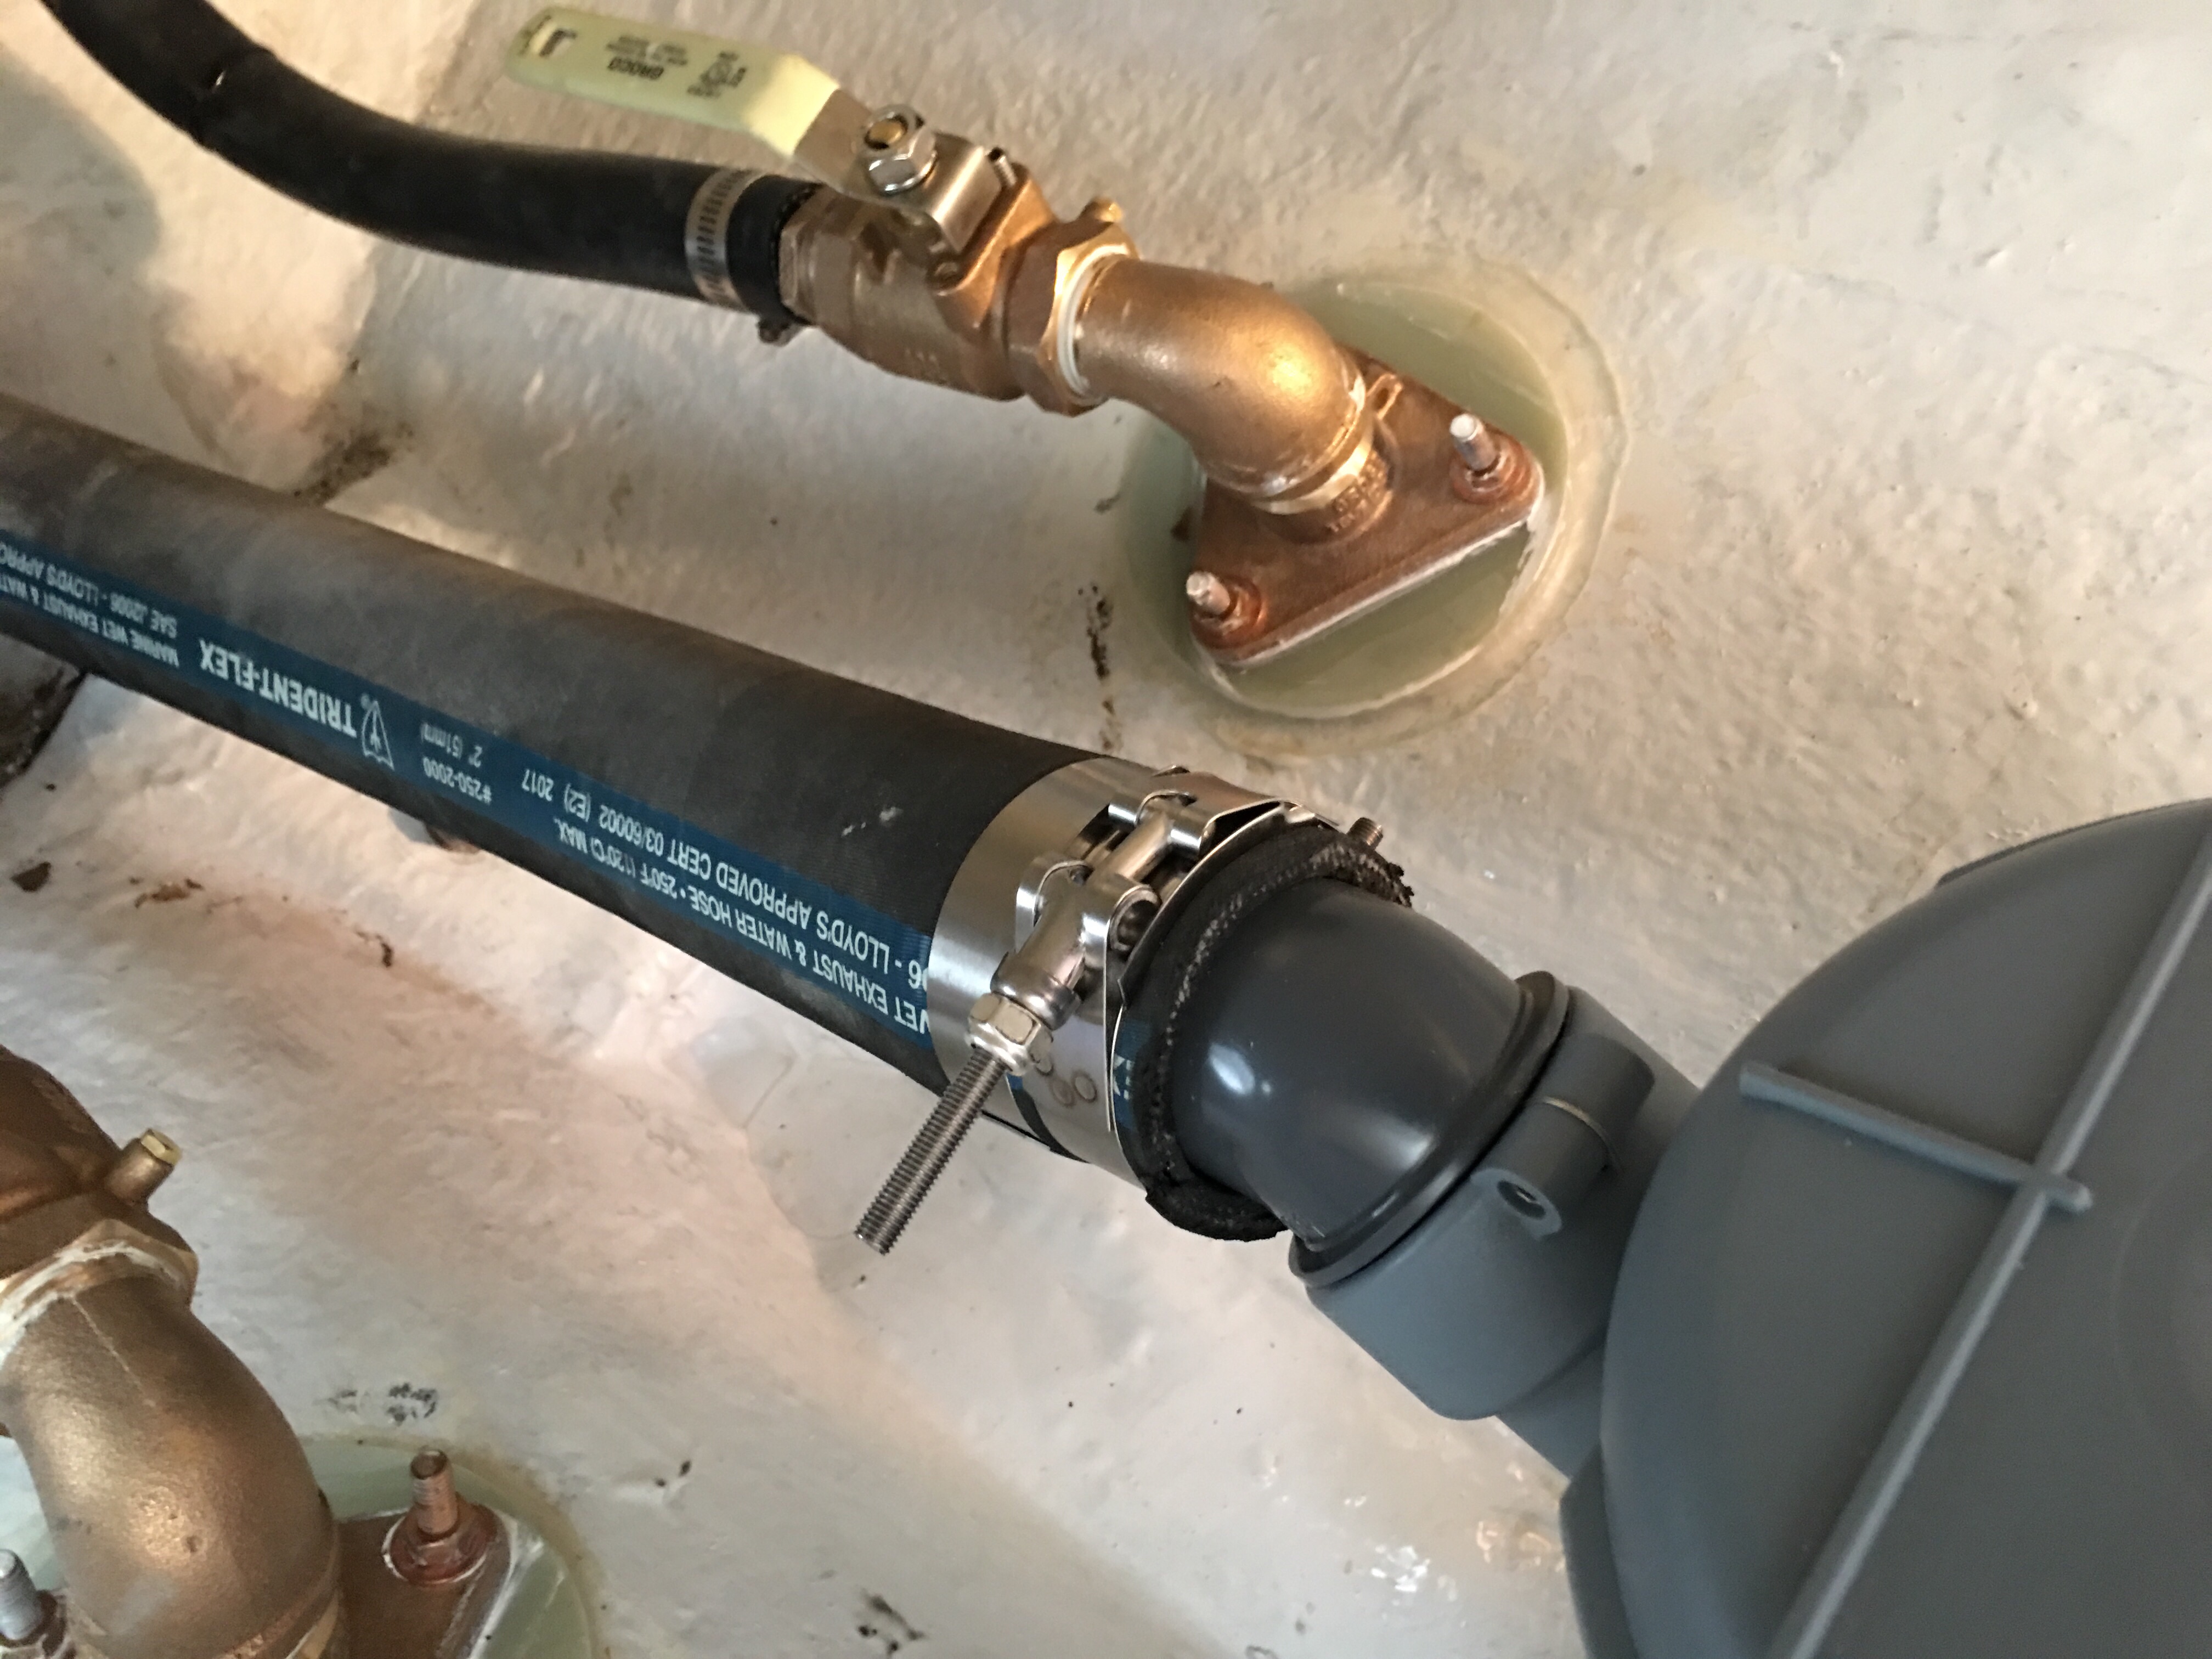
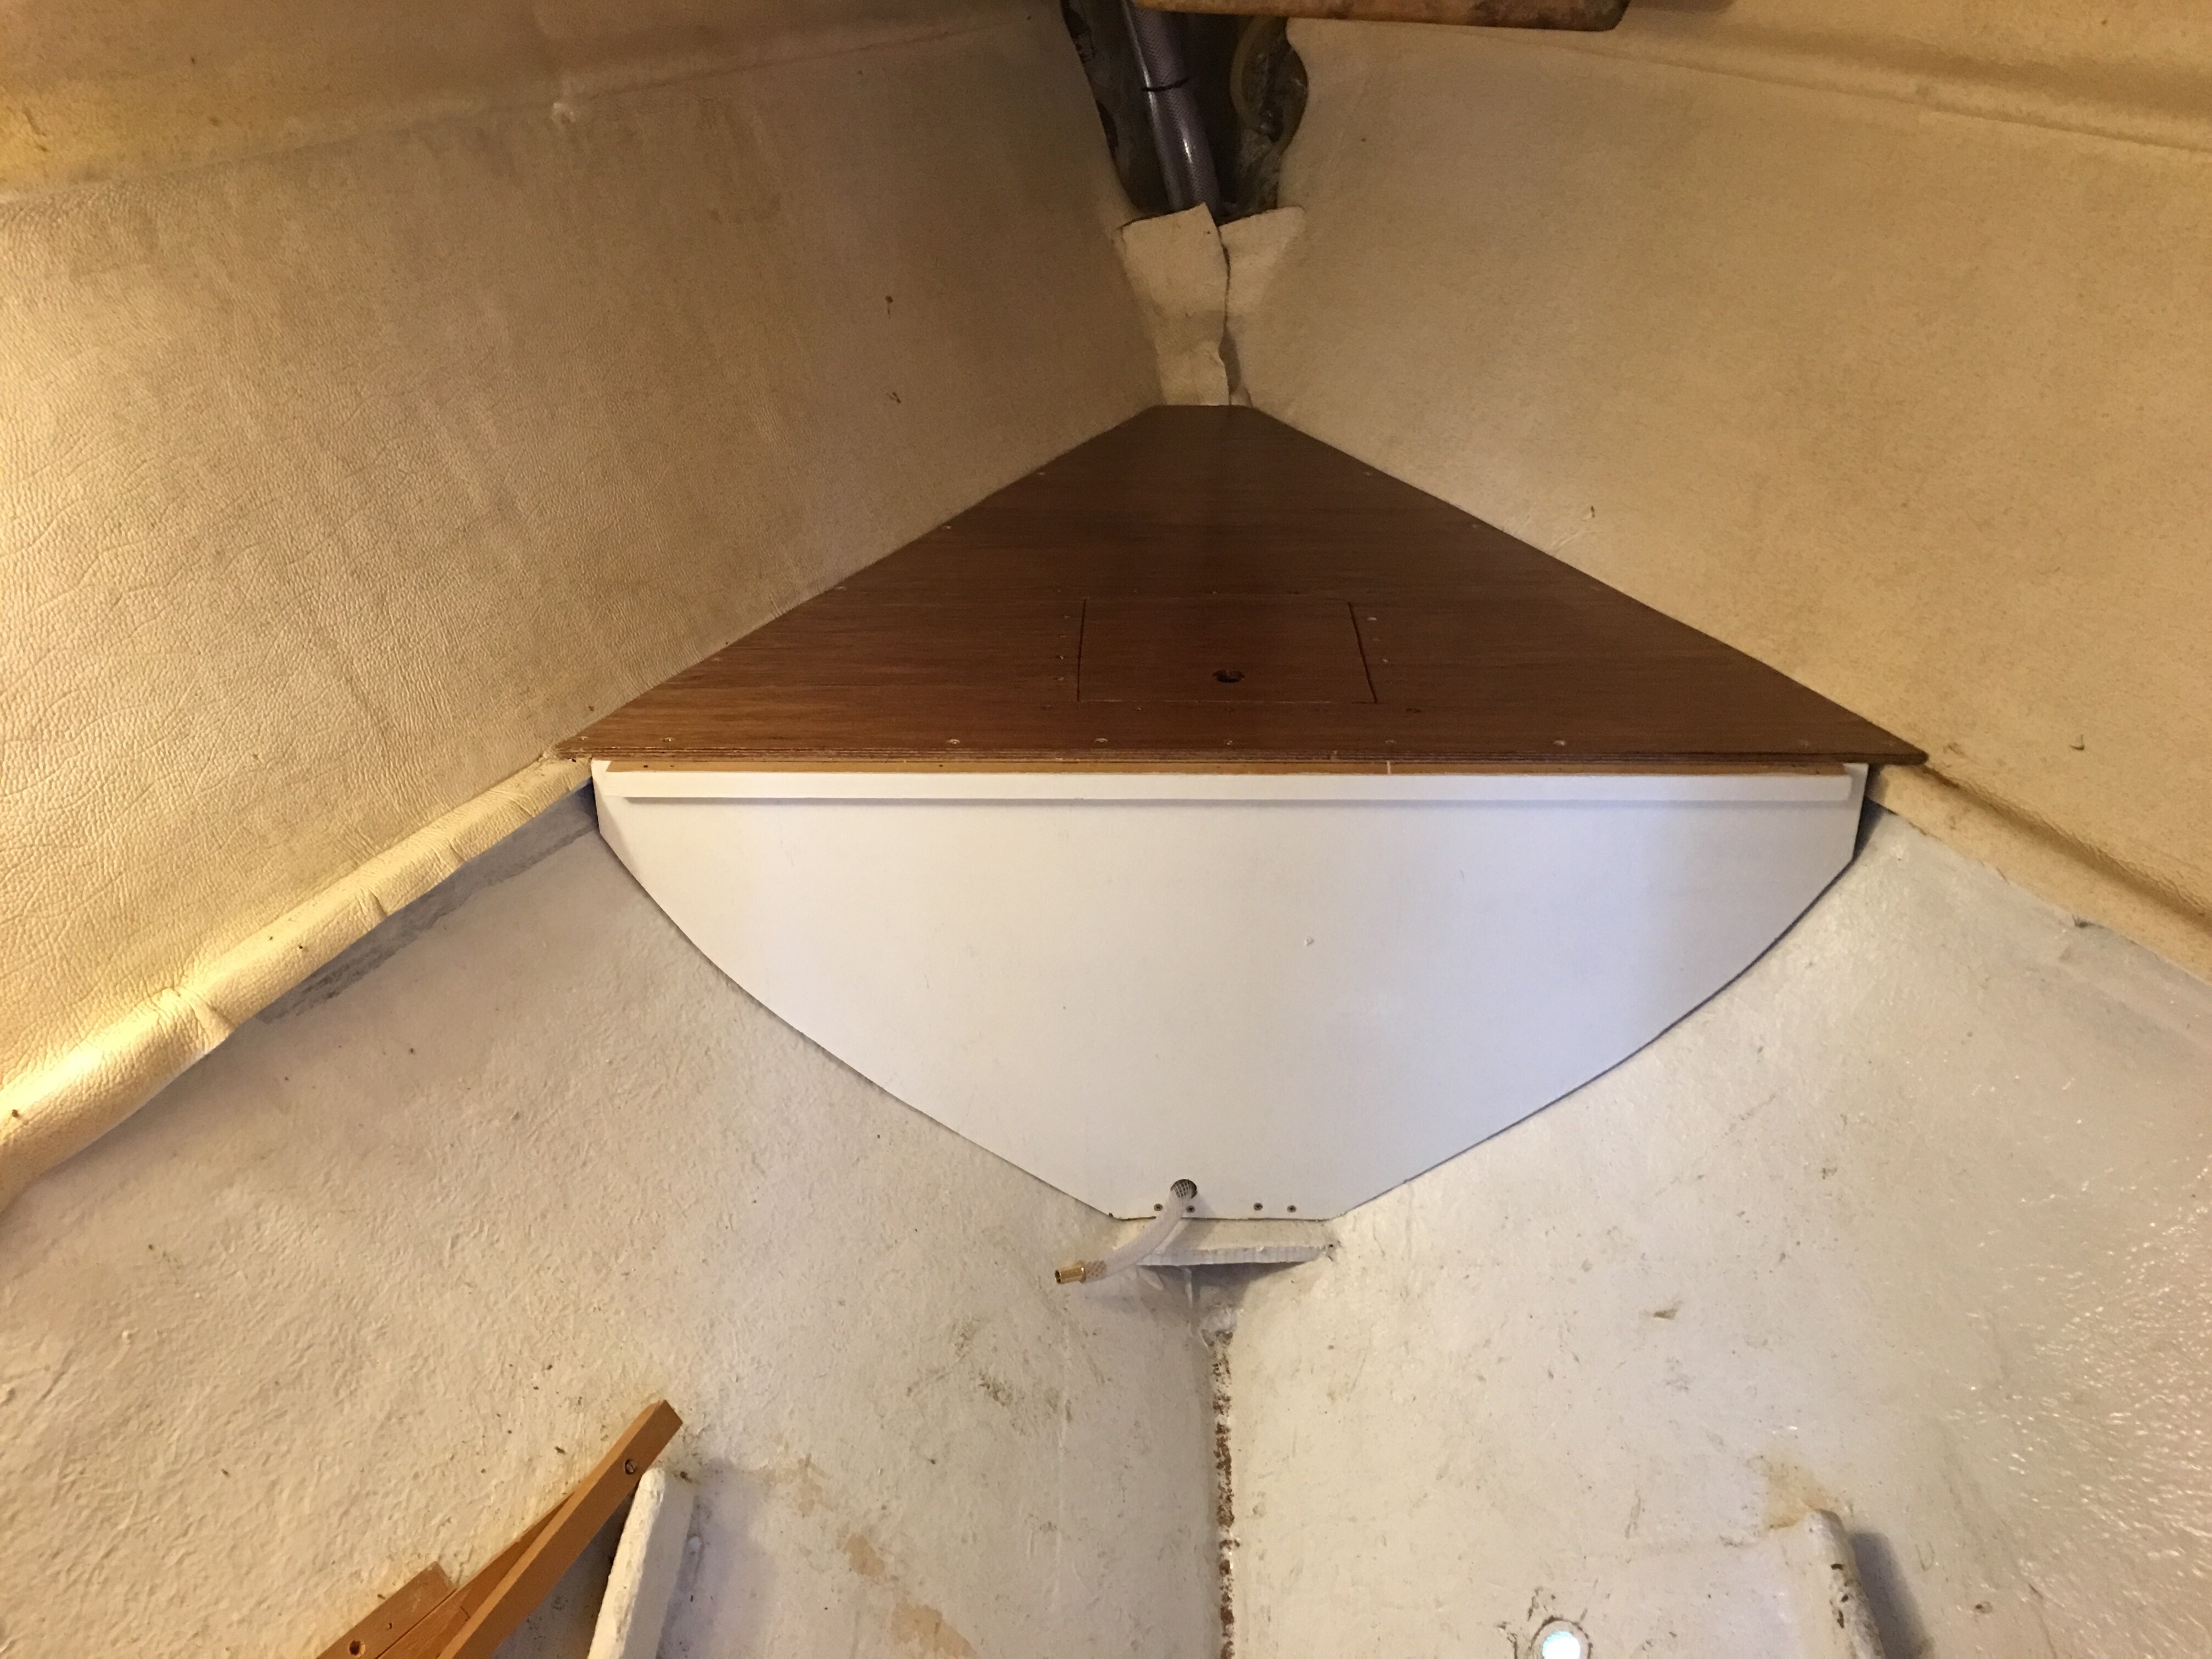
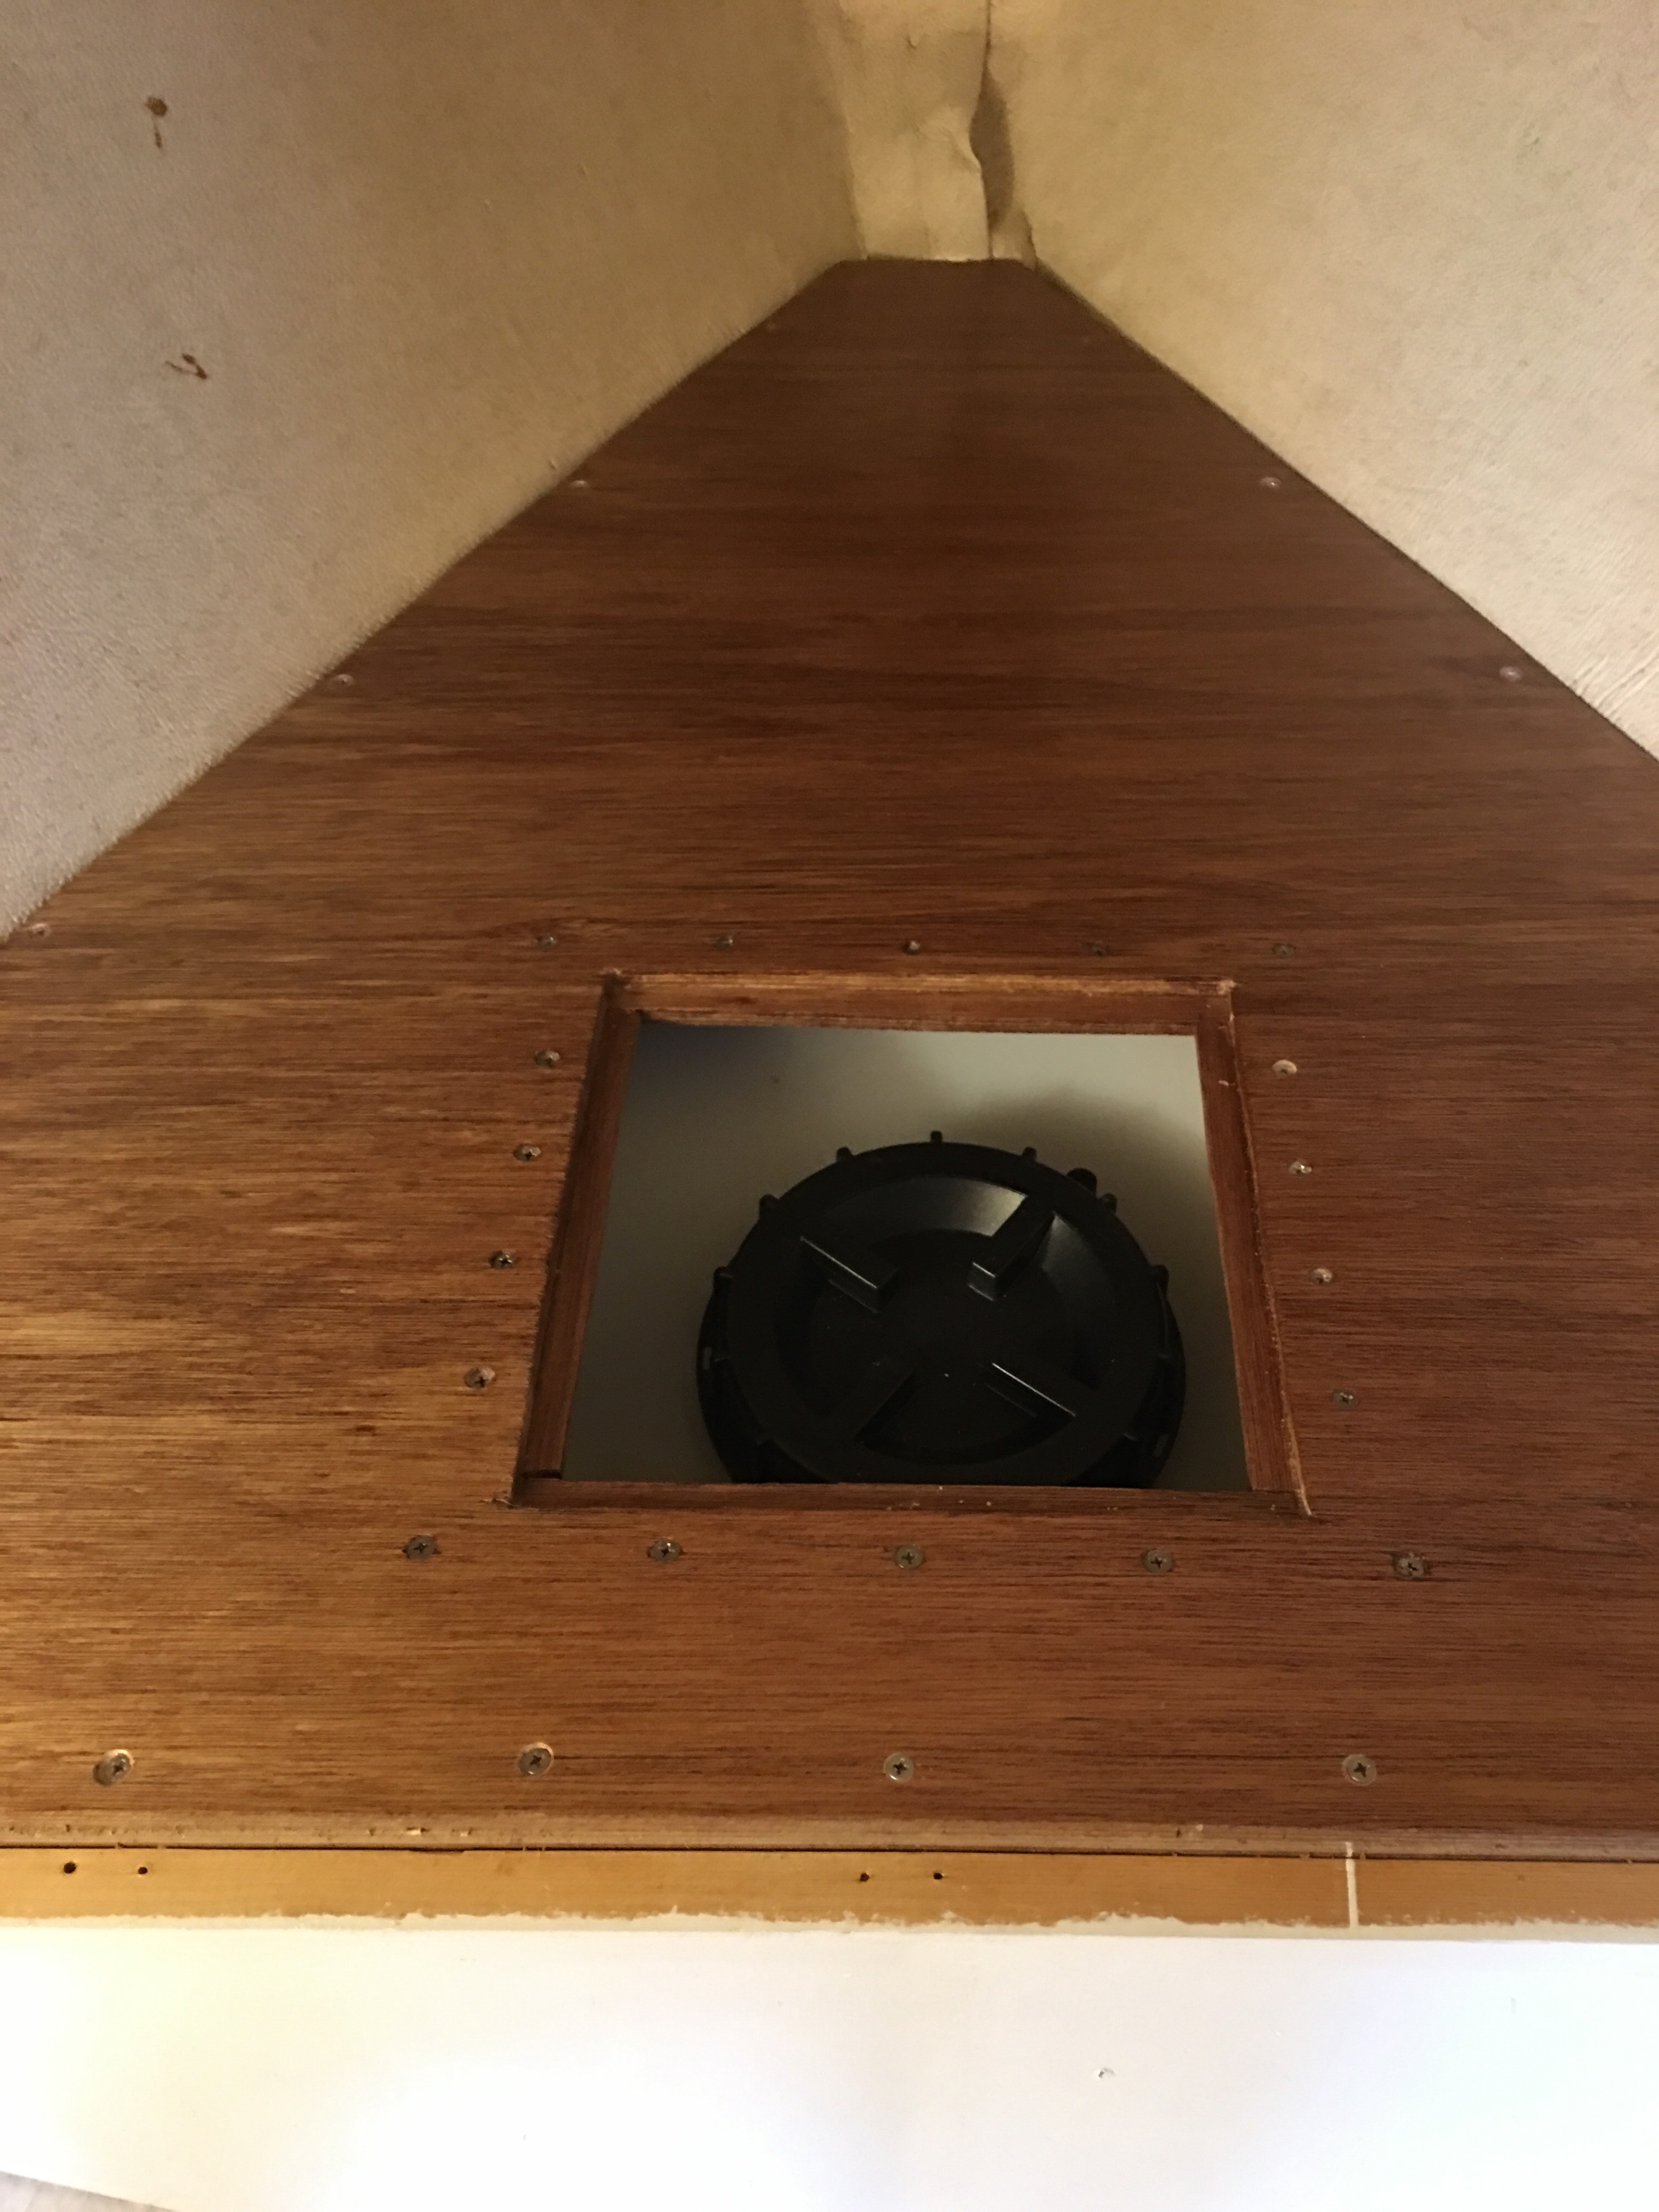
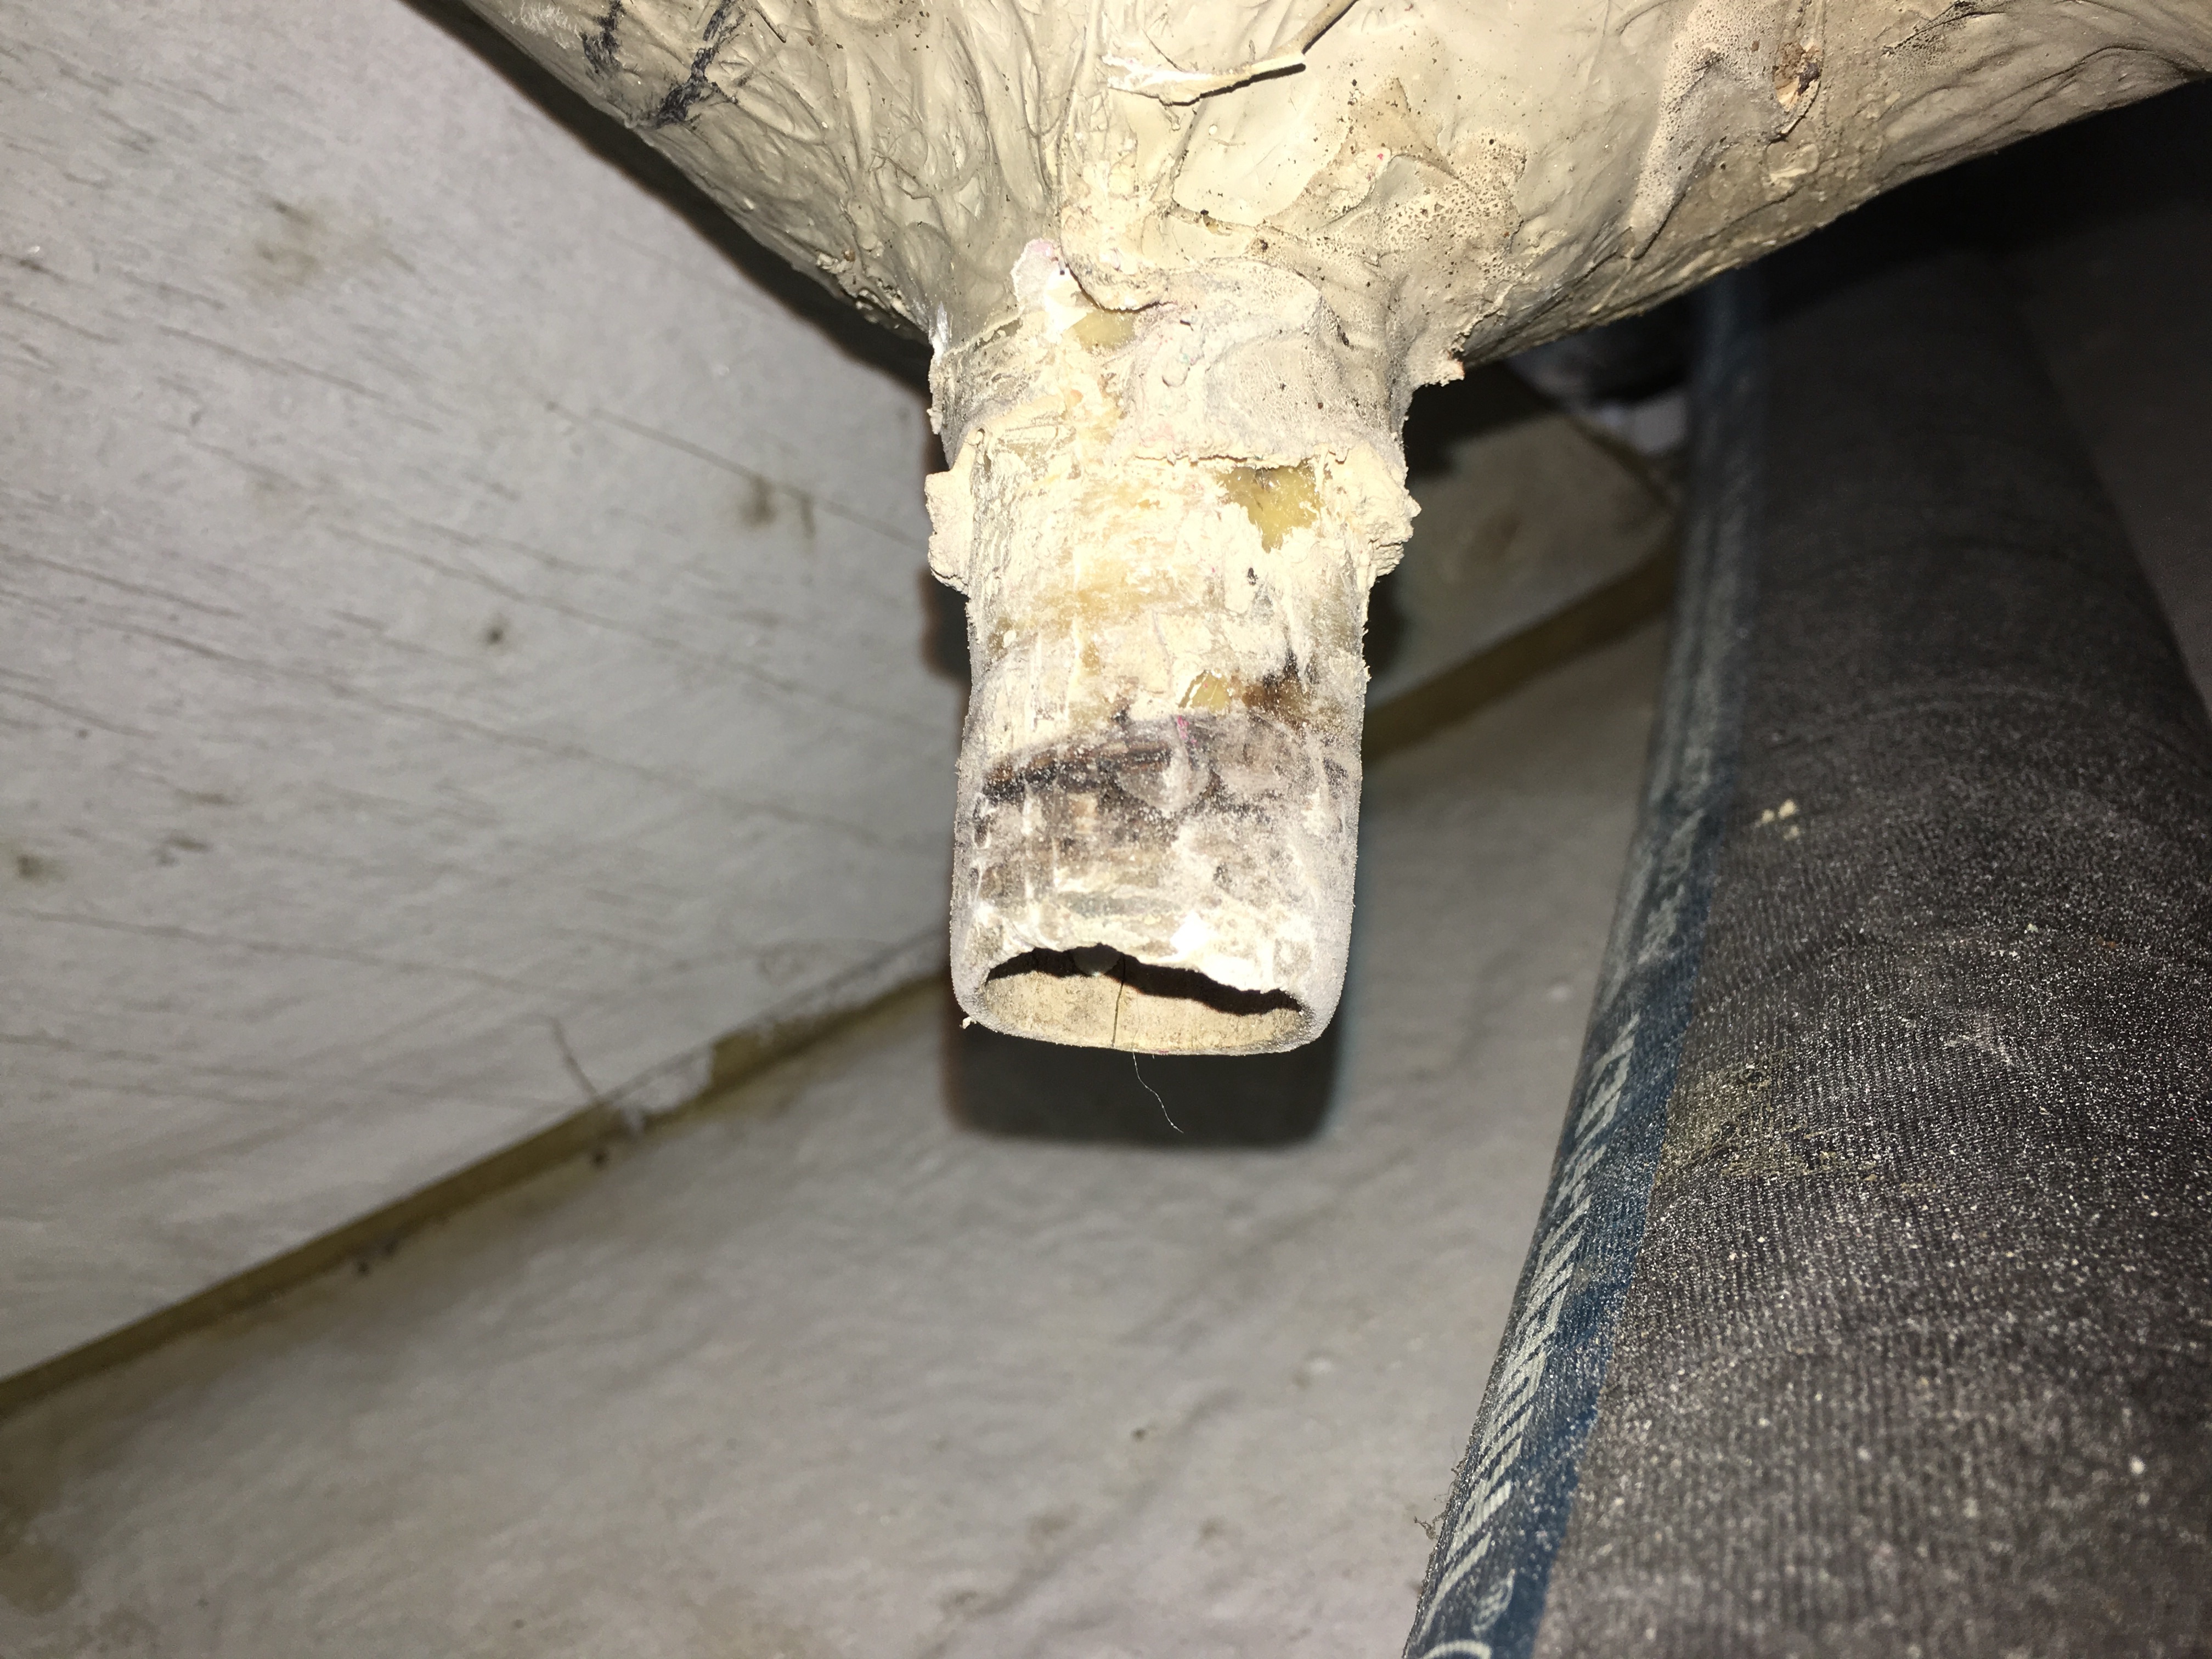
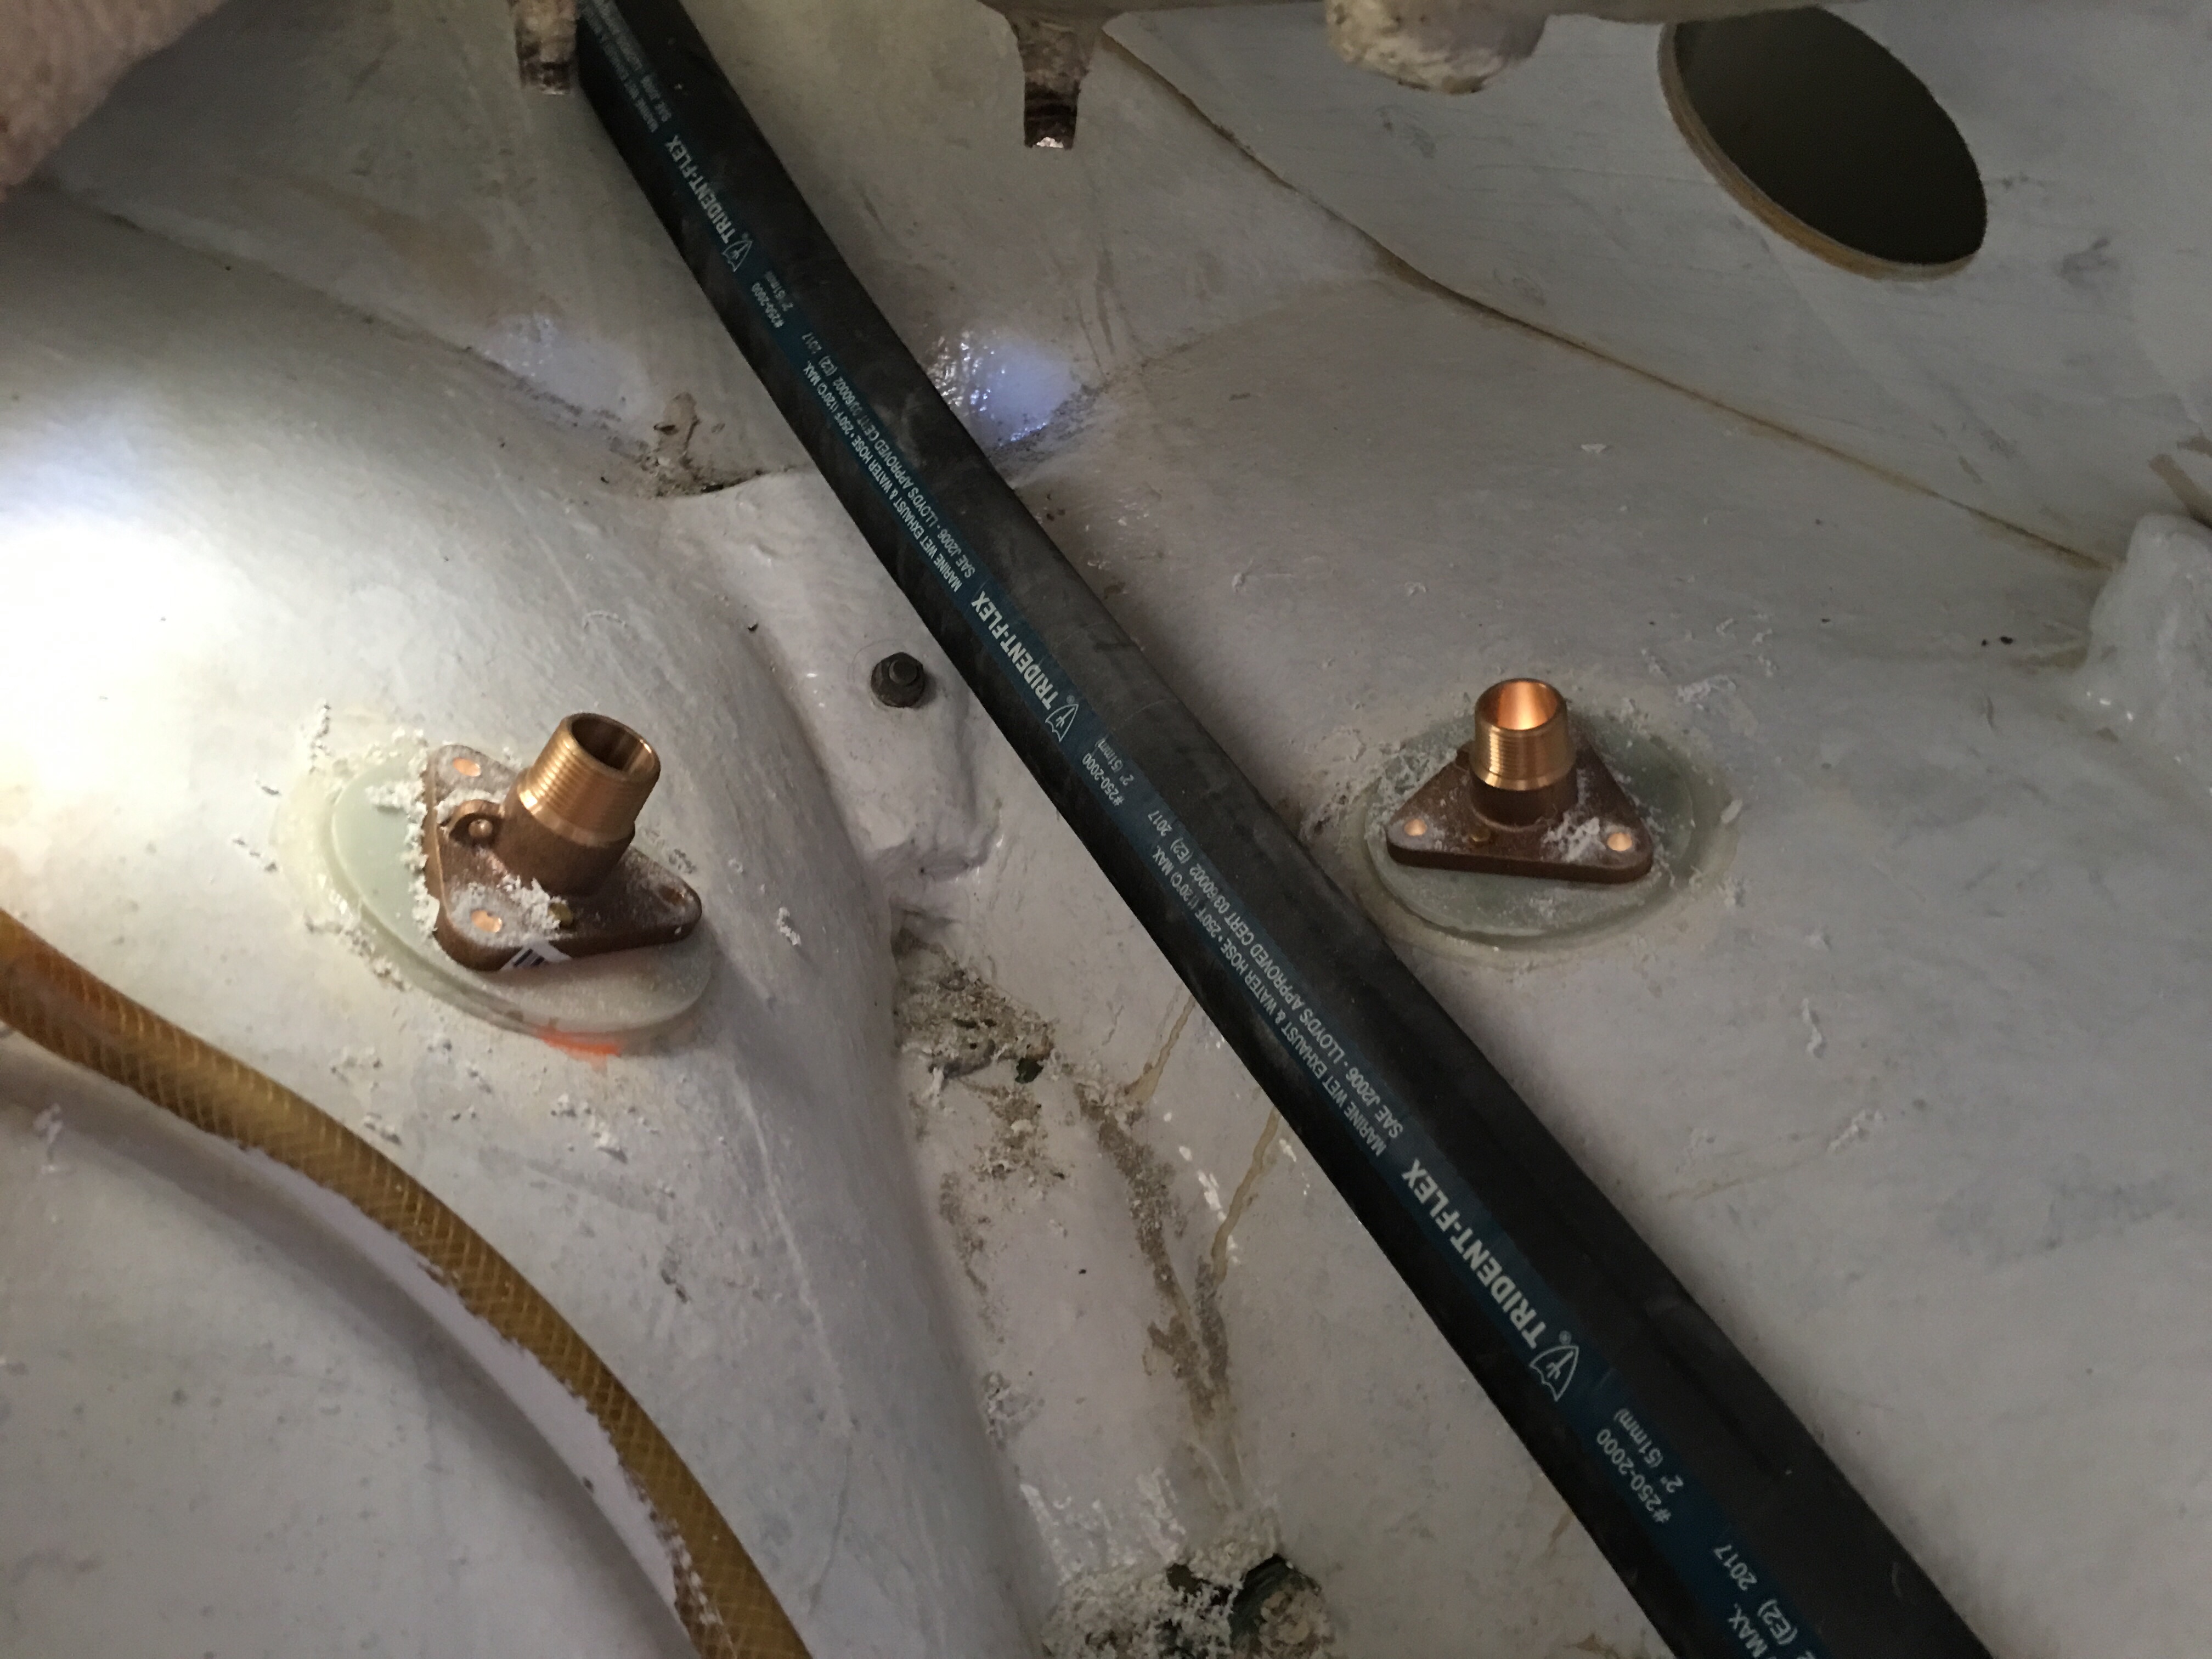
Last Saturday it was nice out, unlike the last 6 weeks so I was able to get outside and get stuff done.  First order of business is replacing the cockpit drain through hulls.  This is a space tucked way up in the stern counter and difficult to fit into.  I found that the hoses for the drains were clamped to the old, original, broken off hoses.  Previous Owner is always a moron.  The number of WTF coming out of my mouth per minute was pretty high on this one.  Luckily I was able to peel them off amid all the 5200 they’d been glued up with.

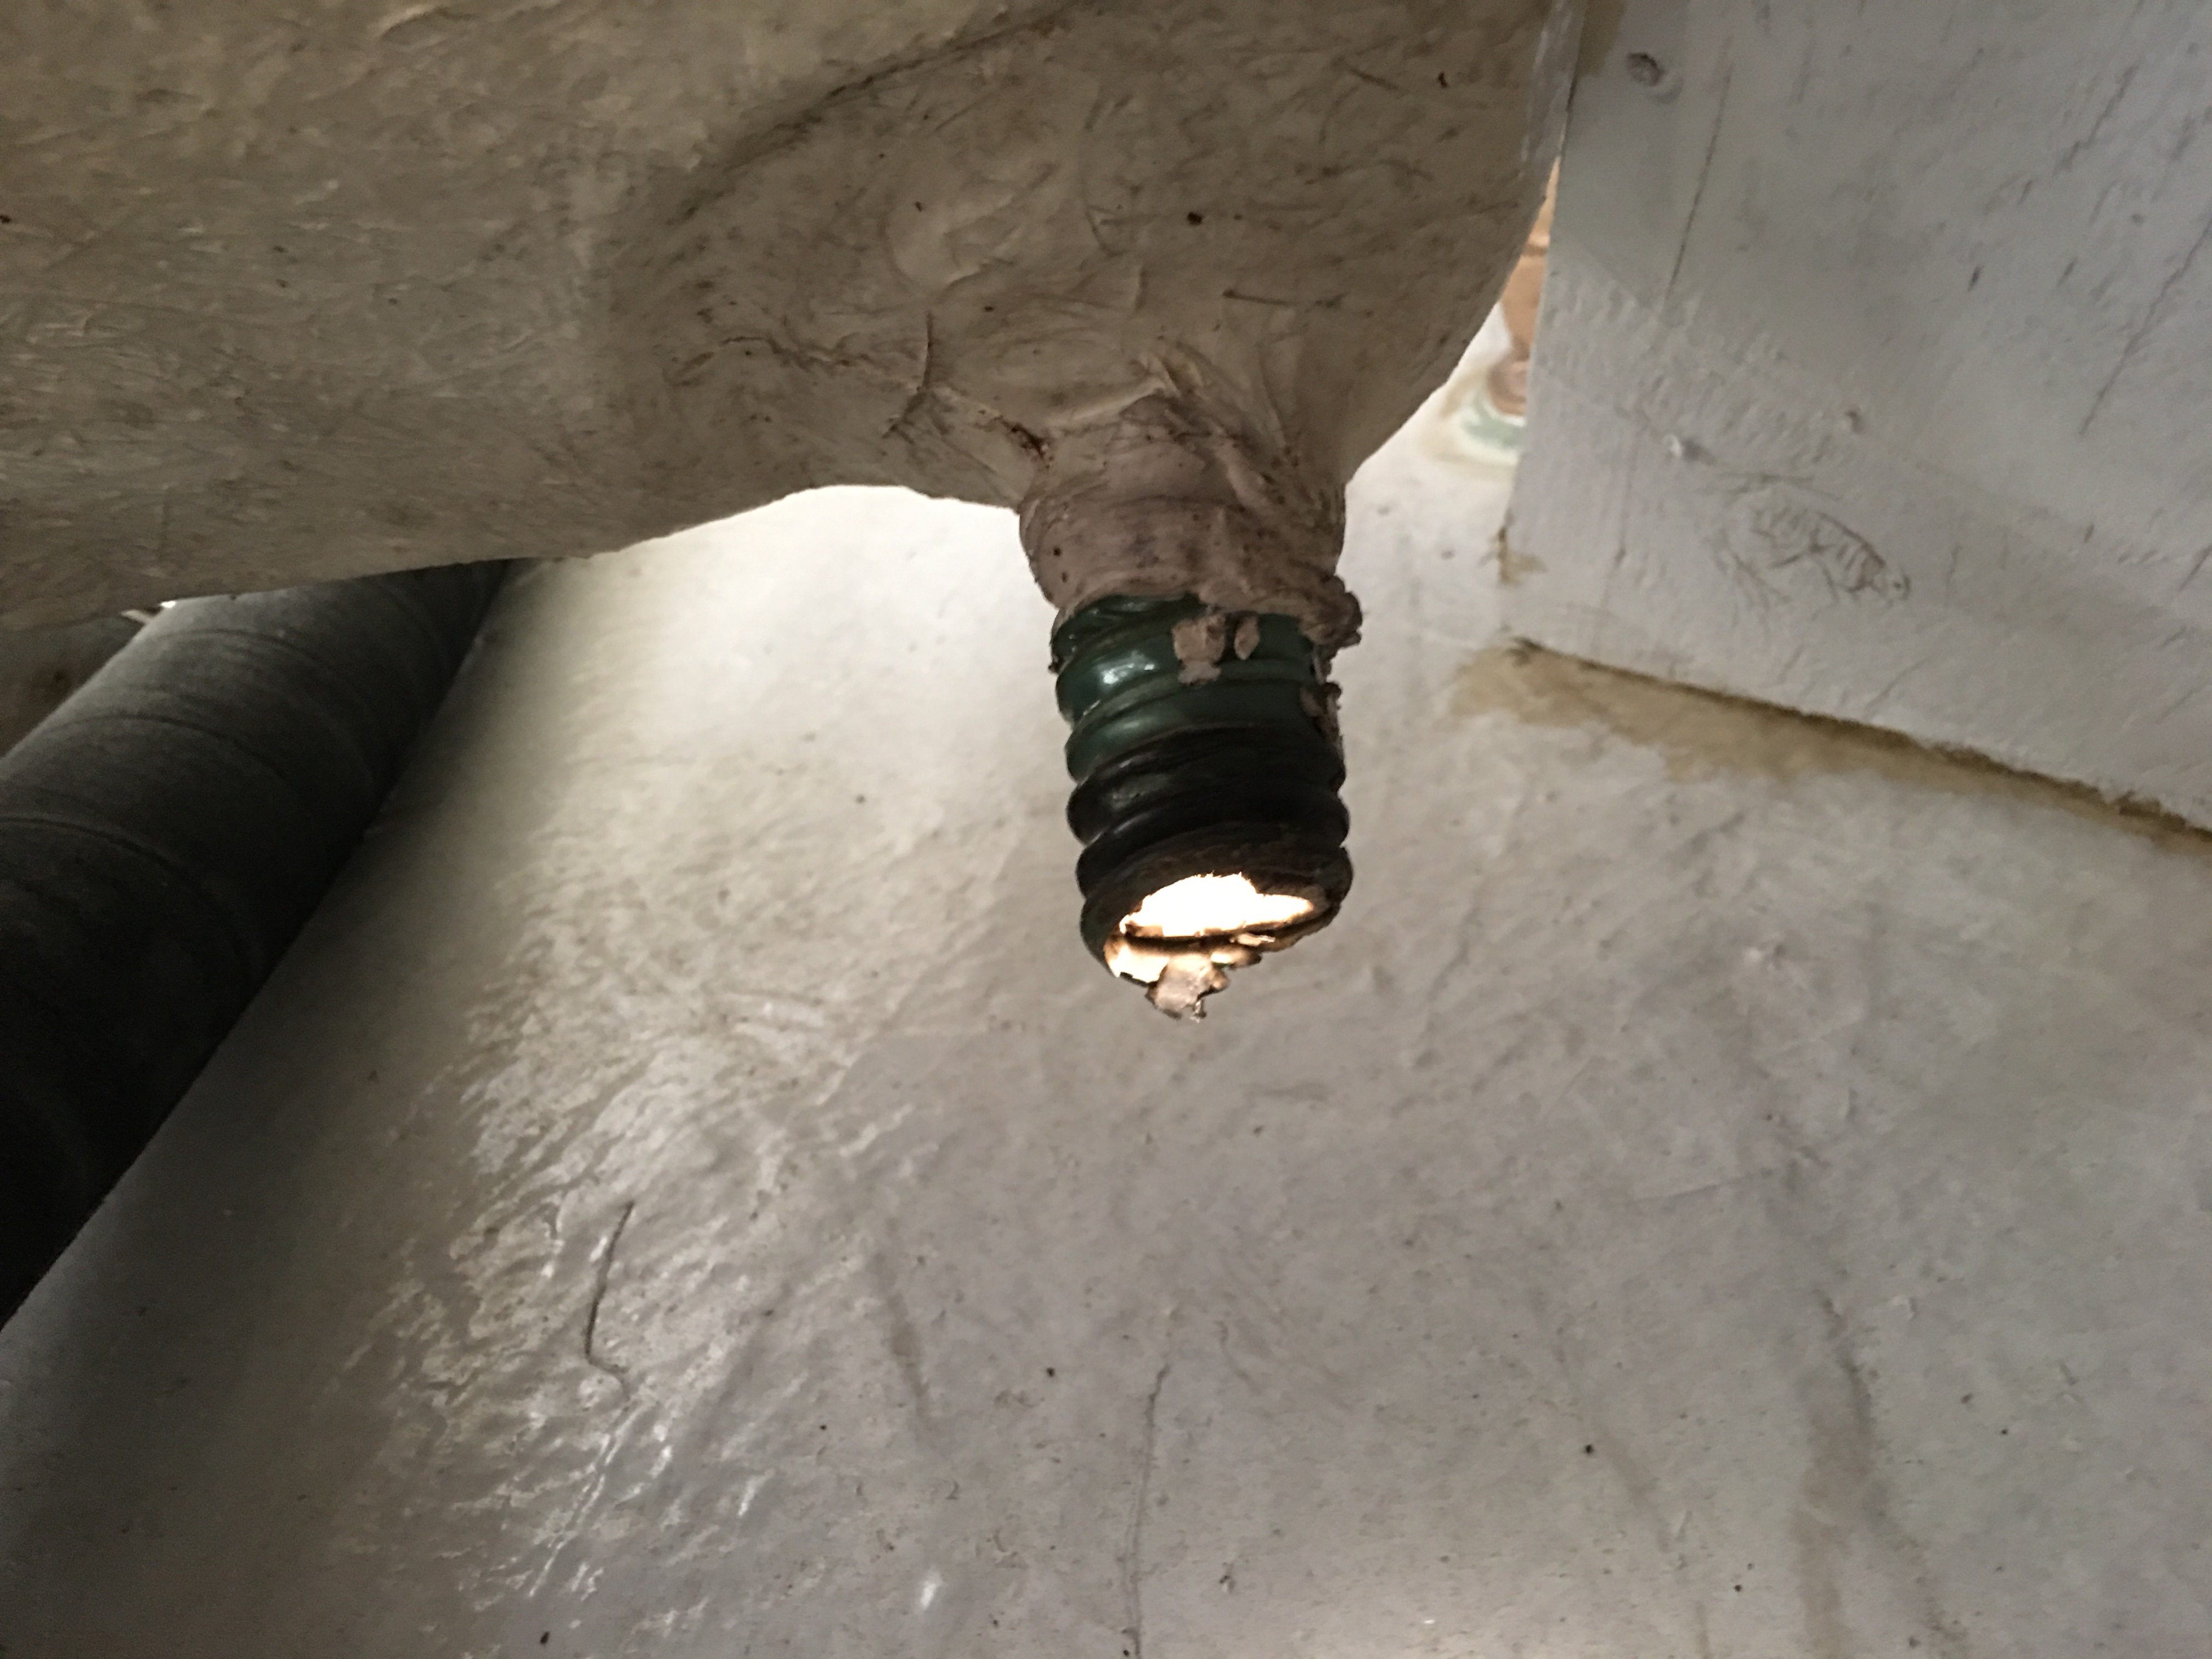
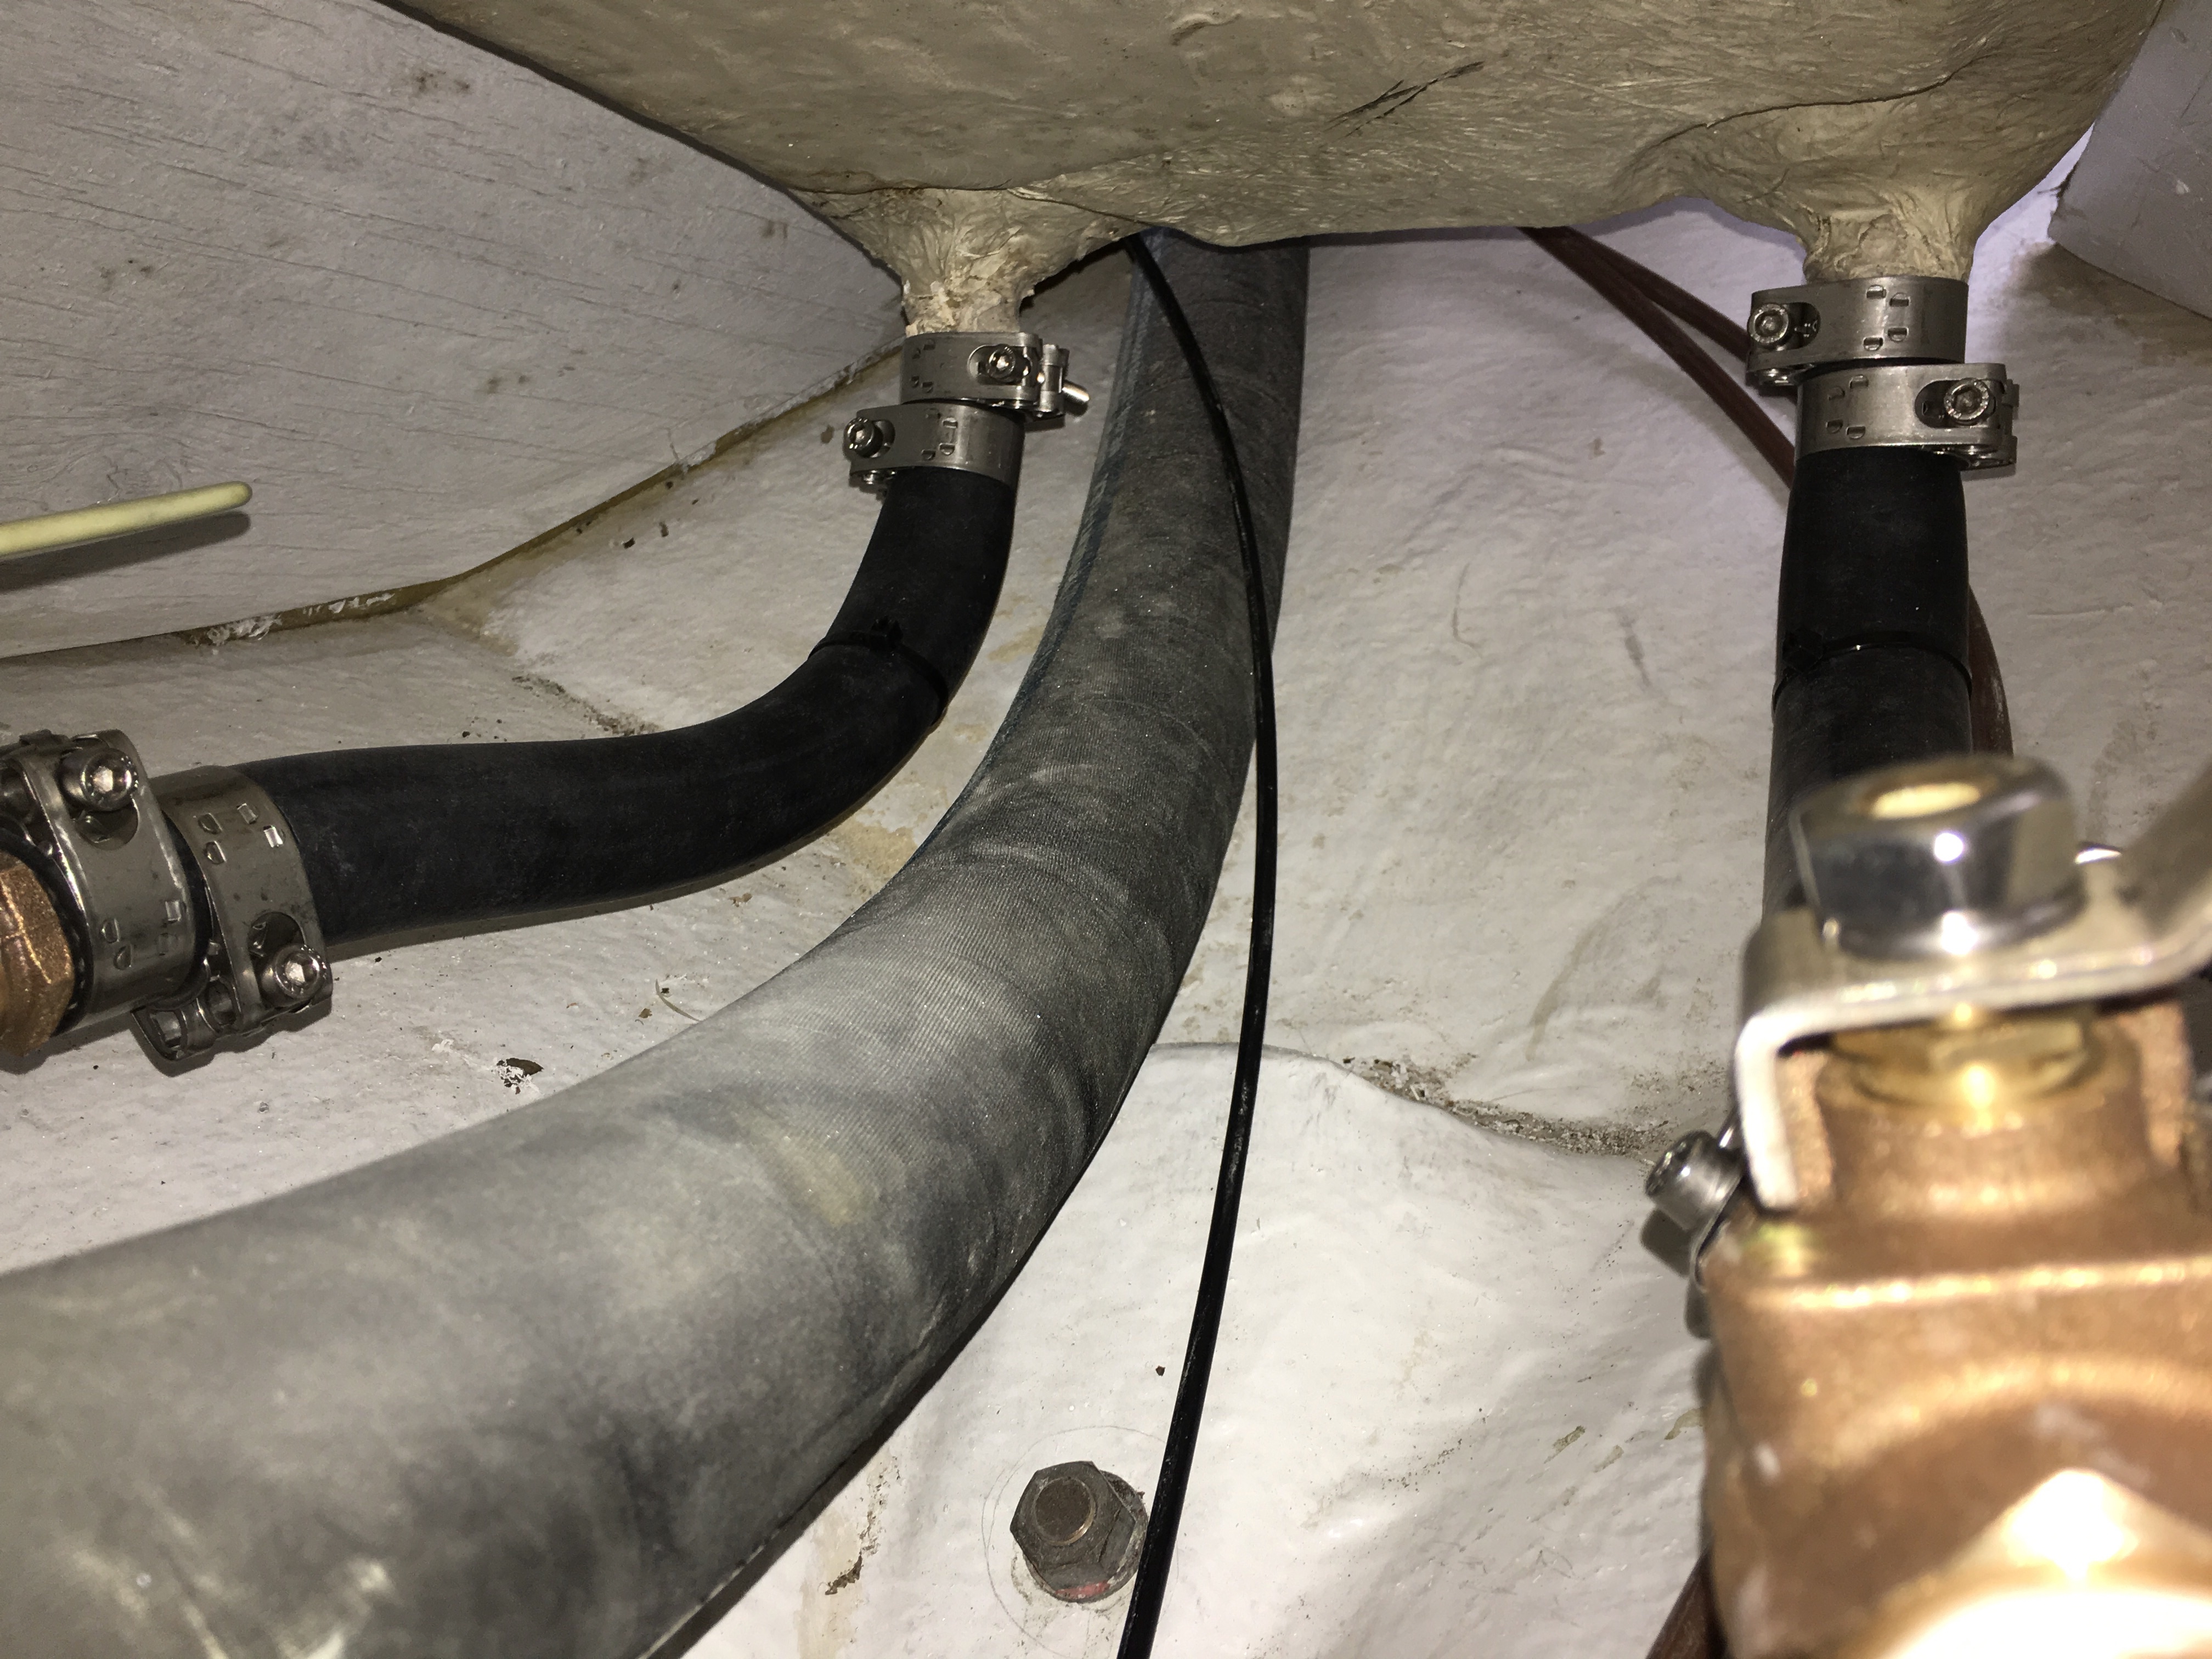
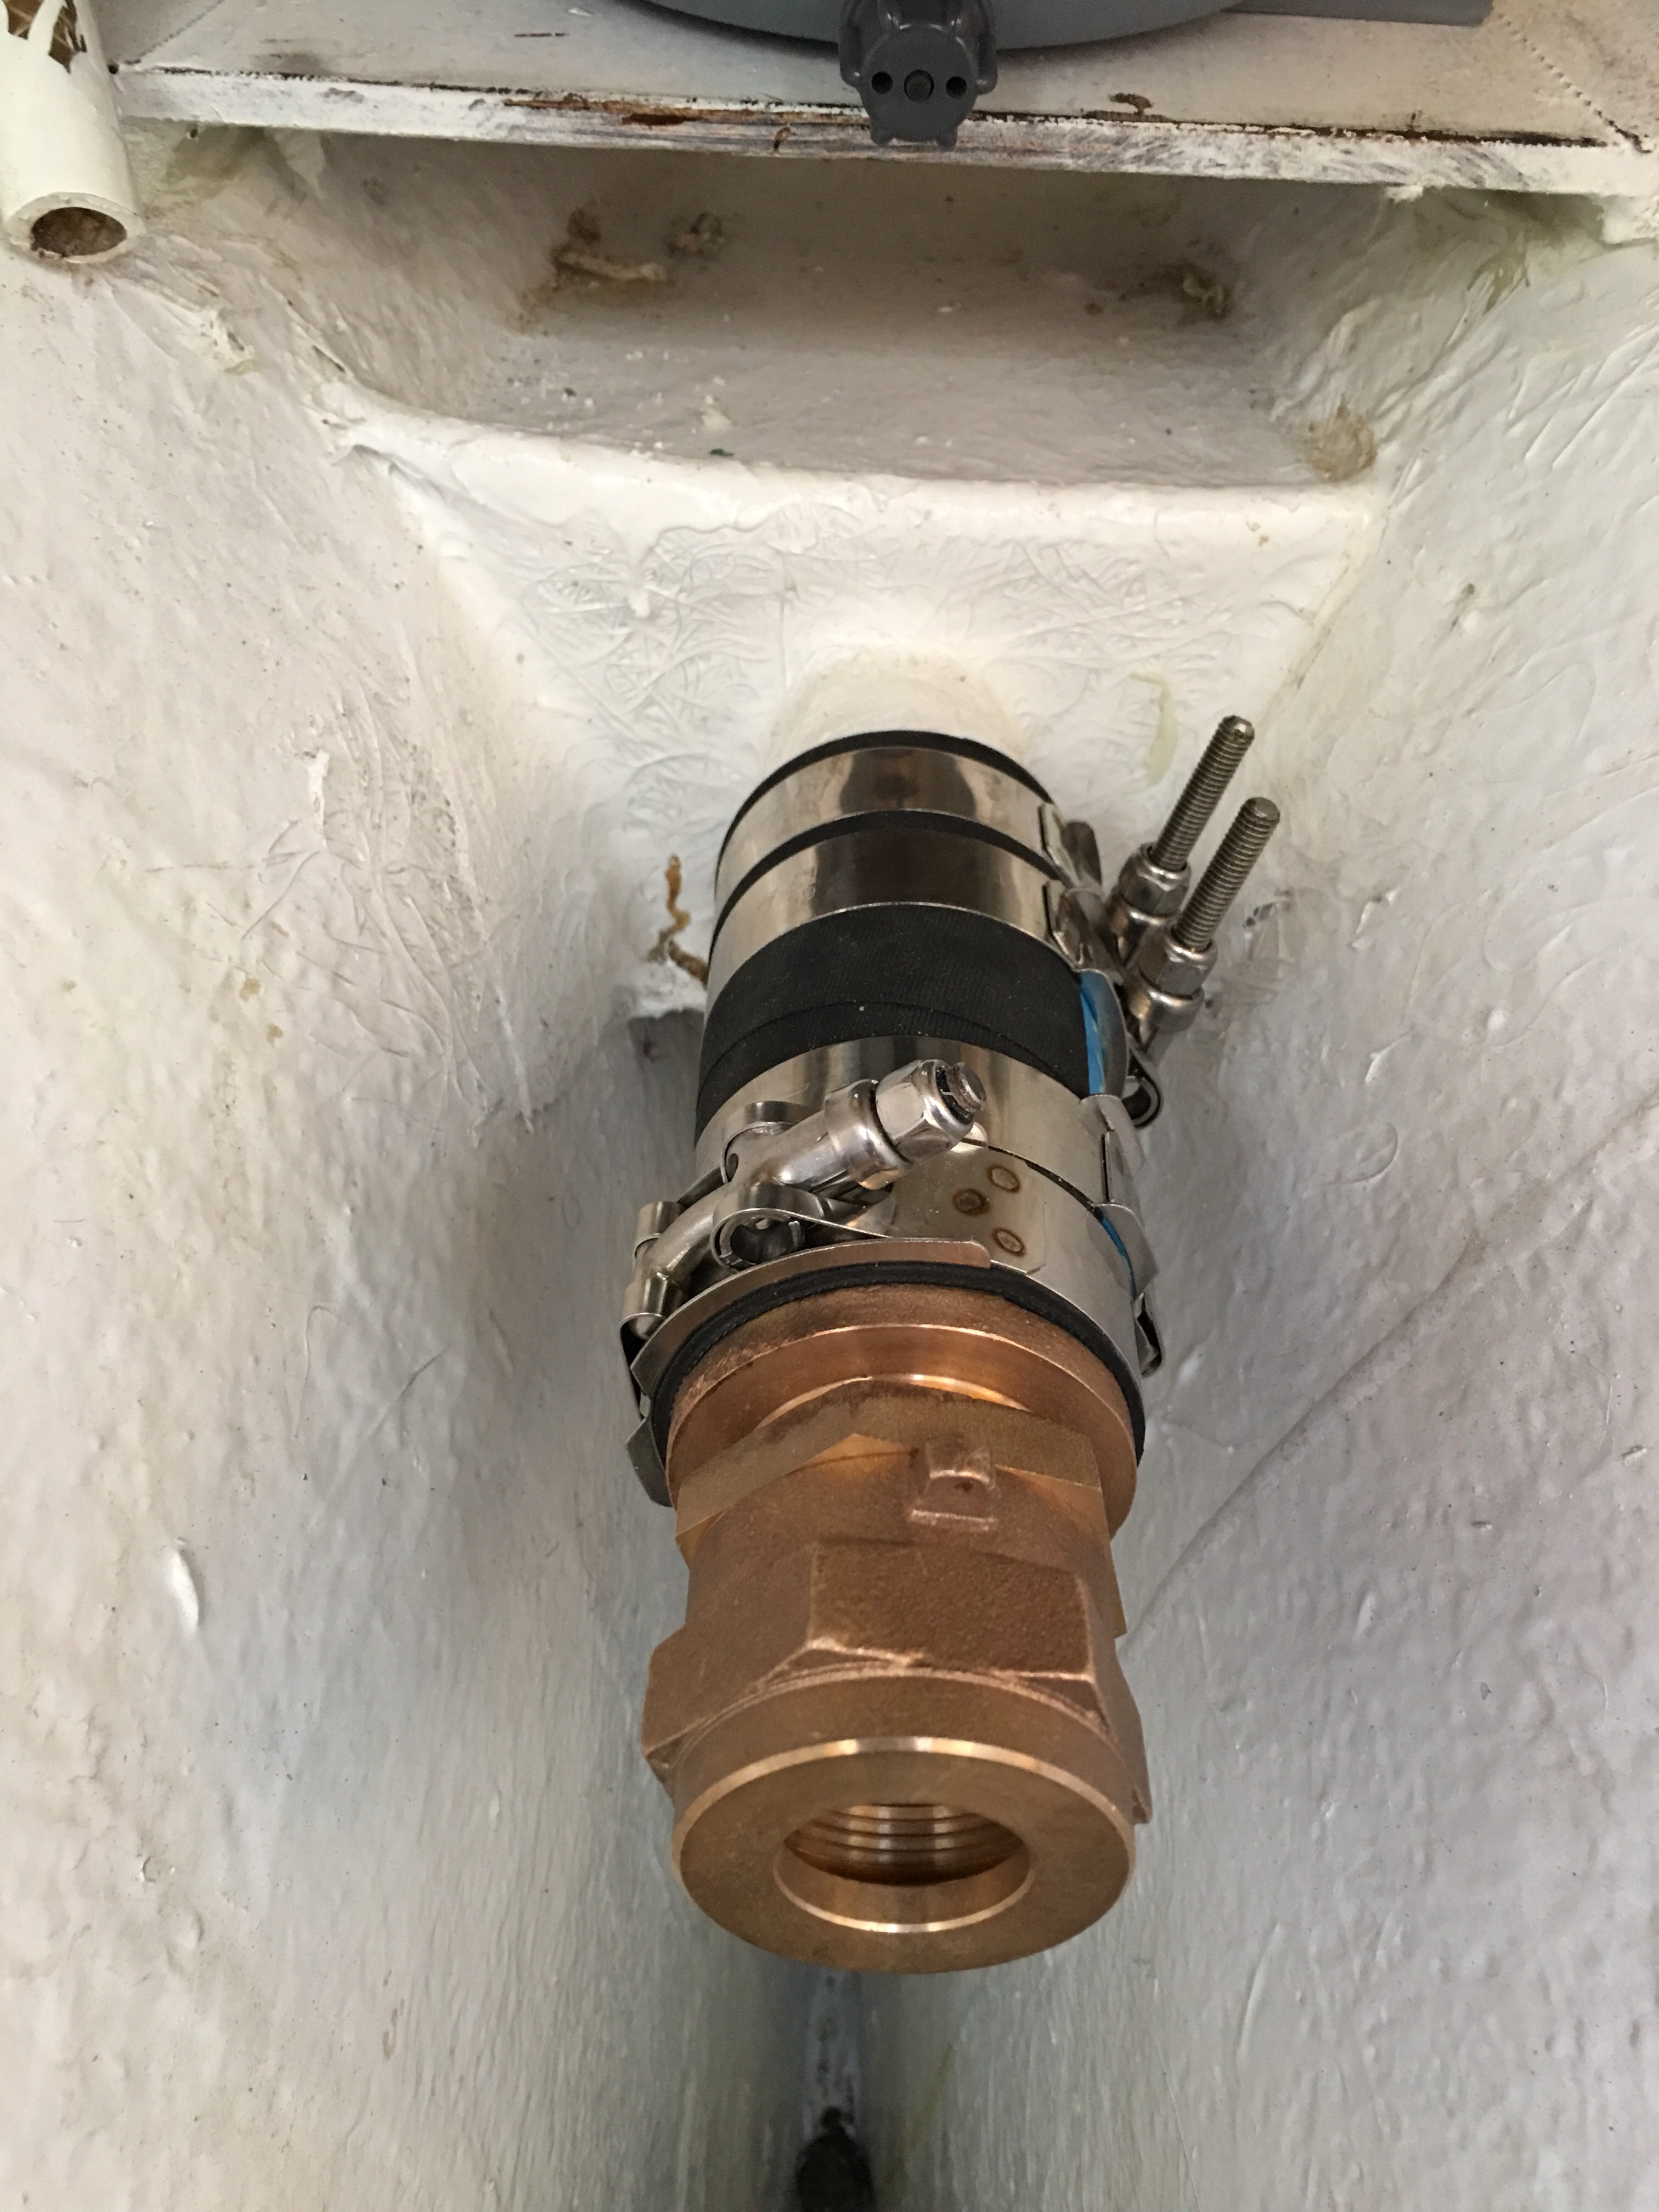
Above you see the setup and below after removing the hose.  I understand why this might have happened, with the engine in place this is nearly inaccessible.  Still, terrible.1

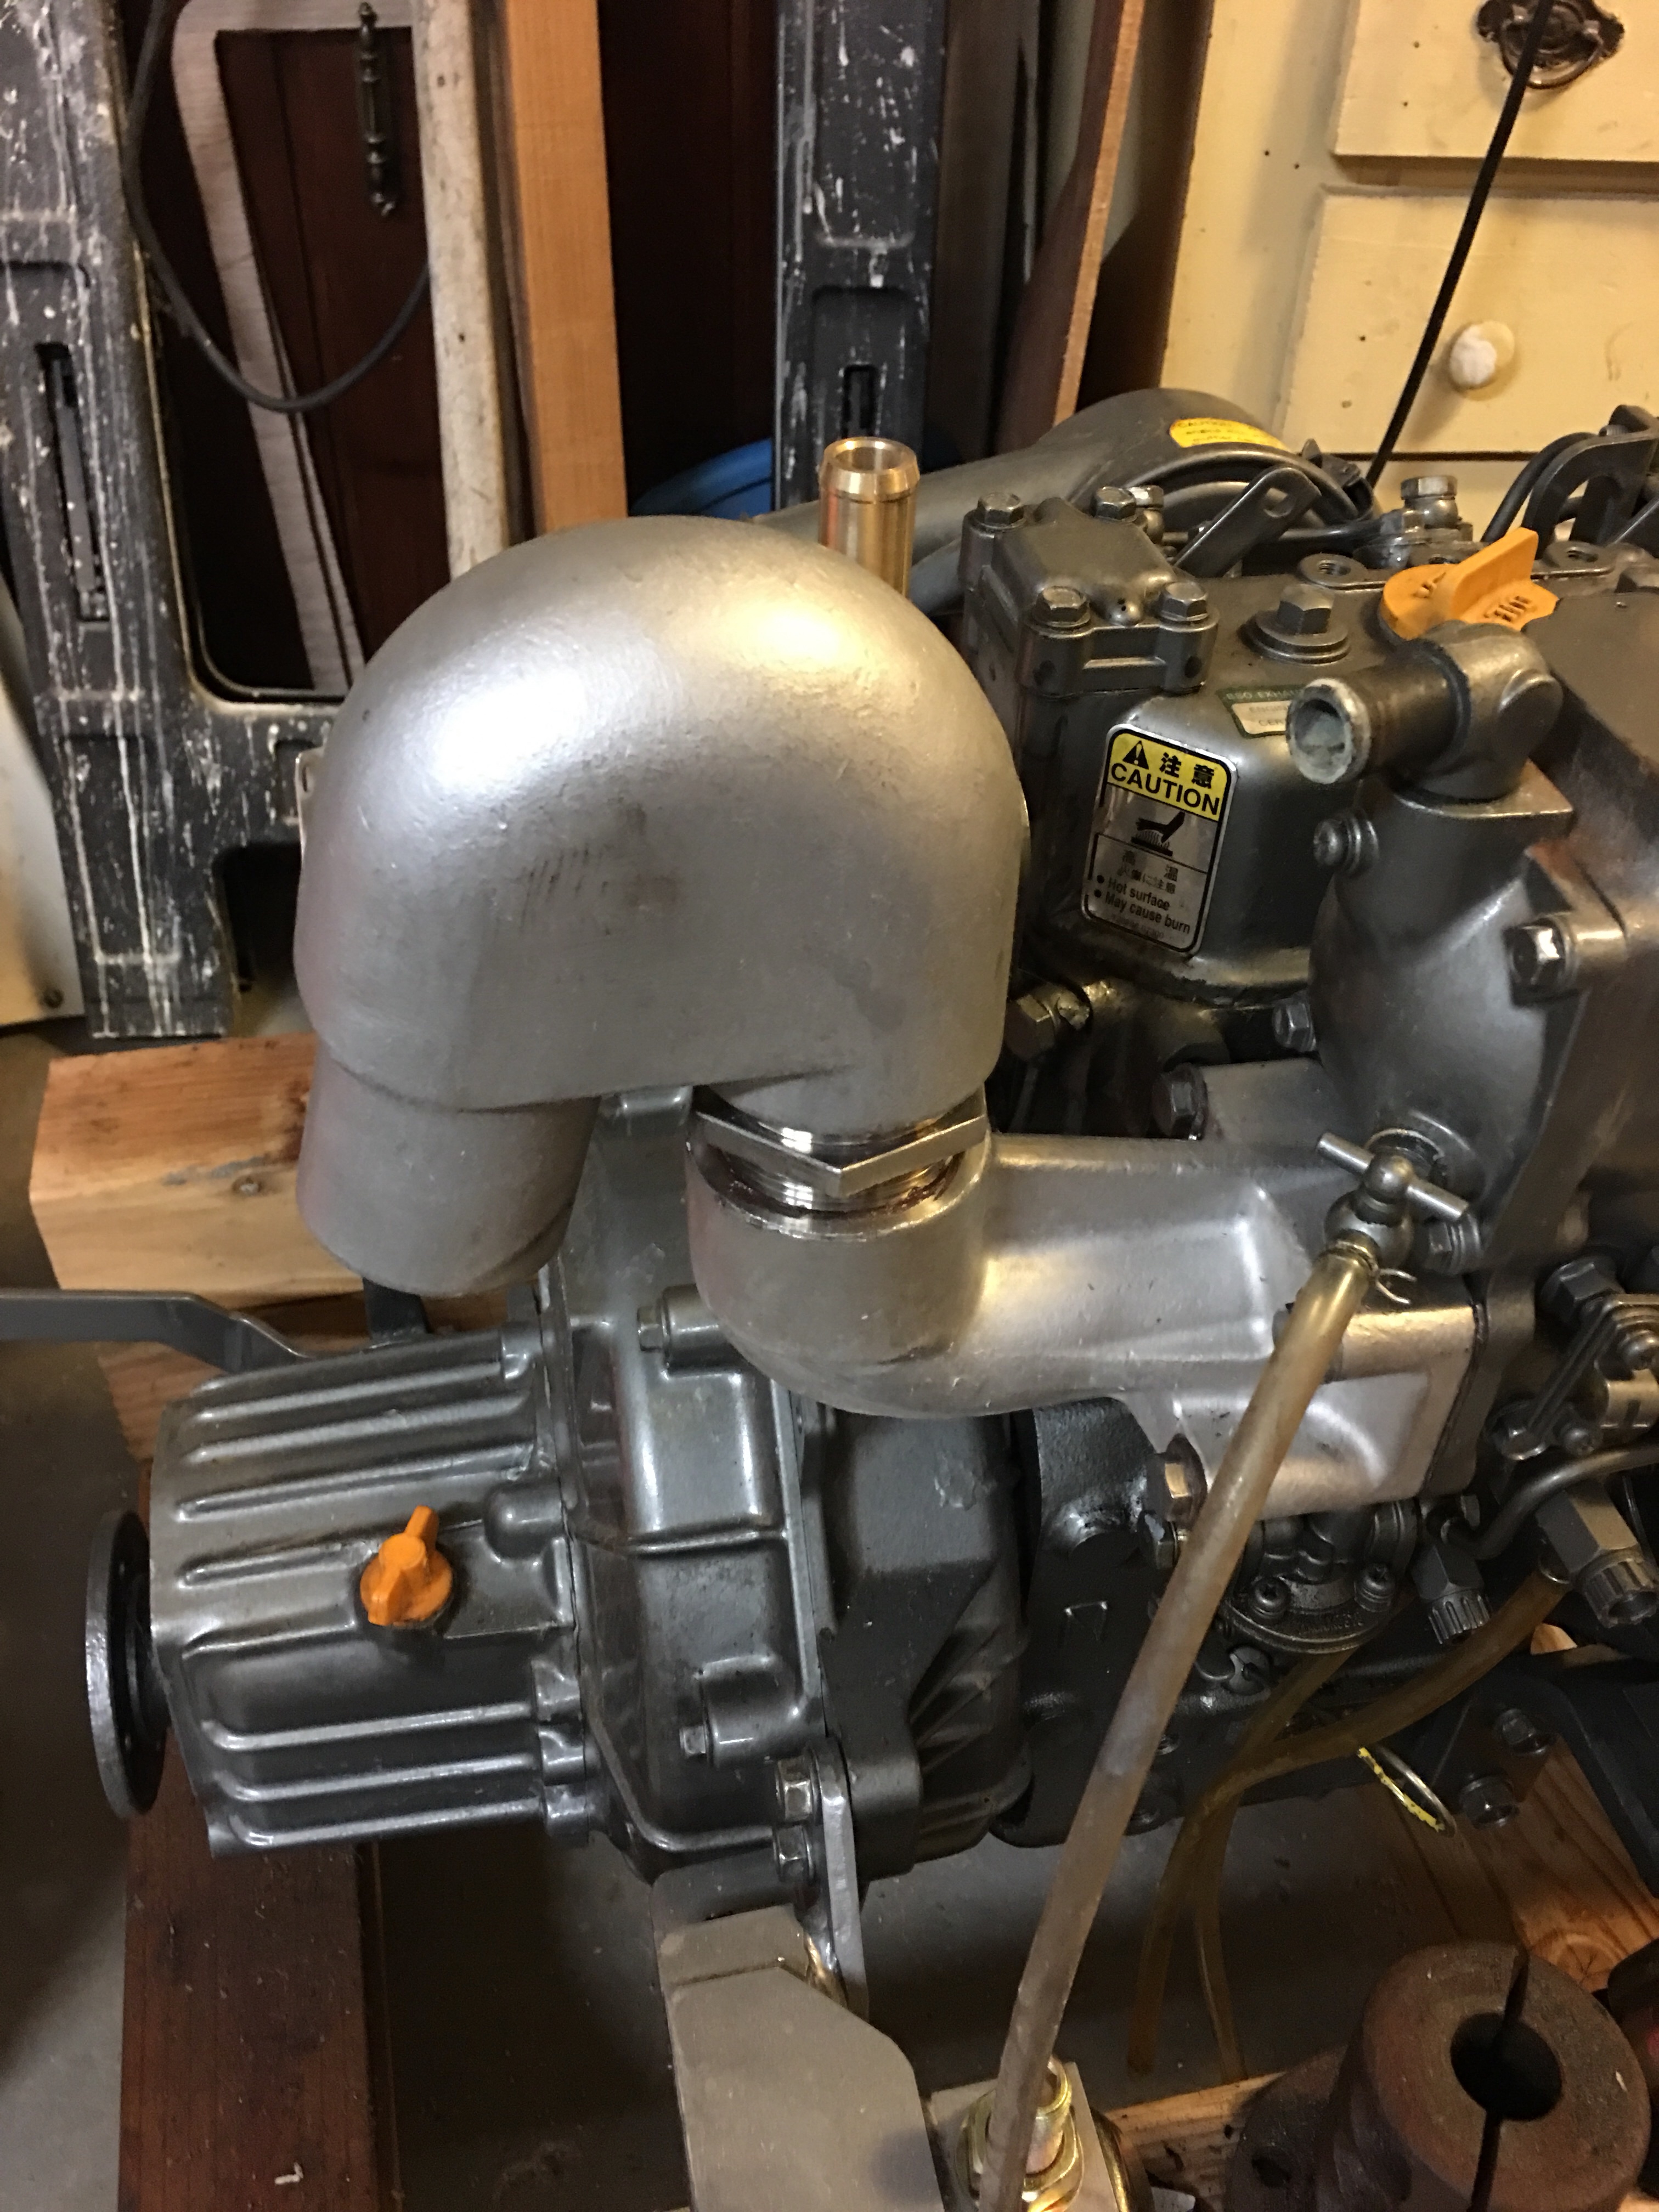
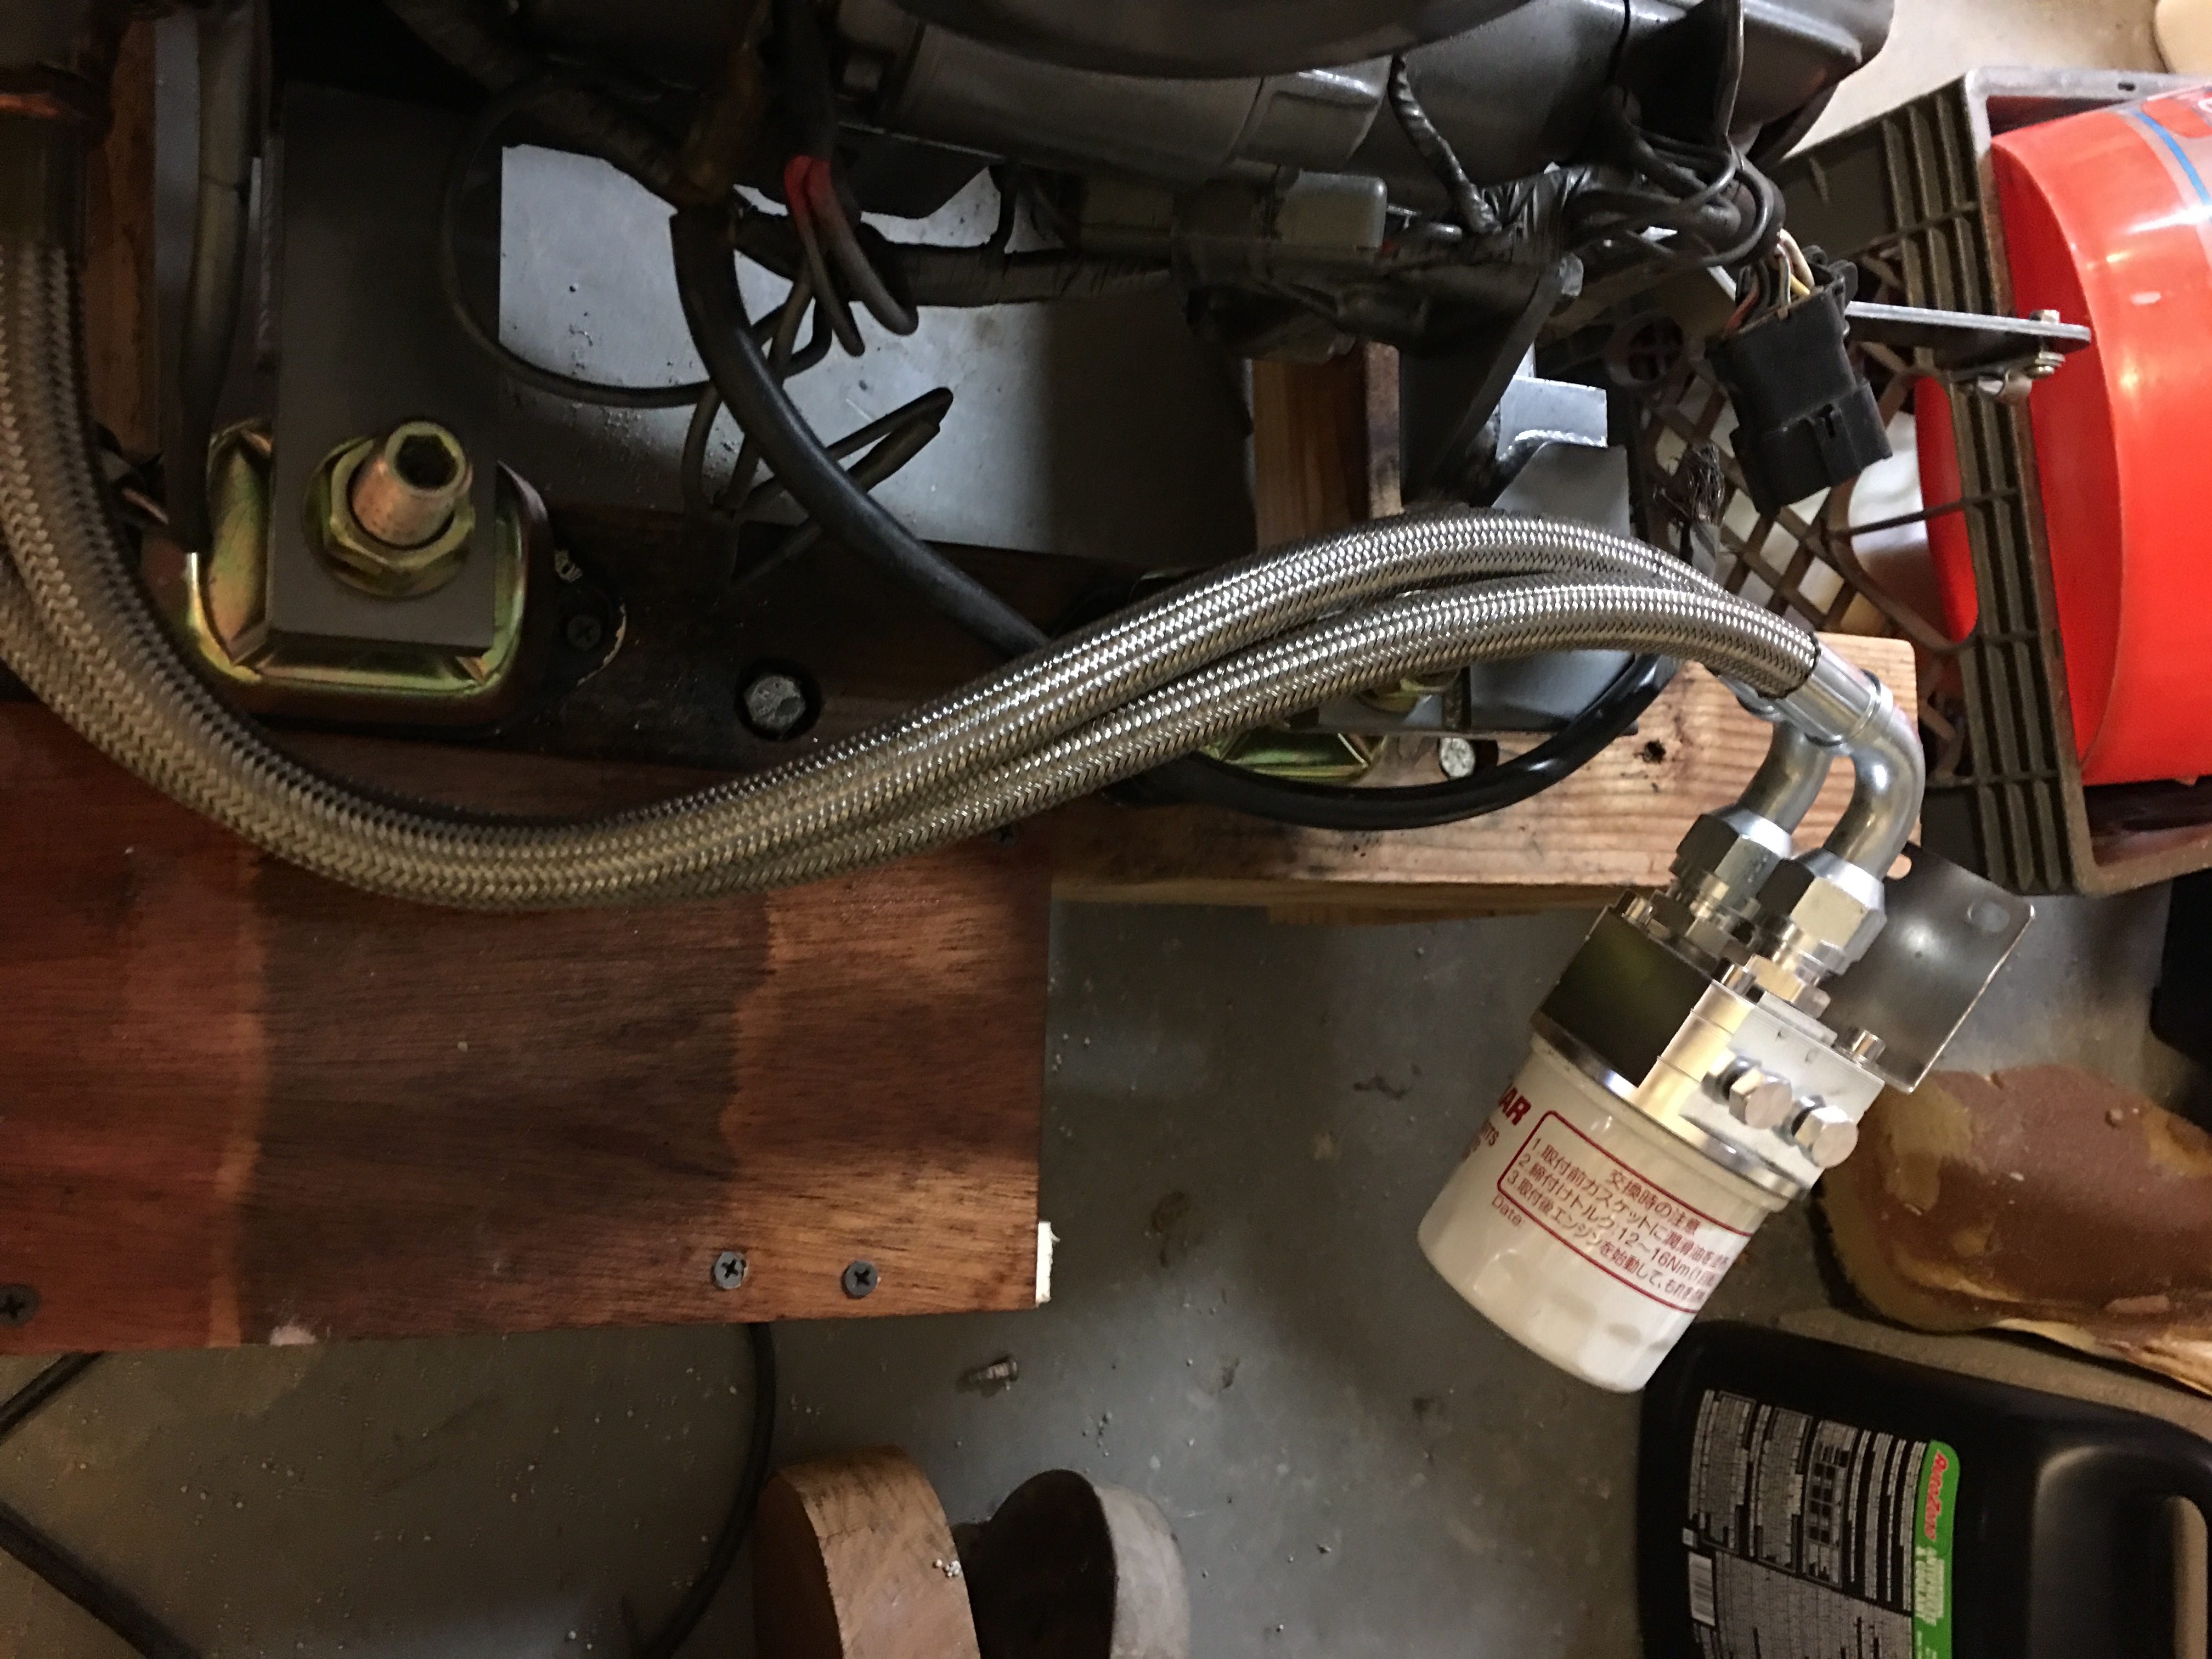
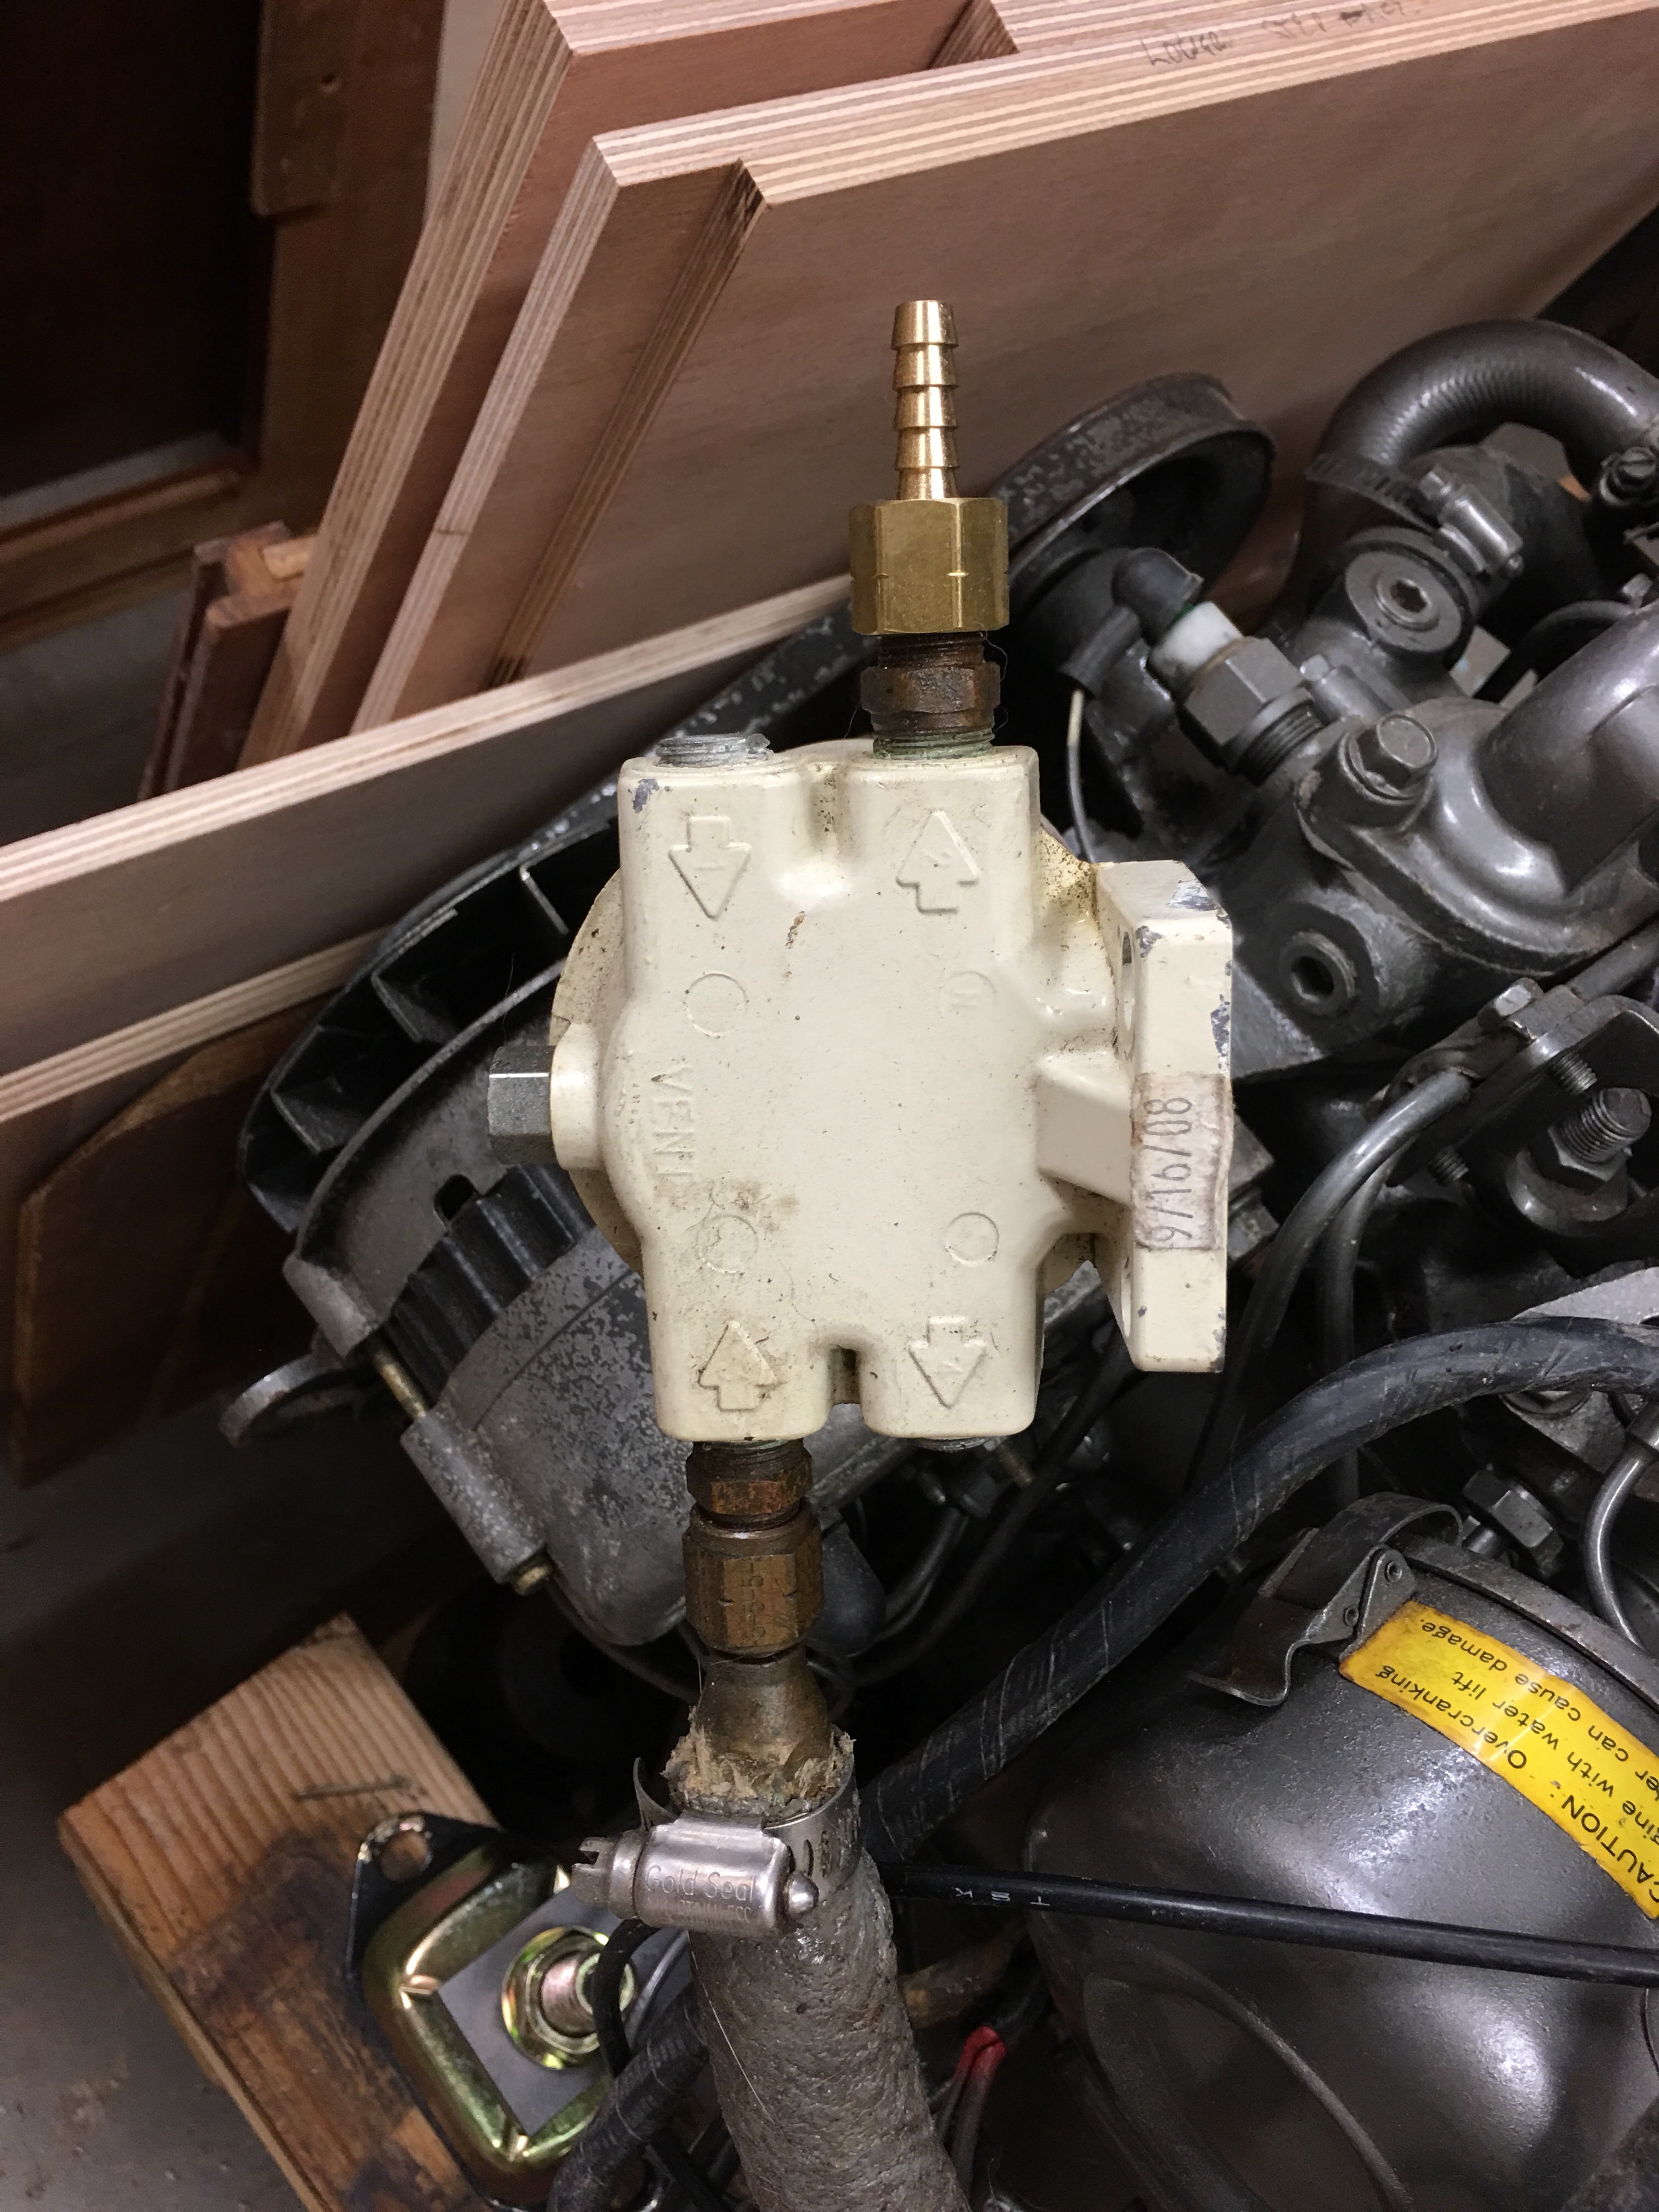
I also changed the fuel filter.  In the pic below you see it as I received it.  The hose barb points to the tank.  Anyone else see the problem?

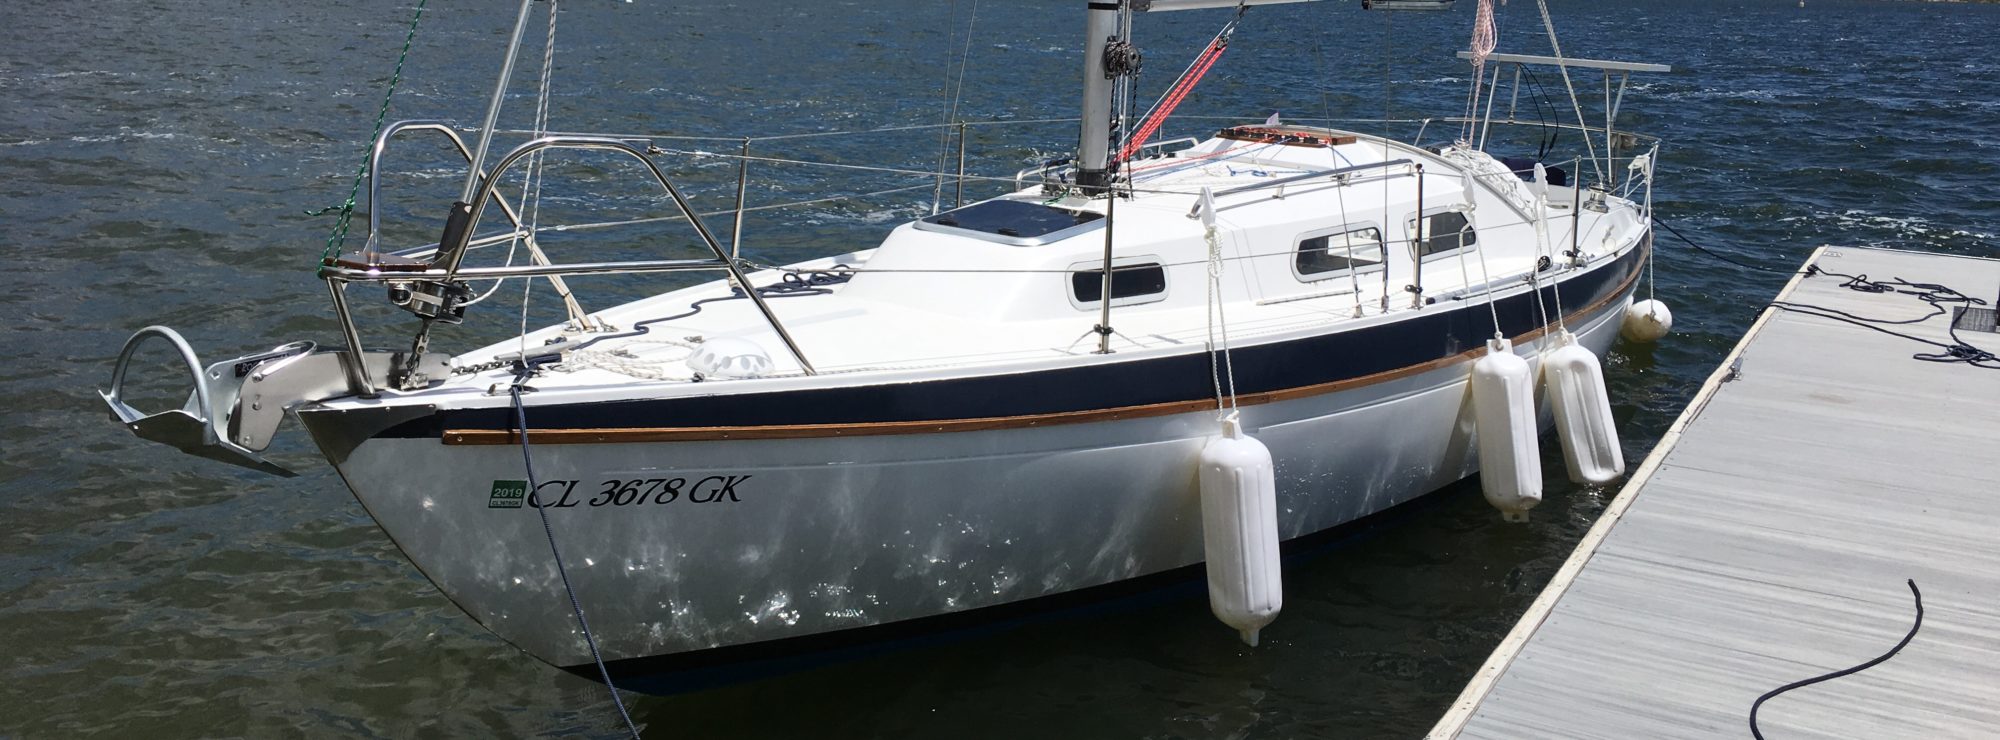
Here is a video of the engine happily pok pok poking away.

http://www.marieholm261.us/wp-content/uploads/2018/03/img_5012.mov

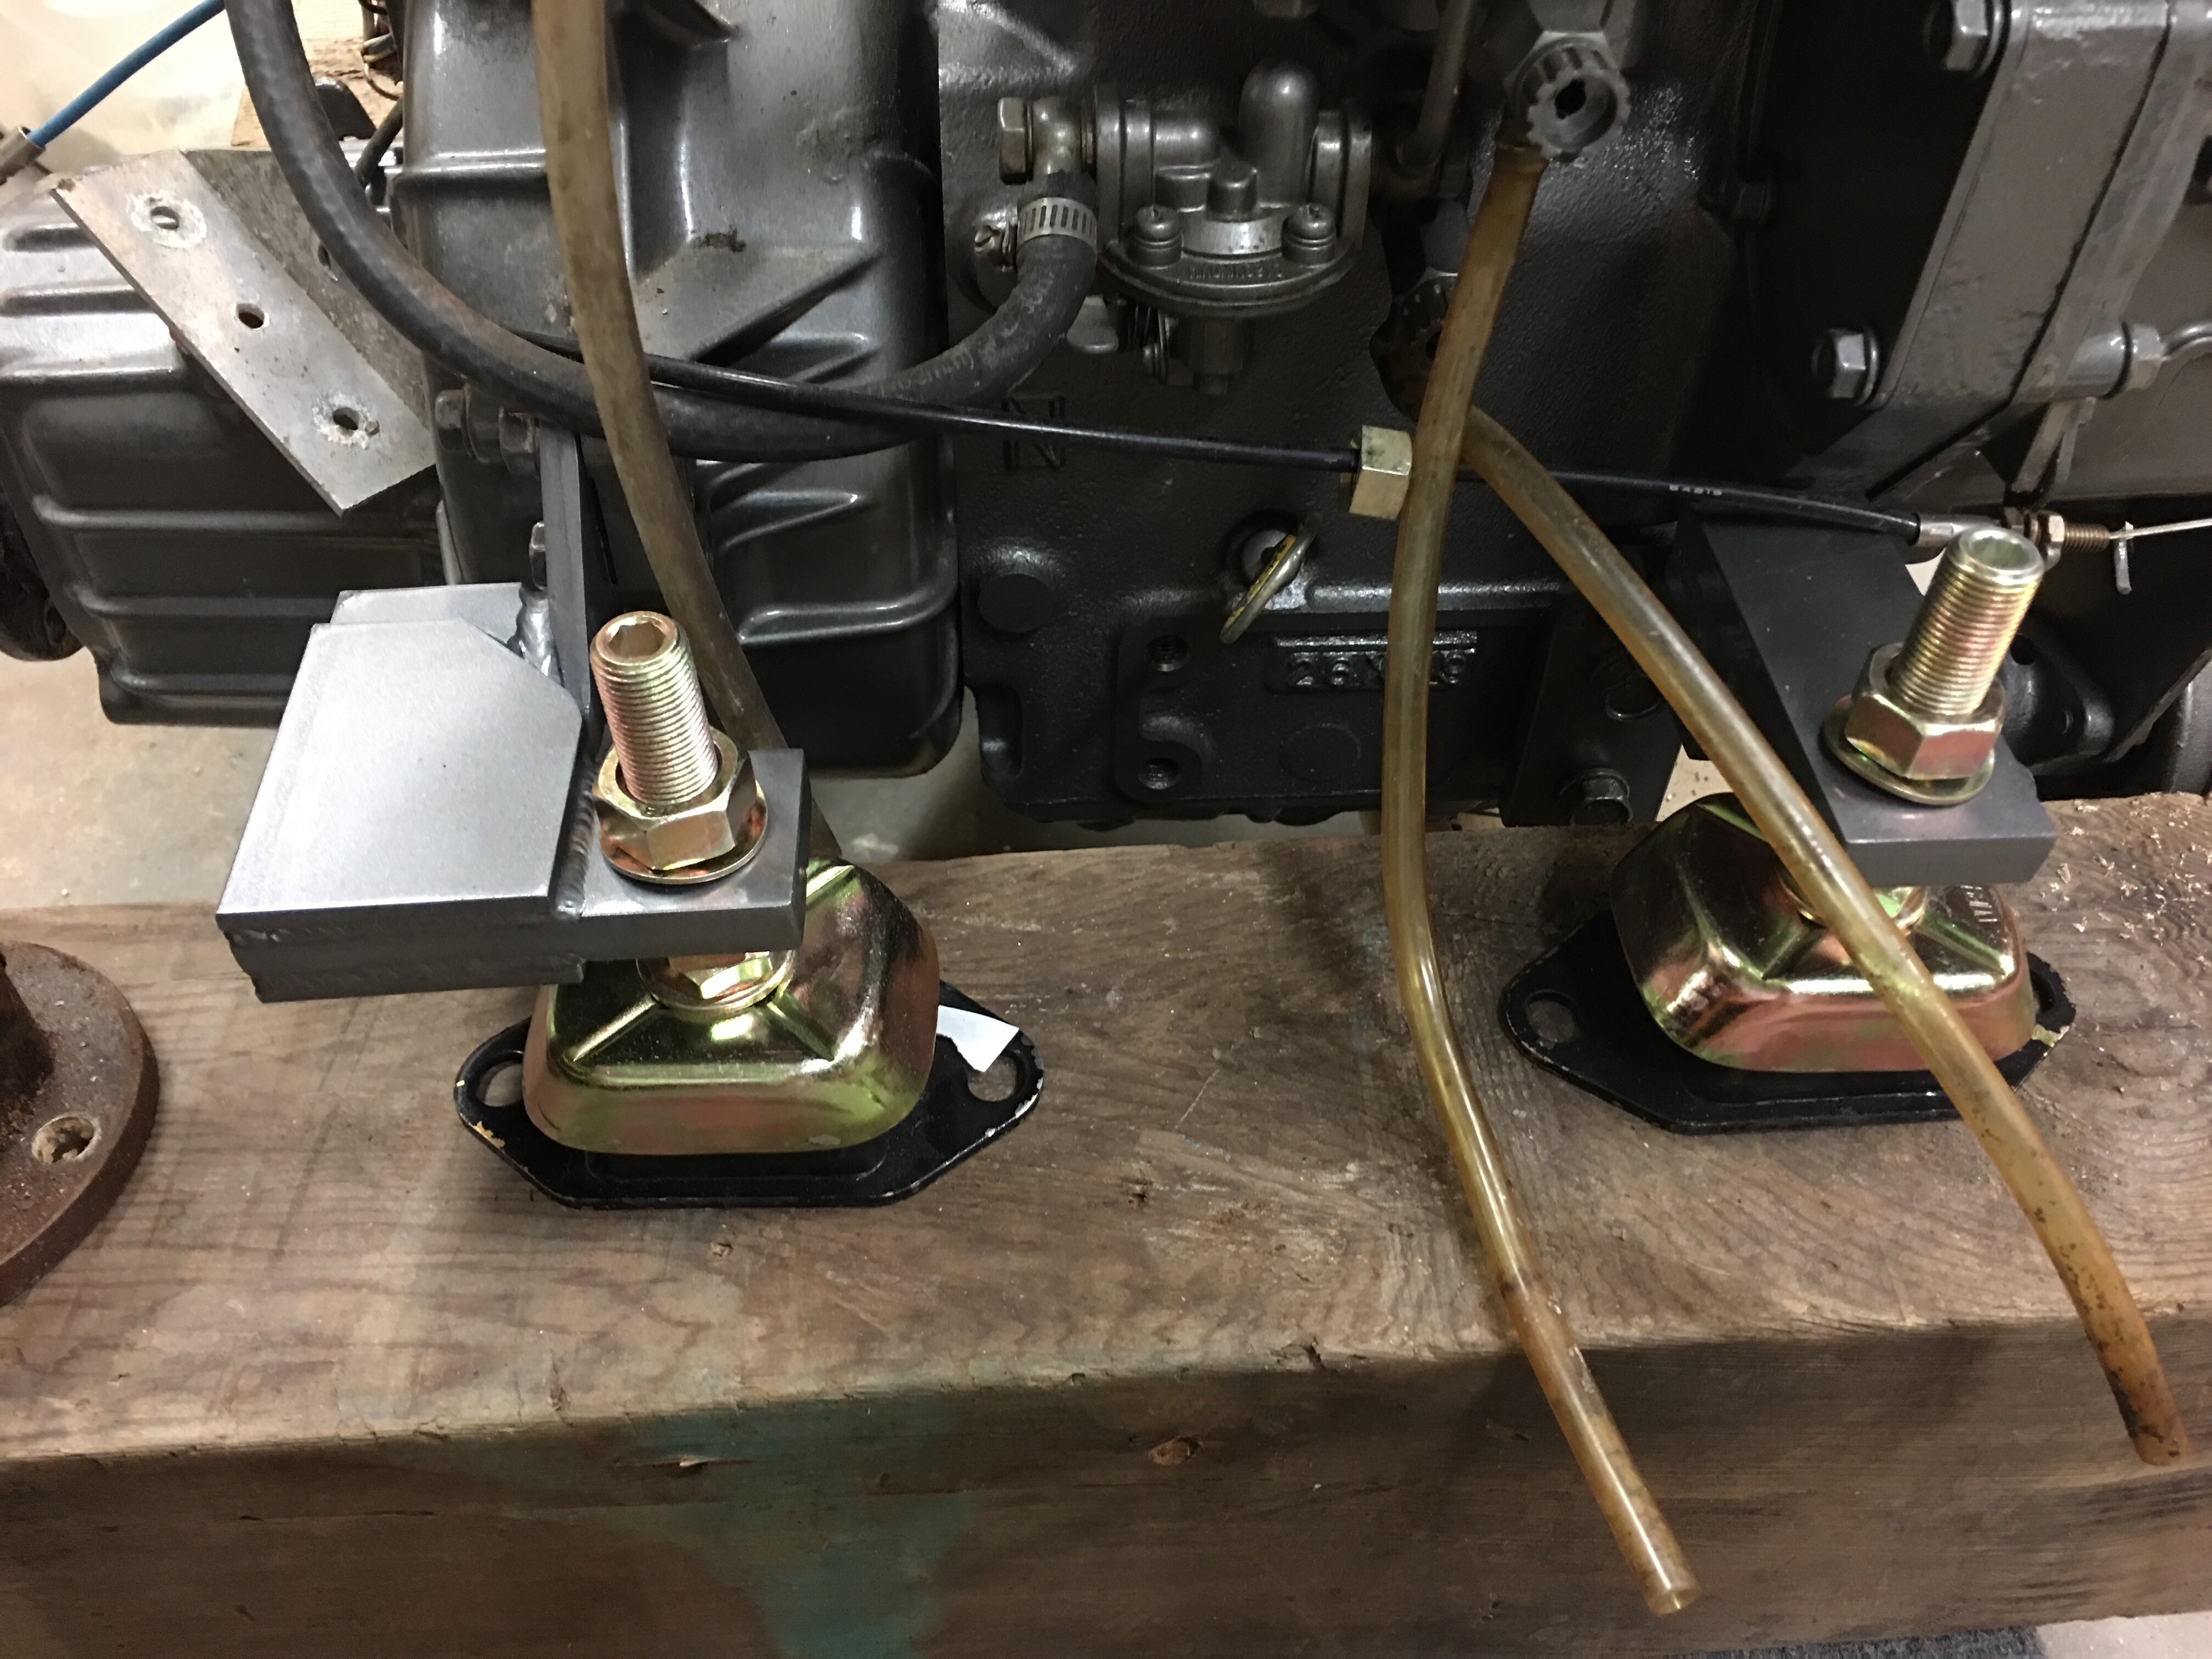
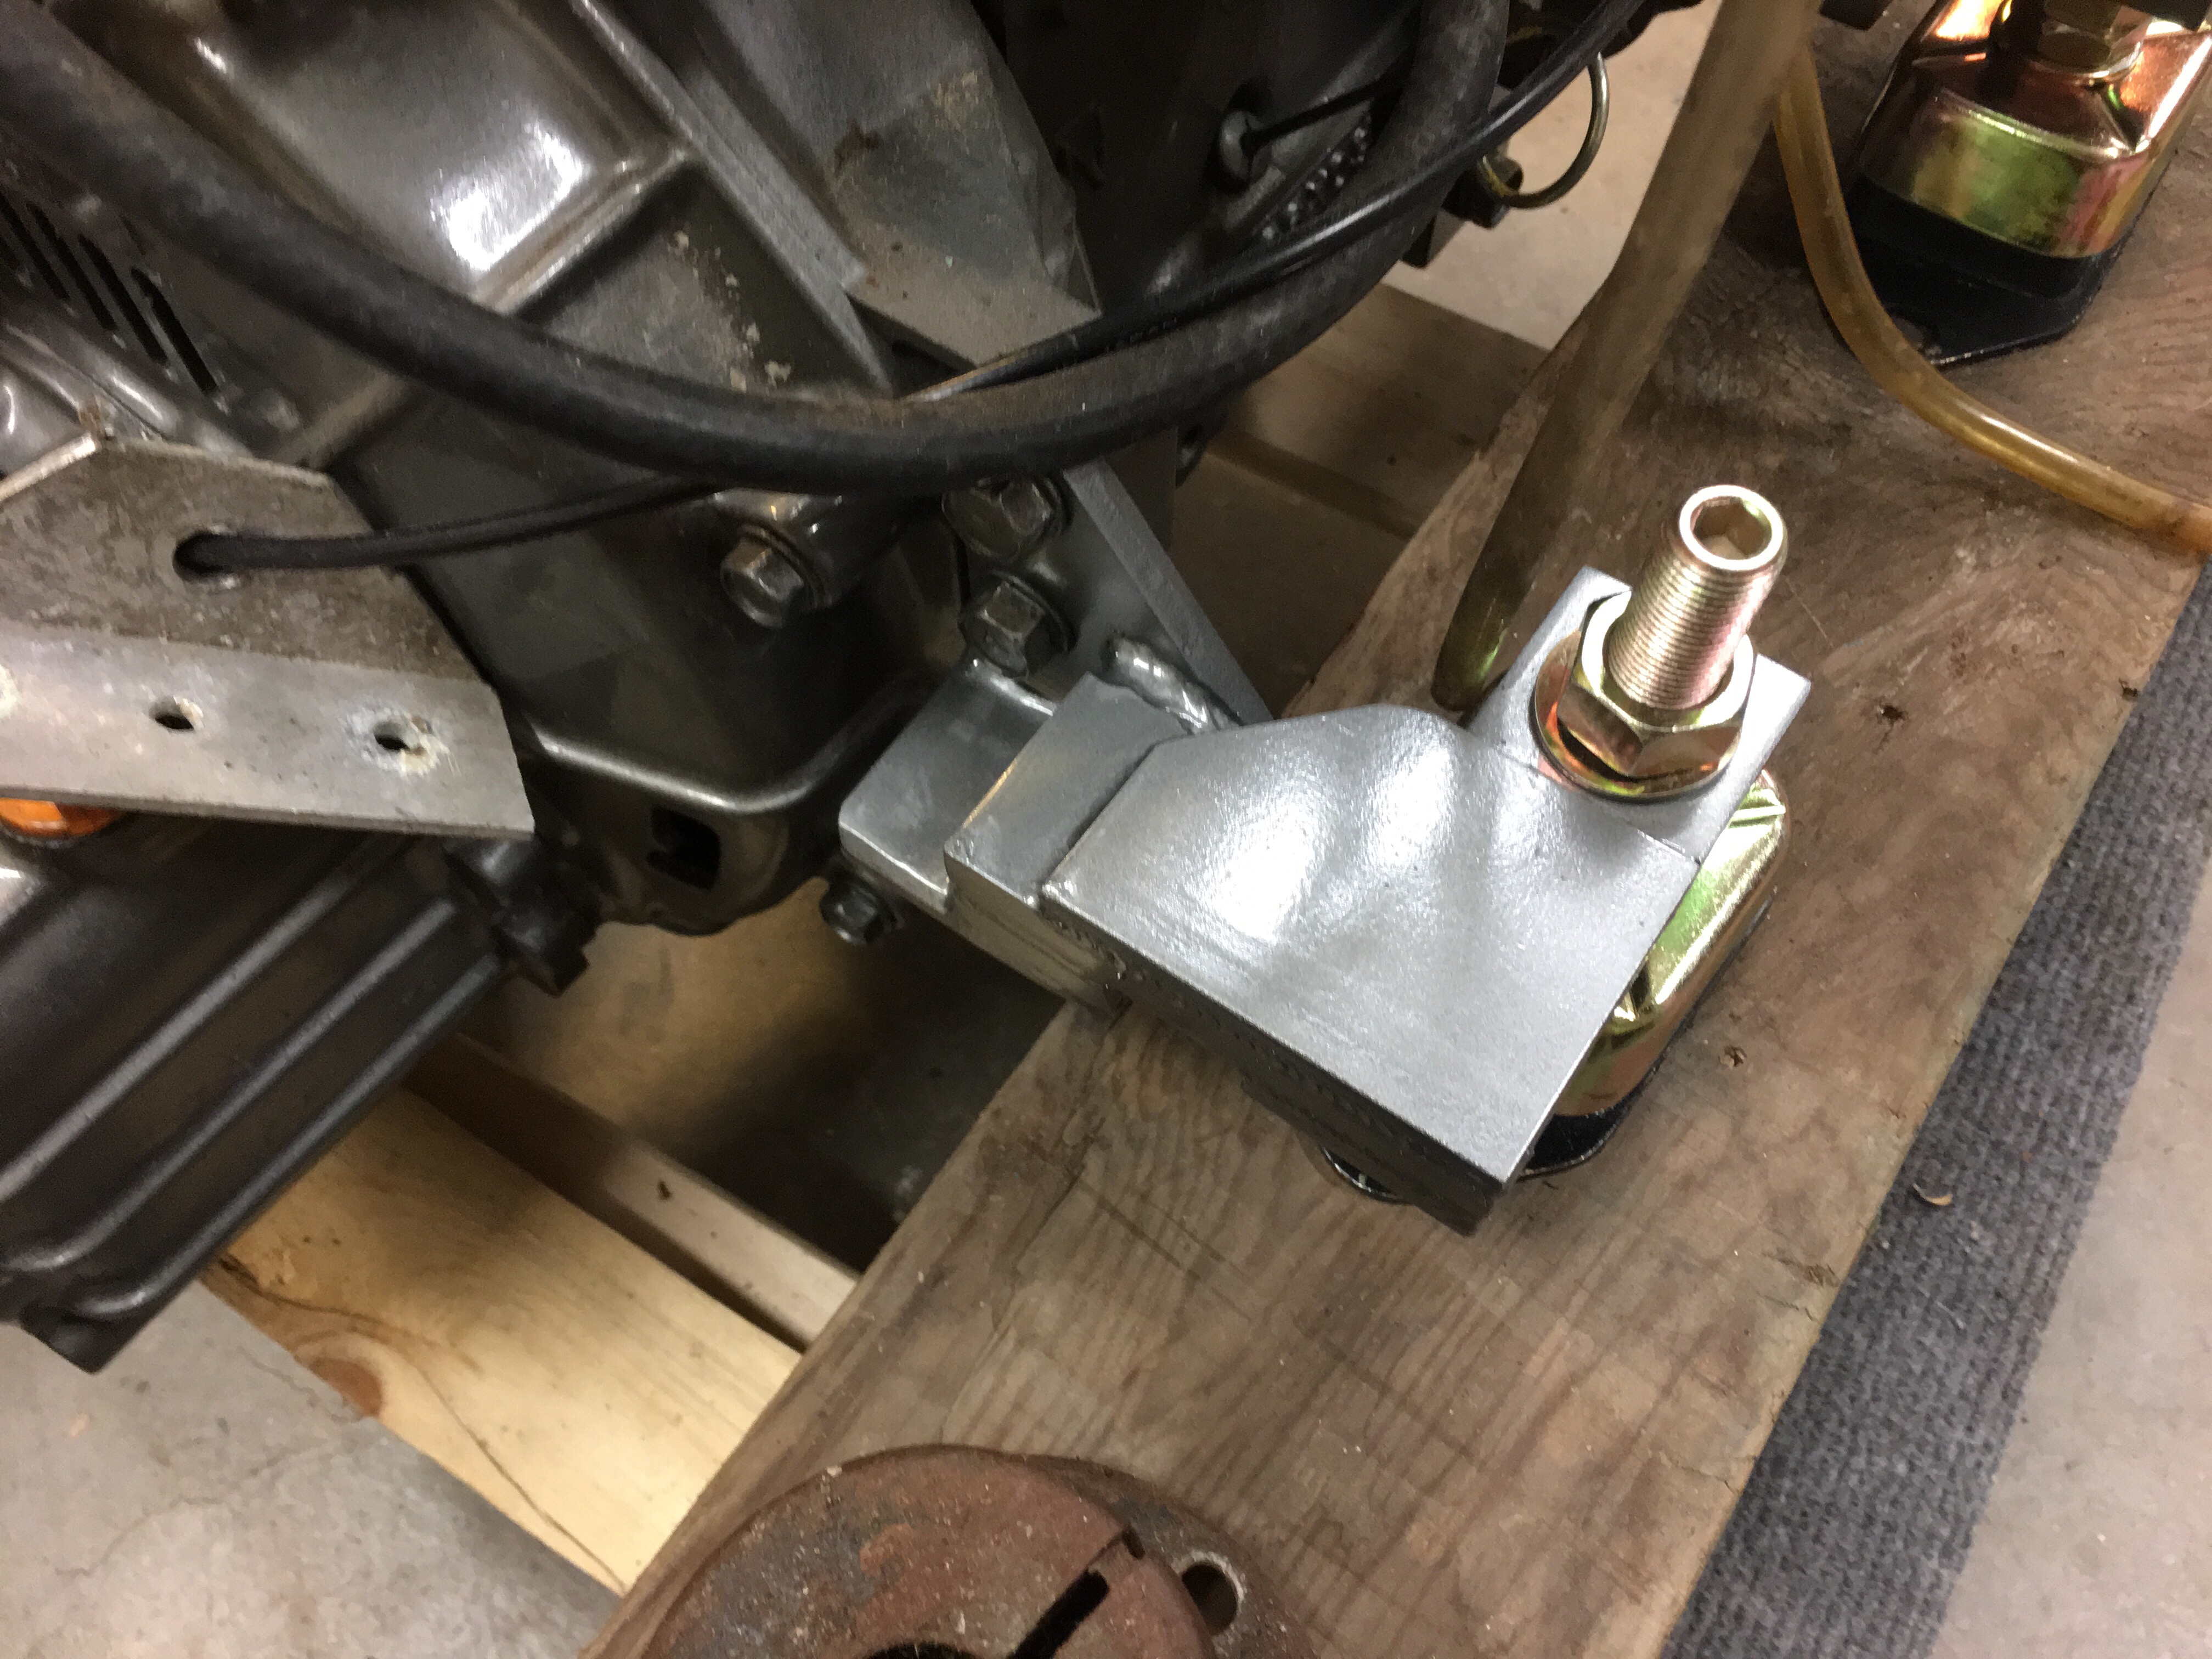
I also put the new cutless bearing in.  I tapped the set screw holes in the sides.  The old cutless bearing was held in with 5200 (WTF, PO???)  and so I cleaned all that out, heavily waxed the bearing and filled the extra space with epoxy.  The shaft in the pic is getting replaced, it has some bad pitting, but I shimmed it into the center of the interior opening where the stuffing box goes so the cutless bearing would be lined up properly.

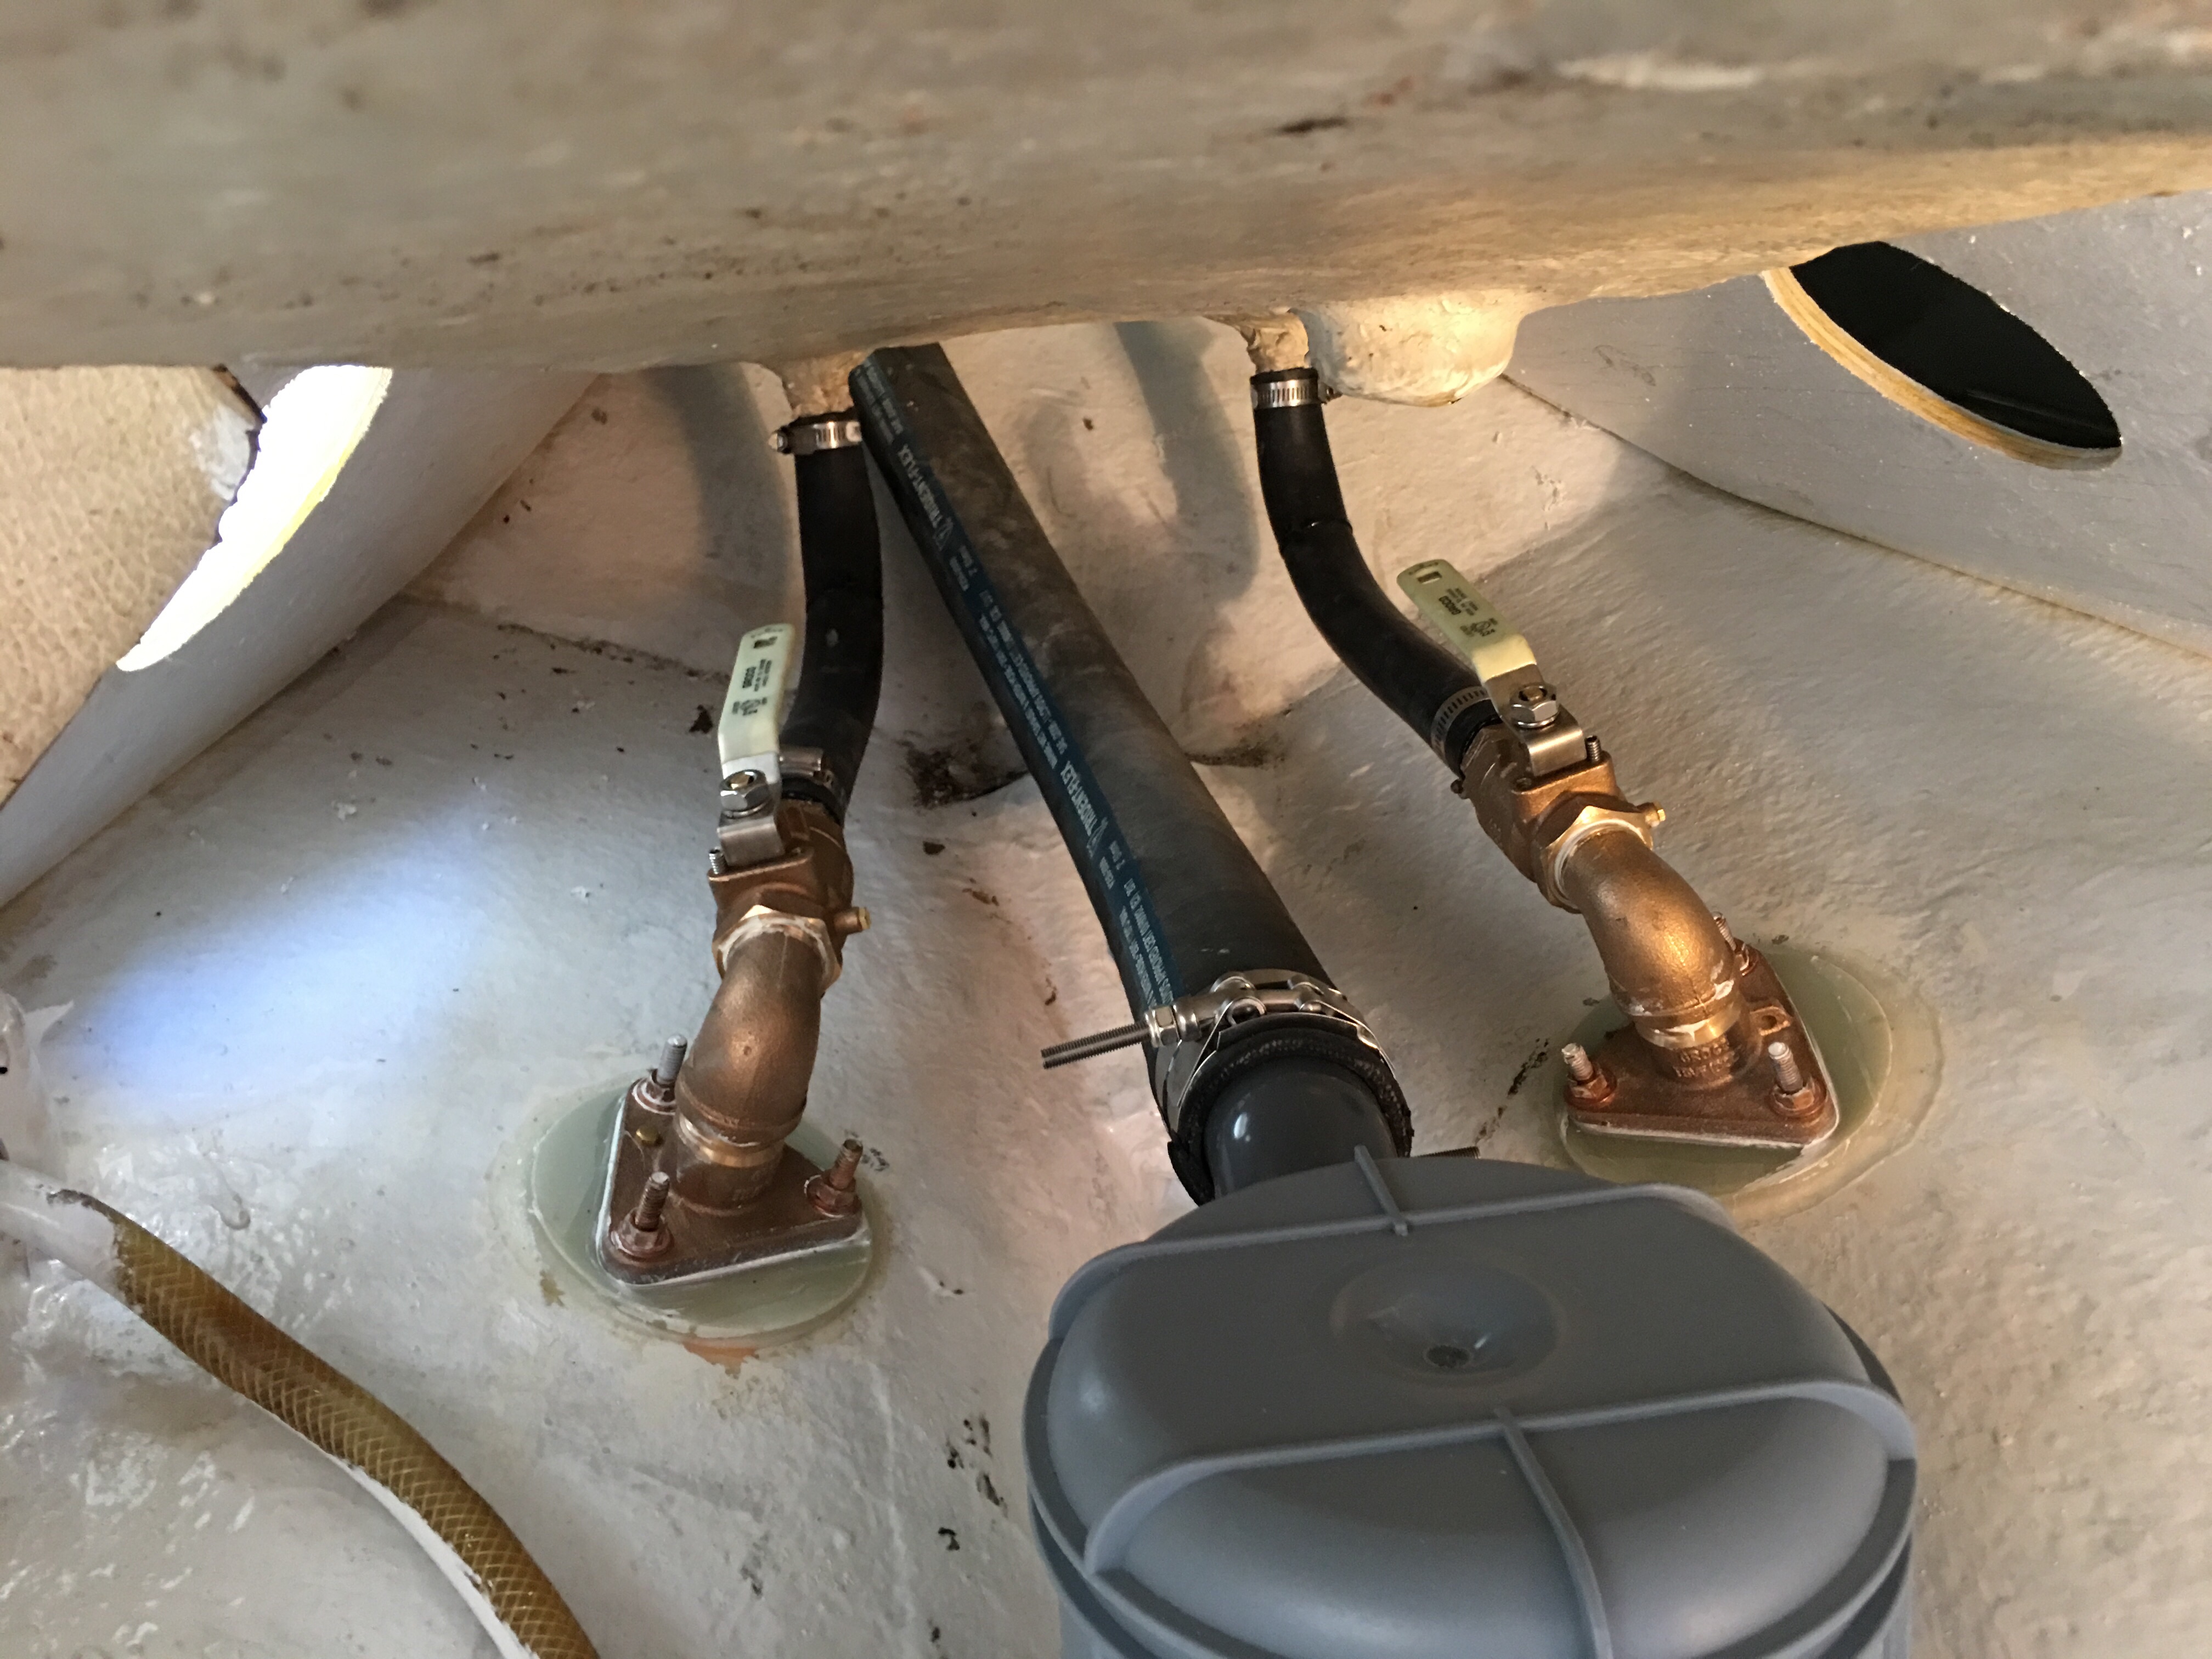
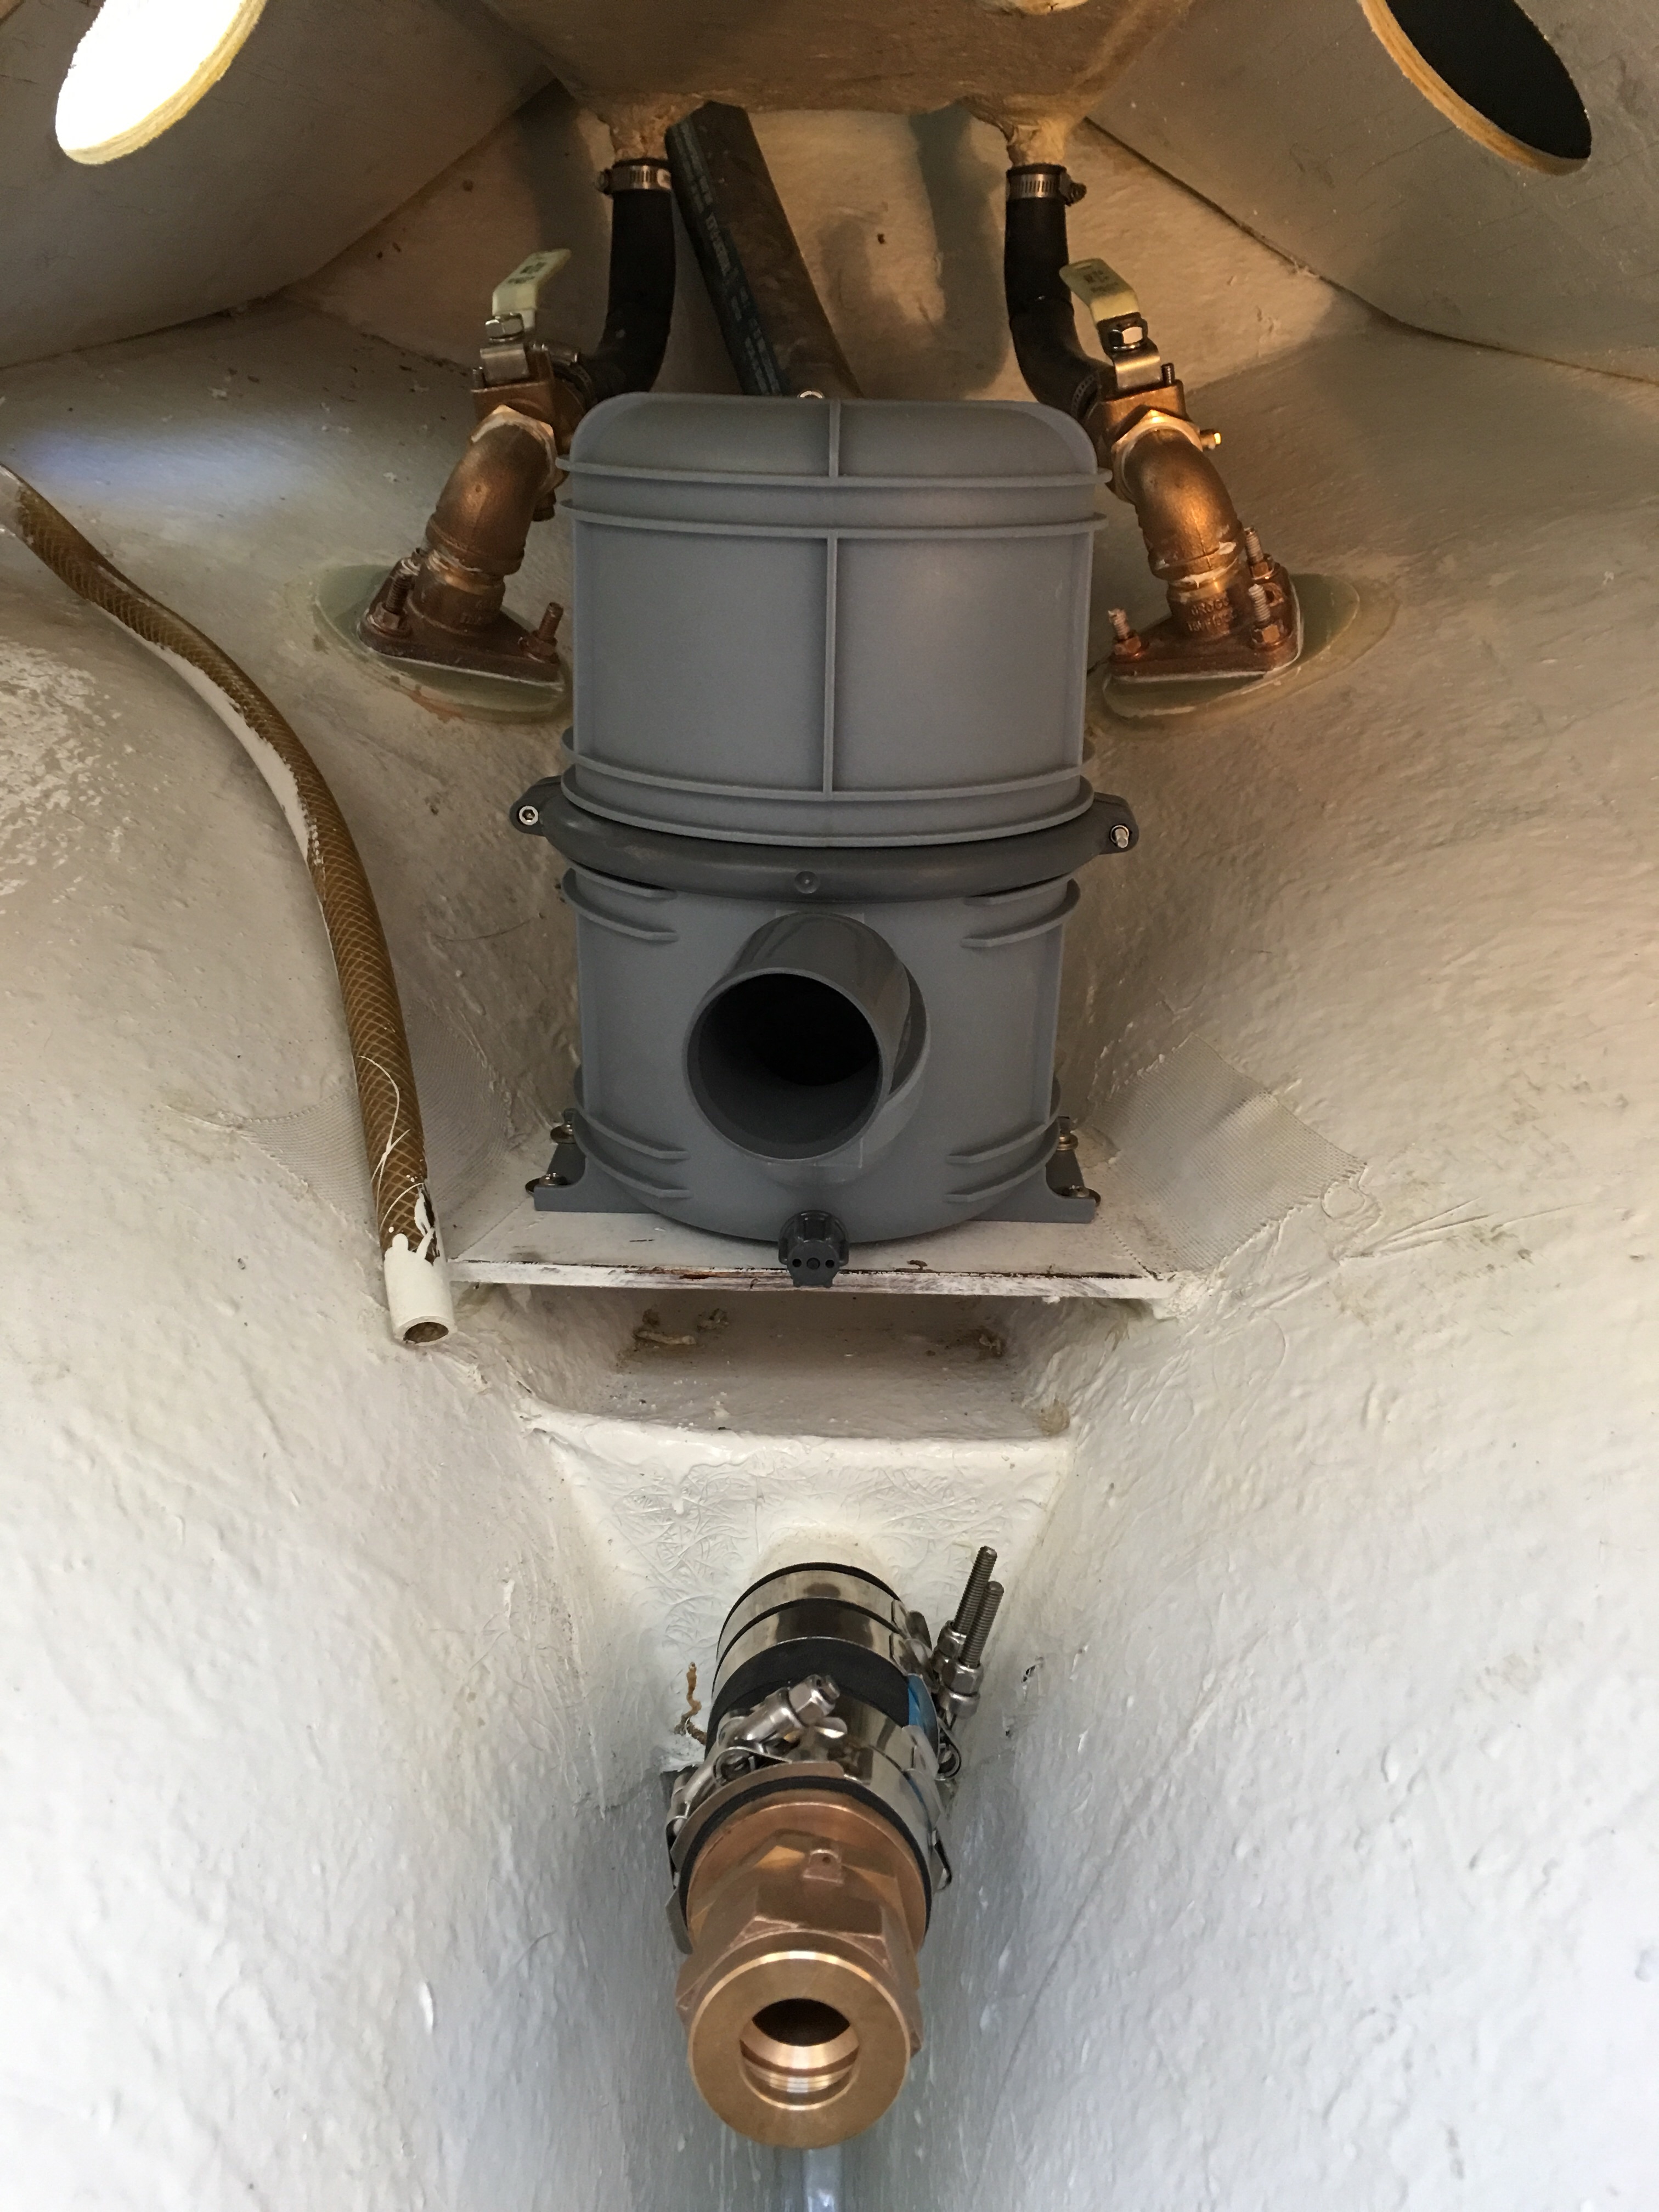
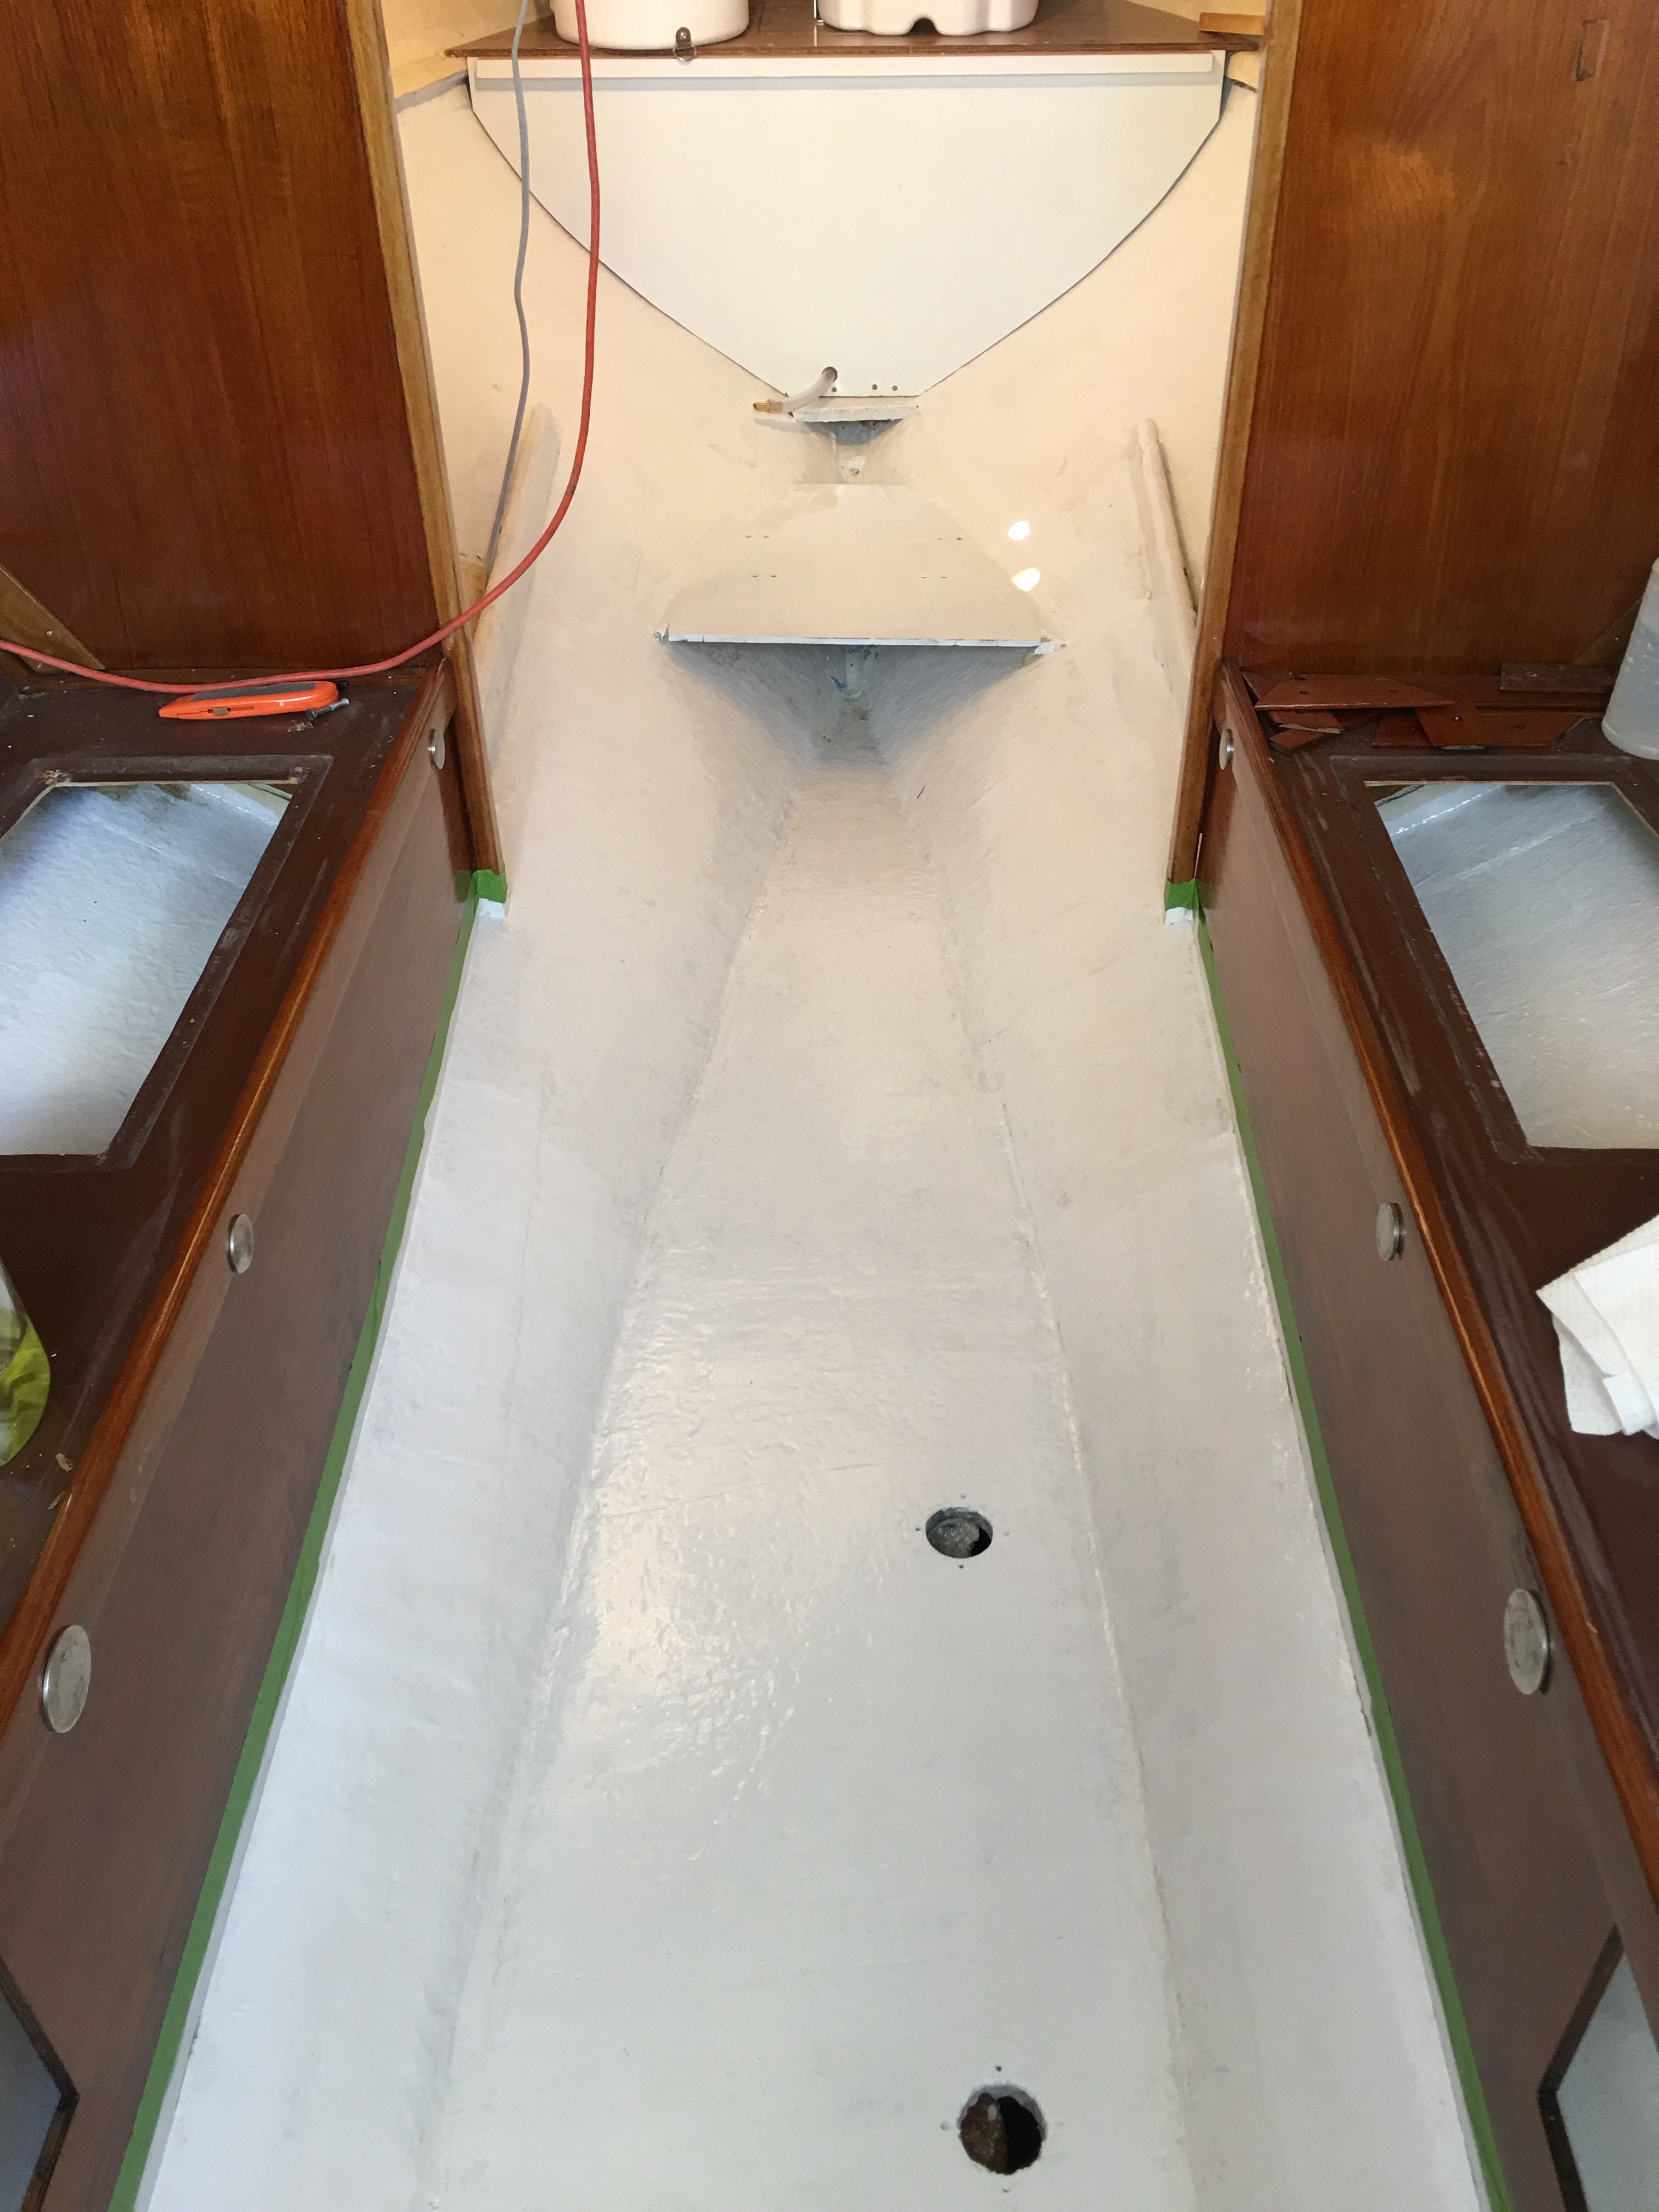
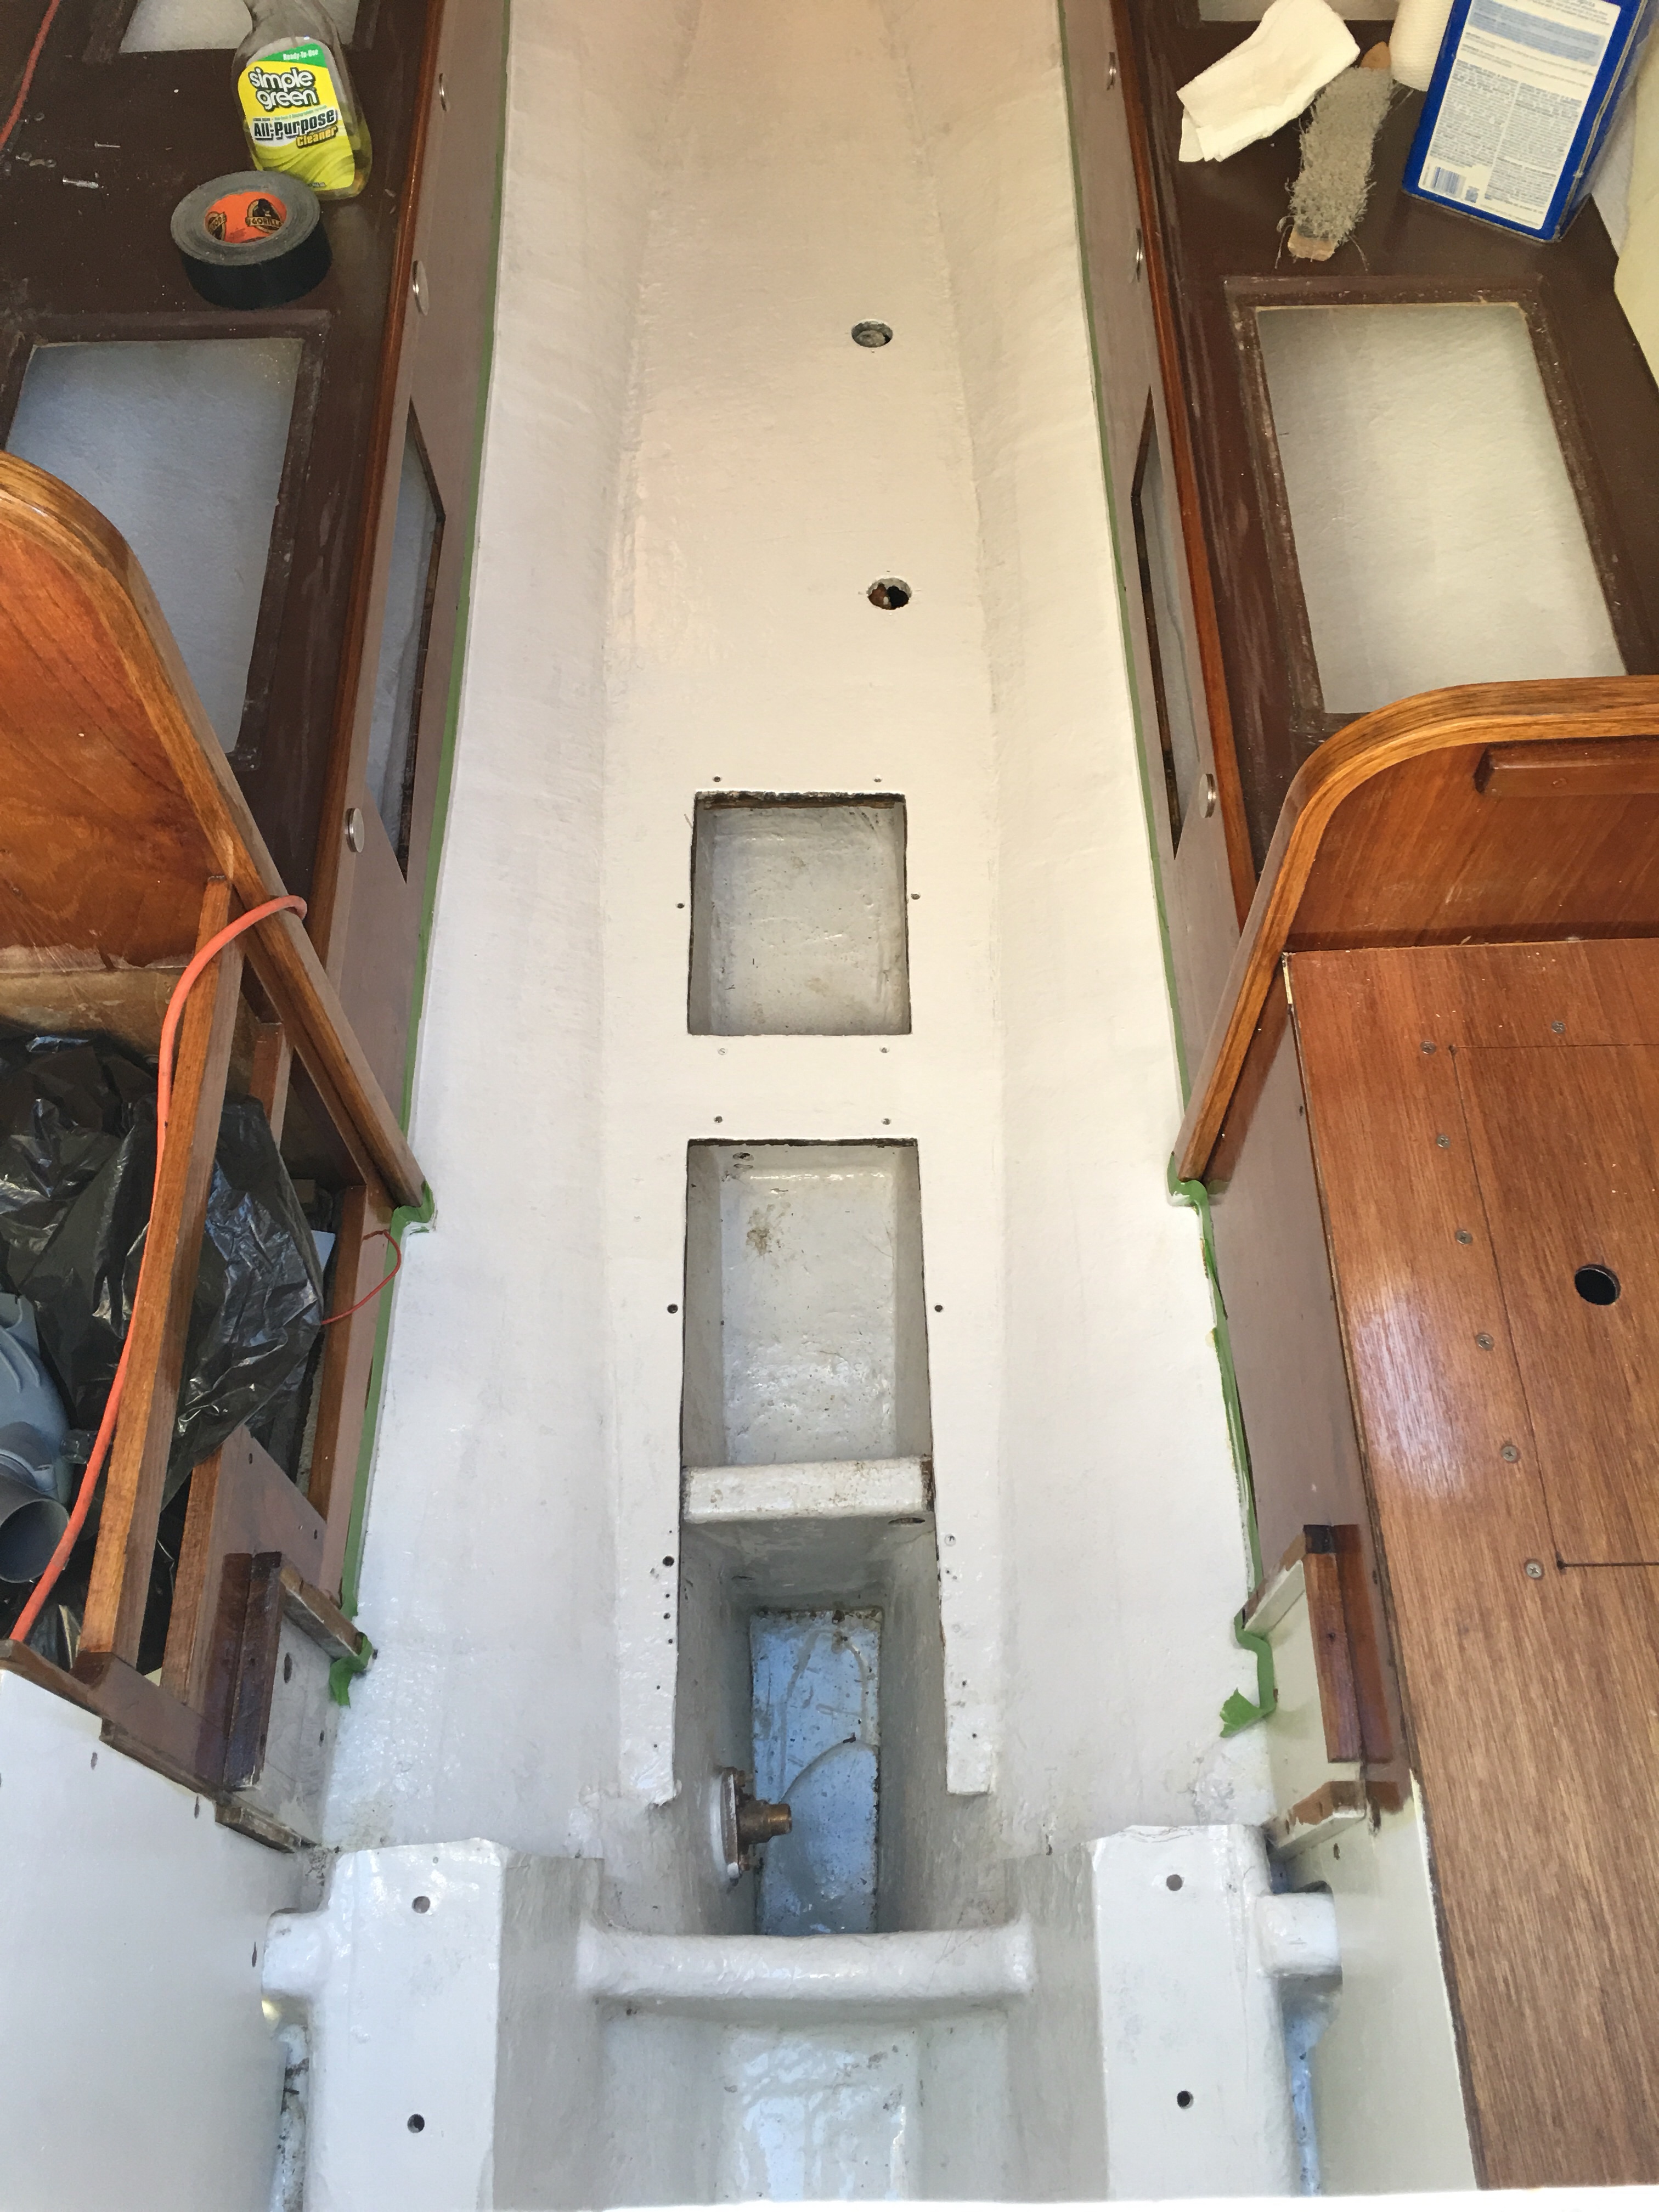
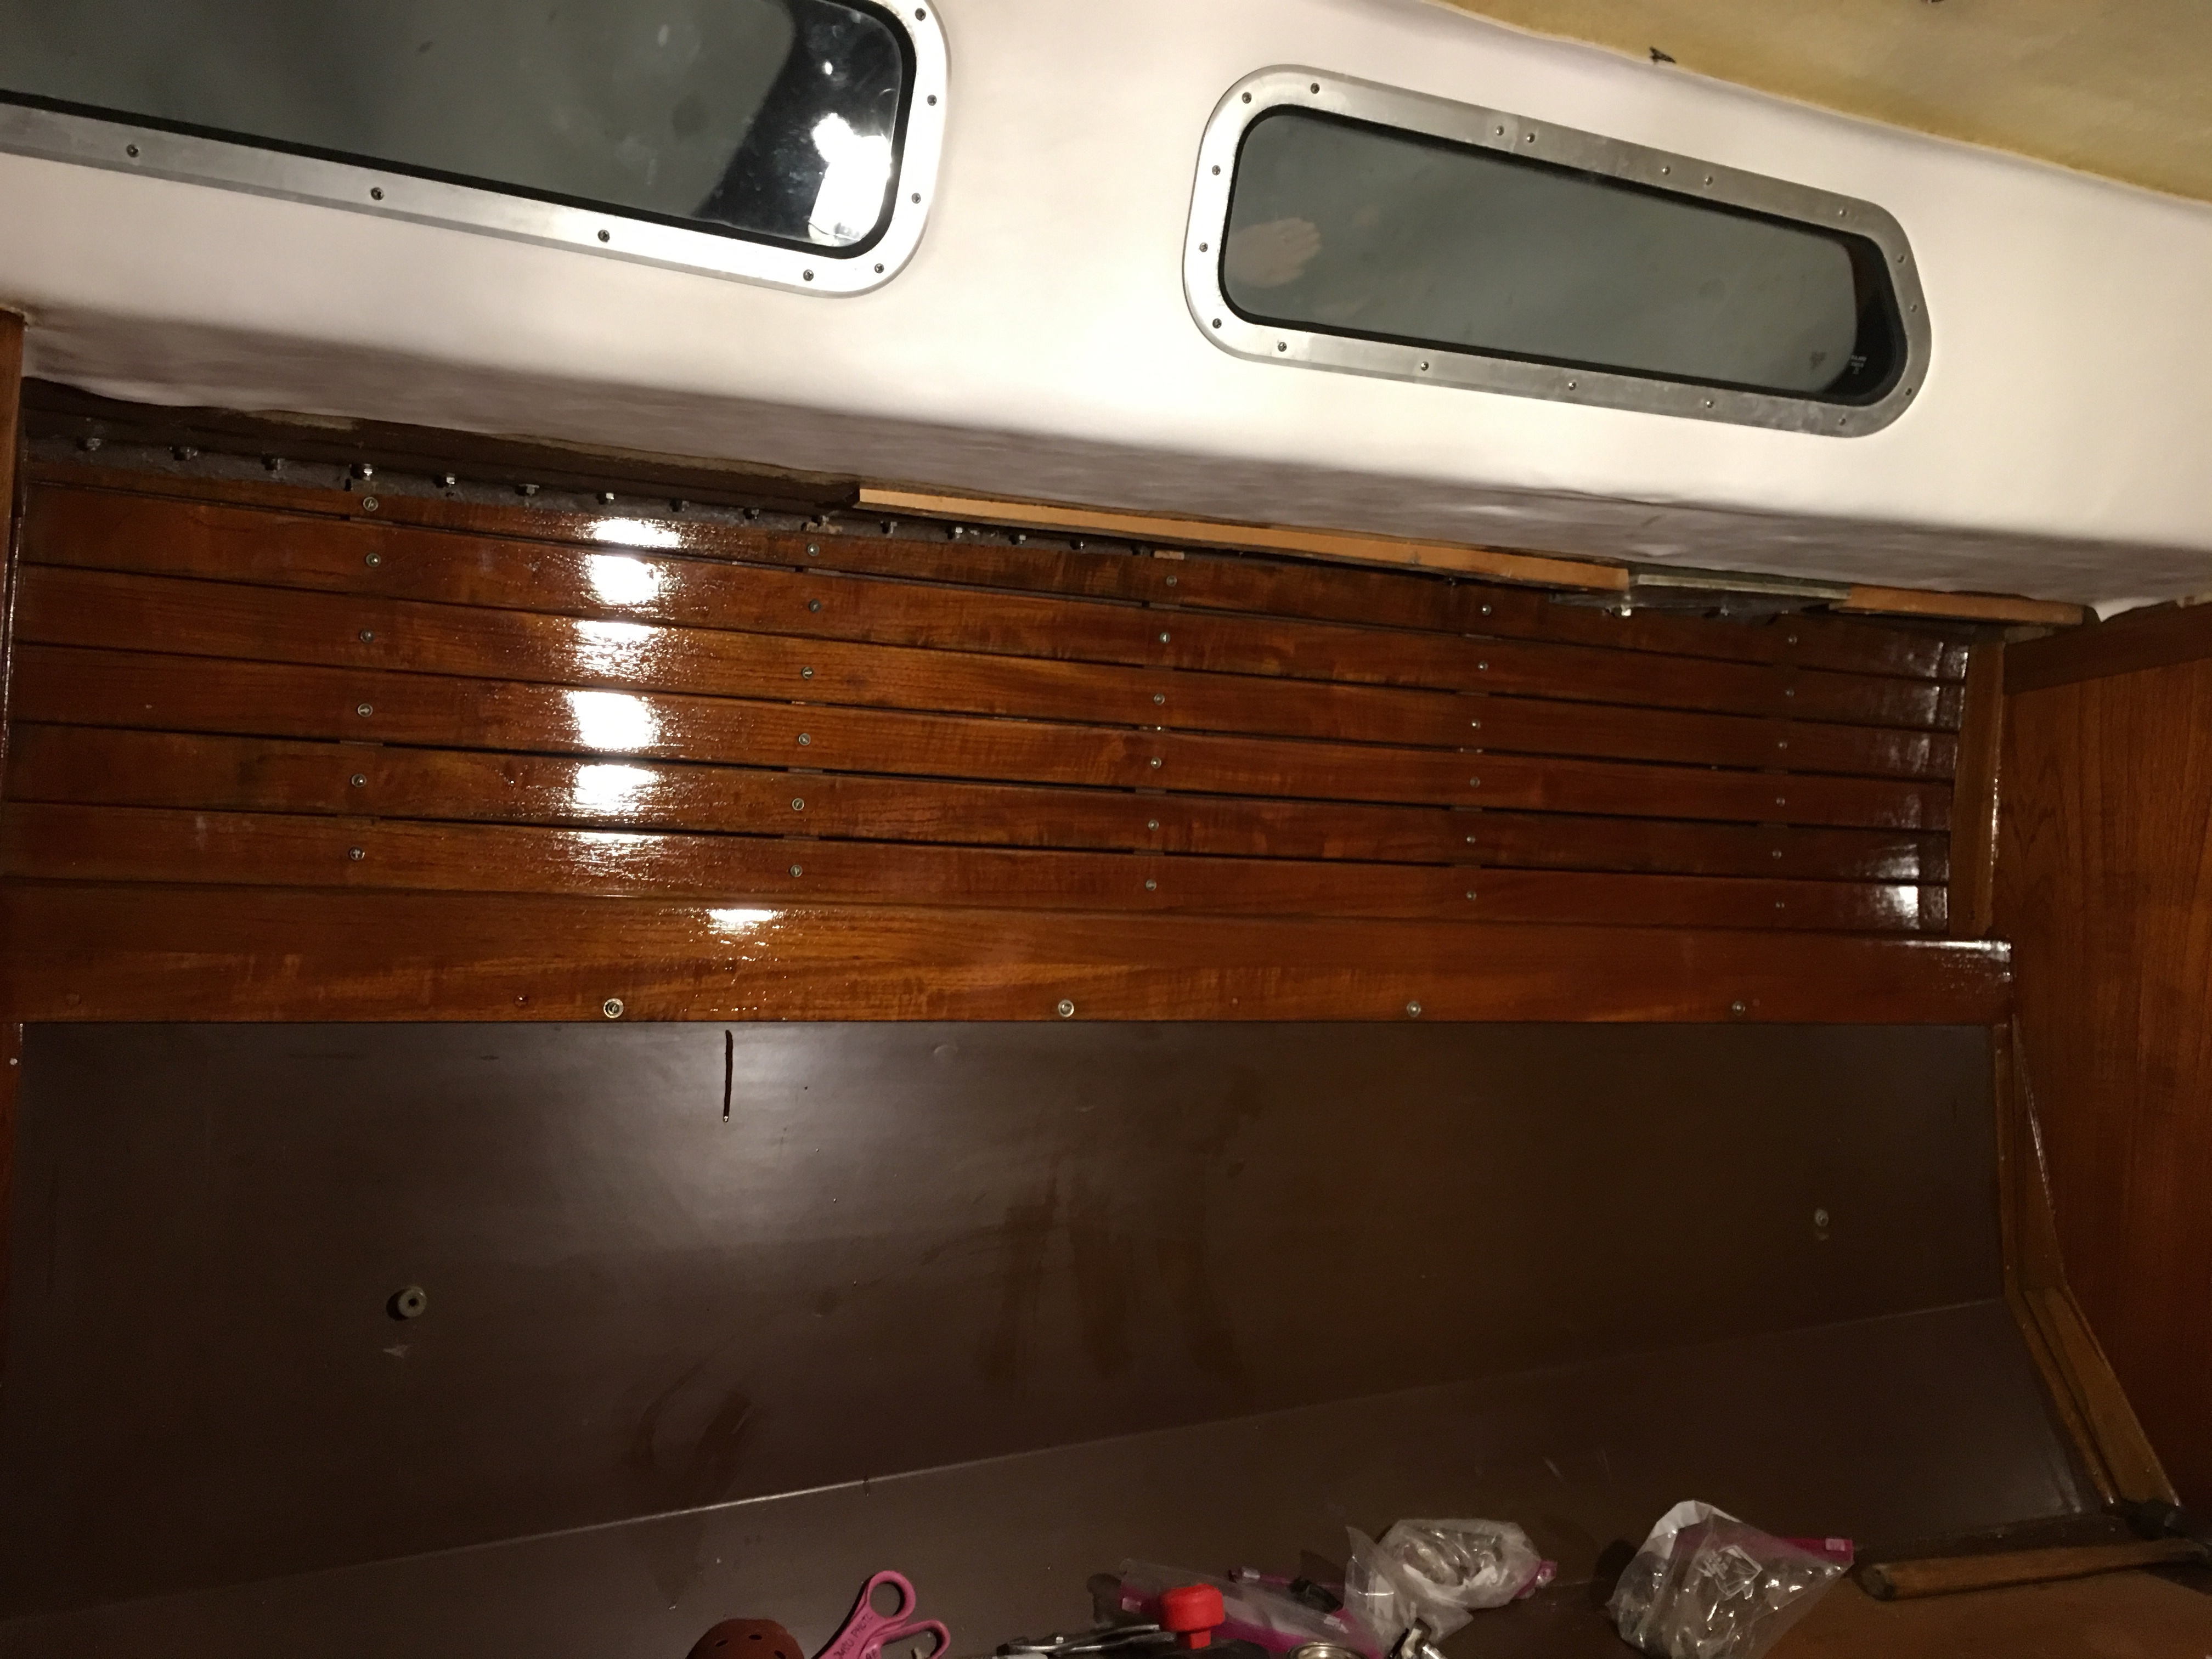
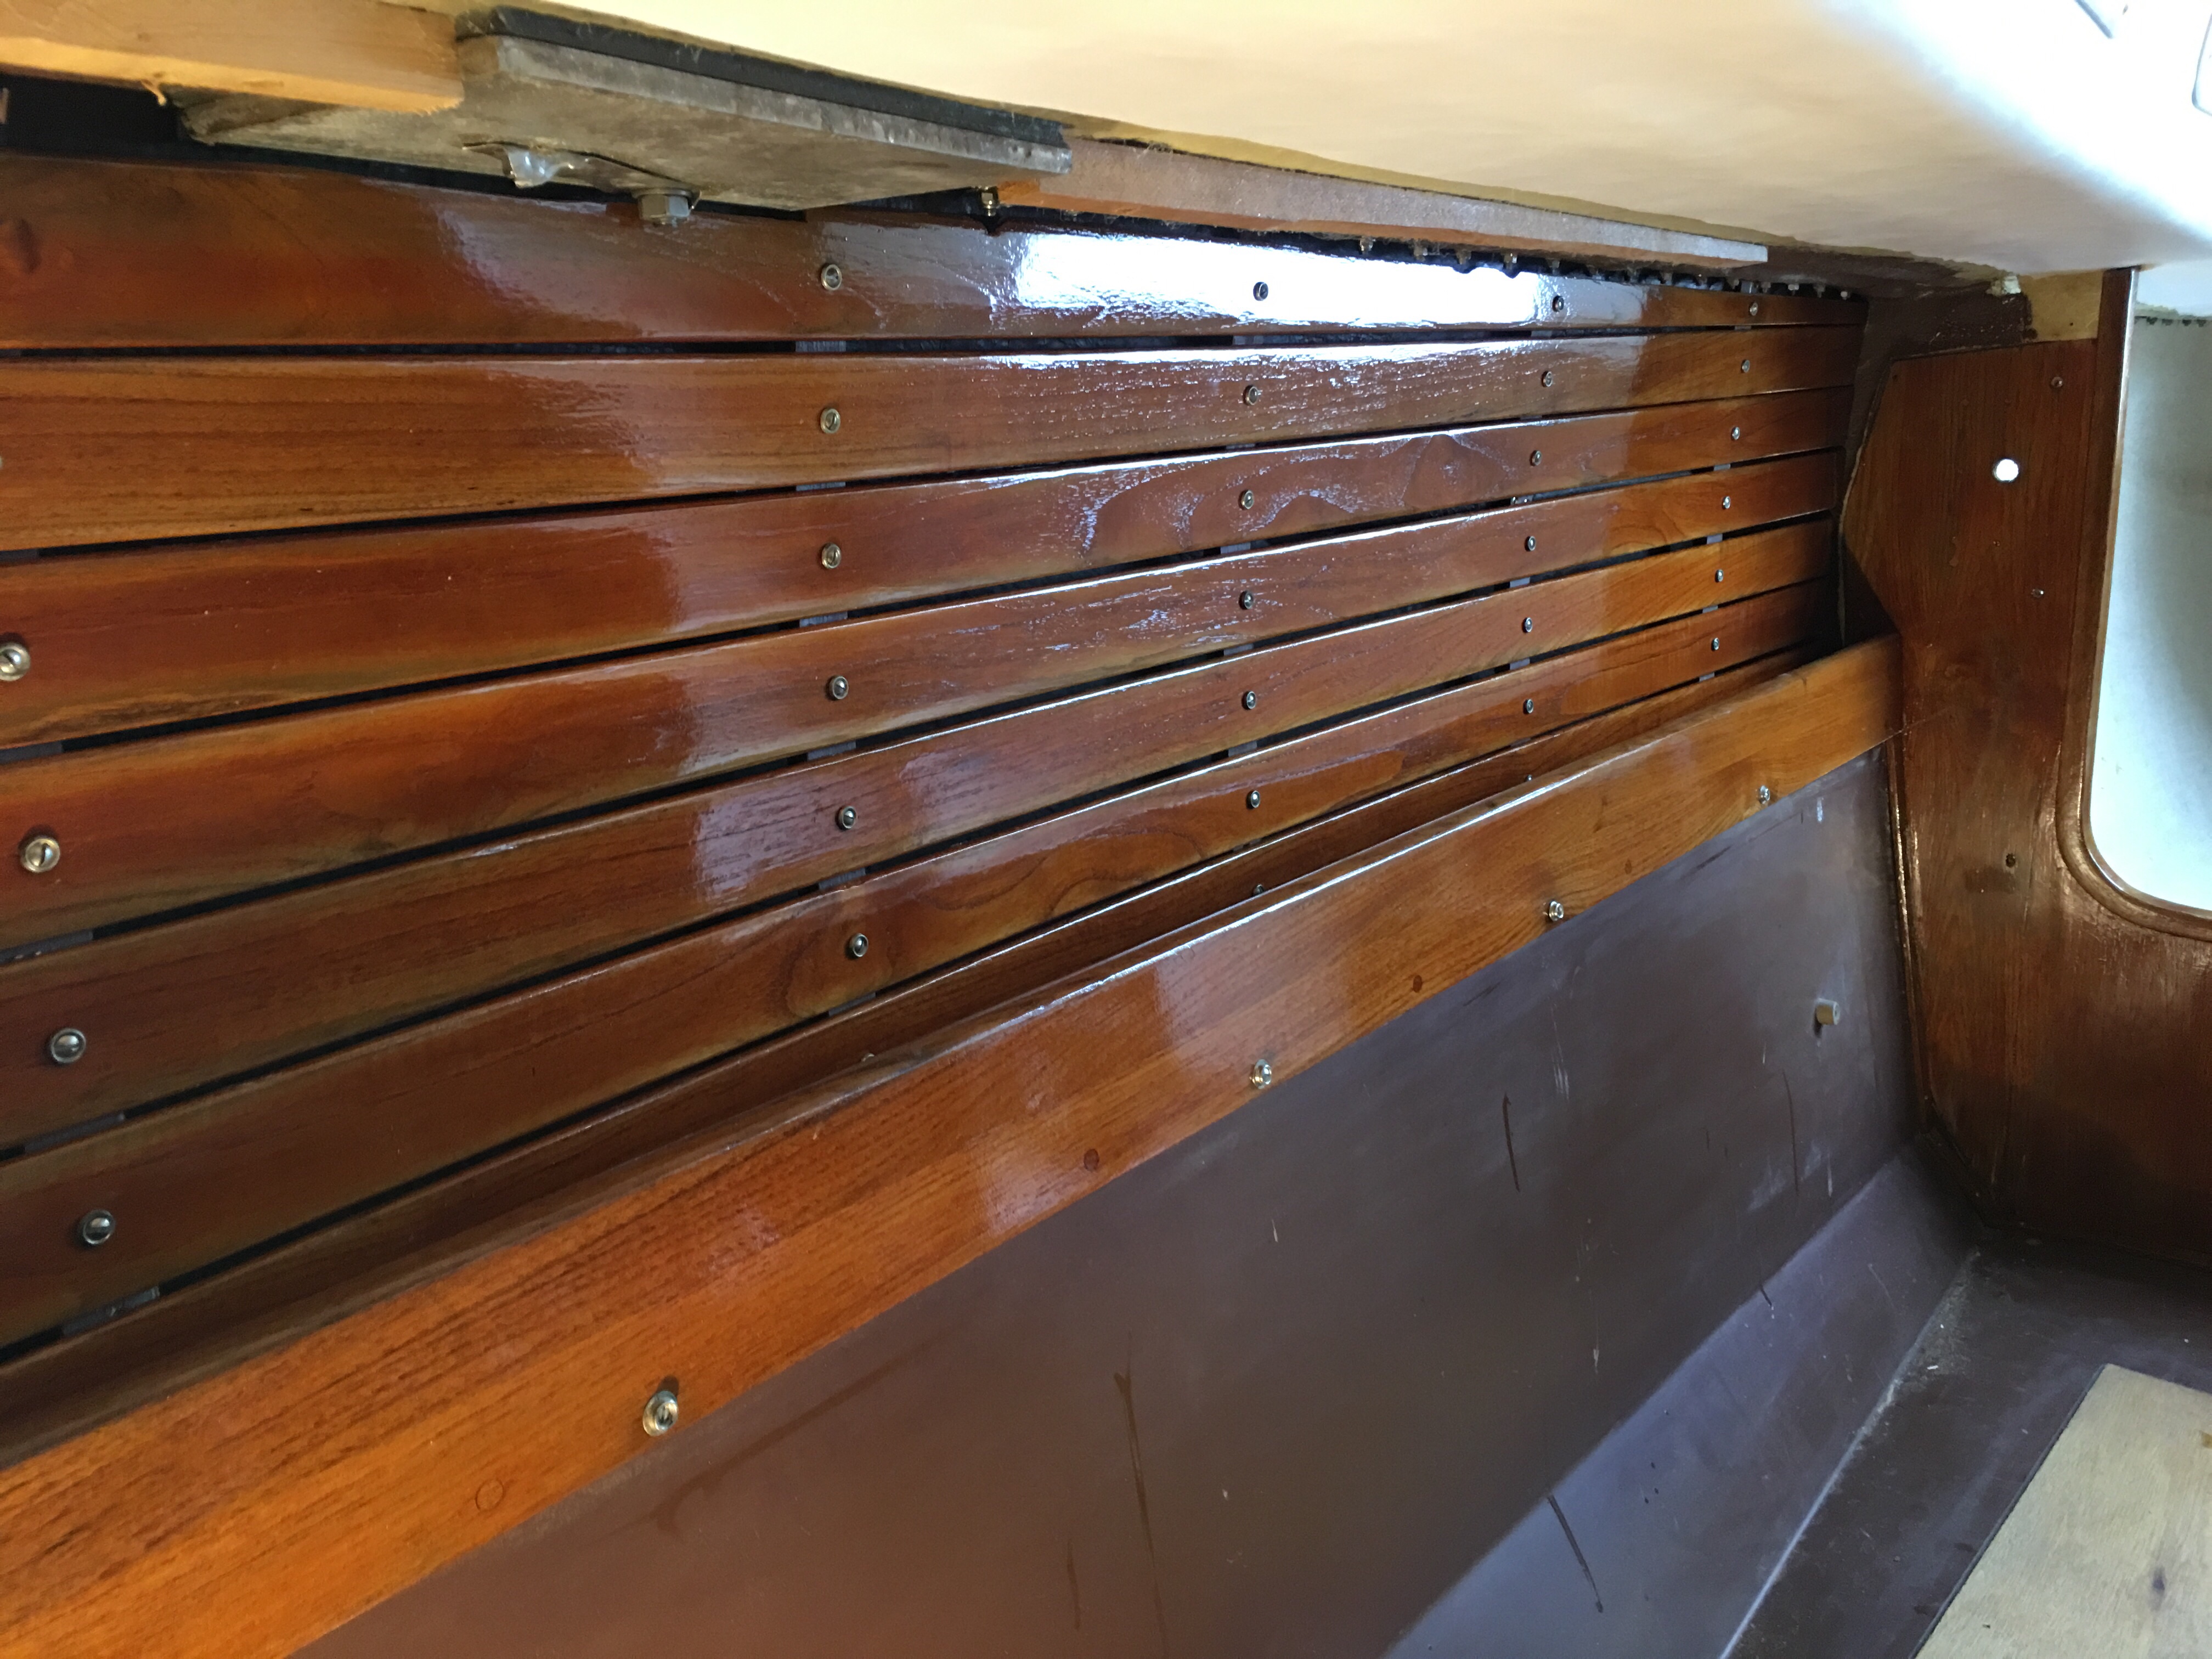
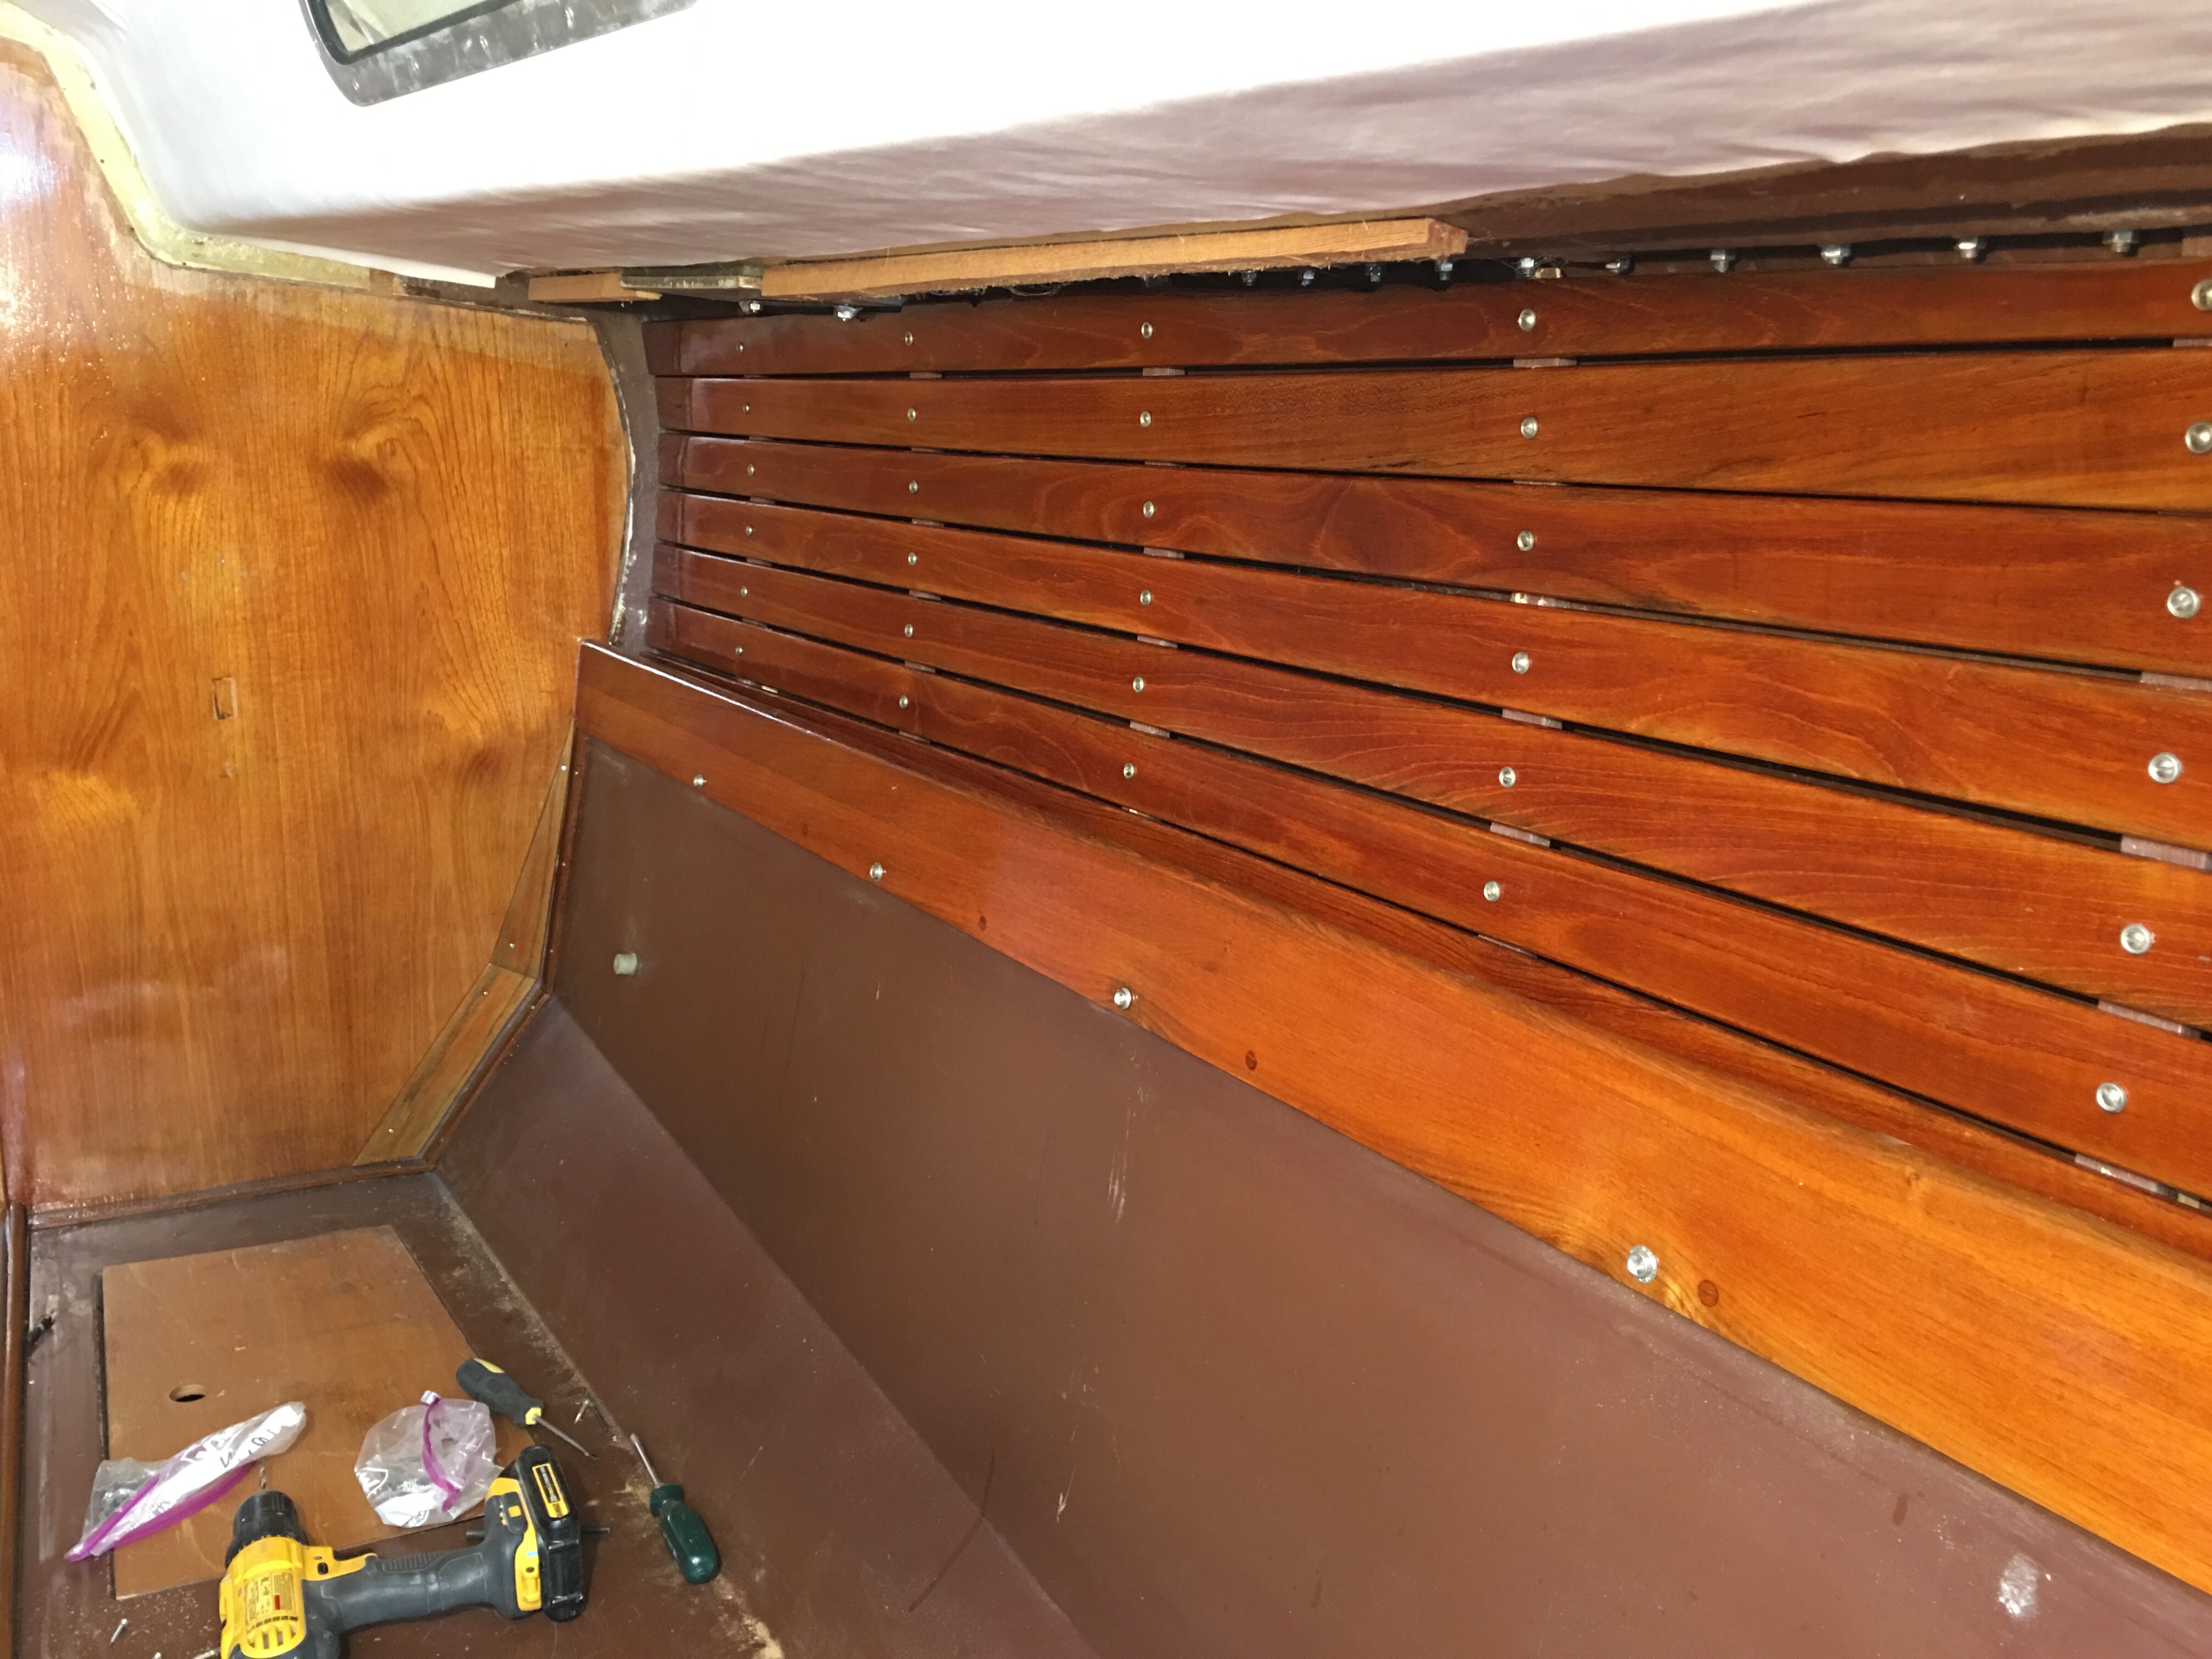
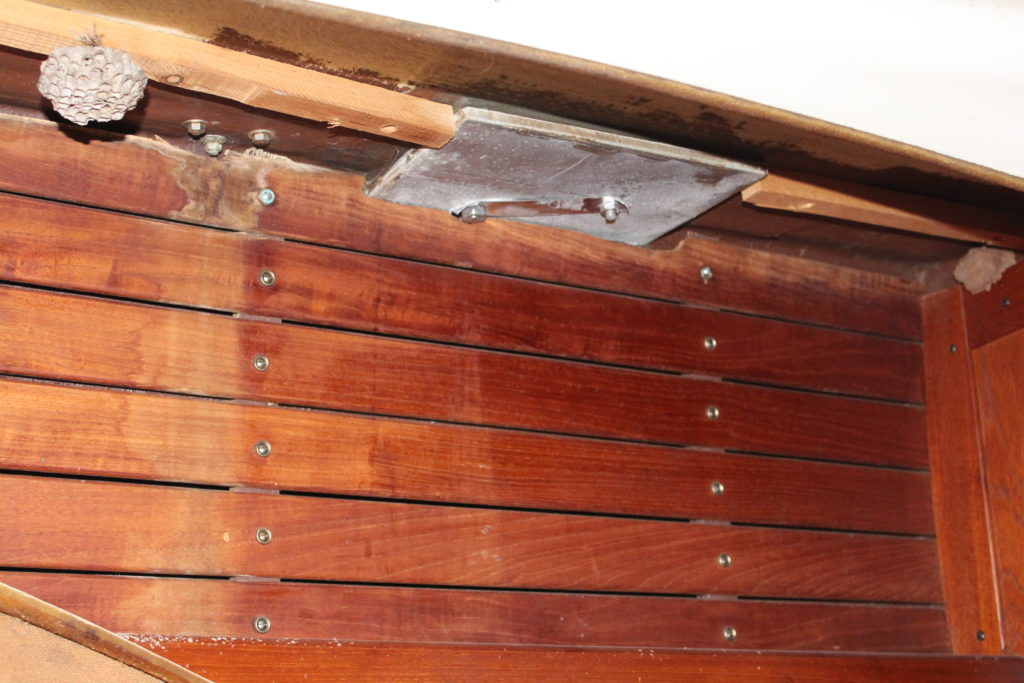
A continuation of the replacement of the cockpit drain through hulls.  I’ve epoxied backing plates in and drilled holes but it got too cold for all the sikaflex and stuff.  I’m waiting for another day for that.  I’ve also cut holes for 5″ inspection ports in the cockpit lockers for easy access to the valves.

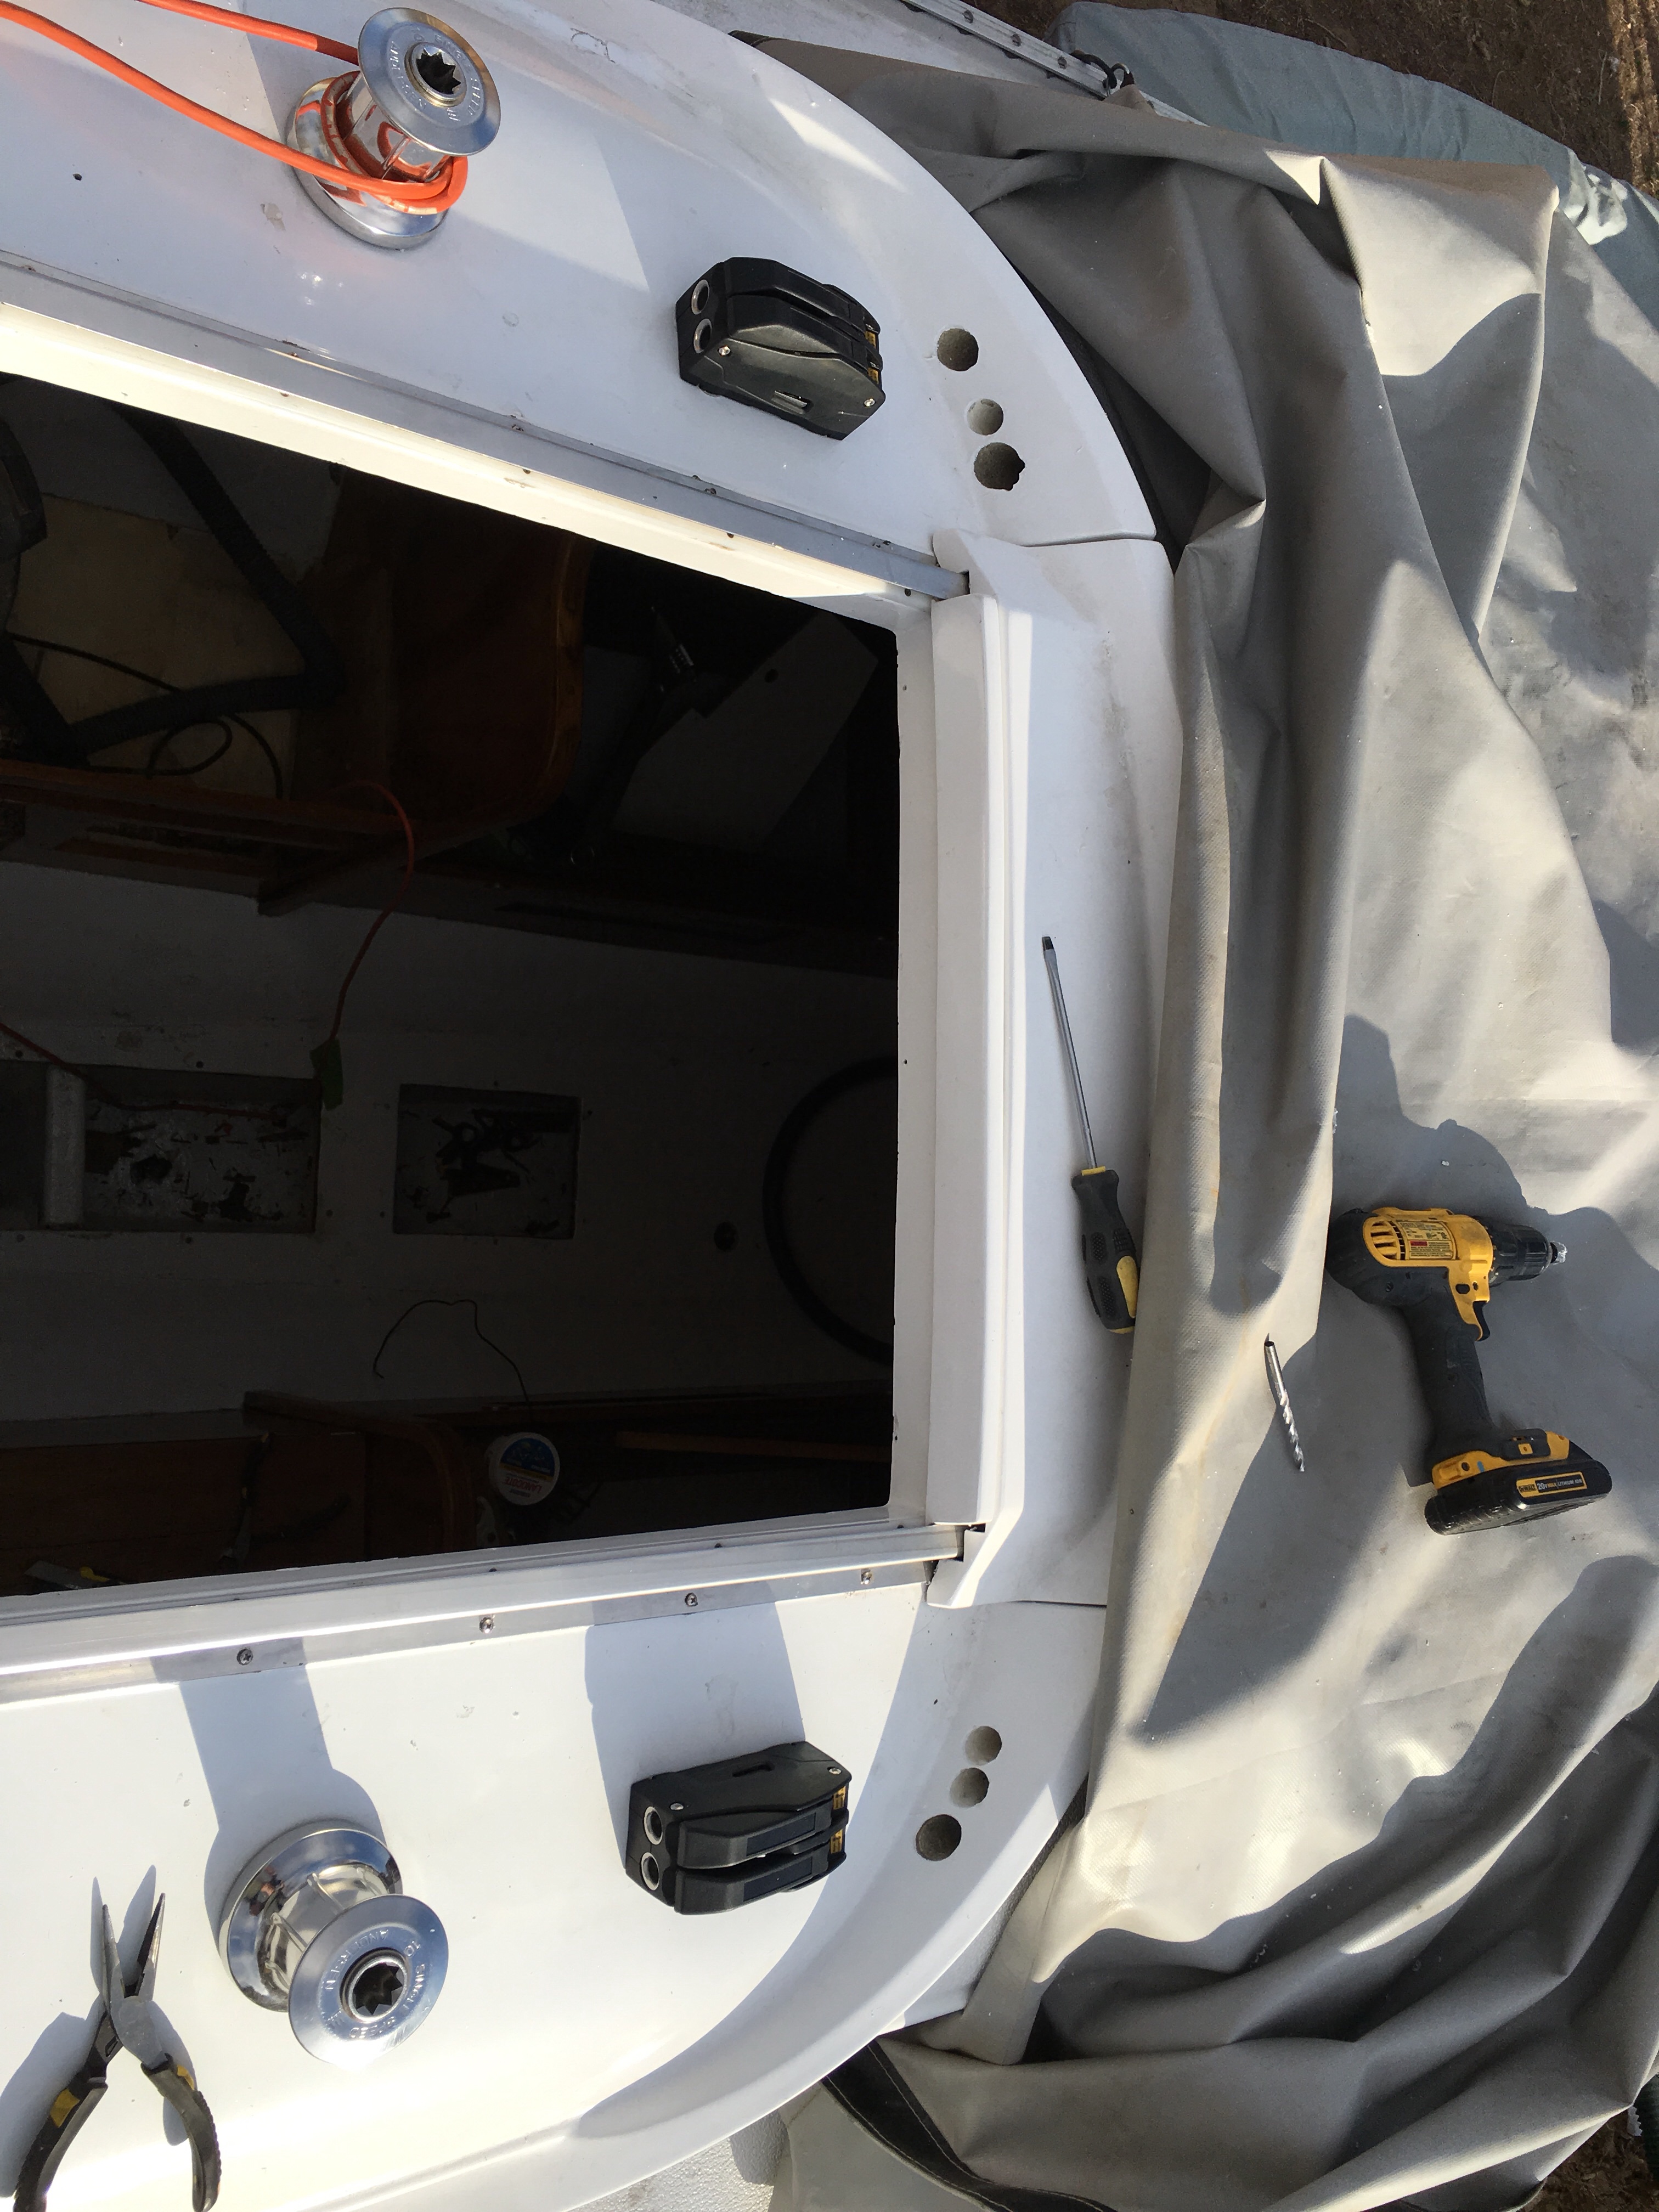
I also took this opportunity move the sink drain since where it was took my entire arm to the armpit to reach with the cabinets installed.  Where it is now is much more accessible.   More holes to fill, but a safer boat all around.


Cabin sole painted

Holy crap my back hurts. I hate working on the sole.

I used a carbide scraper to remove as much glue as I could, then scrubbed it with a scotchbright pad and mineral spirits to remove the rest of the glue.  First picture is aft before scraping, and closer to the camera after scraping.  Second picture is fore mostly after scrubbing.  Last 2 pics are after 1 coat of paint.  It could use a second coat but it’s going to get covered up so I’m not sure I will give it a second coat.

Motor mounts finished.

To put a Yanmar 2GM20F in the same place as a Volvo MD5 required a bit of “engineering”.  I use that term loosely because it took me 3 tries to get it in the right place.  The engine bed for the volvo is a lot wider, 55mm wider on each side, and it’s not as long, so the aft mount had to move 55mm forward.  Originally I looked at the mechanical drawings and the Volvo has the output shaft 20mm below the motor mounts, and the Yanmar has the output shaft 27mm above the motor mounts so I figured I had to drop it 47mm.  I designed it at 55 to give me some wiggle room.  After I had the mounts made the output shaft was 70mm below the motor mounts.  WTF.  Someone’s drawings are incorrect.  I remade the mounts, this time I just dropped them 12mm from the originals, 55m wider.  It was perfect. Oh, but I forgot the aft mount has to go forward 55mm, so my awesome welder, Stan, at Advanced Alloys in Longmont adjusted them for me again.  Now it’s perfect.  Engine is ready to go back in, pending changing the oil, belts, filters, and getting the rest of the engine compartment ready to go.

The mount additions are 1/2″ thick steel.  Even at 7″ of extension deflection with the entire engine weight on one mount would be .010″ so I feel okay about the robustness of these updates.

Hanging the engine…

Engine is hanging. Actually resting with most of the weight on the chain while I fab up me motor mount arms to match this narrow Yanmar to the wide bed the Volvo was originally in.