Prop in the right spot

After doing a bit more lapping this morning I fitted the prop and found I liked where it was while the nut still had a bit to go so I machined .040 off the bottom on the lathe and managed to get it just right so the pin is in the right spot.  Perfect fit.  The taper and prop hub are a perfect match.

How it goes…

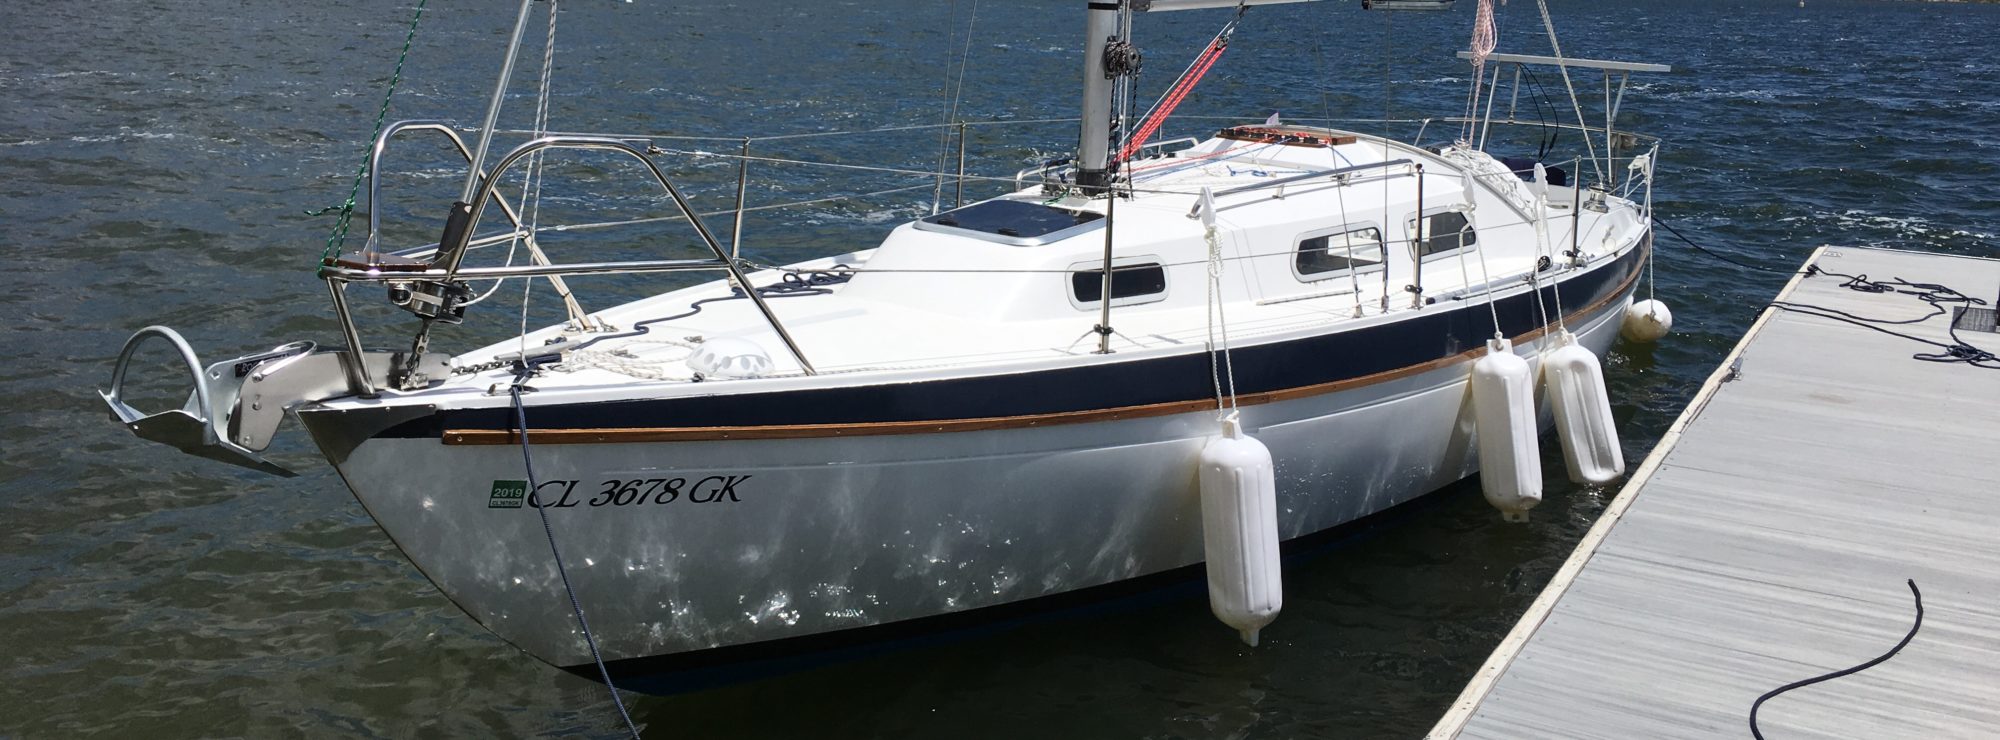
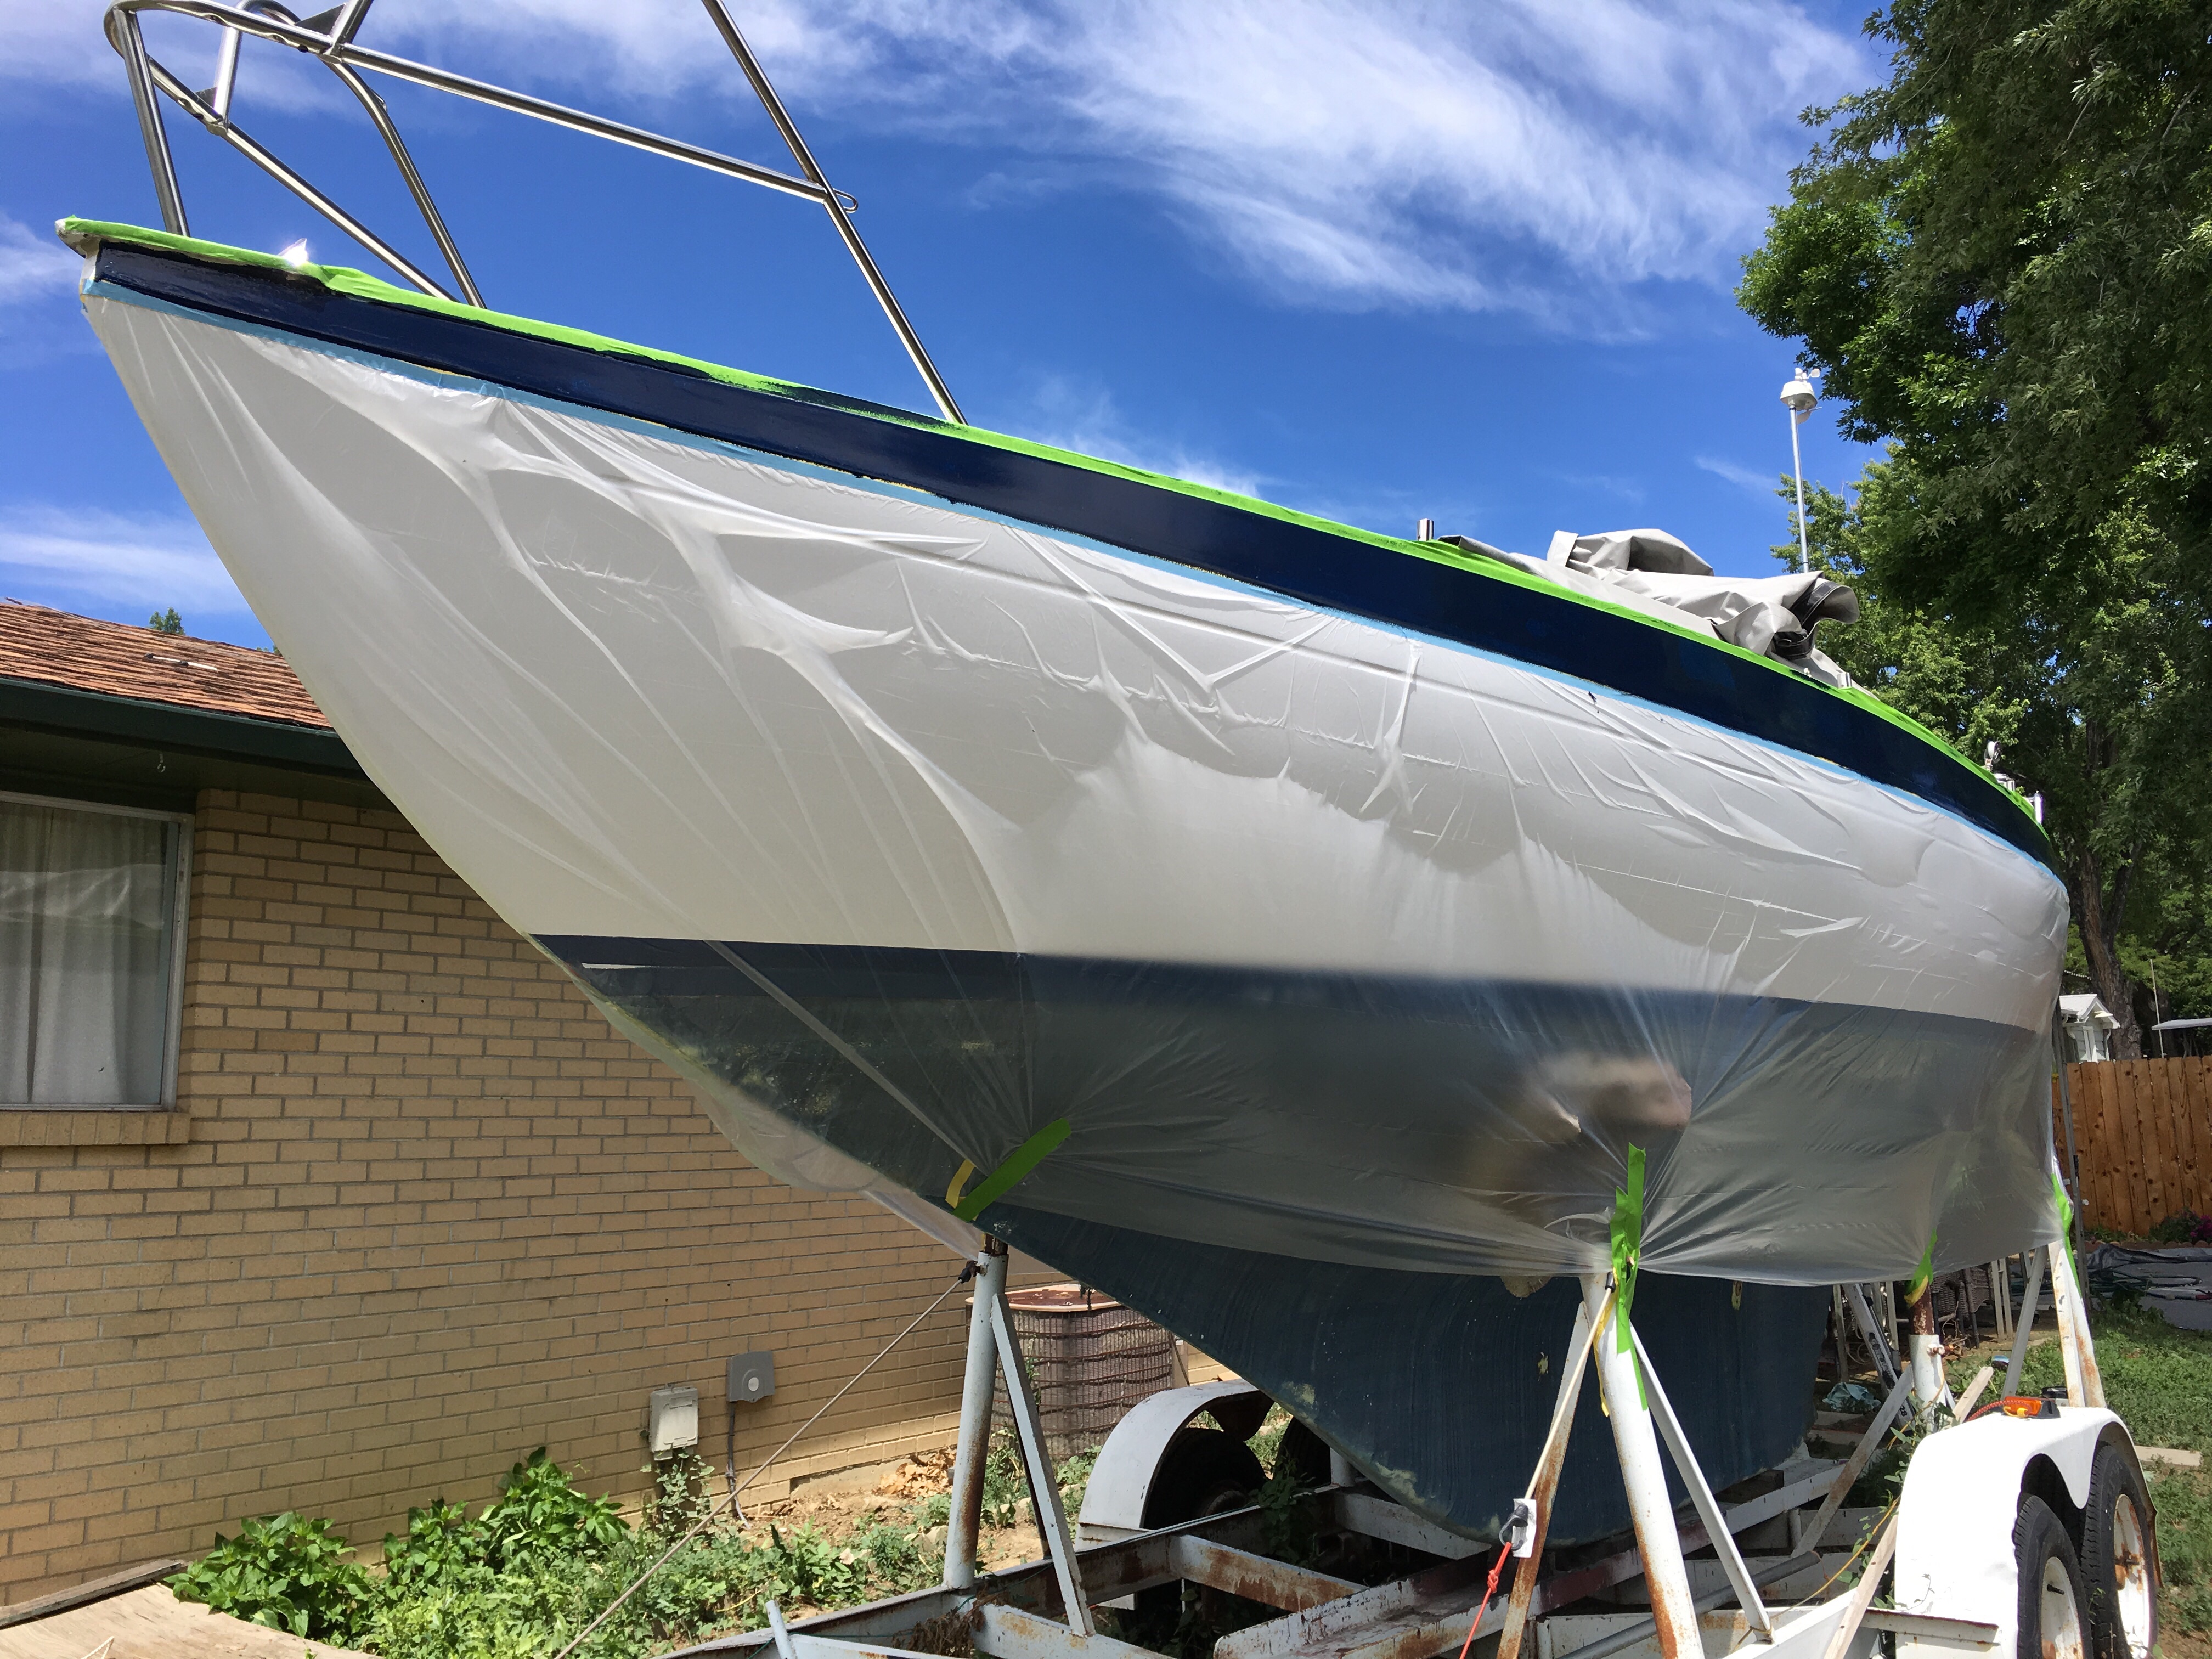
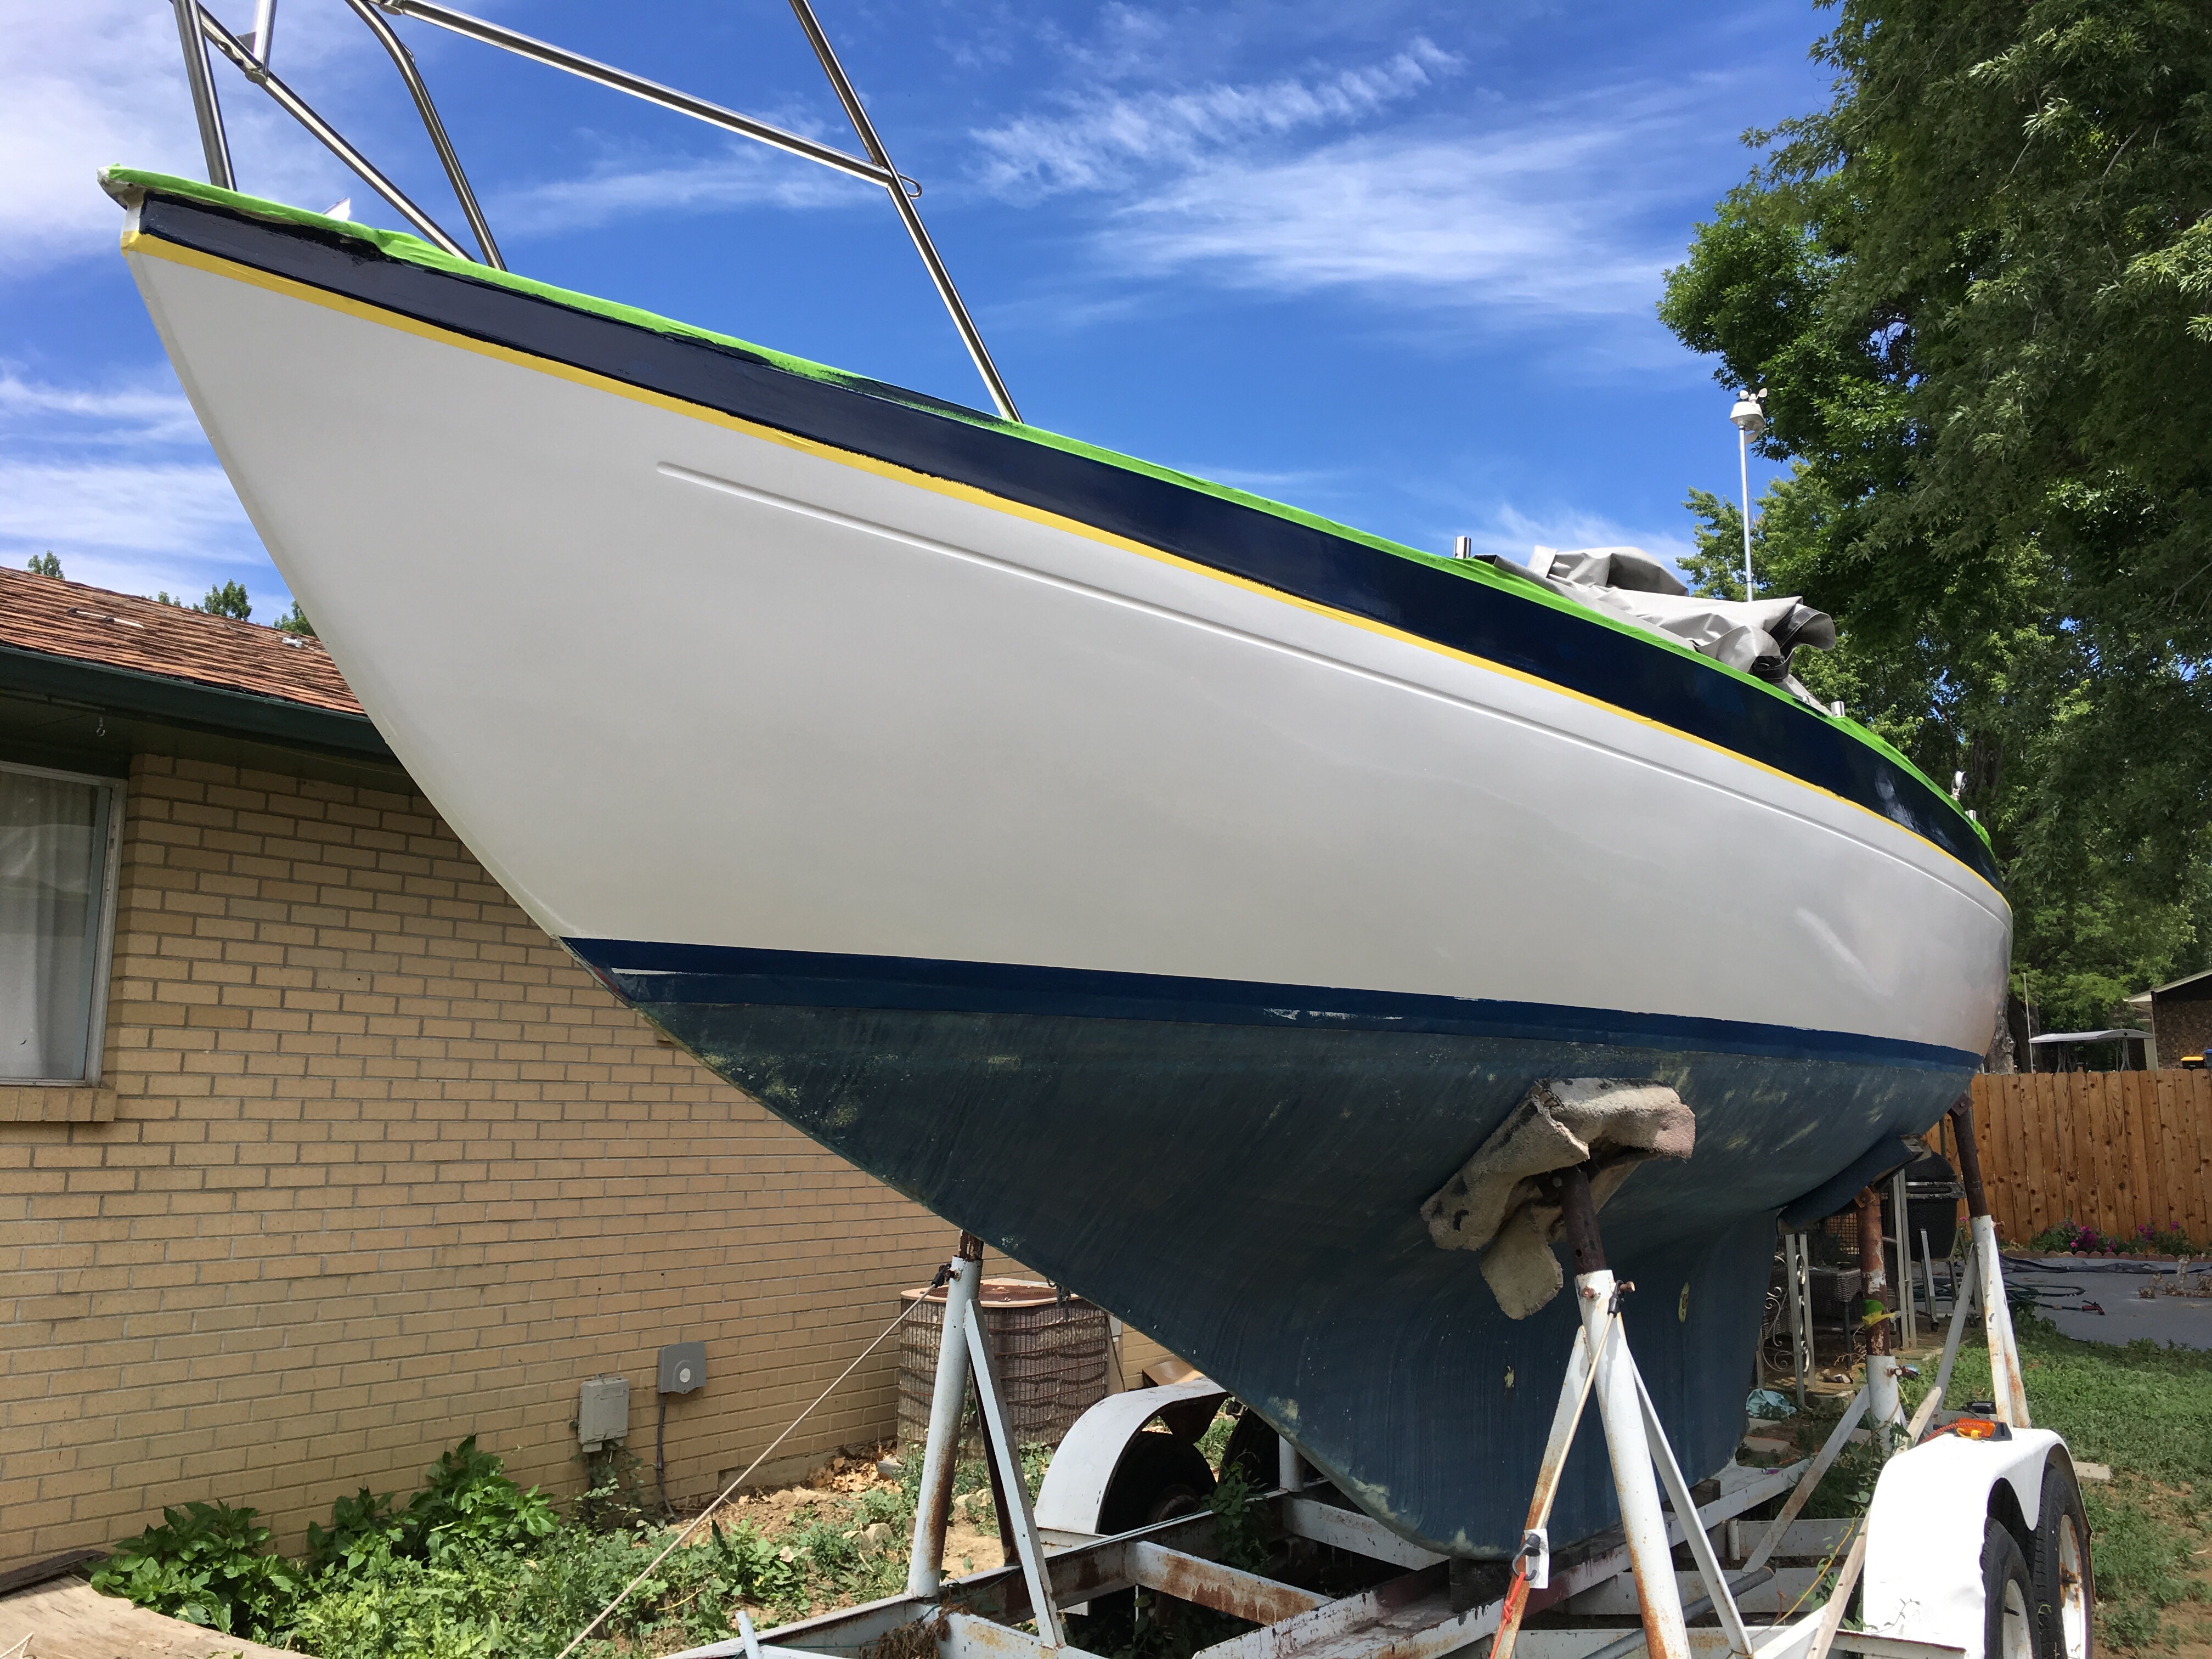
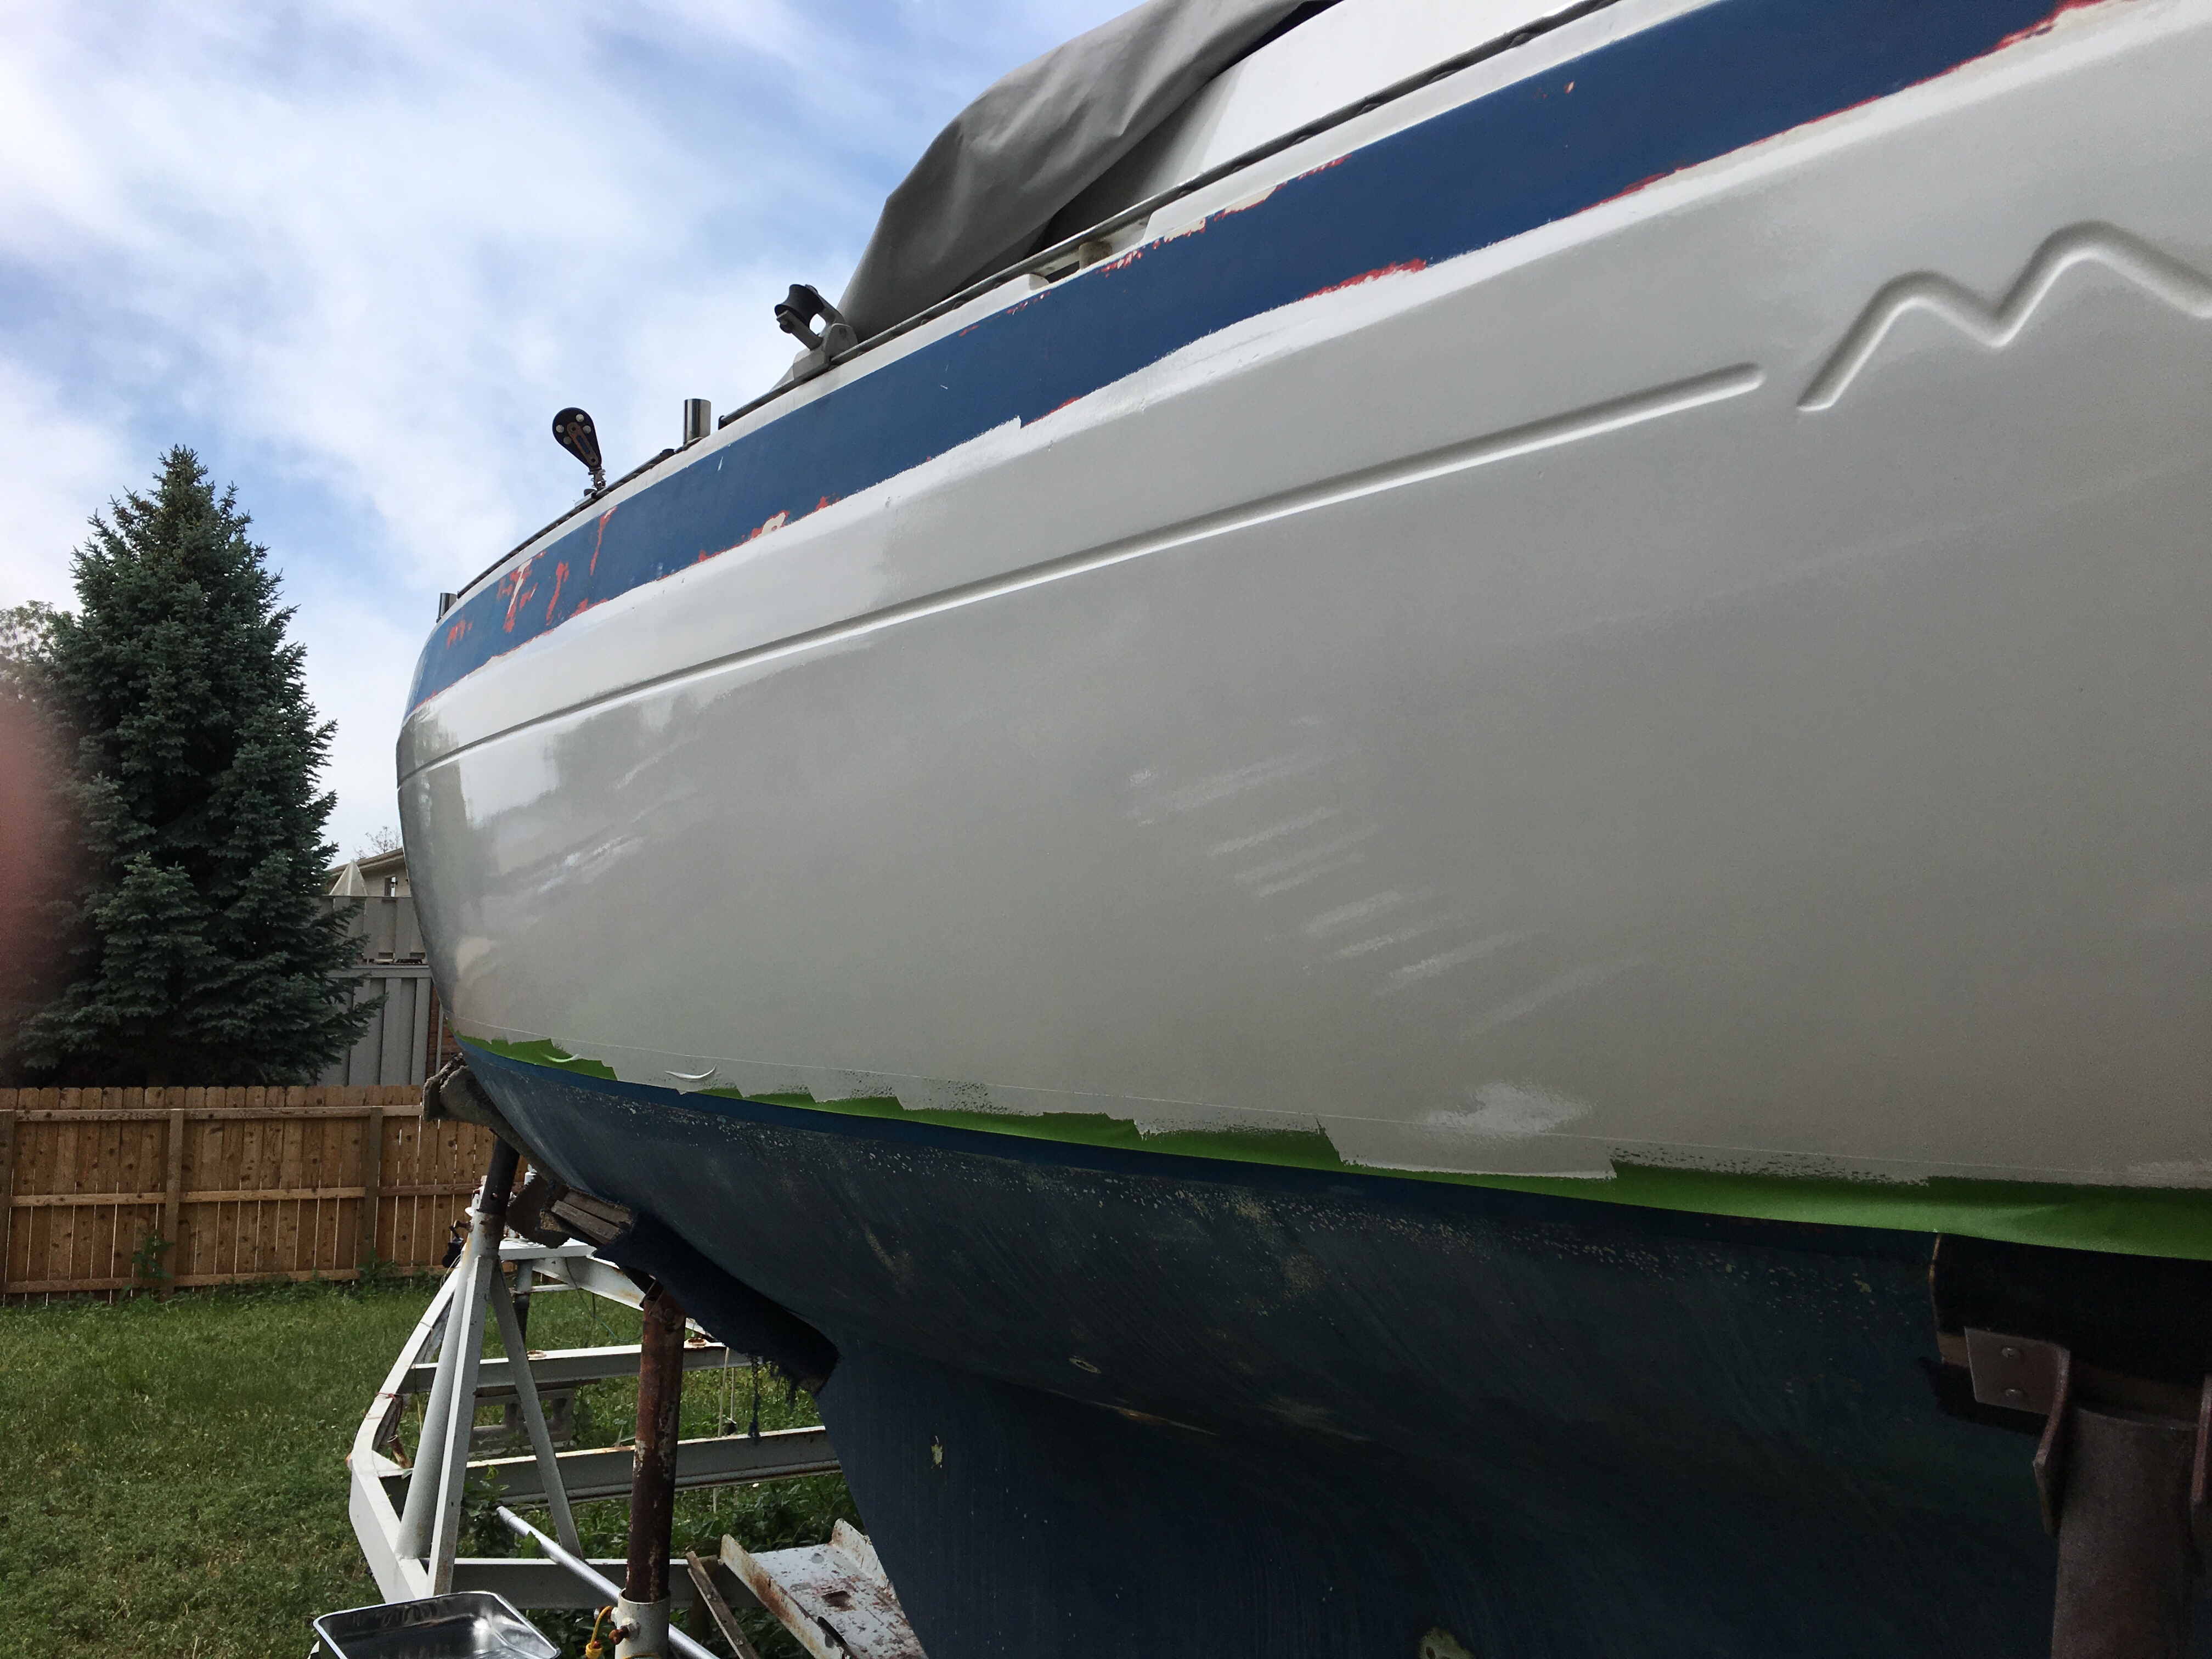
This is how it goes when you’re rebuilding a boat.

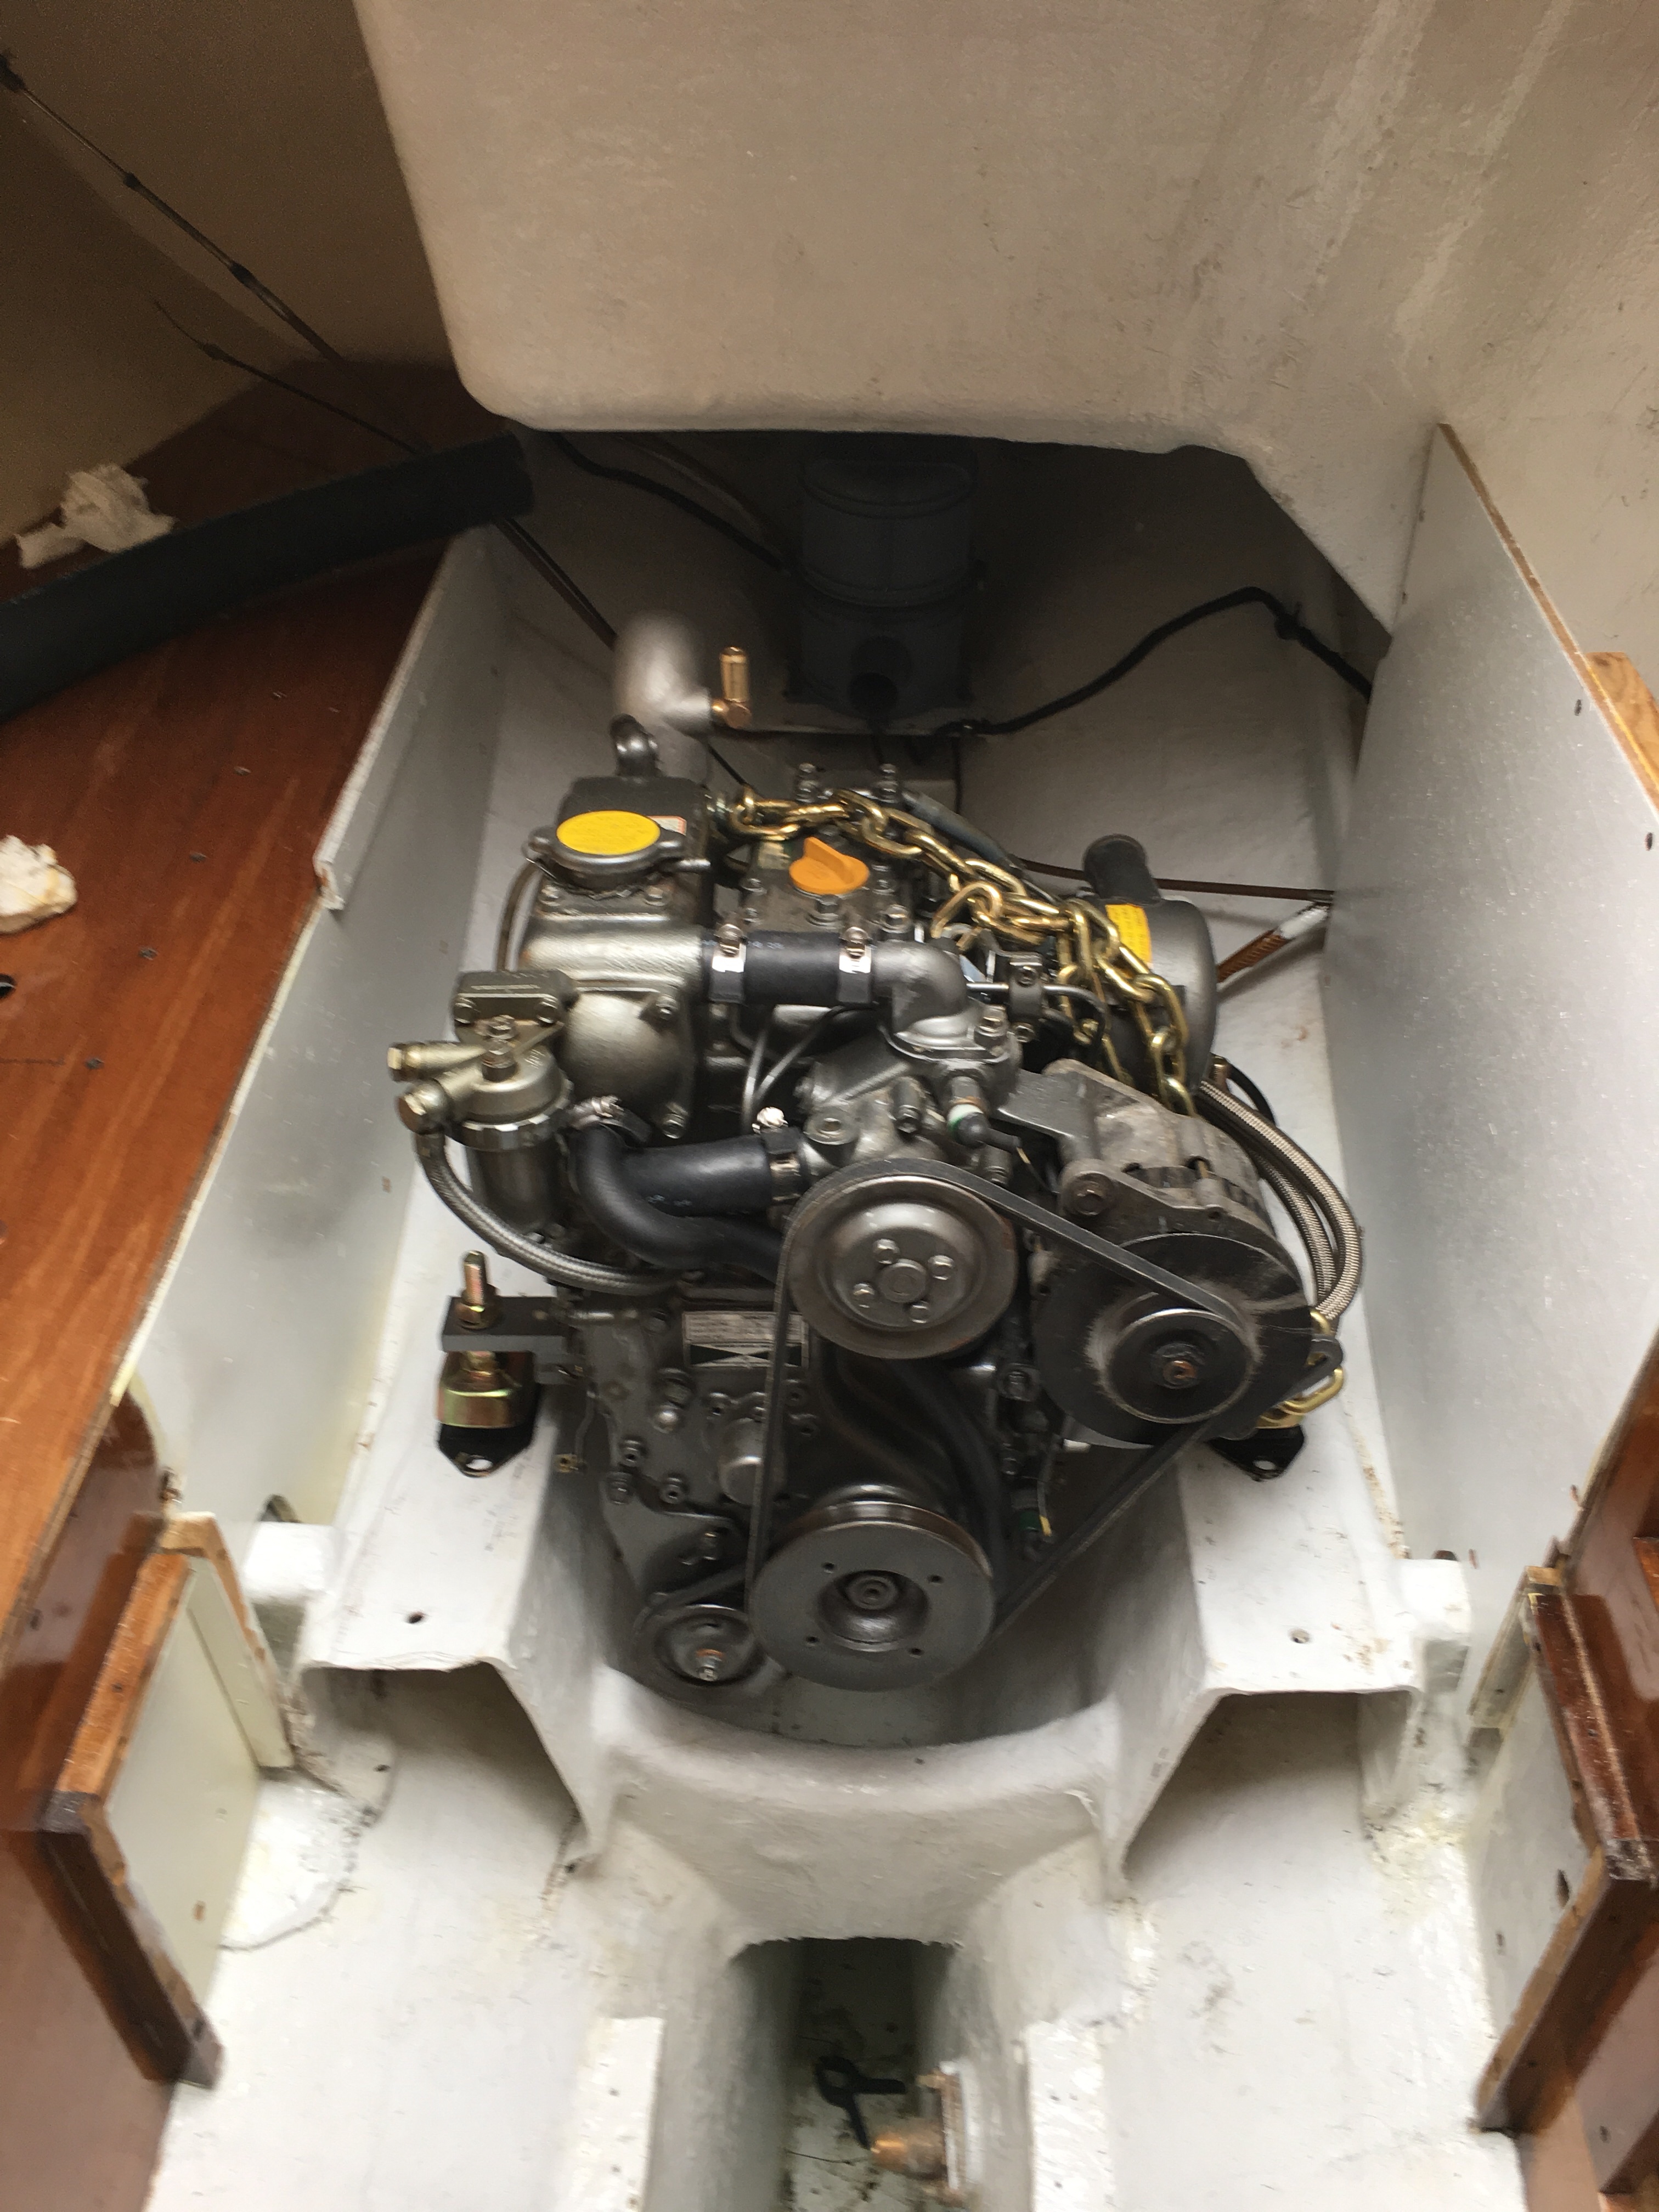
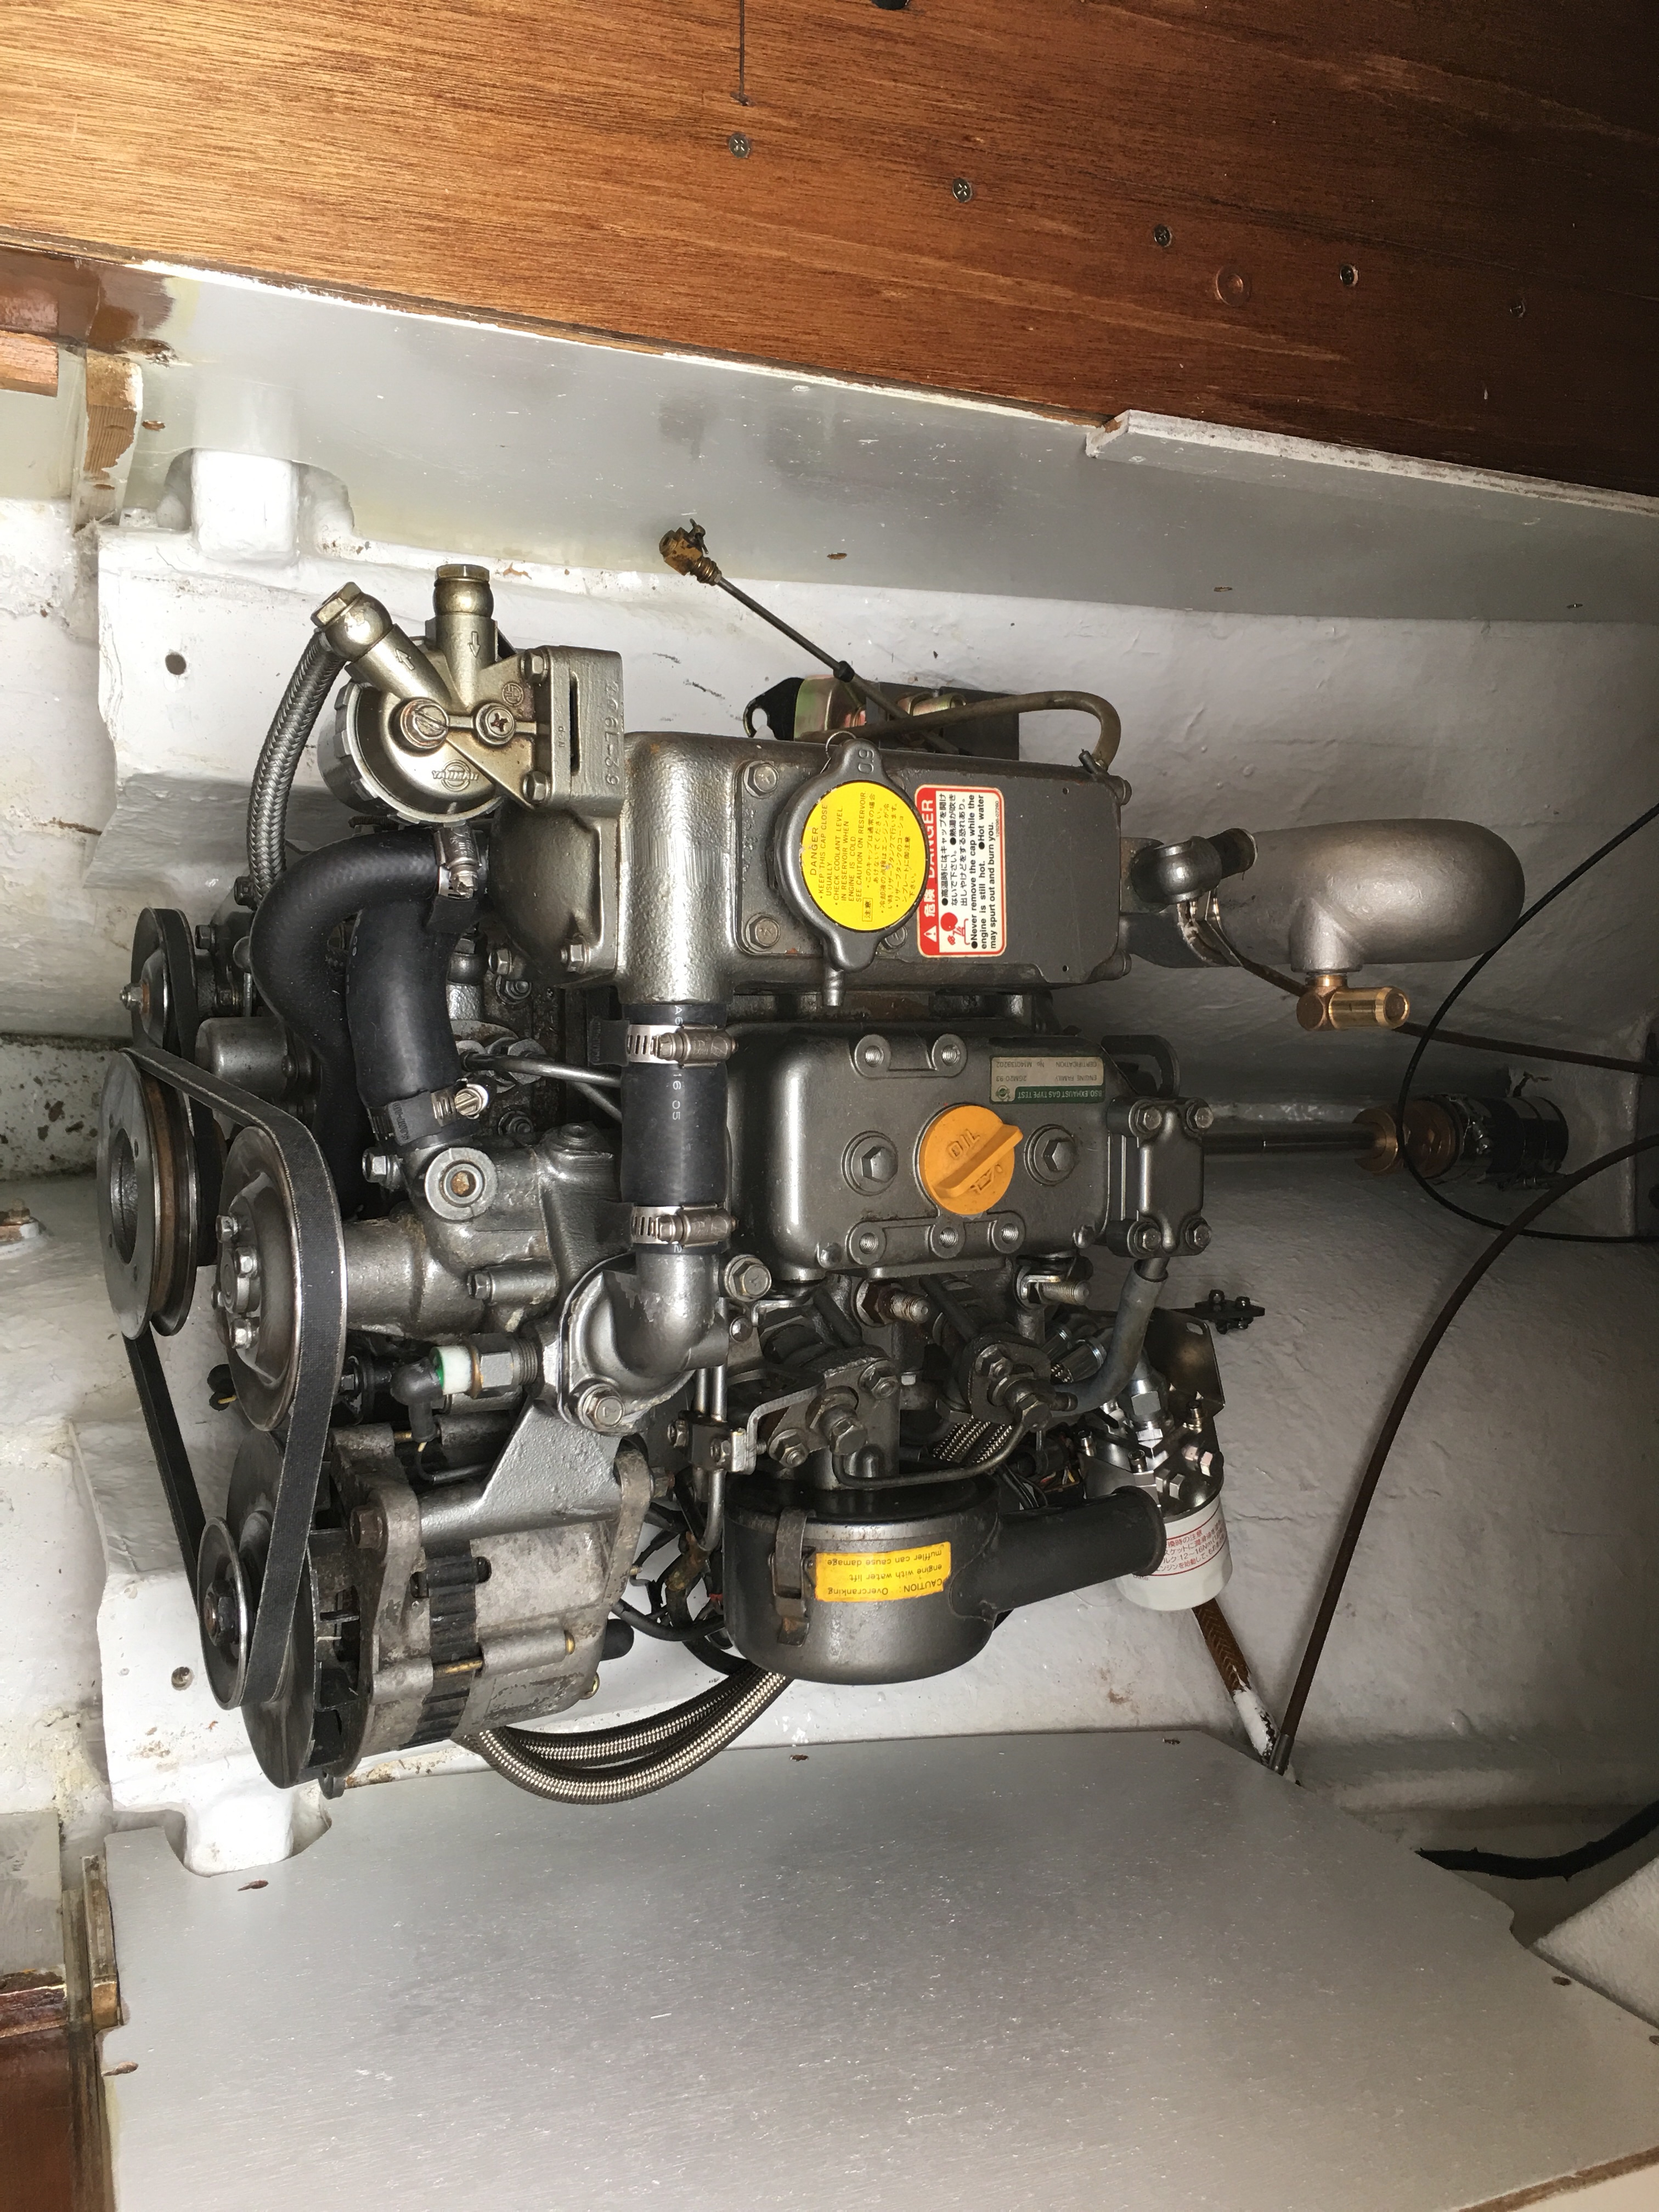
I got the engine aligned and bolted in, finally, and wanted to hook up all the equipment that lives around the engine and is connected to the engine so I could start replacing all the cabinetry that also goes around the engine.  Today I had a list.
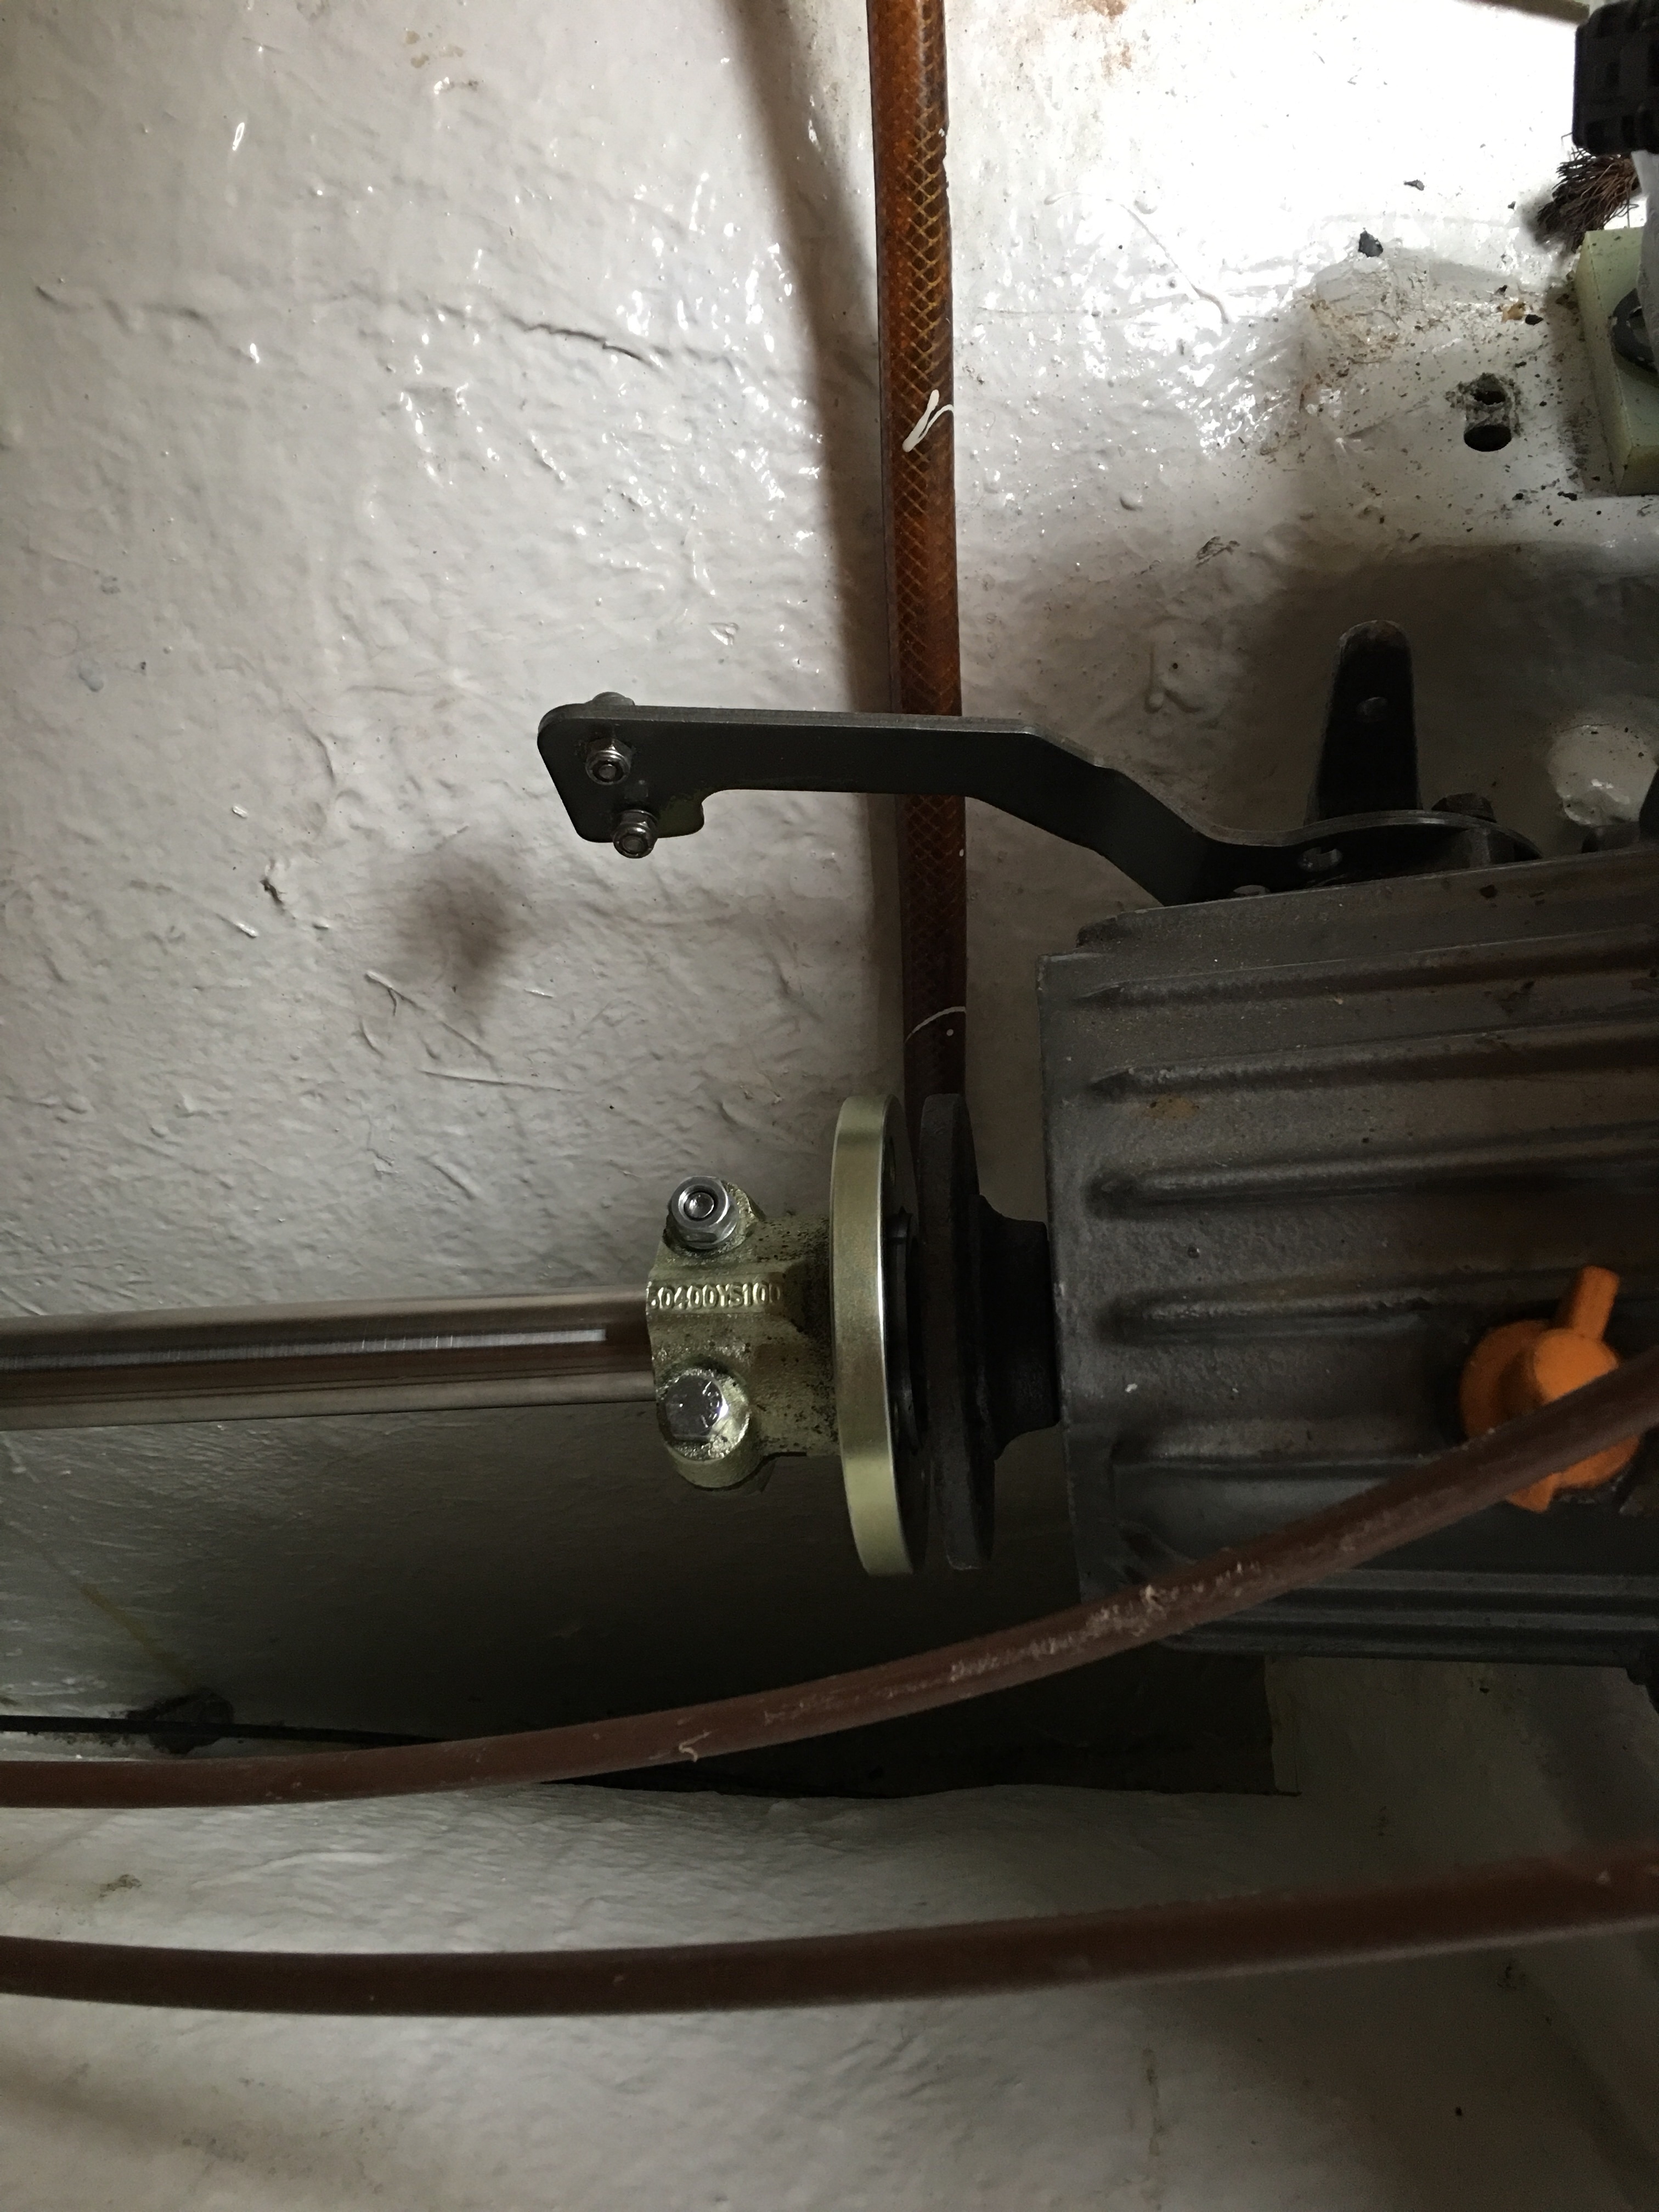
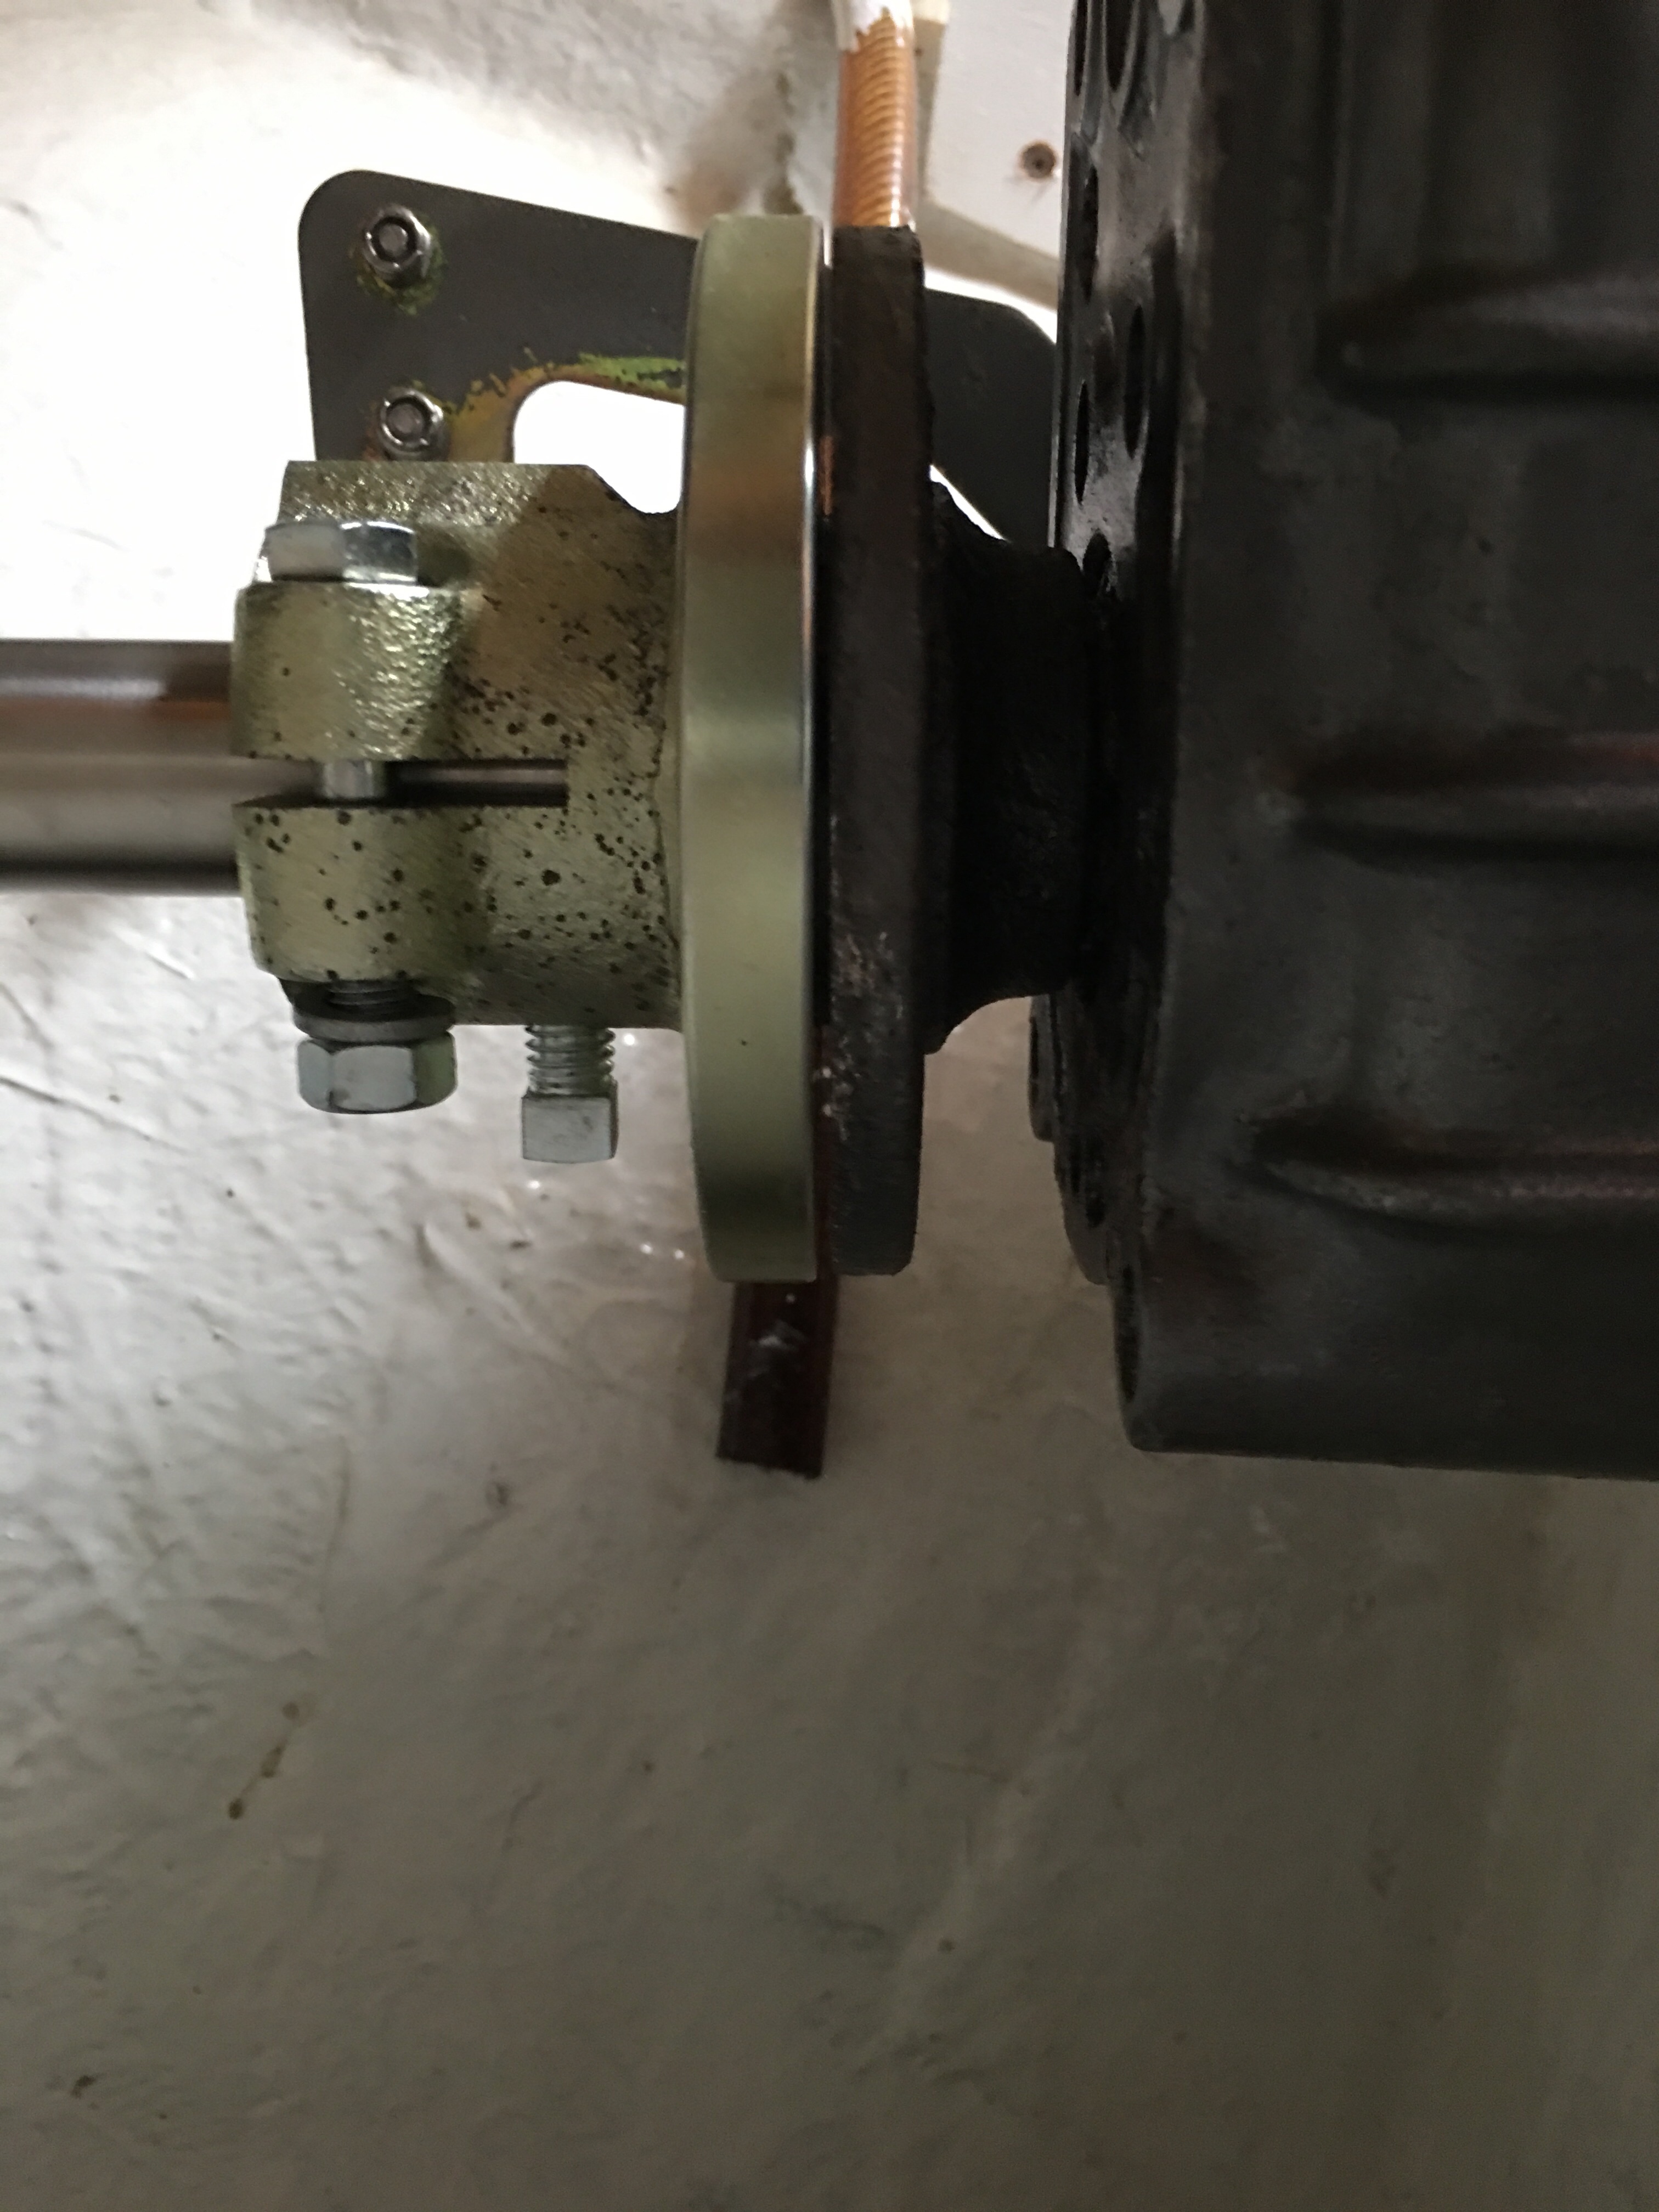
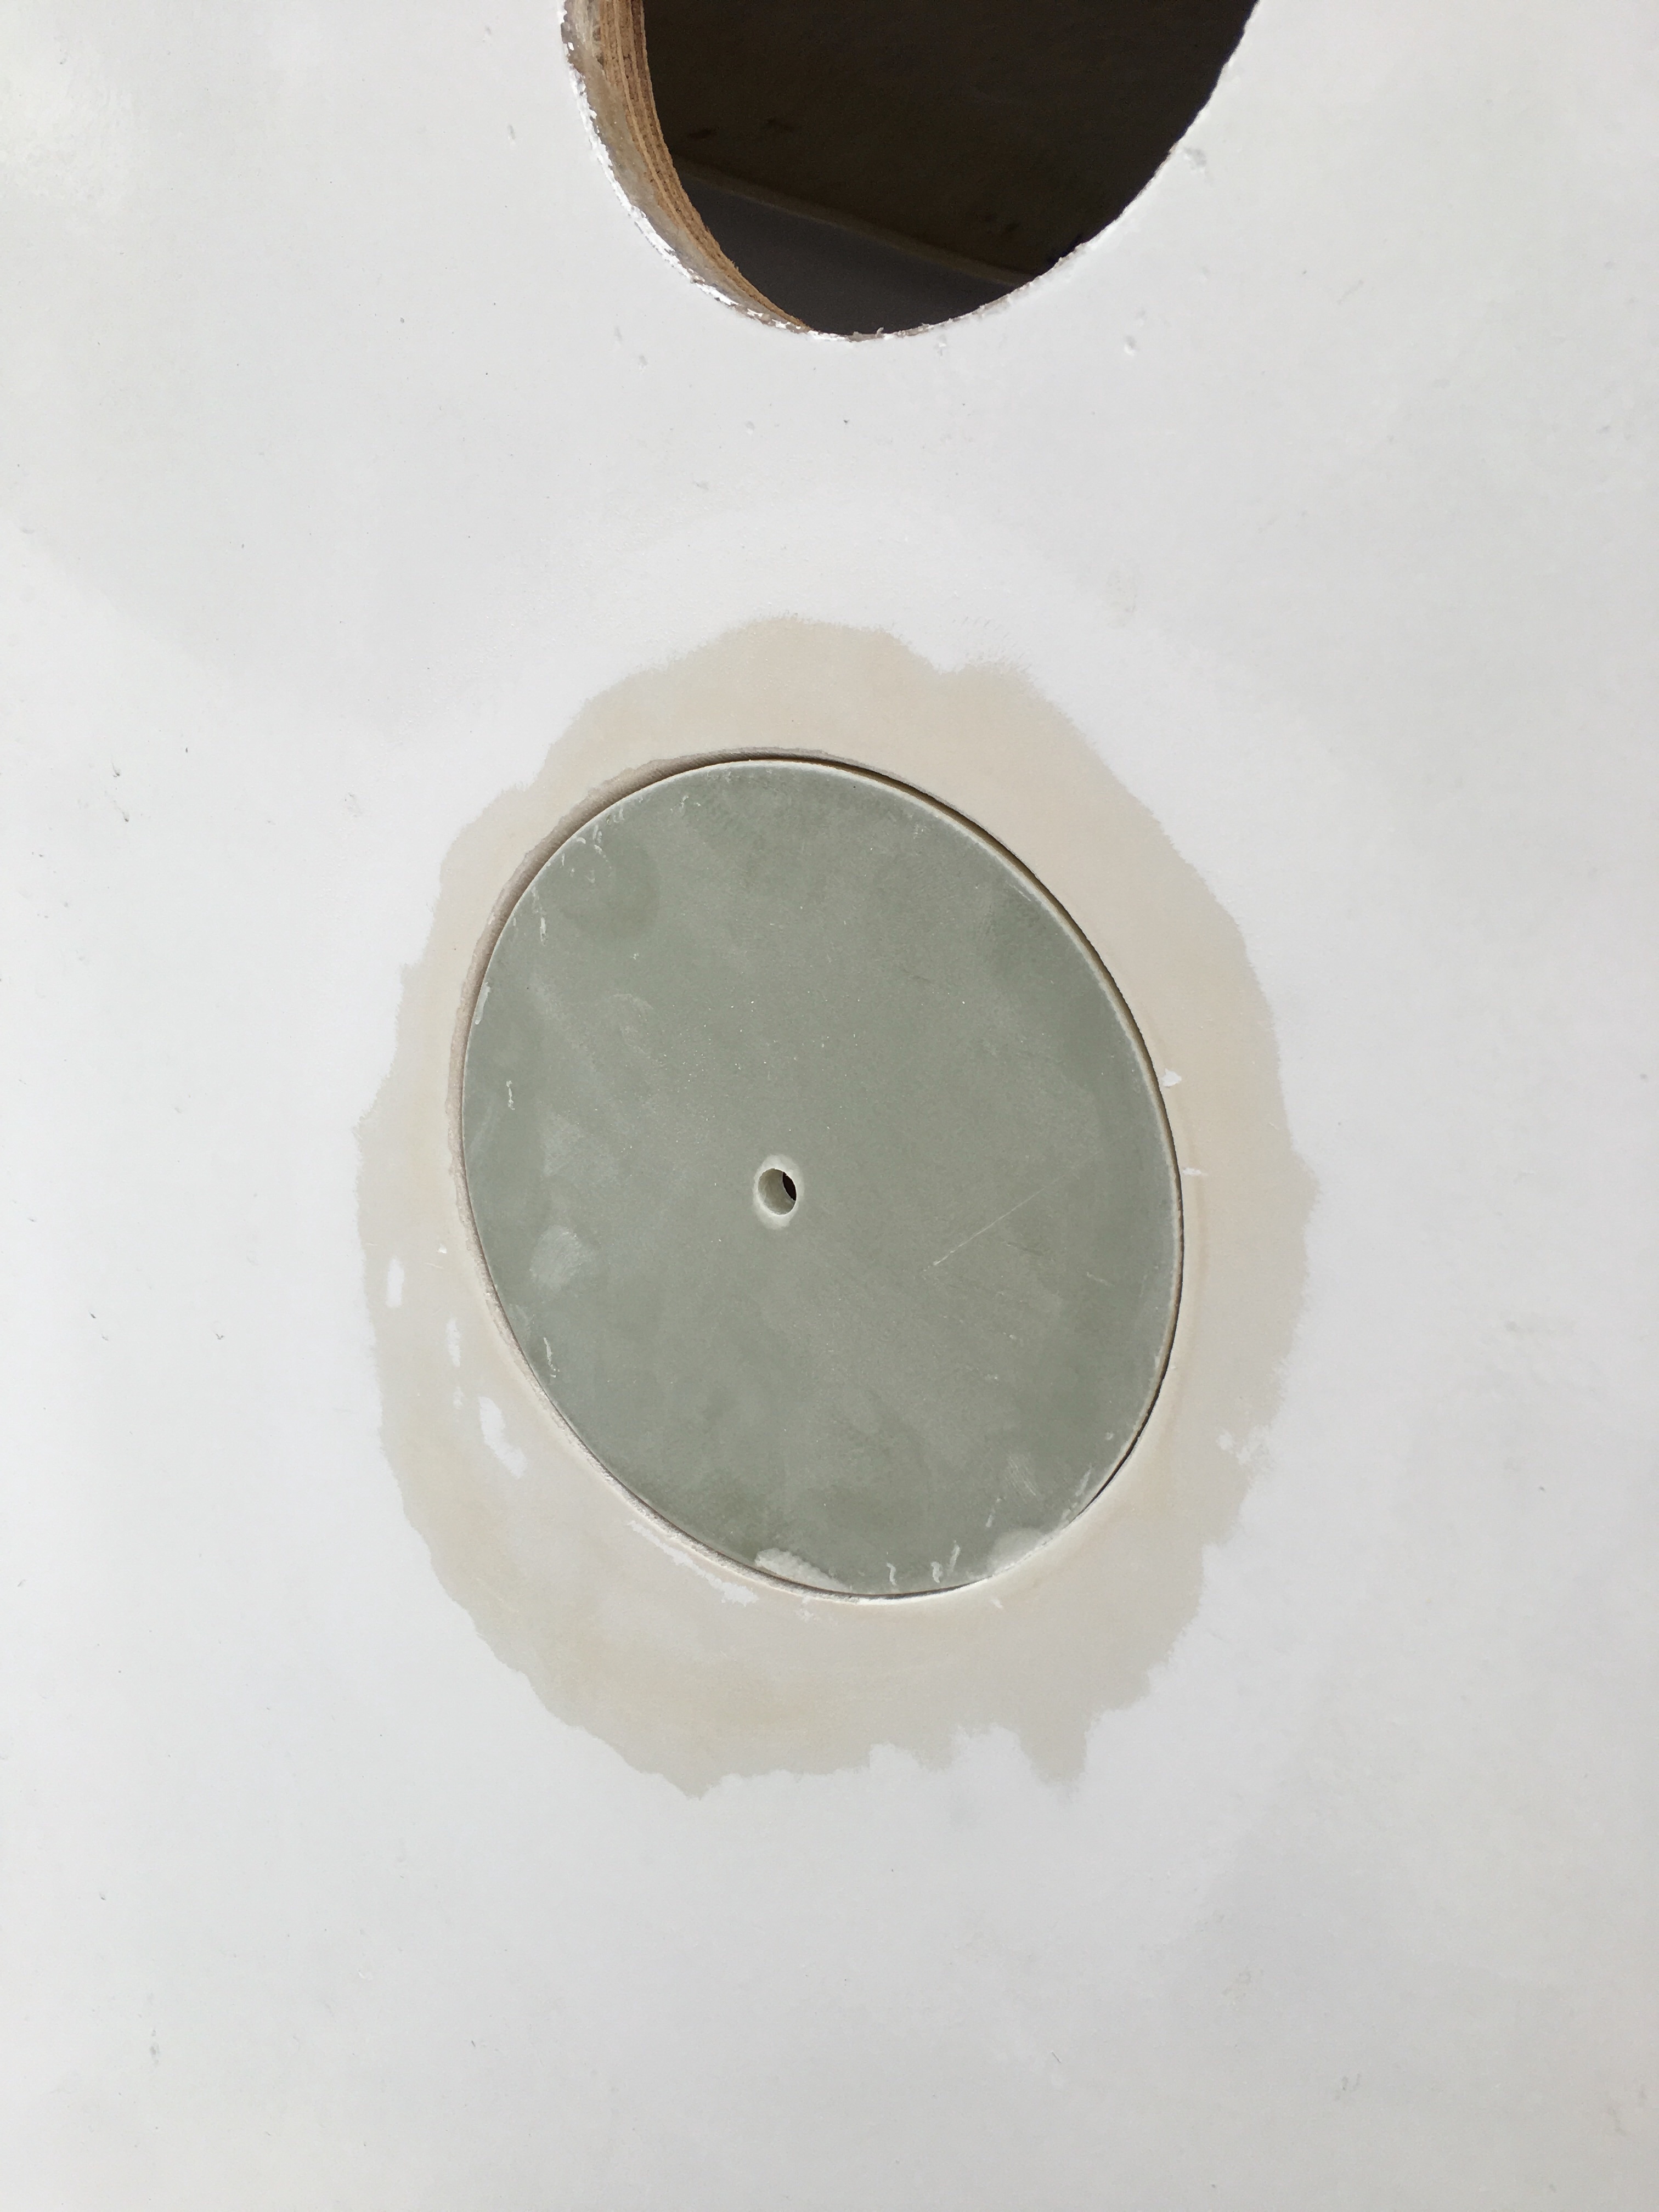
  • packing gland
  • exhaust
  • anti-siphon loop
  • seacock for cooling water
  • strainer
  • shifter
  • stop cable
  • expansion tank

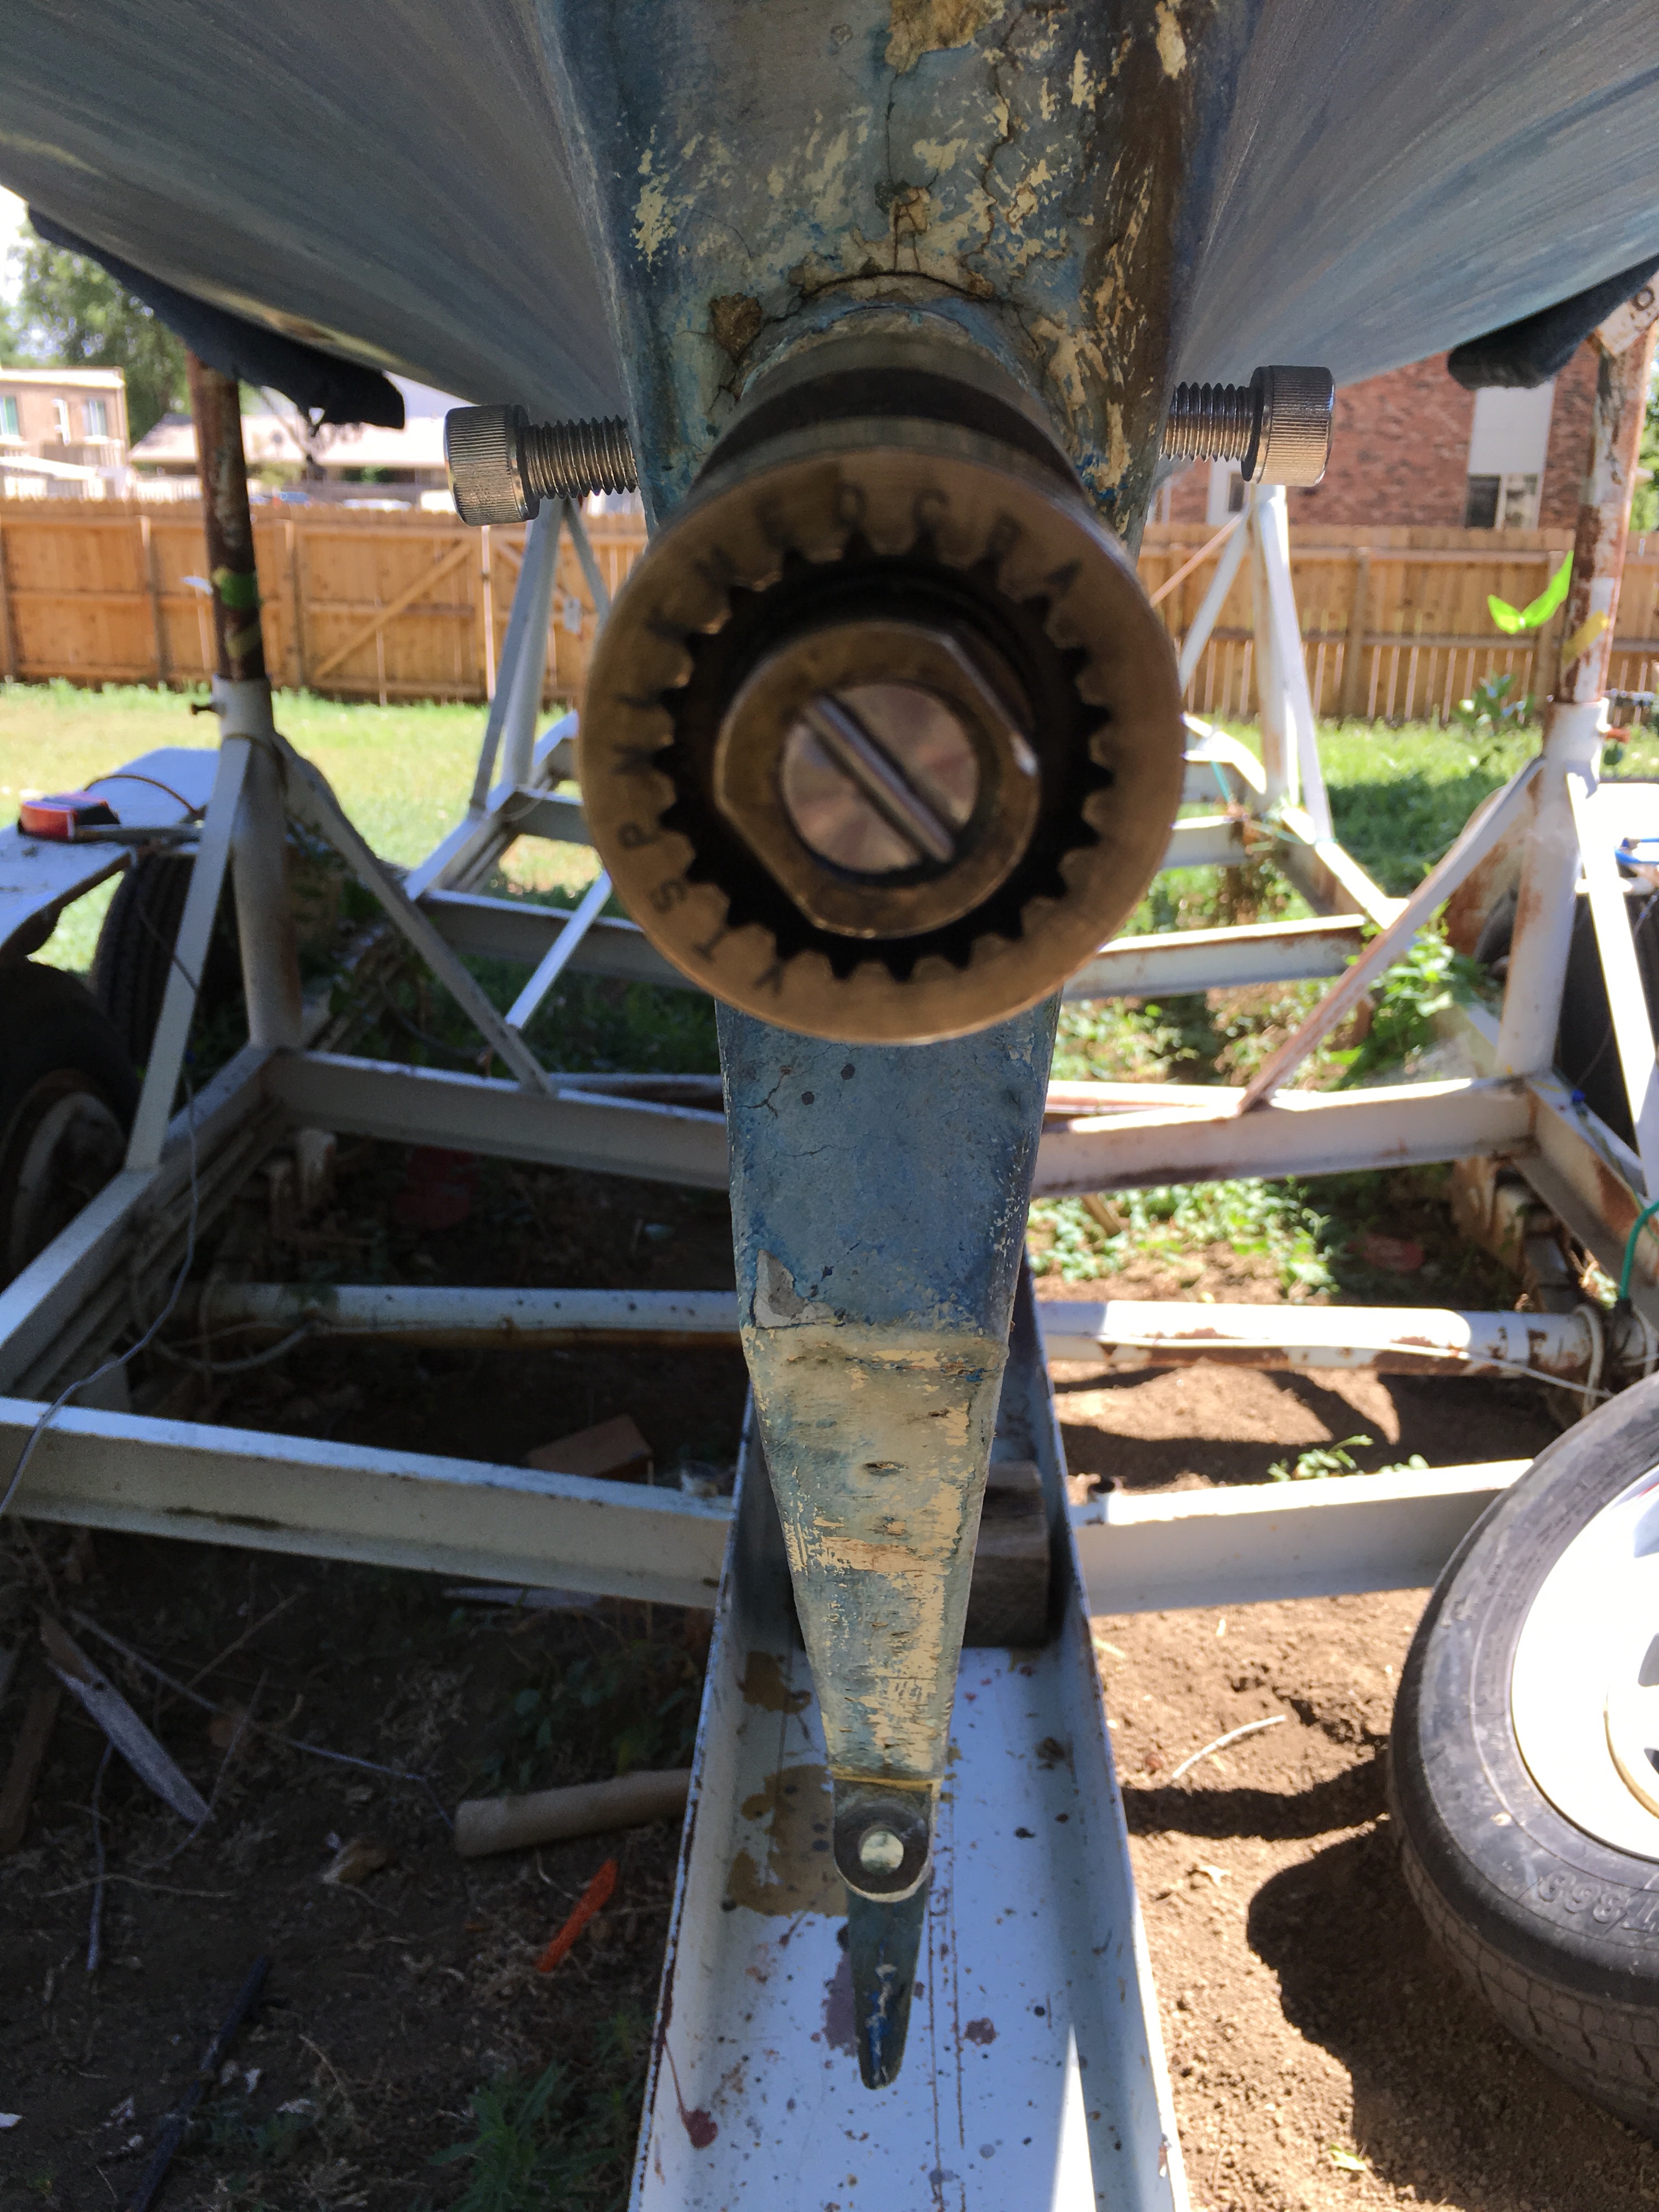
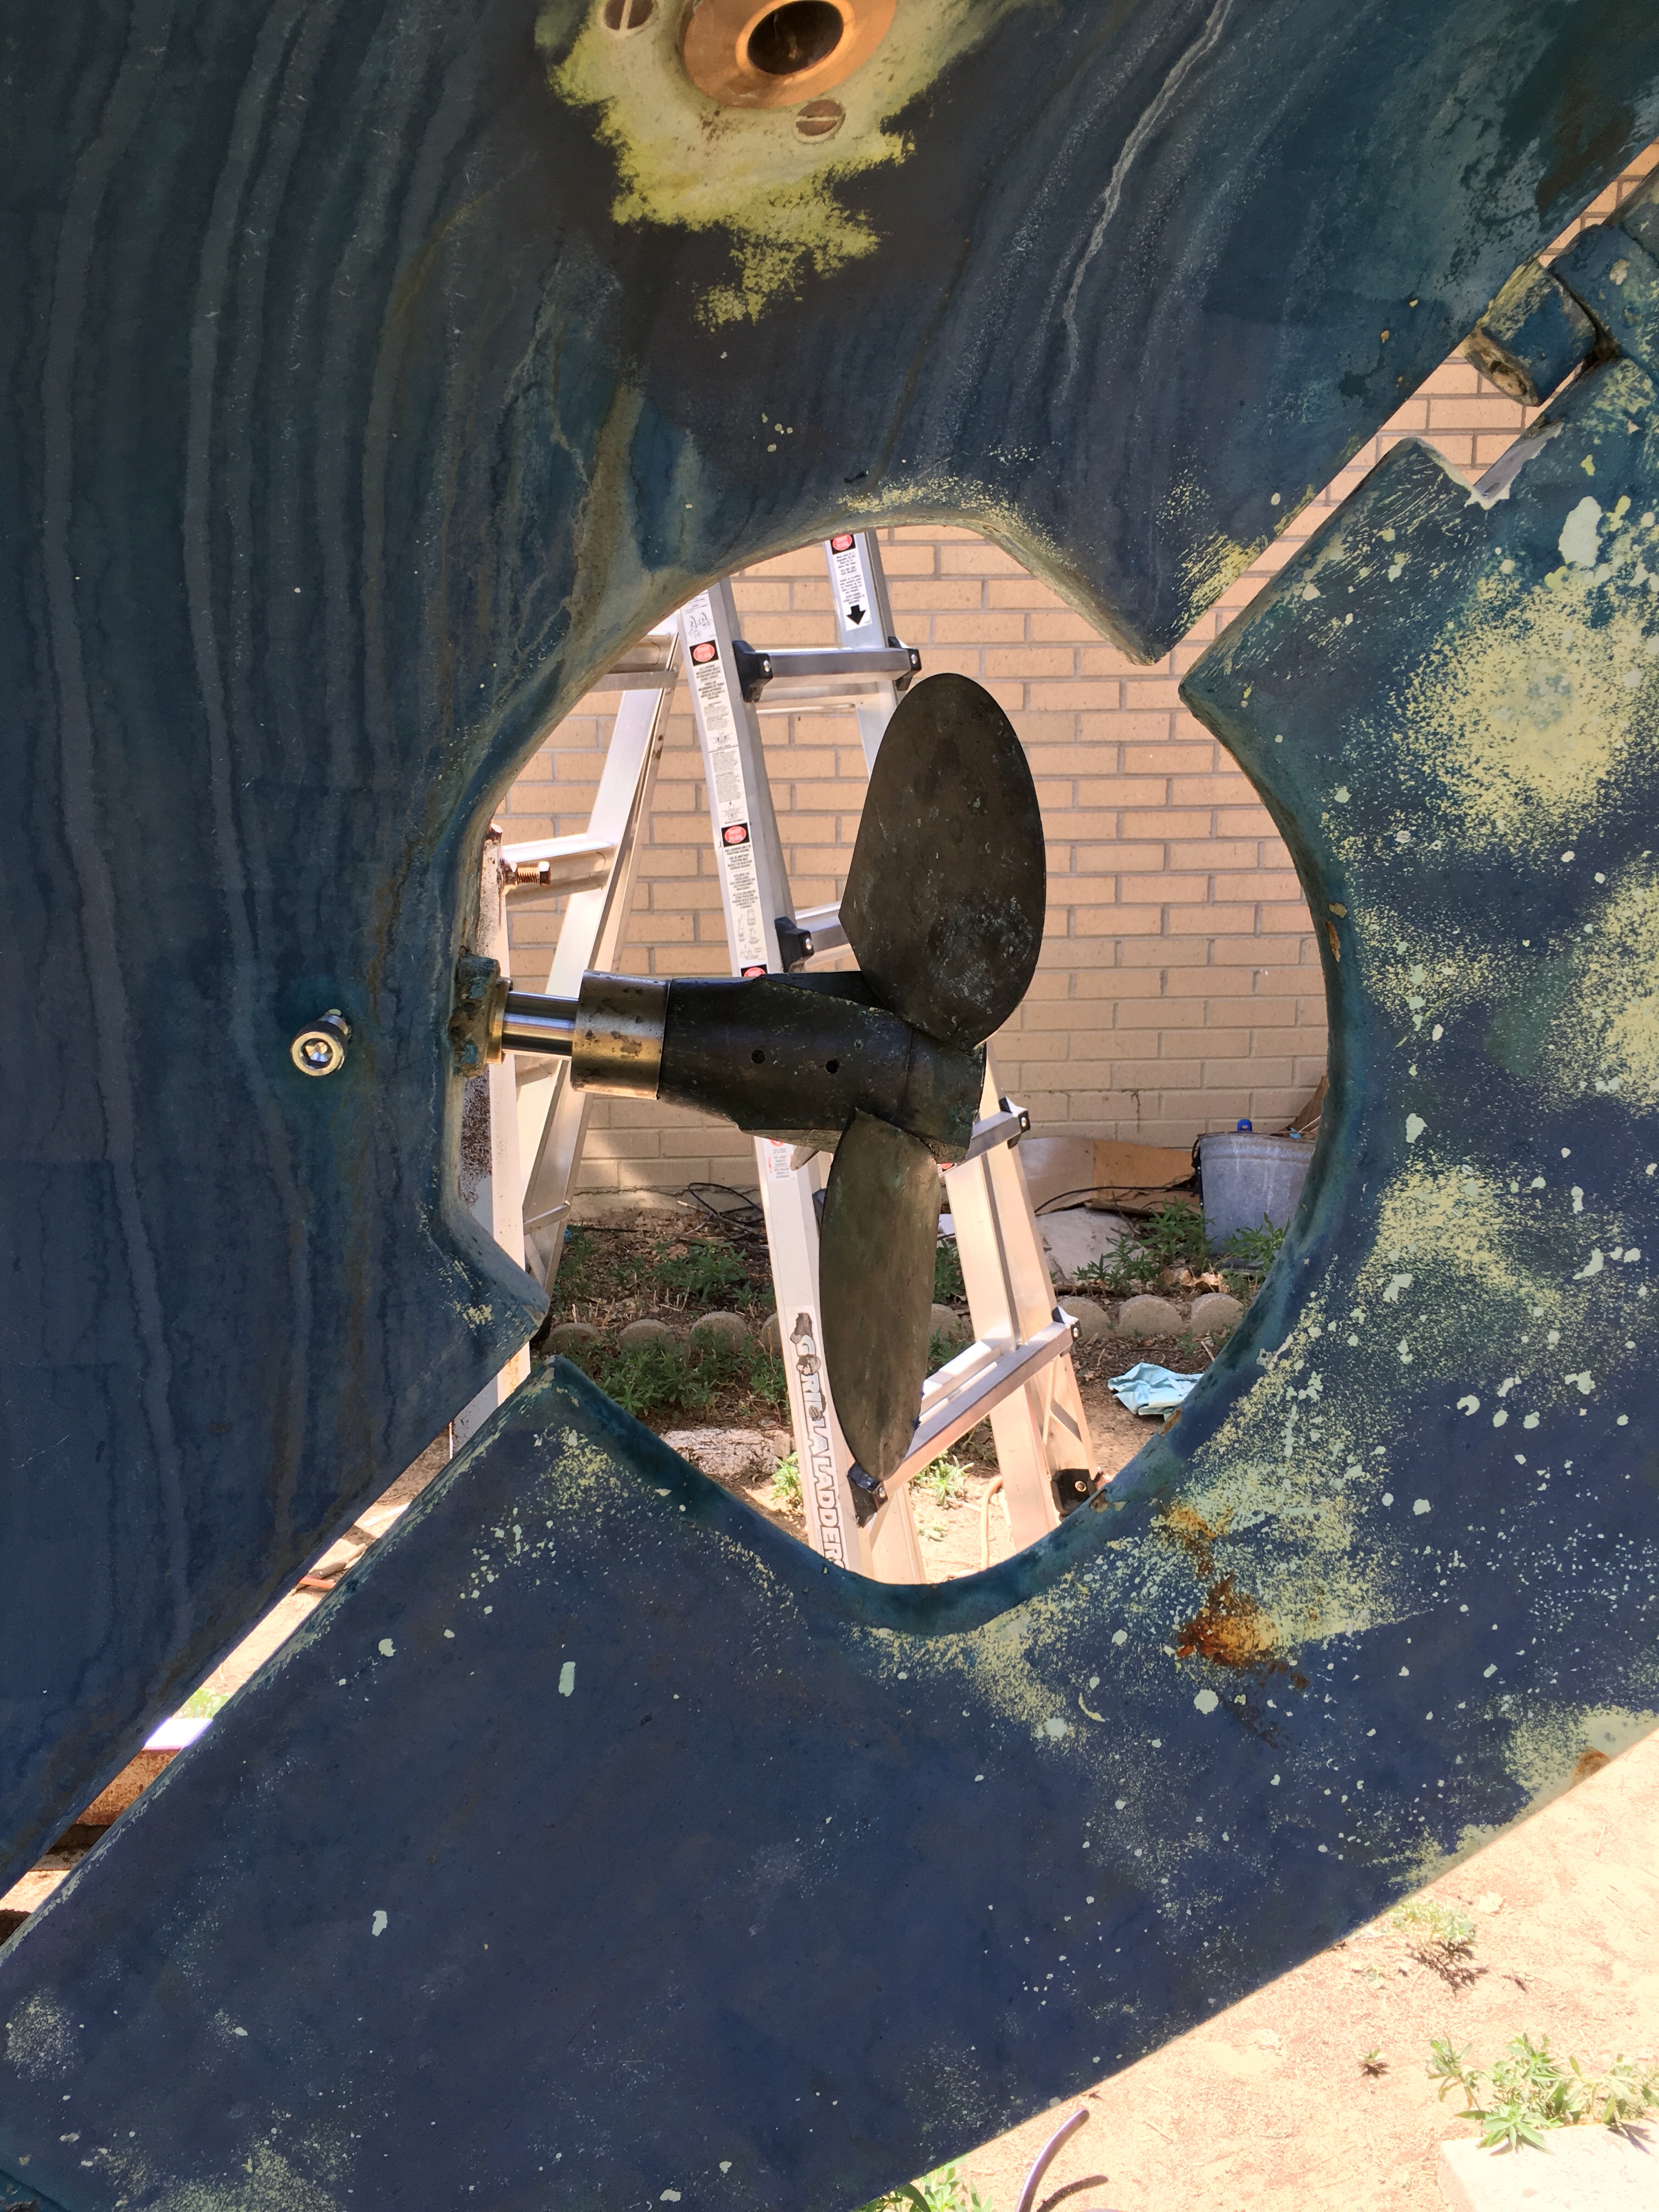
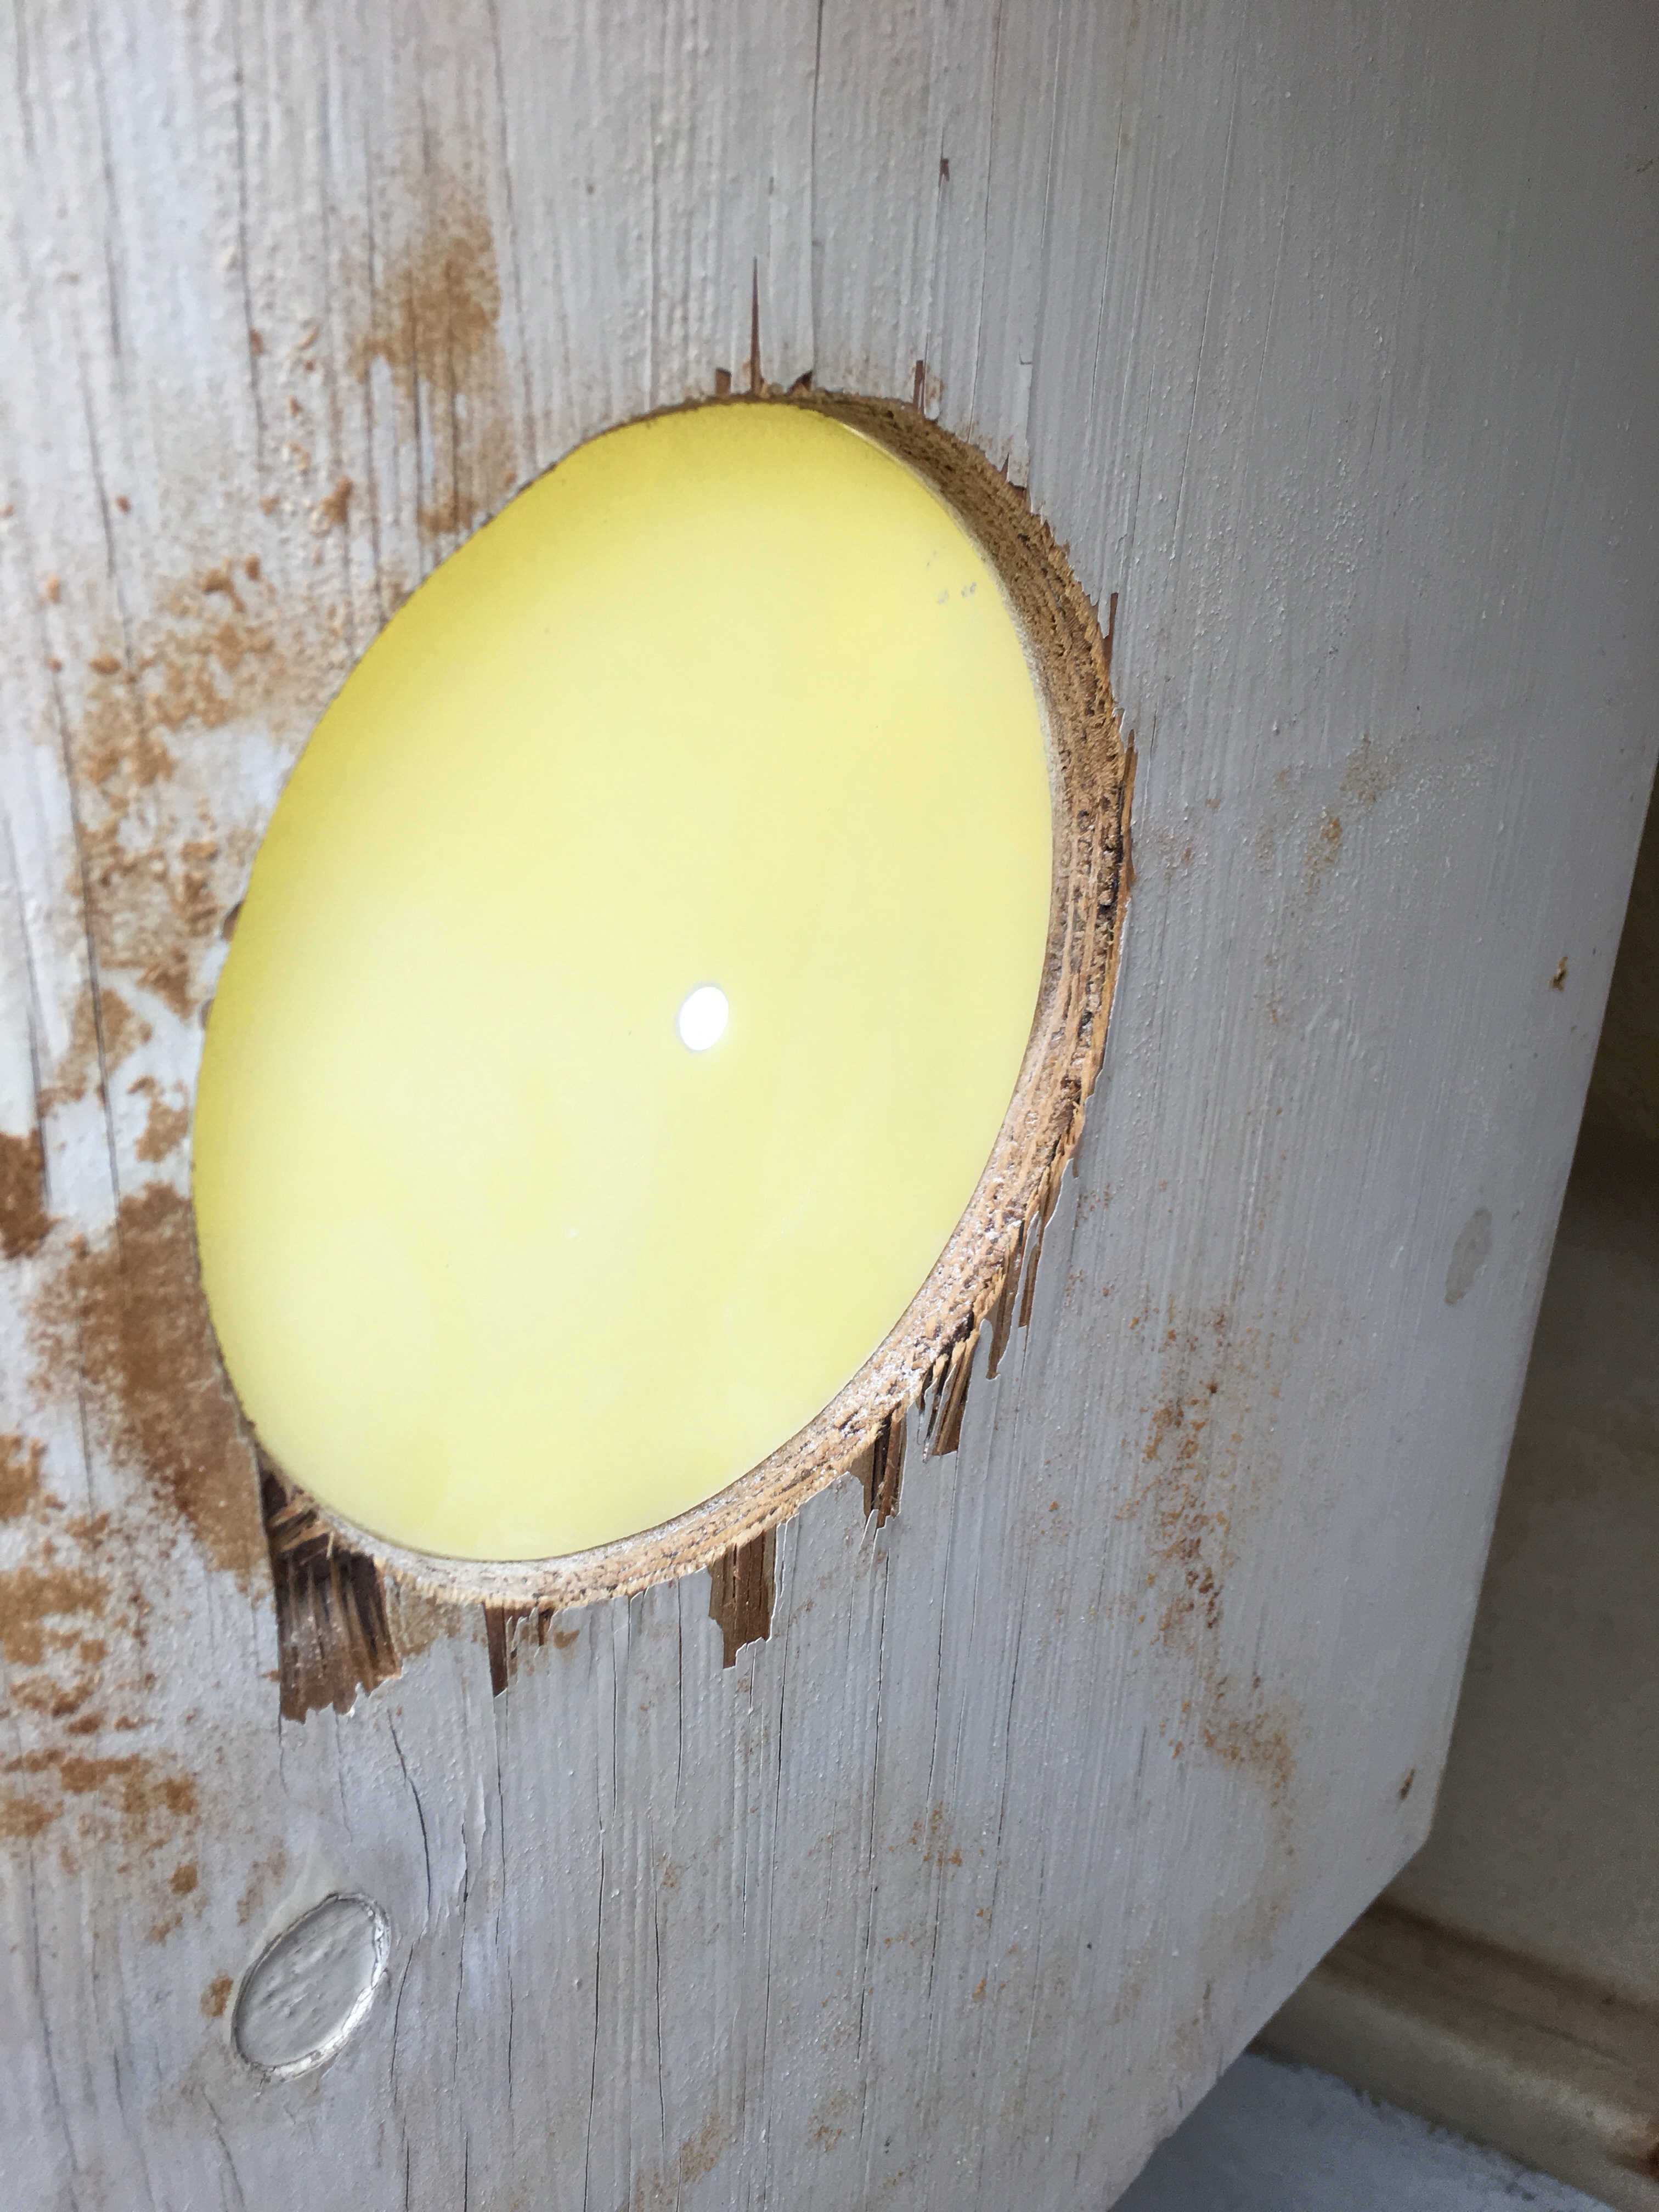
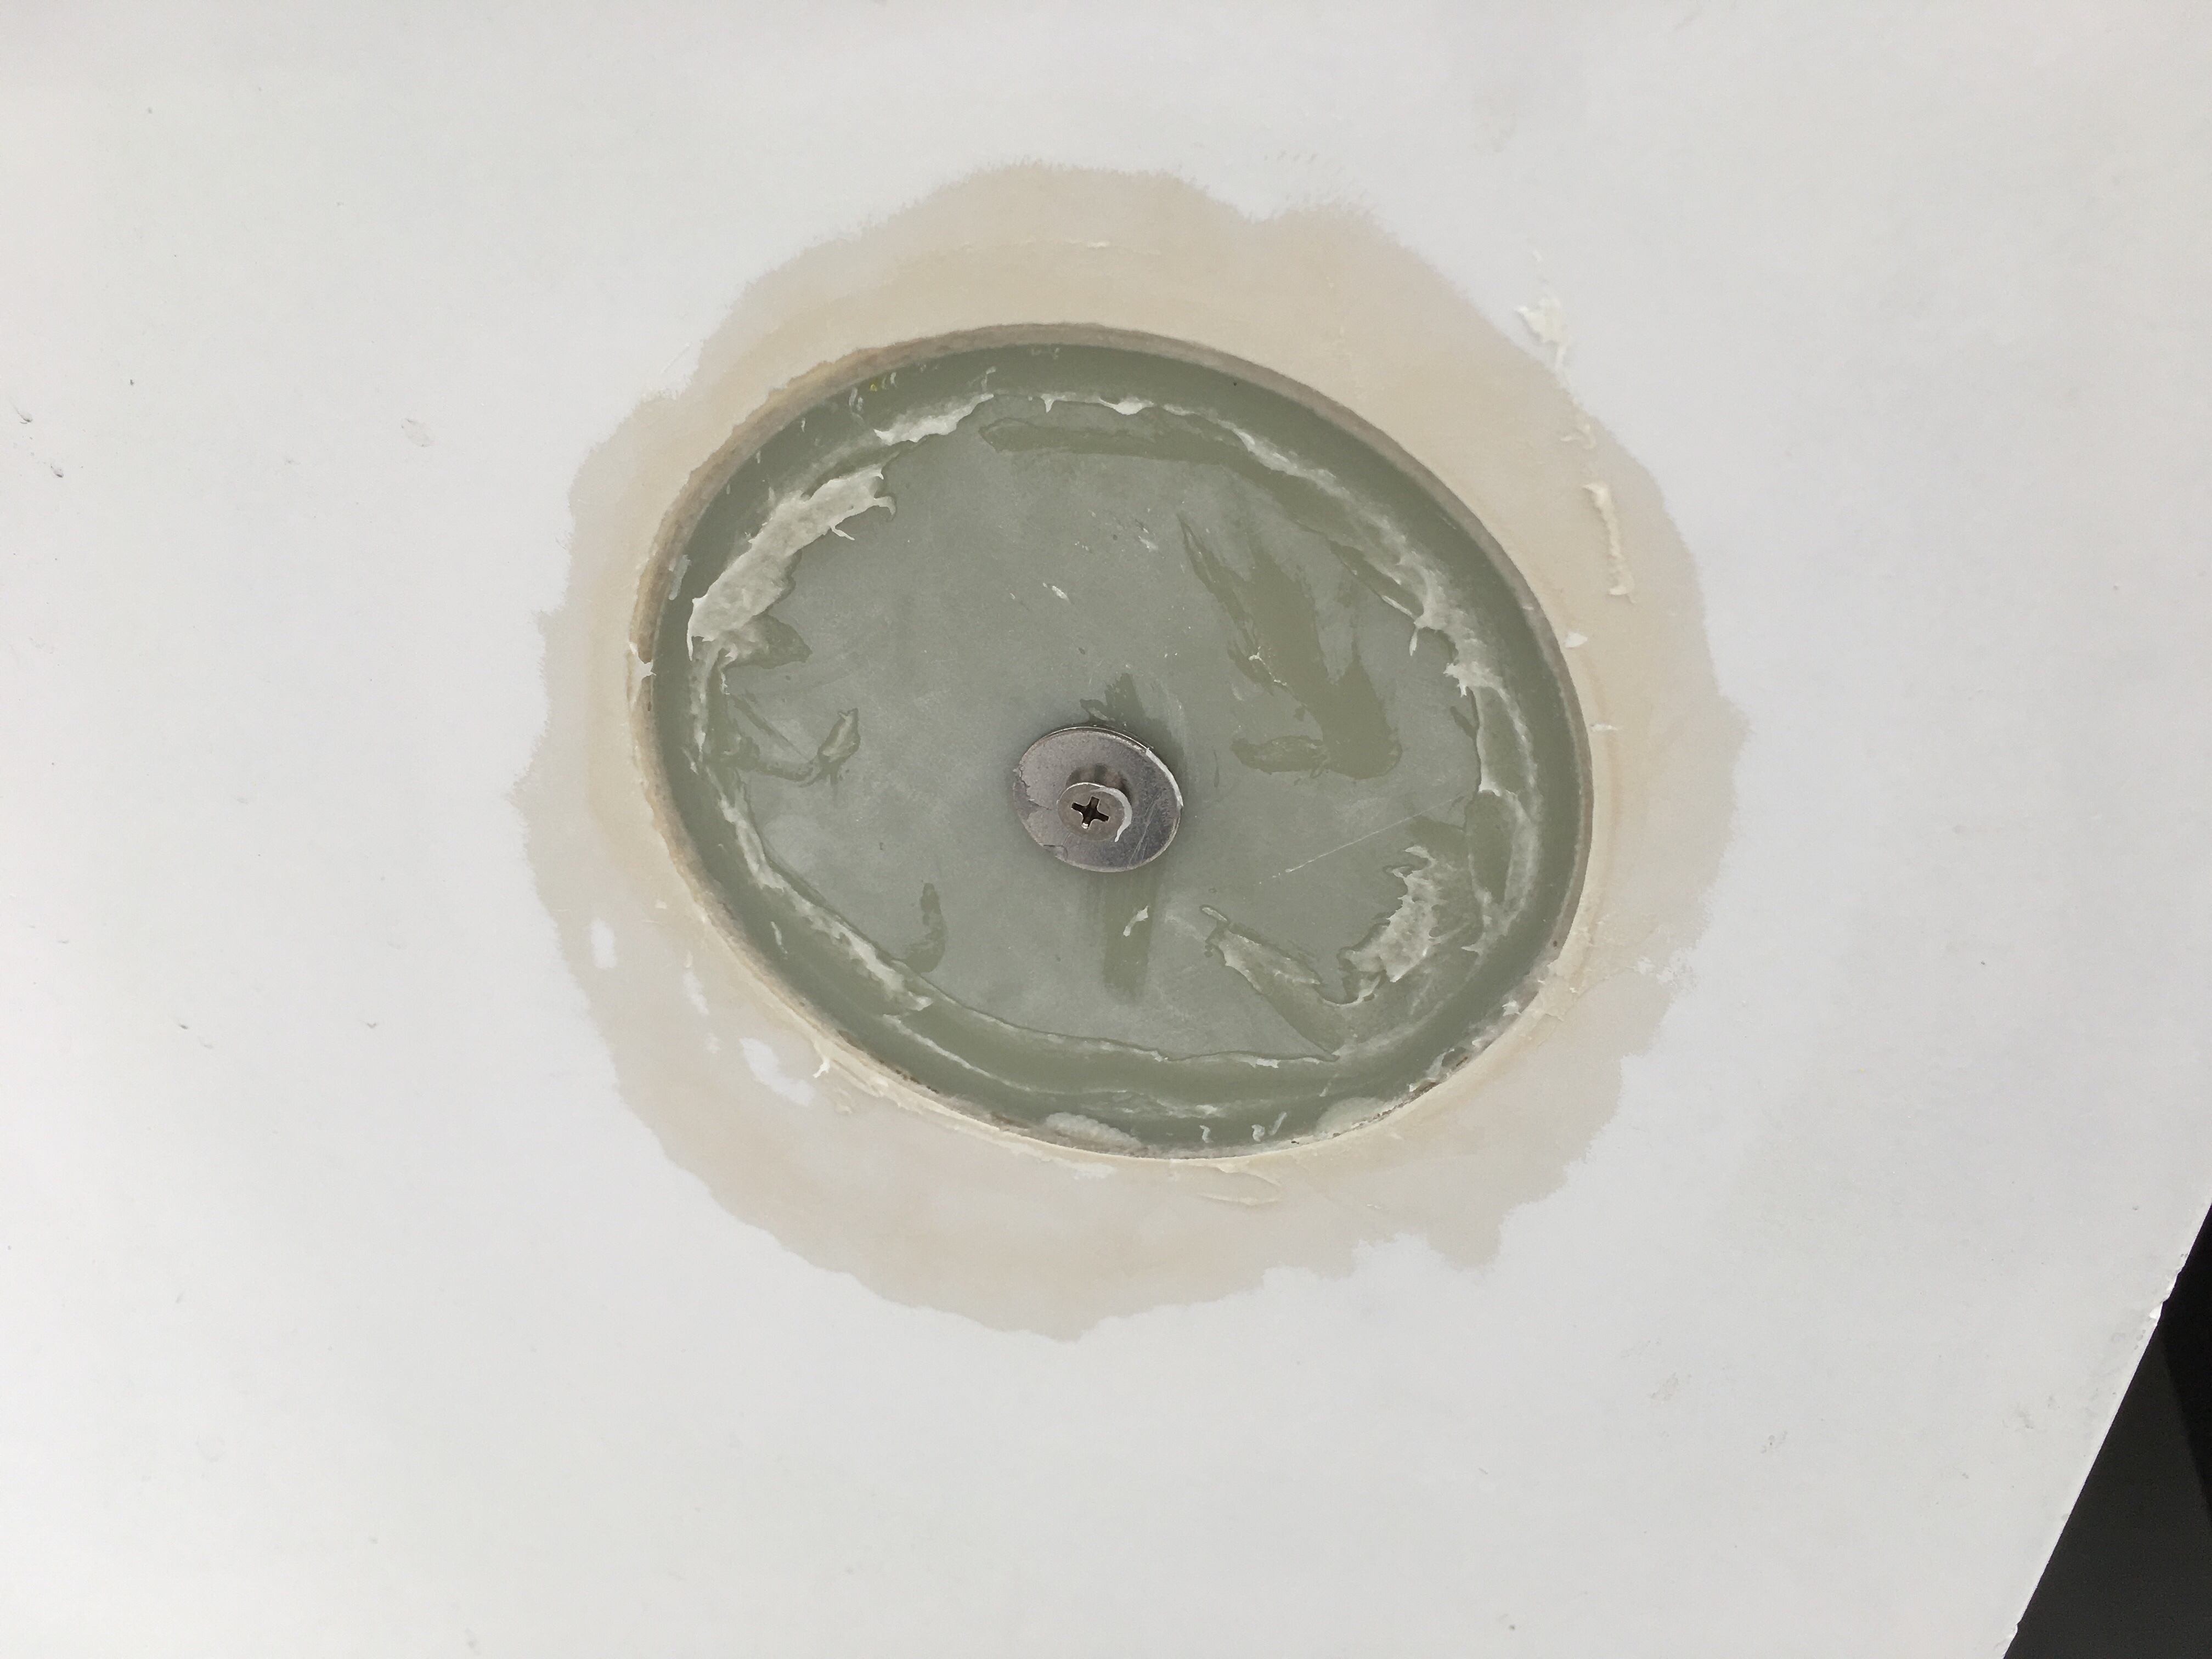
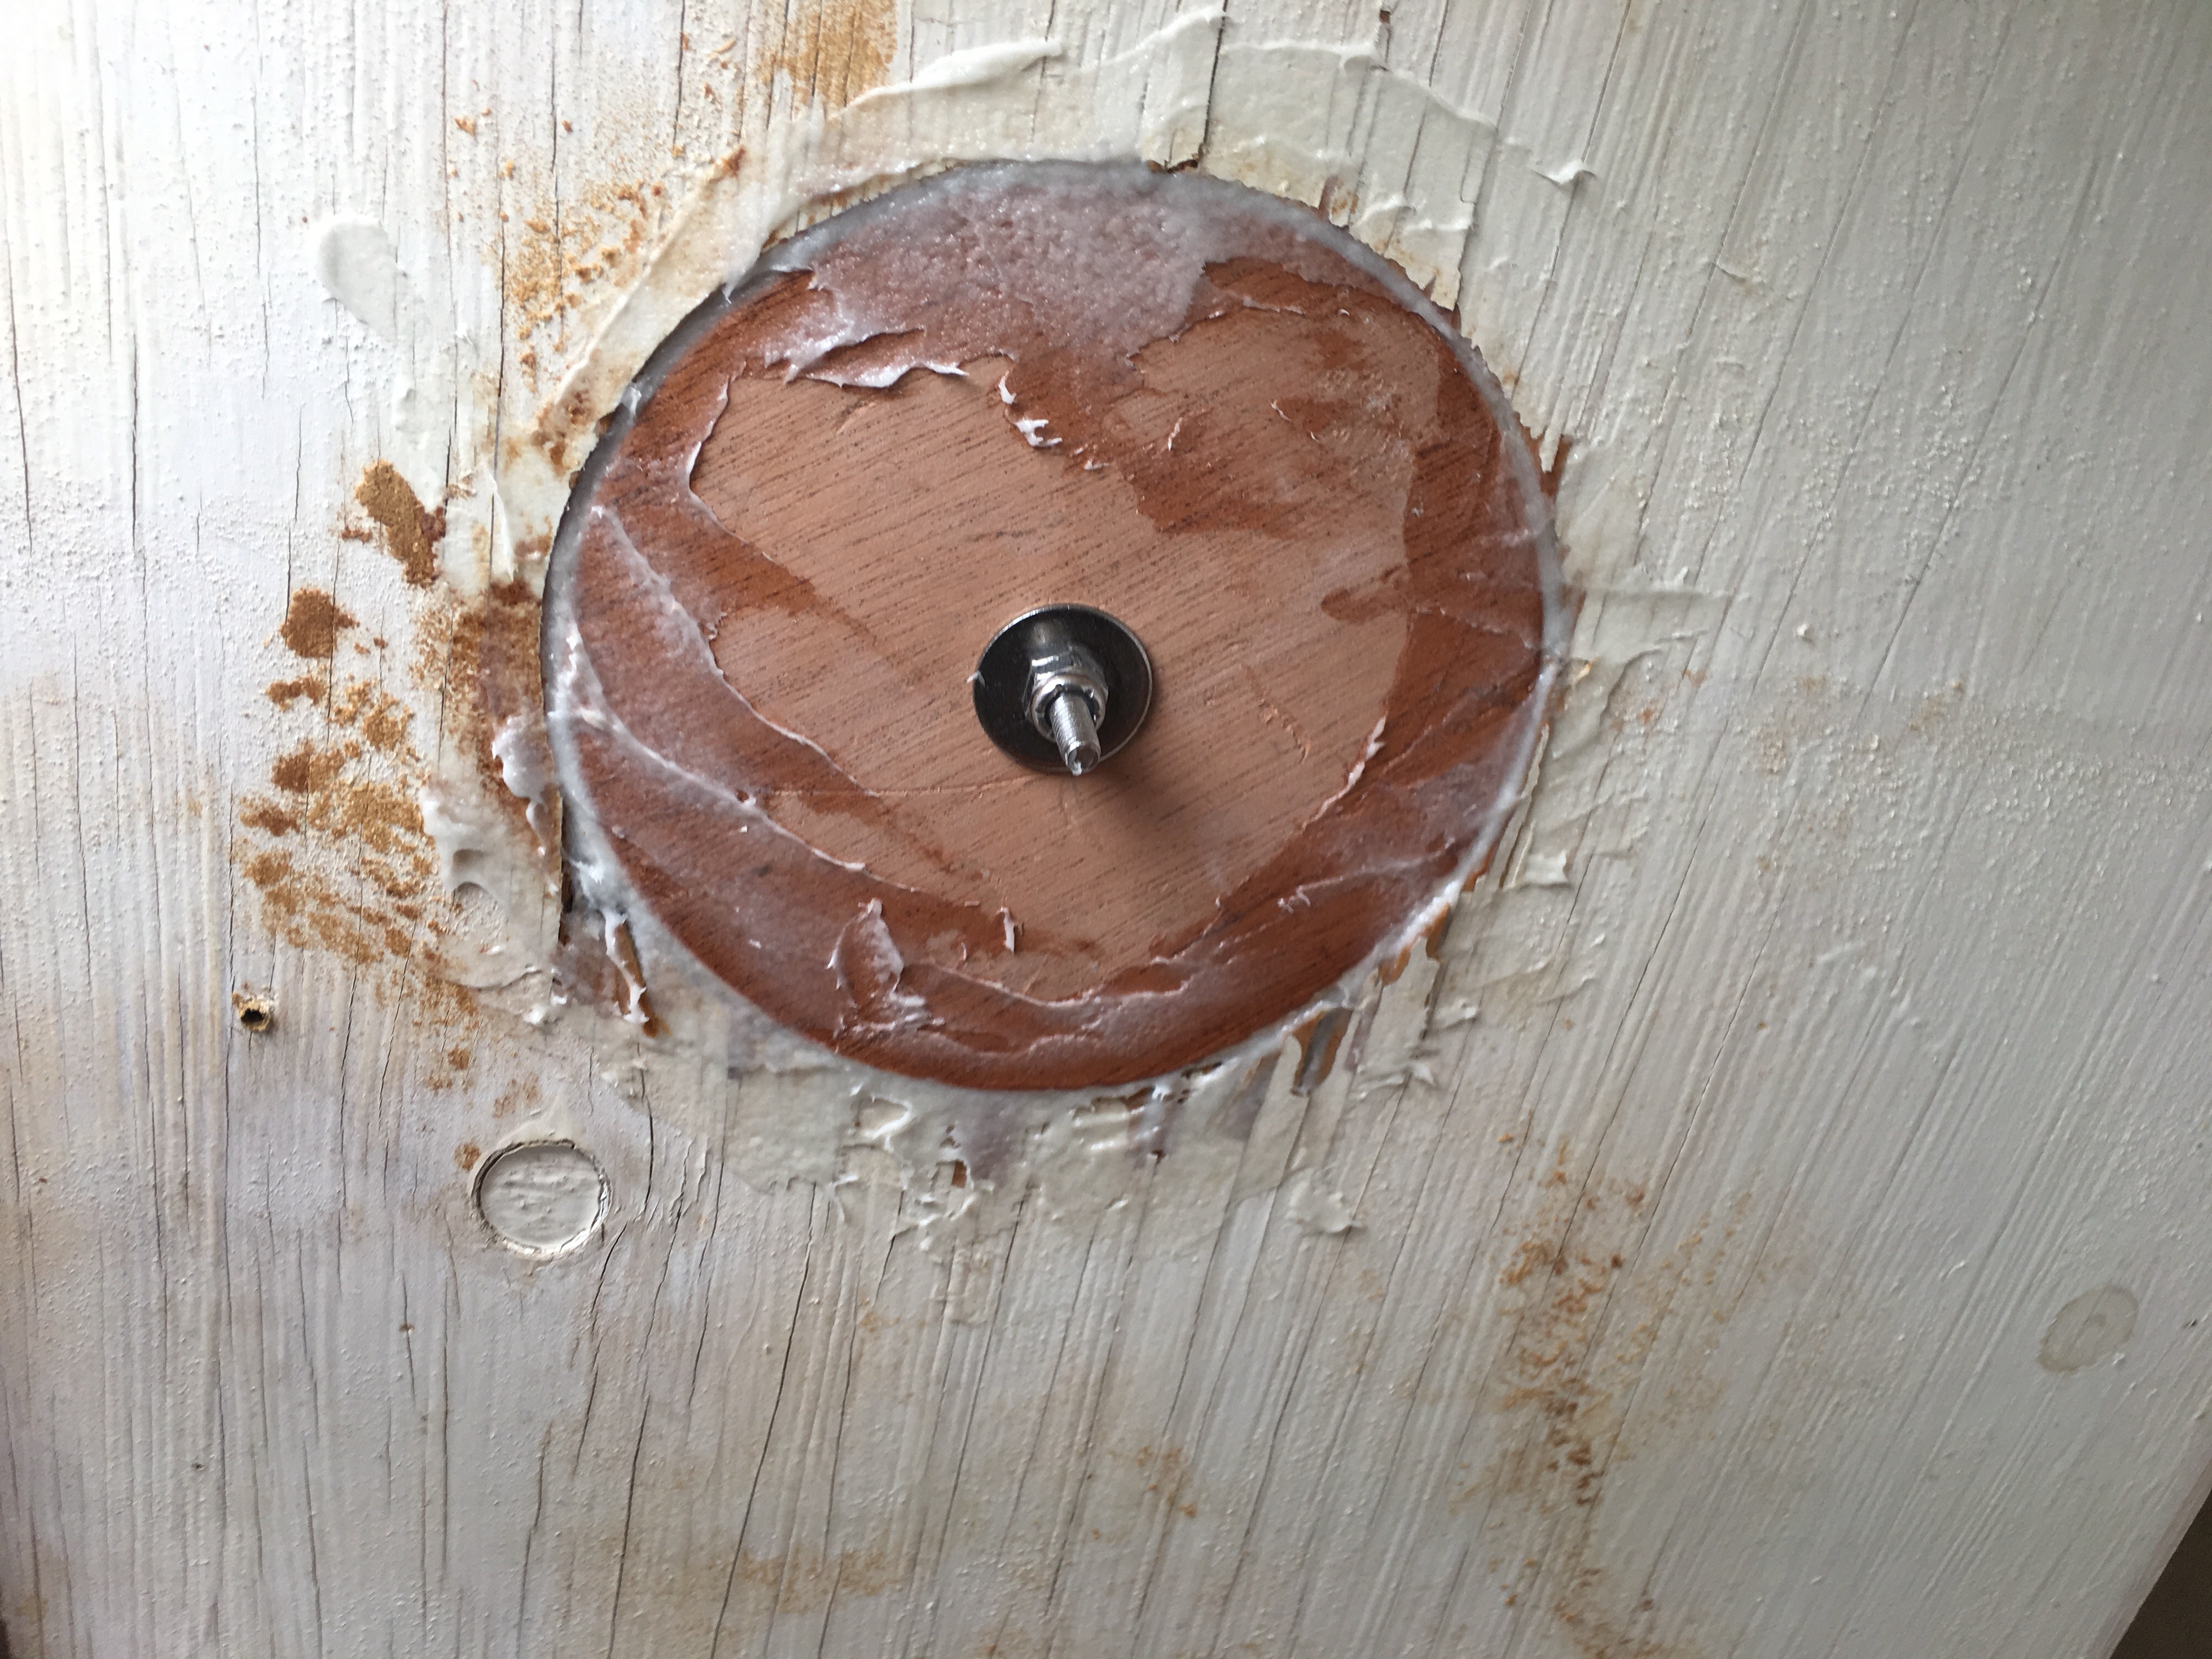
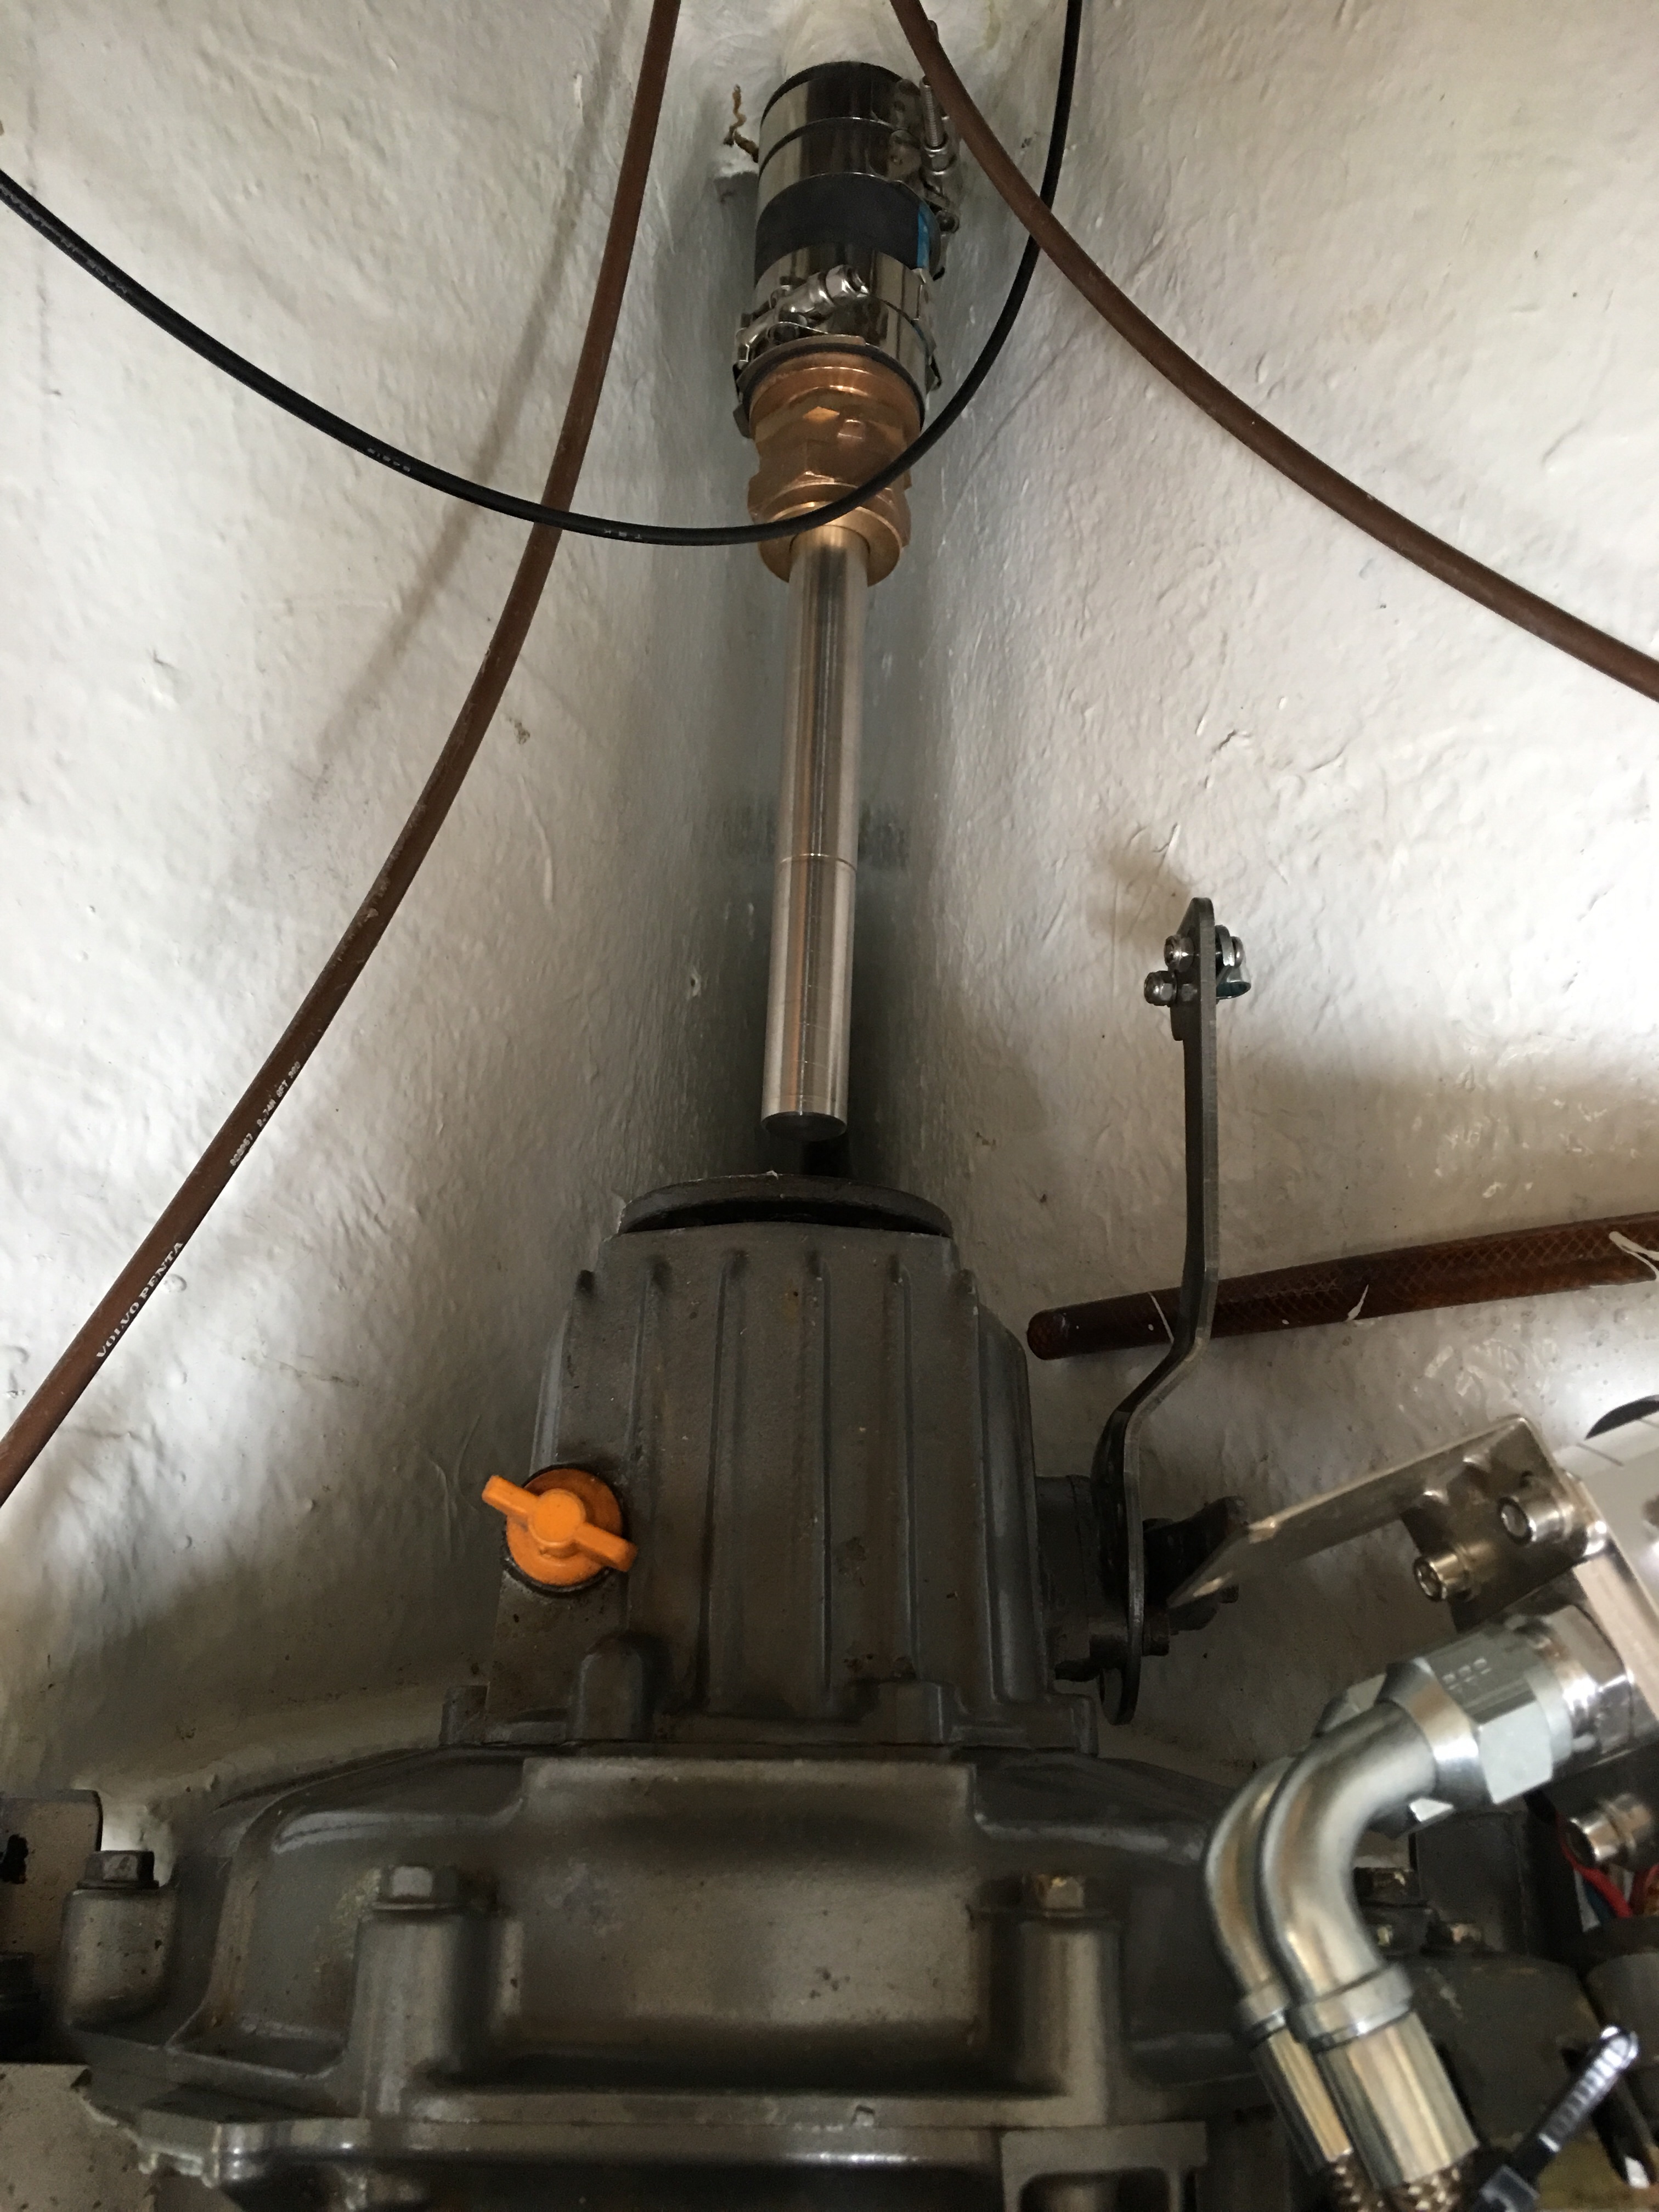
Originally I went out there with the exhaust but looking at it I thought well it’ll probably be a lot easier to put packing in the packing gland before I put the exhaust on since it’s right in the way.  So I put the packing in the packing gland and then I was thinking to myself, “Self?  This shaft is a little bit long so you better put the prop on and see where it’s sitting in the cavity before you commit to the packing gland and all that in case you need to shorten the shaft.”  So I put the prop on and I can’t get the nut tight enough to get the pin in.  This Max Prop uses a fancy nut that lives under the gear that lets the blades flip from forward to reverse and I’m nowhere close to putting that pin in.  I’m 100% no where close to where they put the pin hole.  Deep Blue Yacht Supply makes some nice shafts, but they don’t listen real well.  I gave them the measurement for the shaft + coupler and they made the shaft that long, which is about 1/2″ too long.  That’s fine because I have a little wiggle room, but they knew I had a Max Prop and how that attaches and they didn’t take that into account.  It’s okay, I can work around it, but now I’m trying to figure out how to get that prop on there a little further.

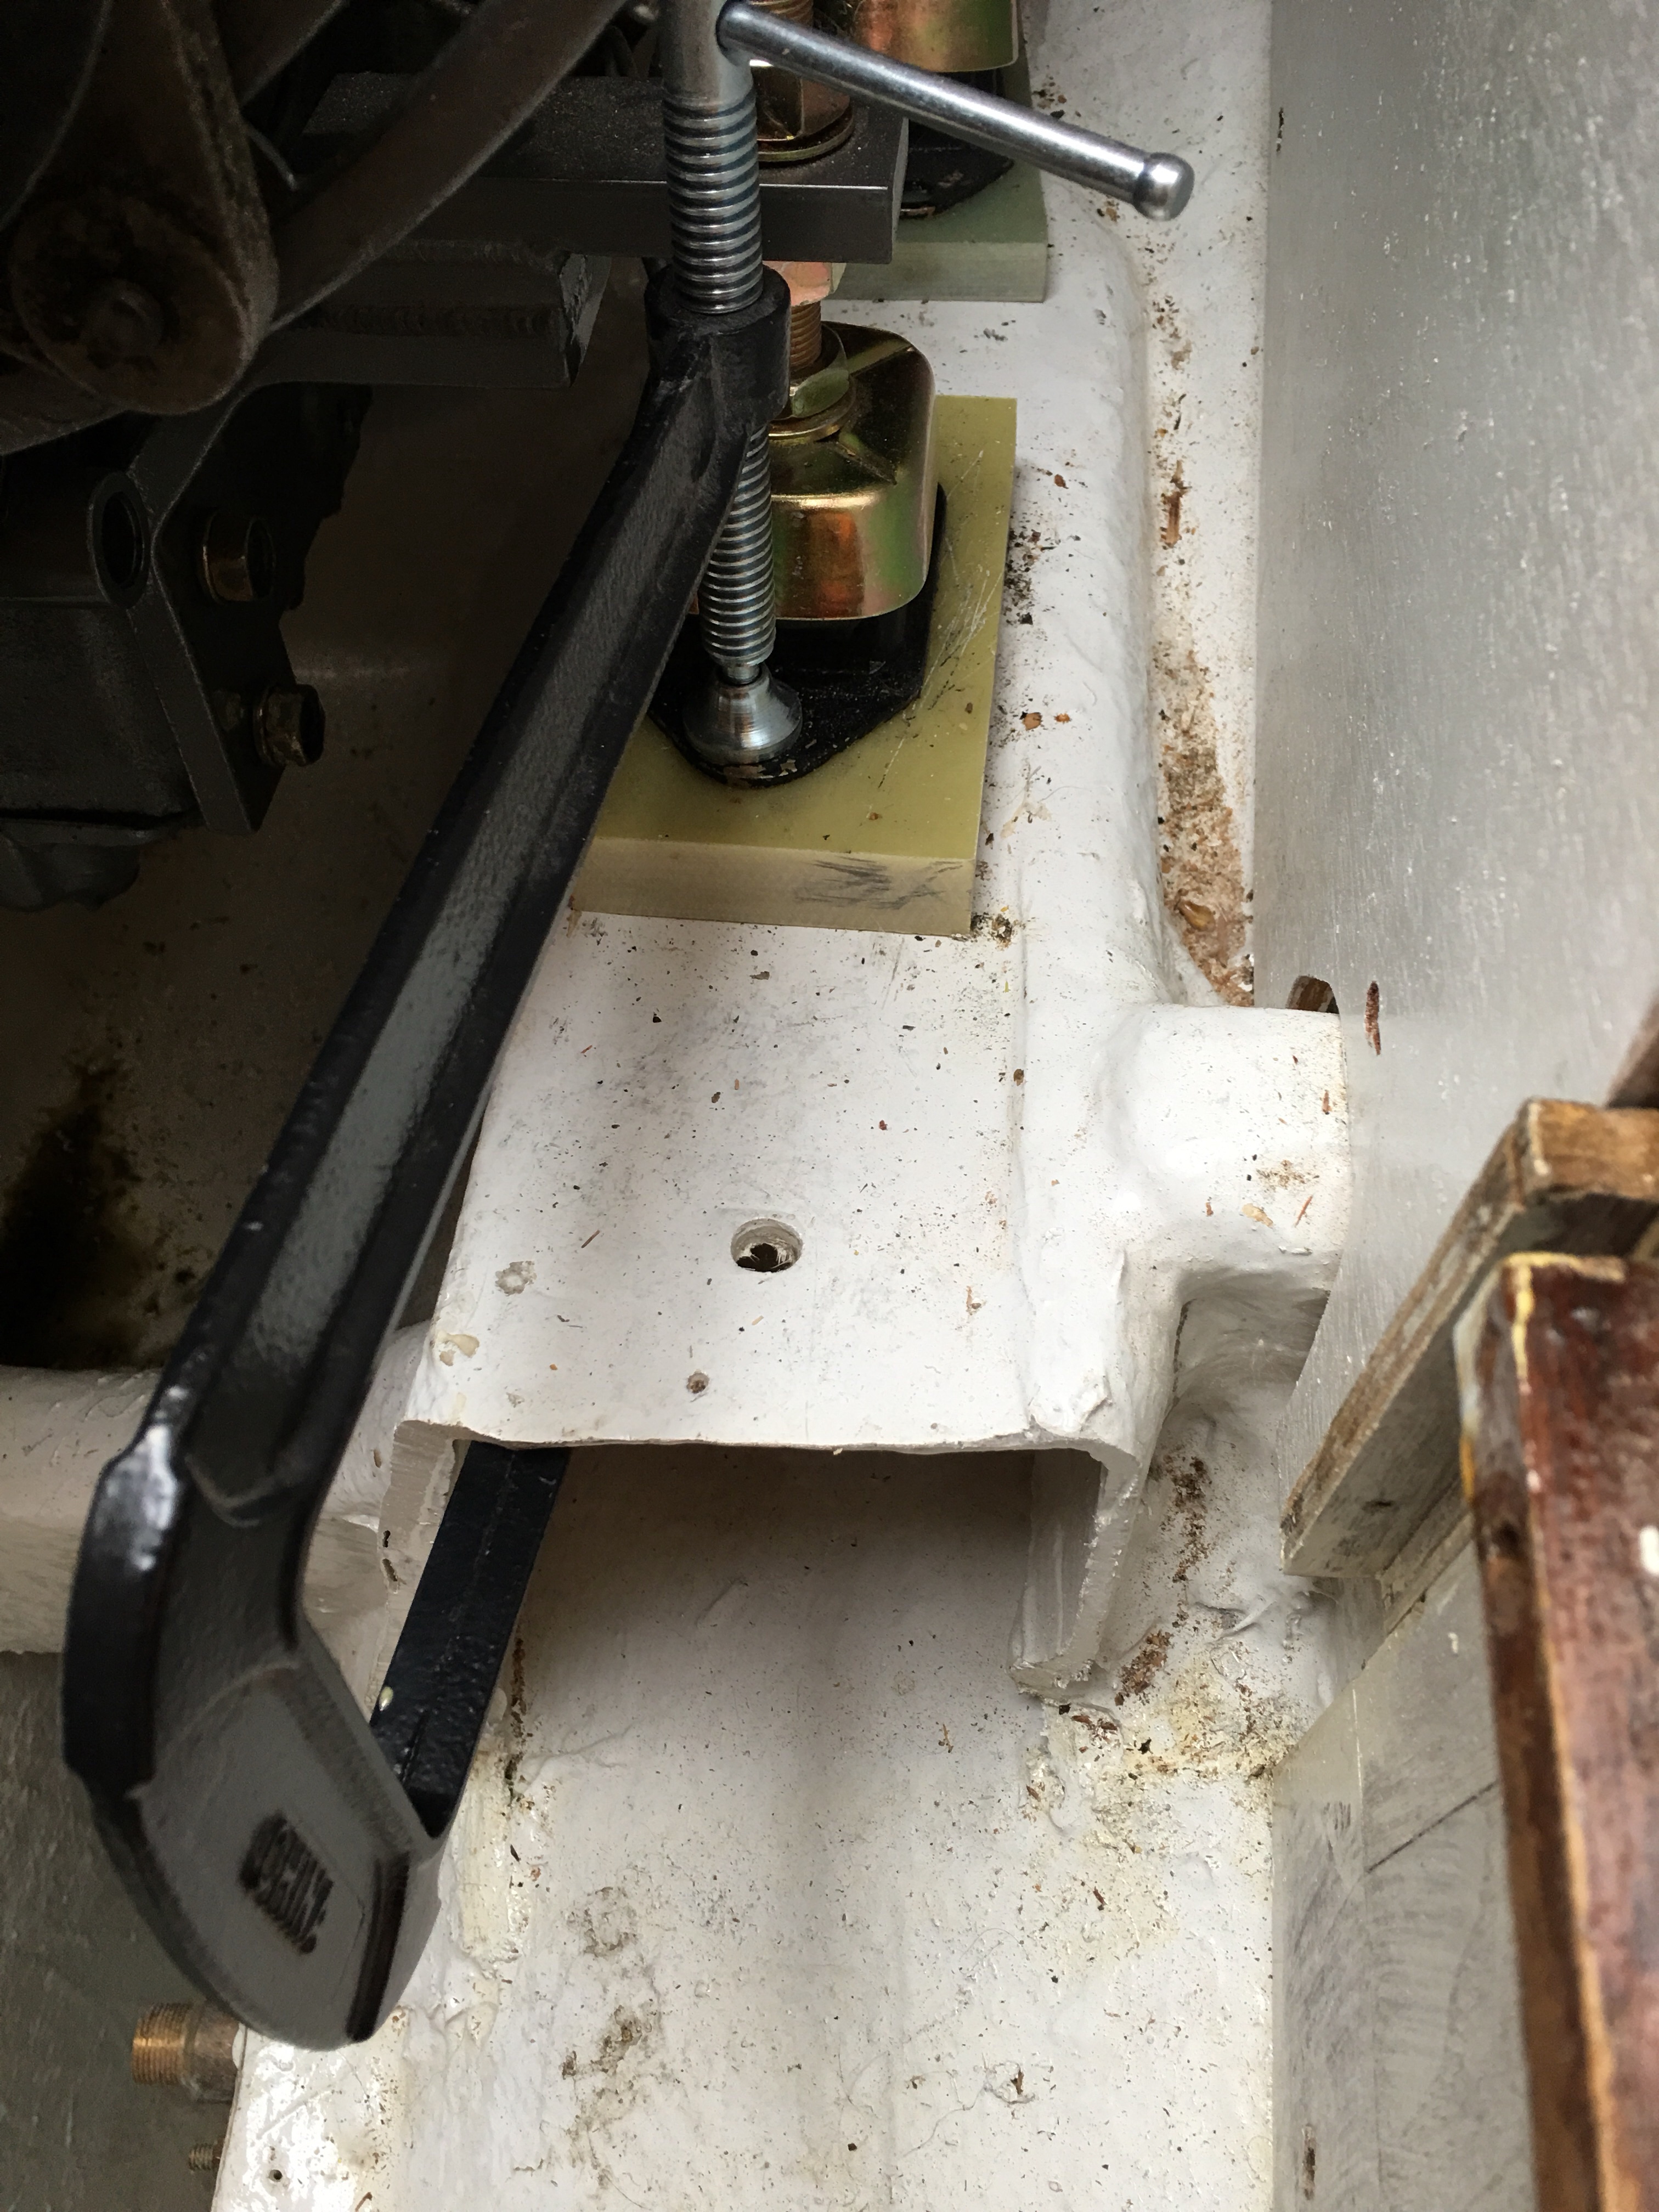
I can machine the bottom of the nut so it’ll just set in there a little deeper.  I can probably get it square on my lathe, but that’s iffy.

I can mill the spot where it sits so there’s a little recess and it can go a bit further.   All I really need is about 1/16″.

I thought well I should probably lap the prop hub to the shaft so I went out and got a gear puller and some lapping compound and started working on it.  It fits great, the taper is perfect, and I’m about halfway there so I’ll lap it some more tomorrow till it’s a good fit and I can get the nut where I want it.

What did I get done today?  Well, the packing nut has packing in it now, but that’s it.  I really wanted to get more done.  I need a drink.

Motor mounted

After much thinking and aligning I got it within .002, clamped the blocks and mounts so they couldn’t move and started drilling. Tomorrow I’ll unbolt the rear mounts from the engine so I can swing them out of the way and drill the rear holes.

Engine alignment round one

Took the first stab at aligning the engine tonight with my wife’s help.  We mostly shoved it around till it was close and then adjusted the feet till it was closer.  A little fine tuning later (not shown) got it even closer.  I need to drill holes and bolt the feet down and see if it changes.

Closing up old instrument holes.

I had this extra instrument hole and I needed to close it up.  I thought about how to do it for quite some time.  I didn’t want to do the big taper and glass trick like you do for through-hulls but it had to be secure, at least as secure as the instrument that was there.  I tapered the hole inside and out so that both sides tapered from large at the opening to small in the middle.

Then I cut a piece of G10 that fit the hole.  Luckily my hole saw made a disk that was the perfect size.  I tapered this with a sander so it’d fit tight in the hole and did the same with a disk of plywood for the back side.

The inside looks pretty bad but there’s another piece of wood that goes over this and covers up the ugly backing for the fiberglass.

I made some epoxy thickened with cabosil and chopped flock and smeared it on the edges of the disks and on the back of one of them and then put a machine screw in the middle and torqued them down tight.  I adjusted the position with a hammer.

When it’s cured I’ll sand it smooth and remove the bolt.  Fill the outside with epoxy and microballons, prime and paint to match the already painted cockpit.

Mast up

Put the mast up today to measure the shrouds for replacement.  They’re all way too long but I think the old turnbuckles were shorter.


Lorena and my friend Mike who helped me raise the mast on deck after we raised it.

Building a shed.

I hate to take time away from working on the boat but there’s so much stuff stored in the garage it makes working on boat stuff sometimes difficult so we bought a shed kit and are assembling it this weekend. So far I have smashed my thumb twice and only bleeding from 3 places. I’m not clumsy, just tired.

Engine in!

Look up in the sky! It’s a bird!  It’s a plane!  It’s a Yanmar!

Pro-Lift always does an awesome job.

New Engine in its bed.  Fits perfectly and plenty of room around it to work on it.

The angle on this pic is a little off but it’s lined up pretty well.  Need to raise it about 2cm to get it in plane with the shaft.  Now, to buy a new prop shaft!