marcus_boat from Rick Crandall on Vimeo.
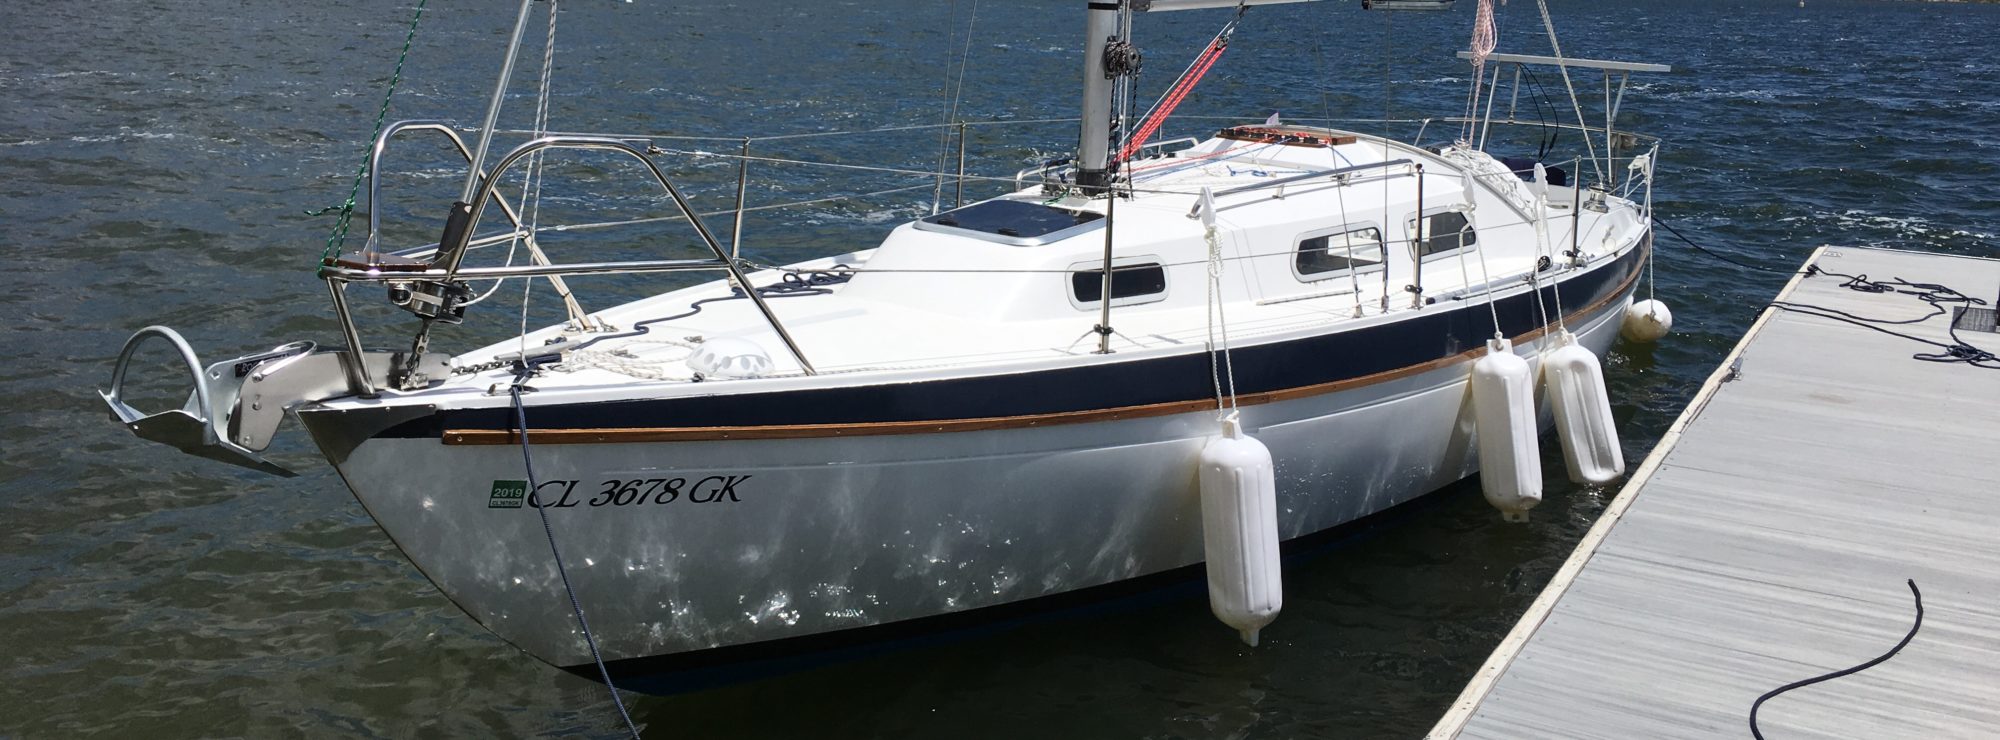
Boat is in the water.
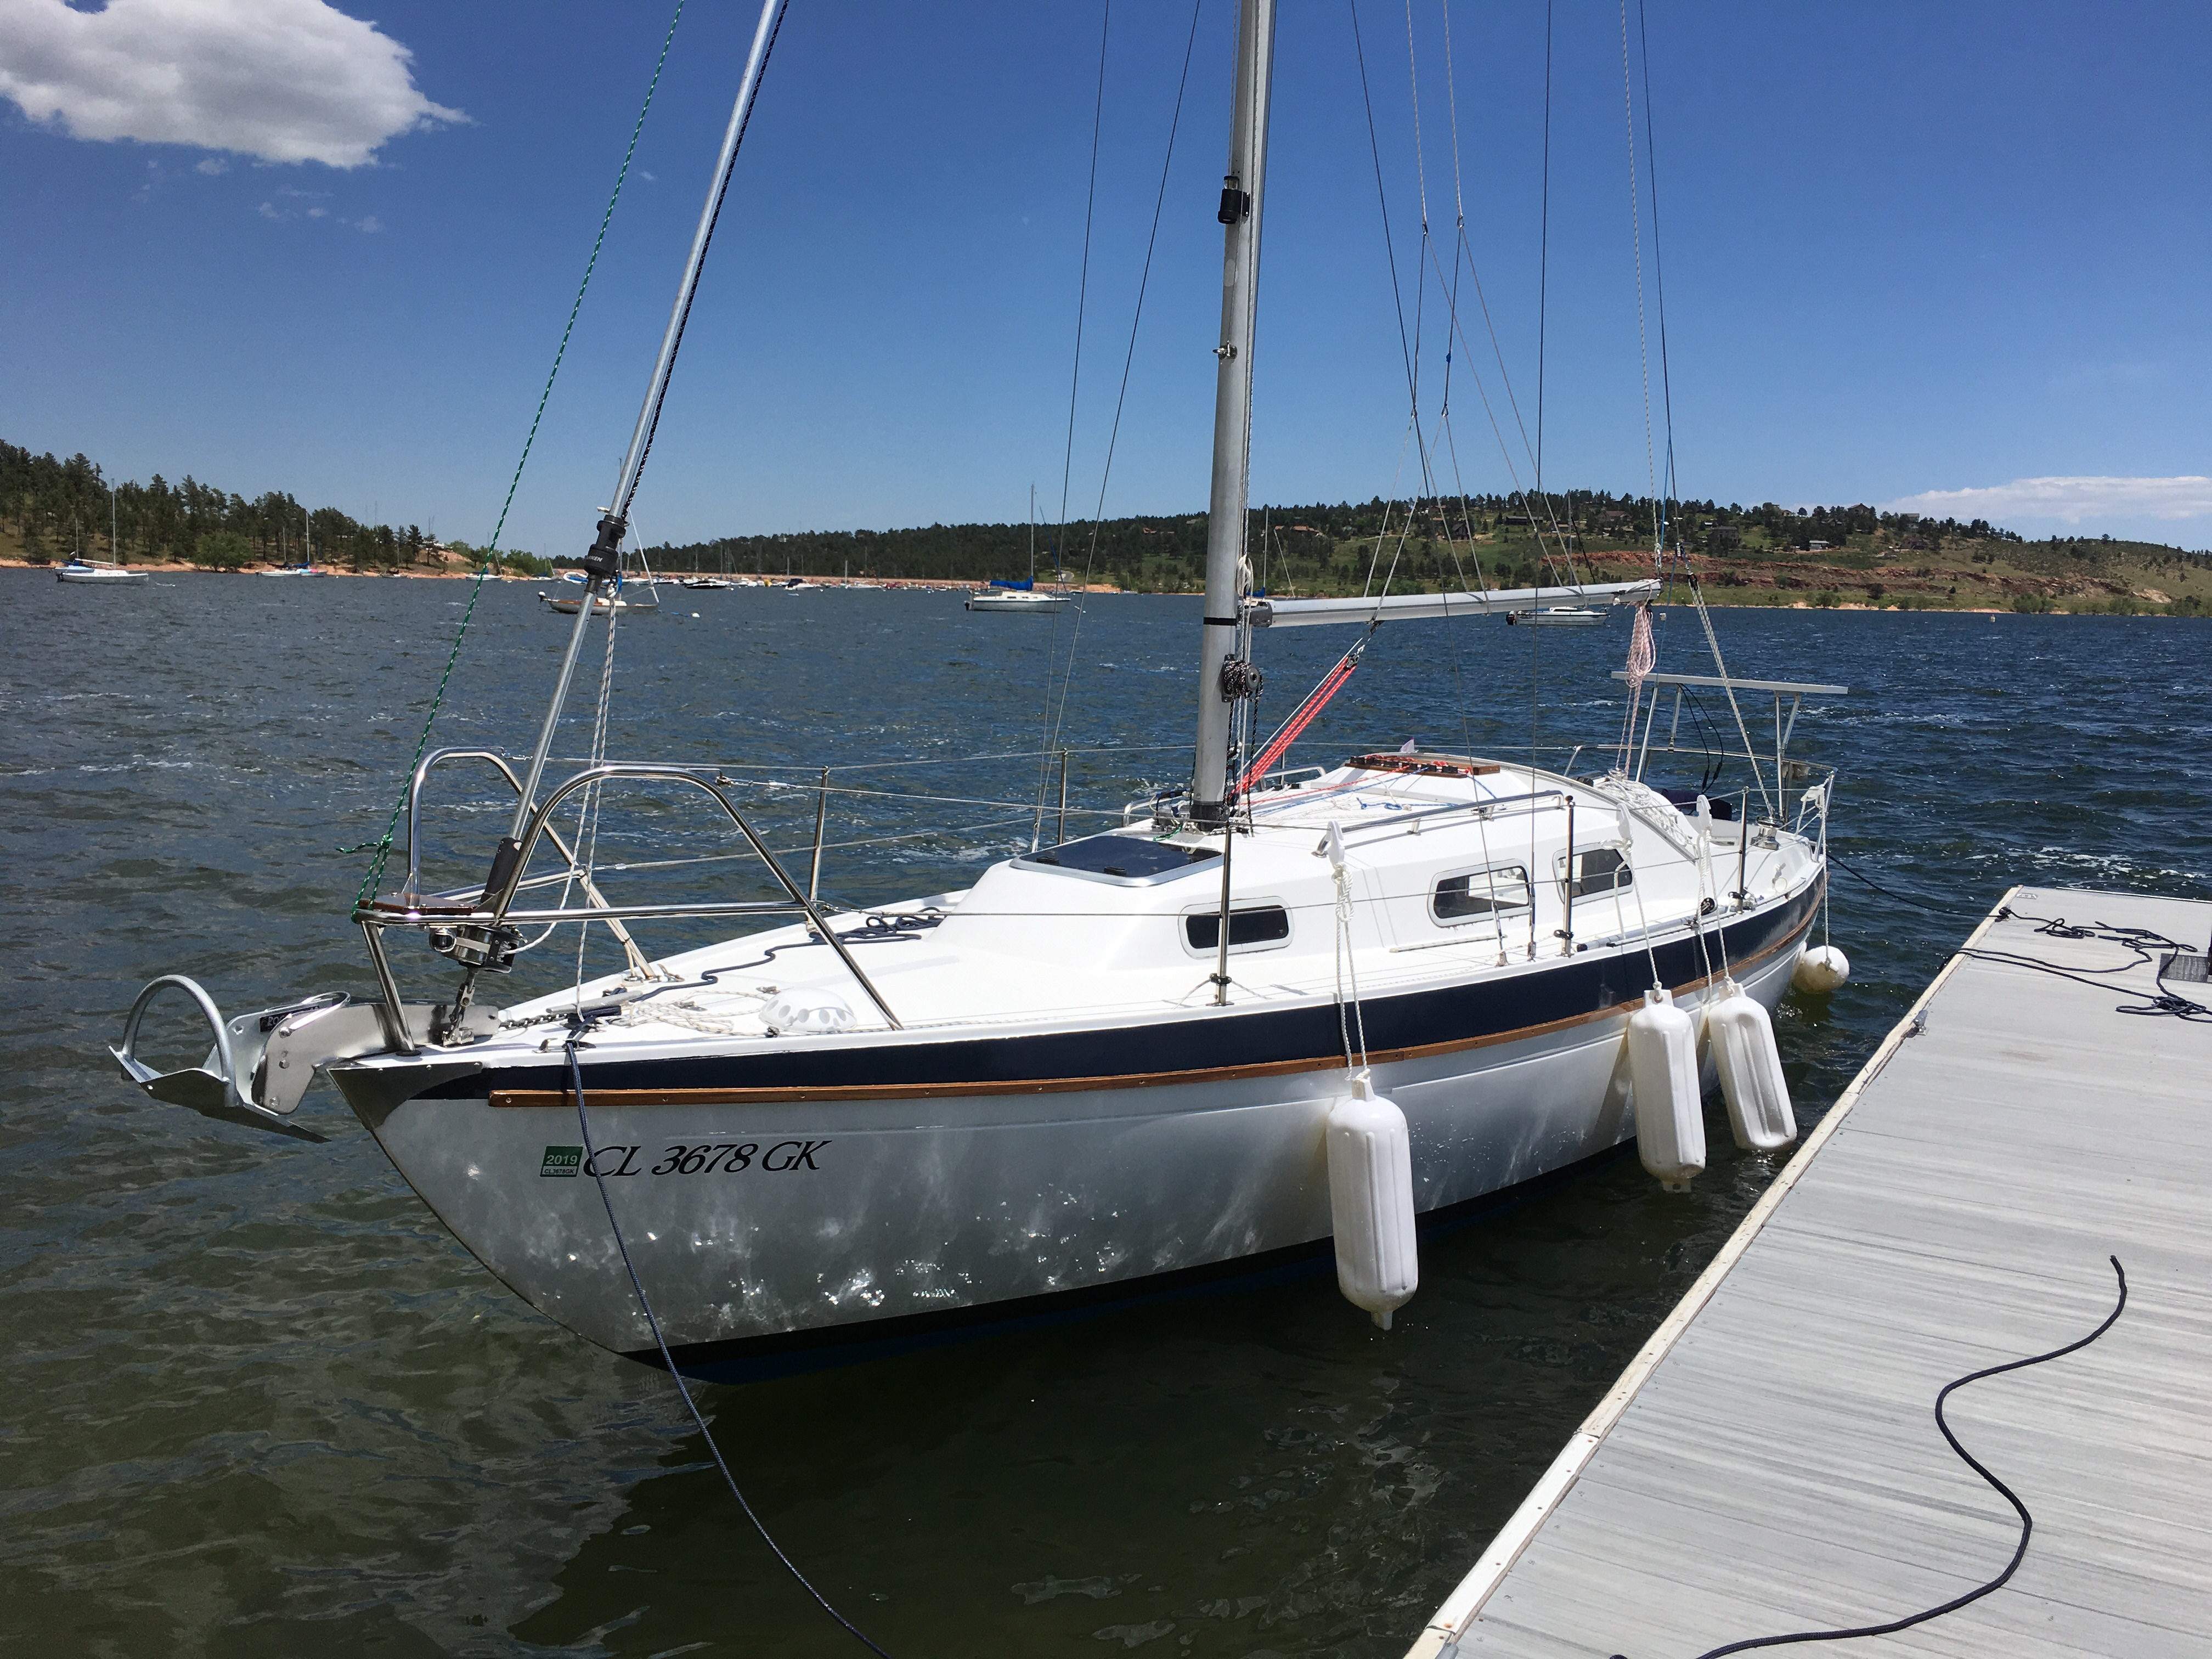
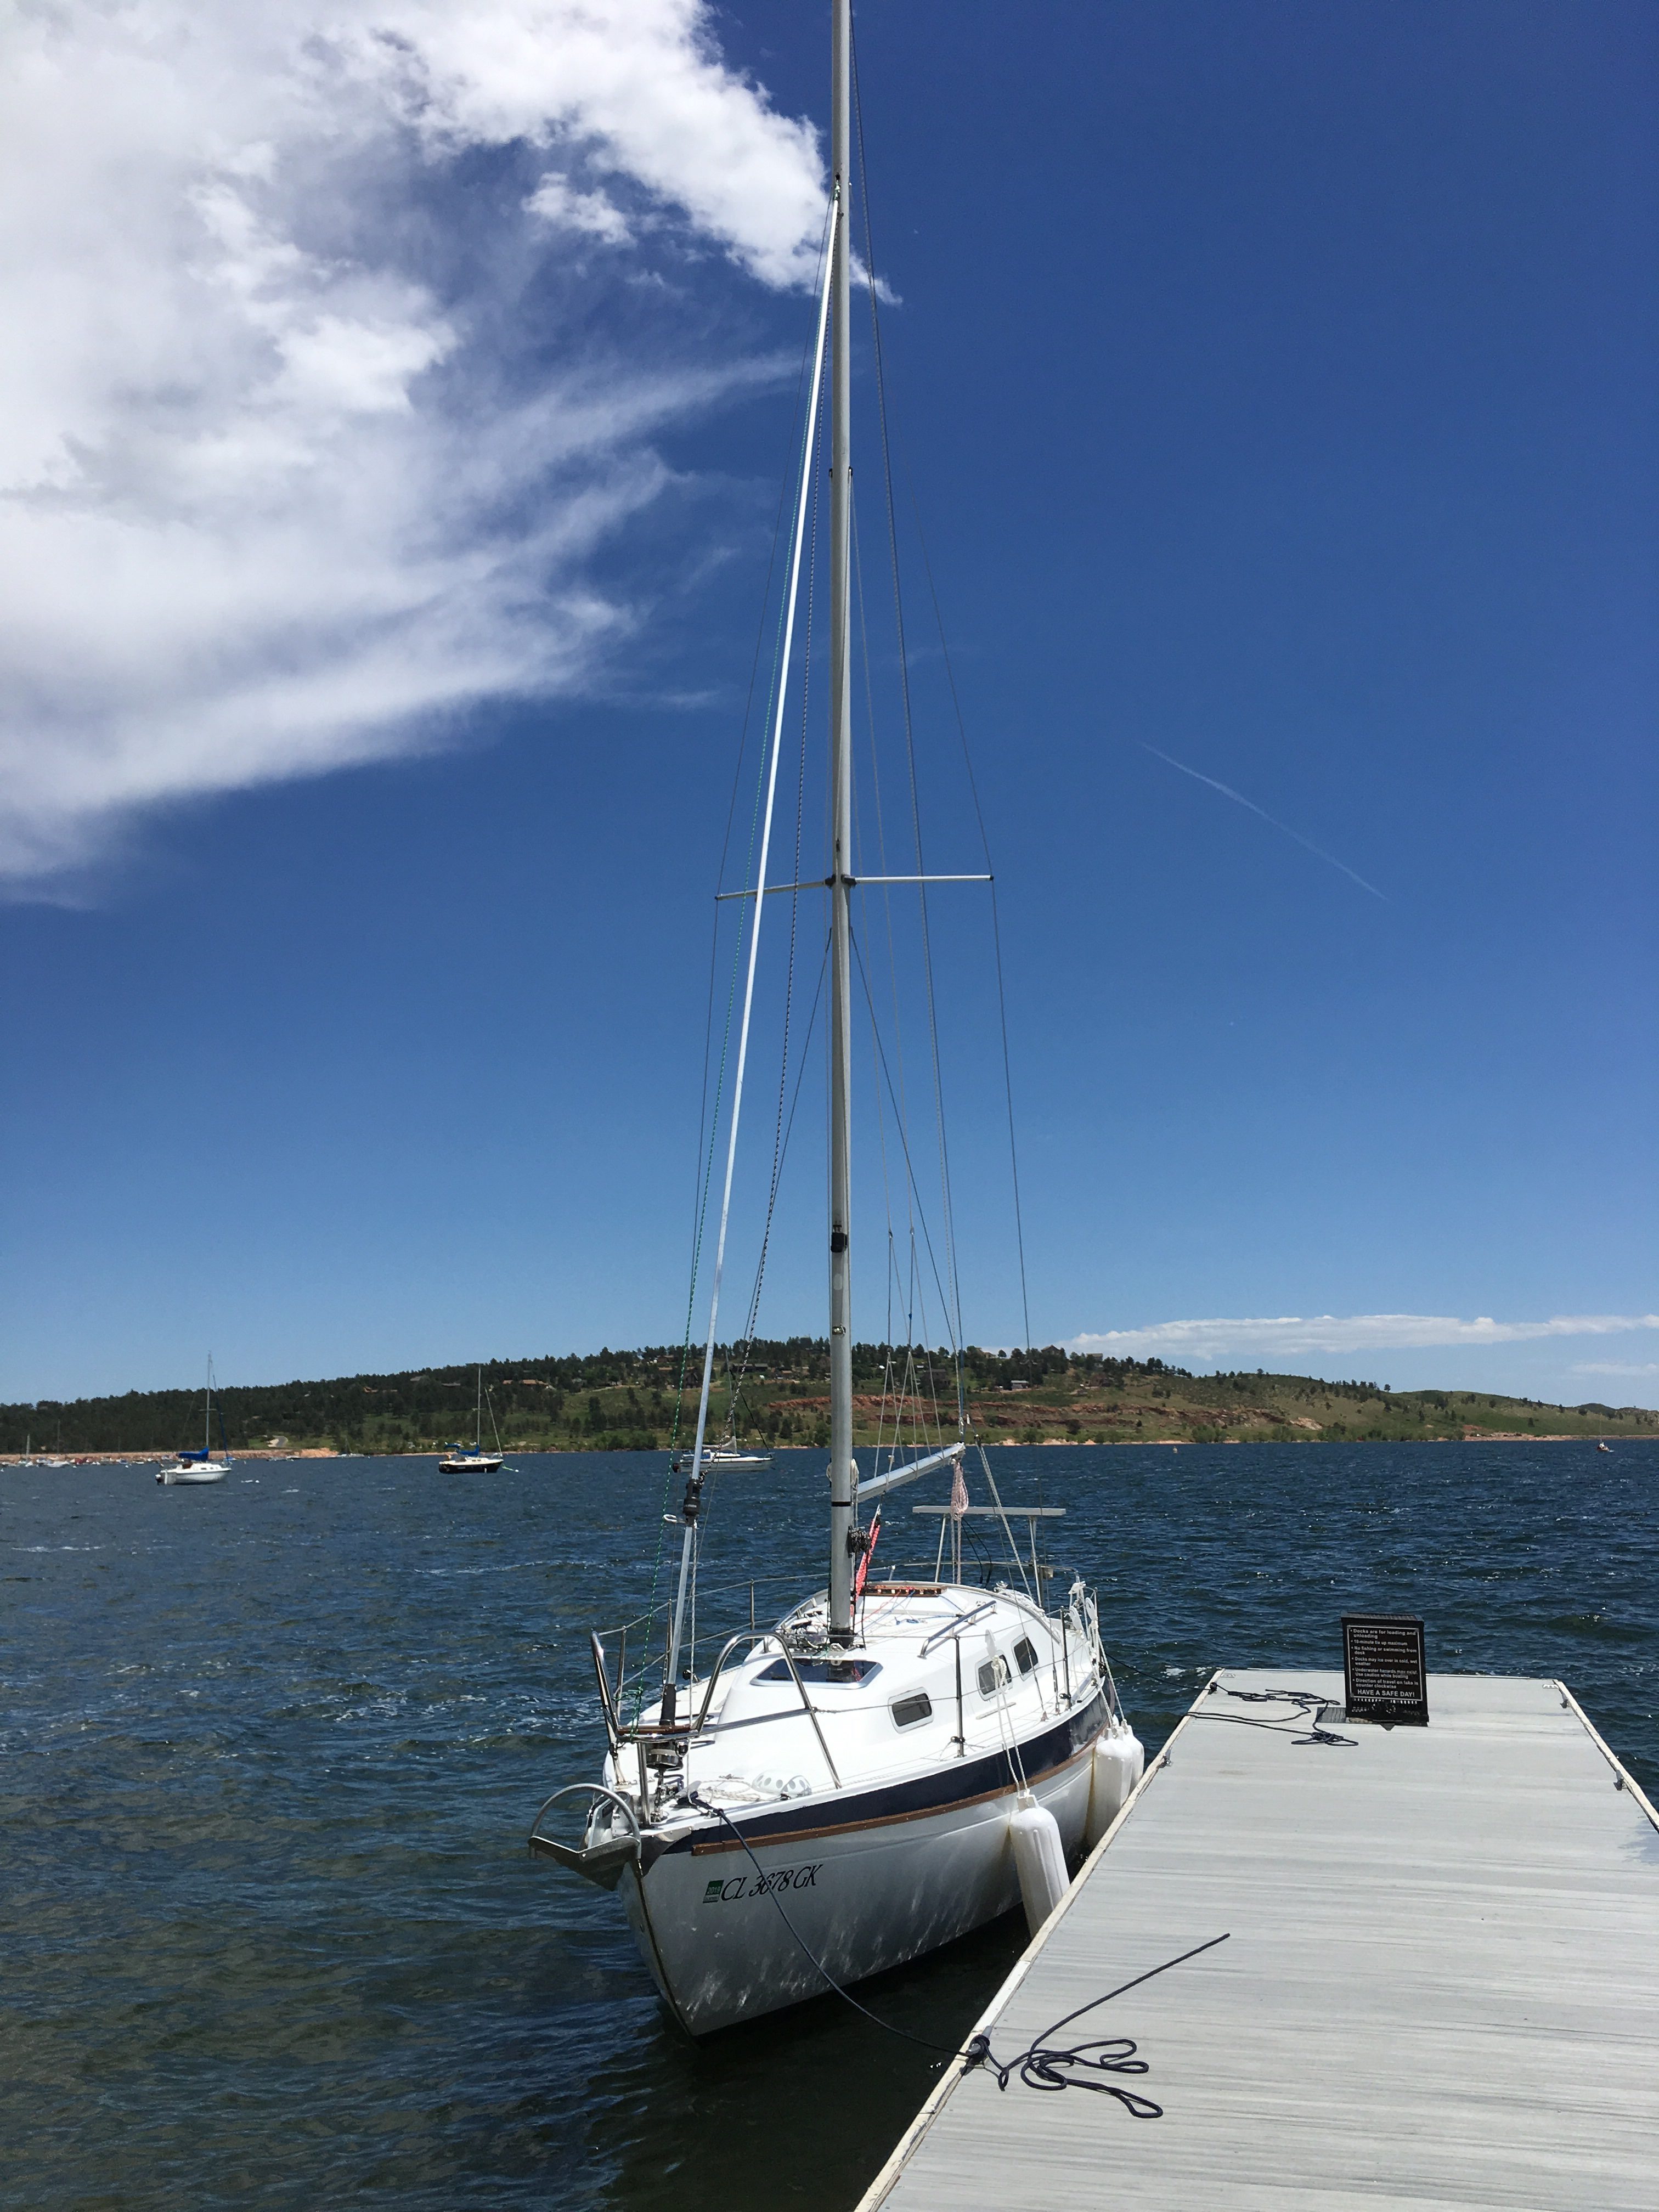
Pretty much finished.
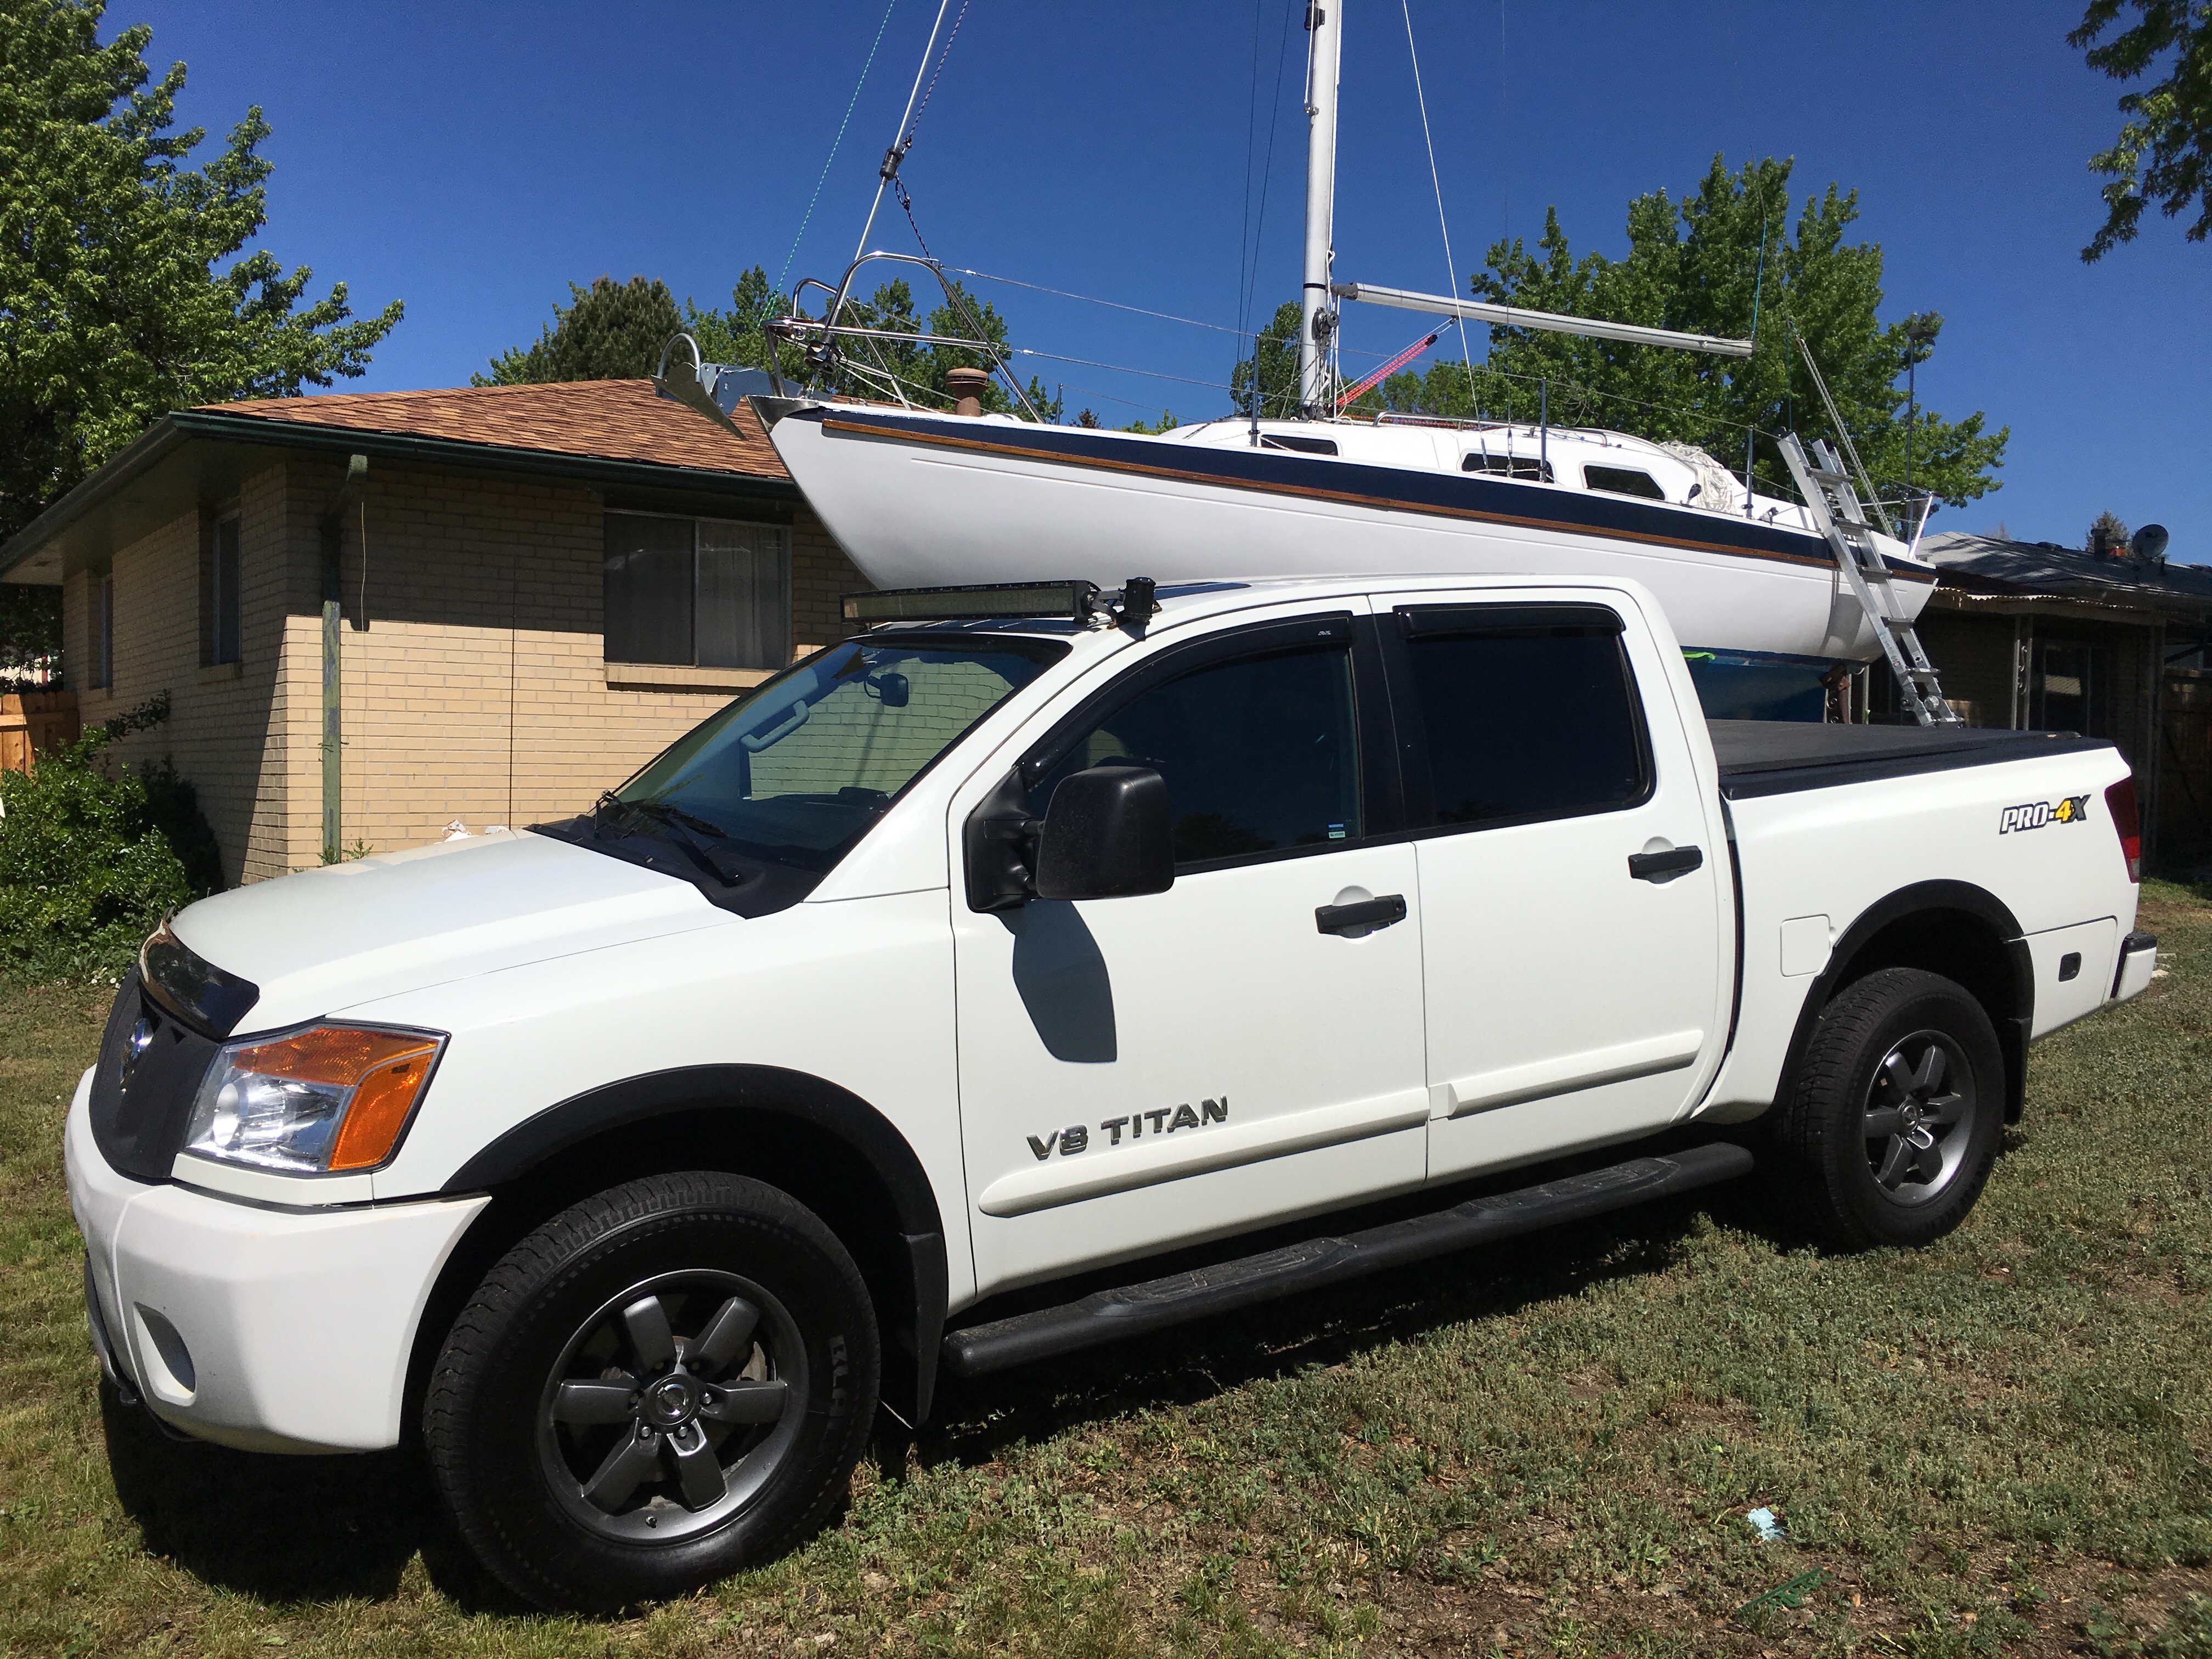
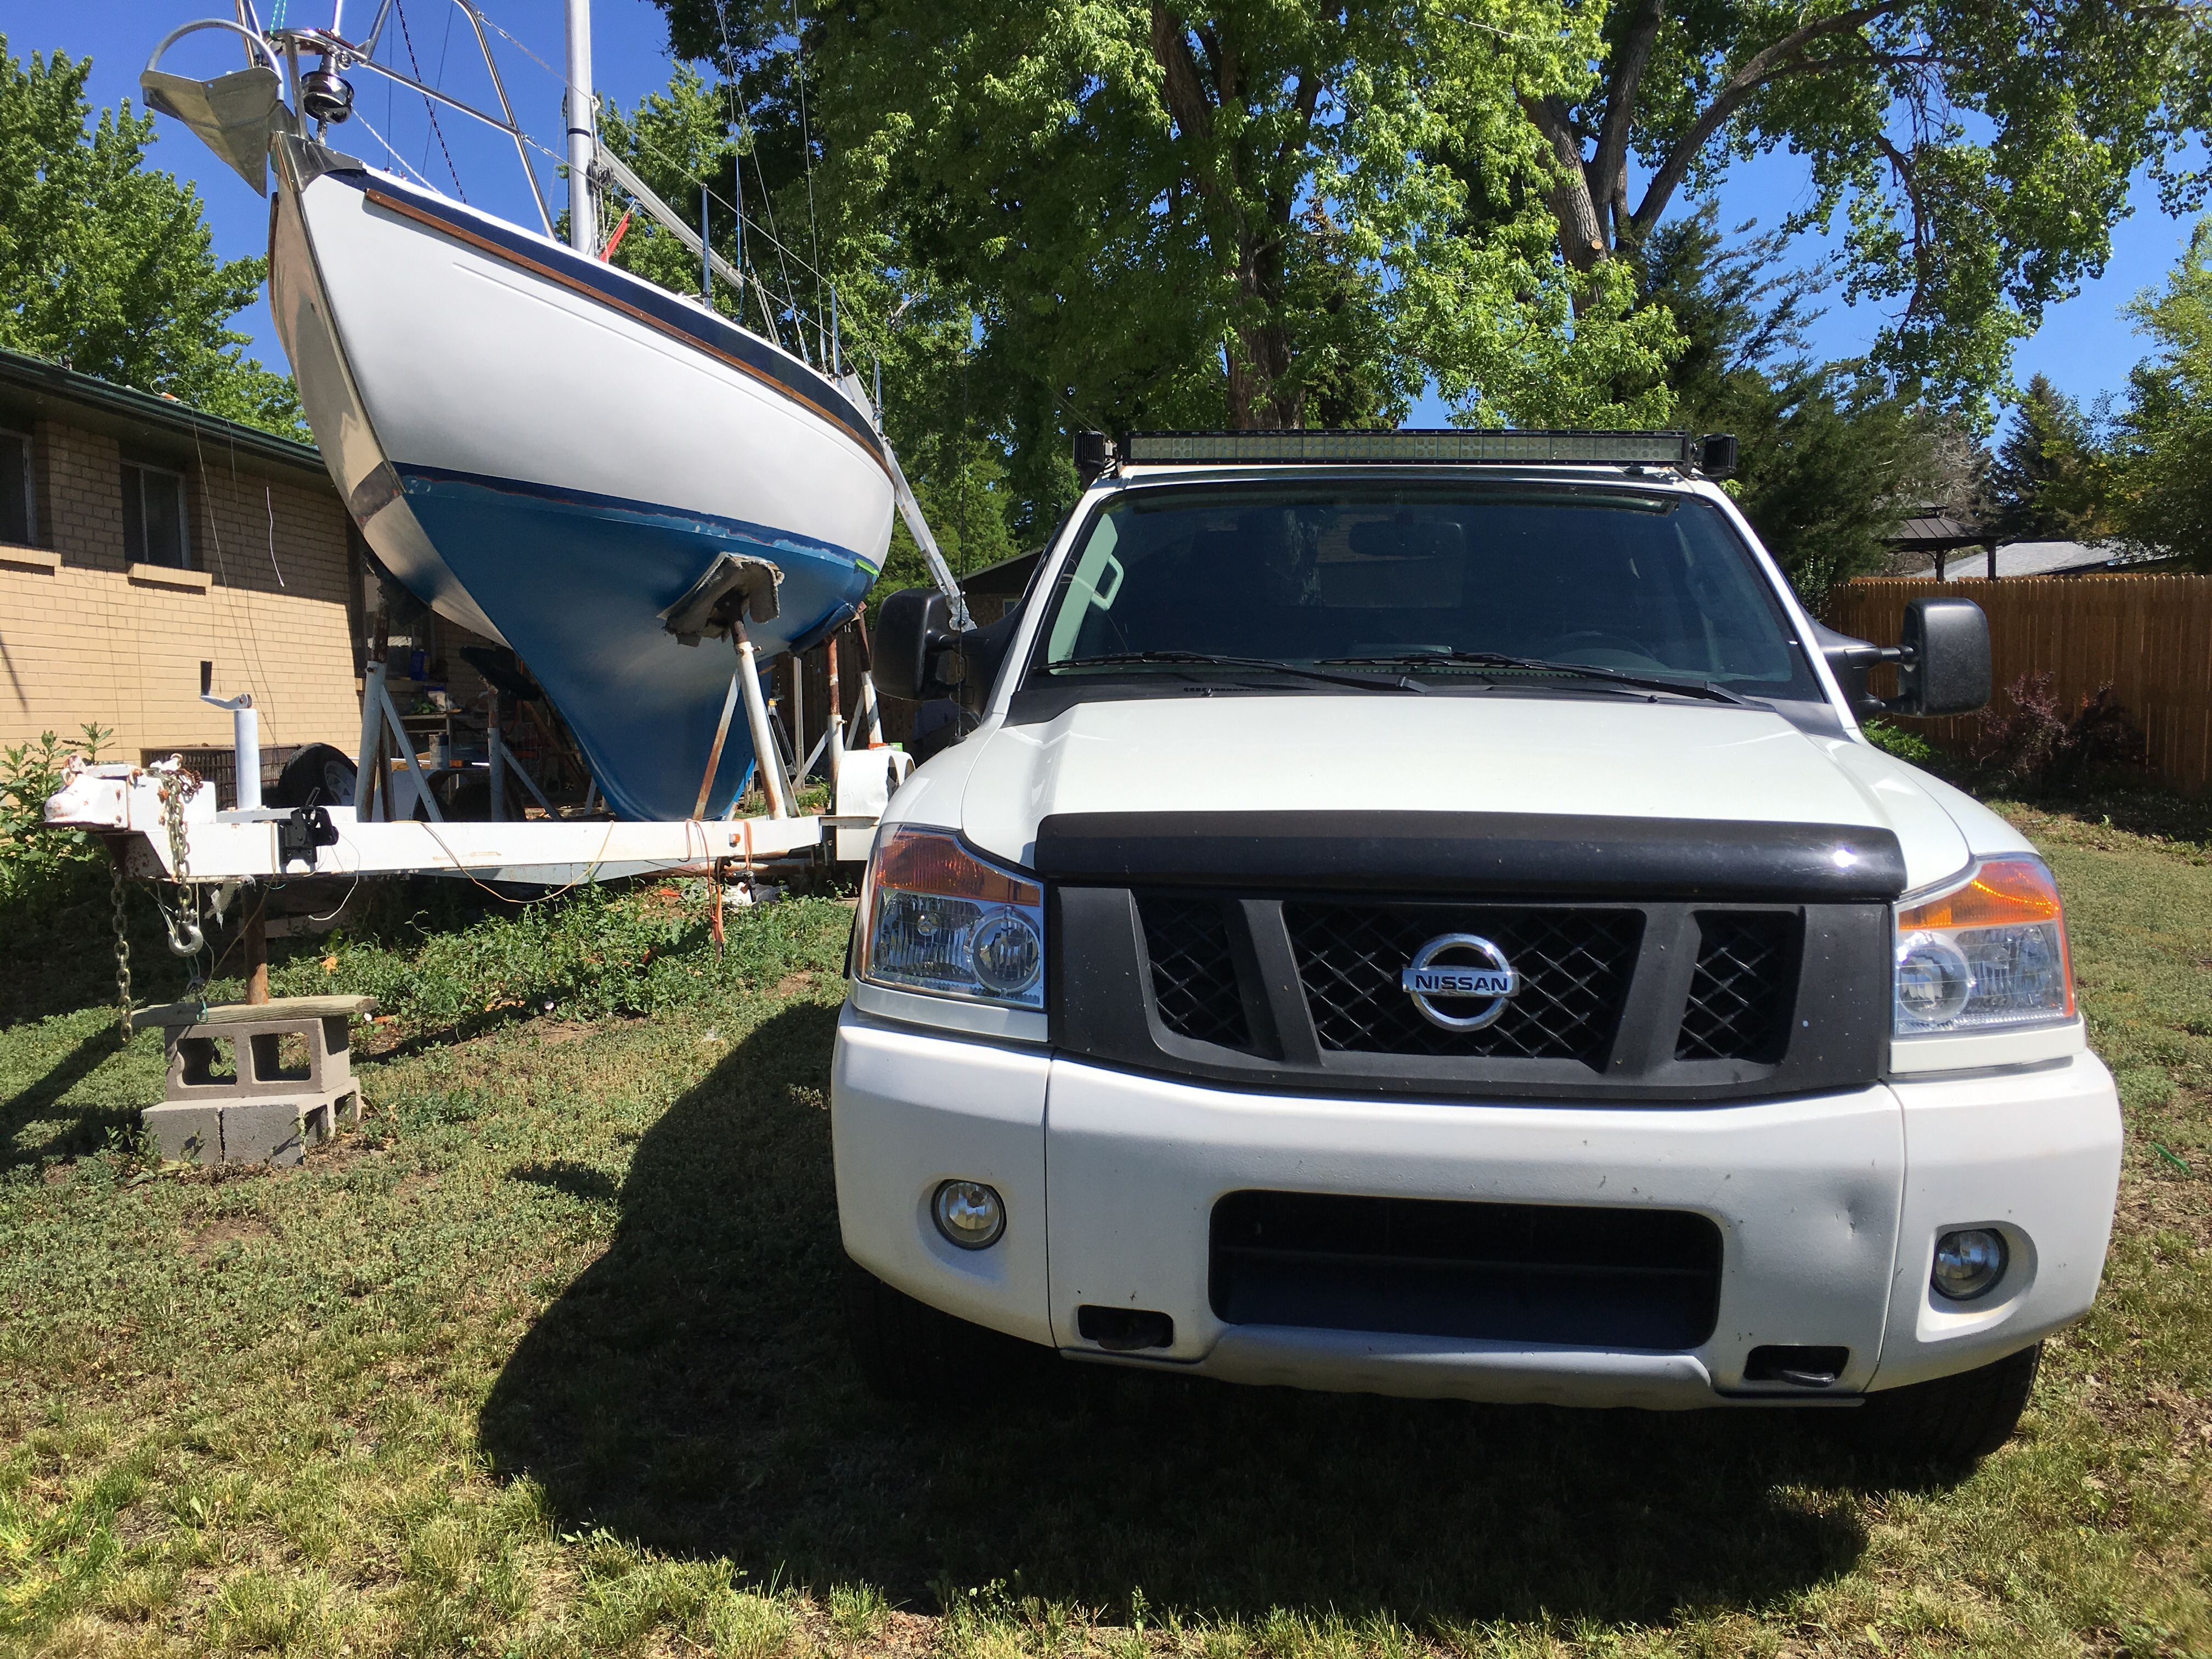
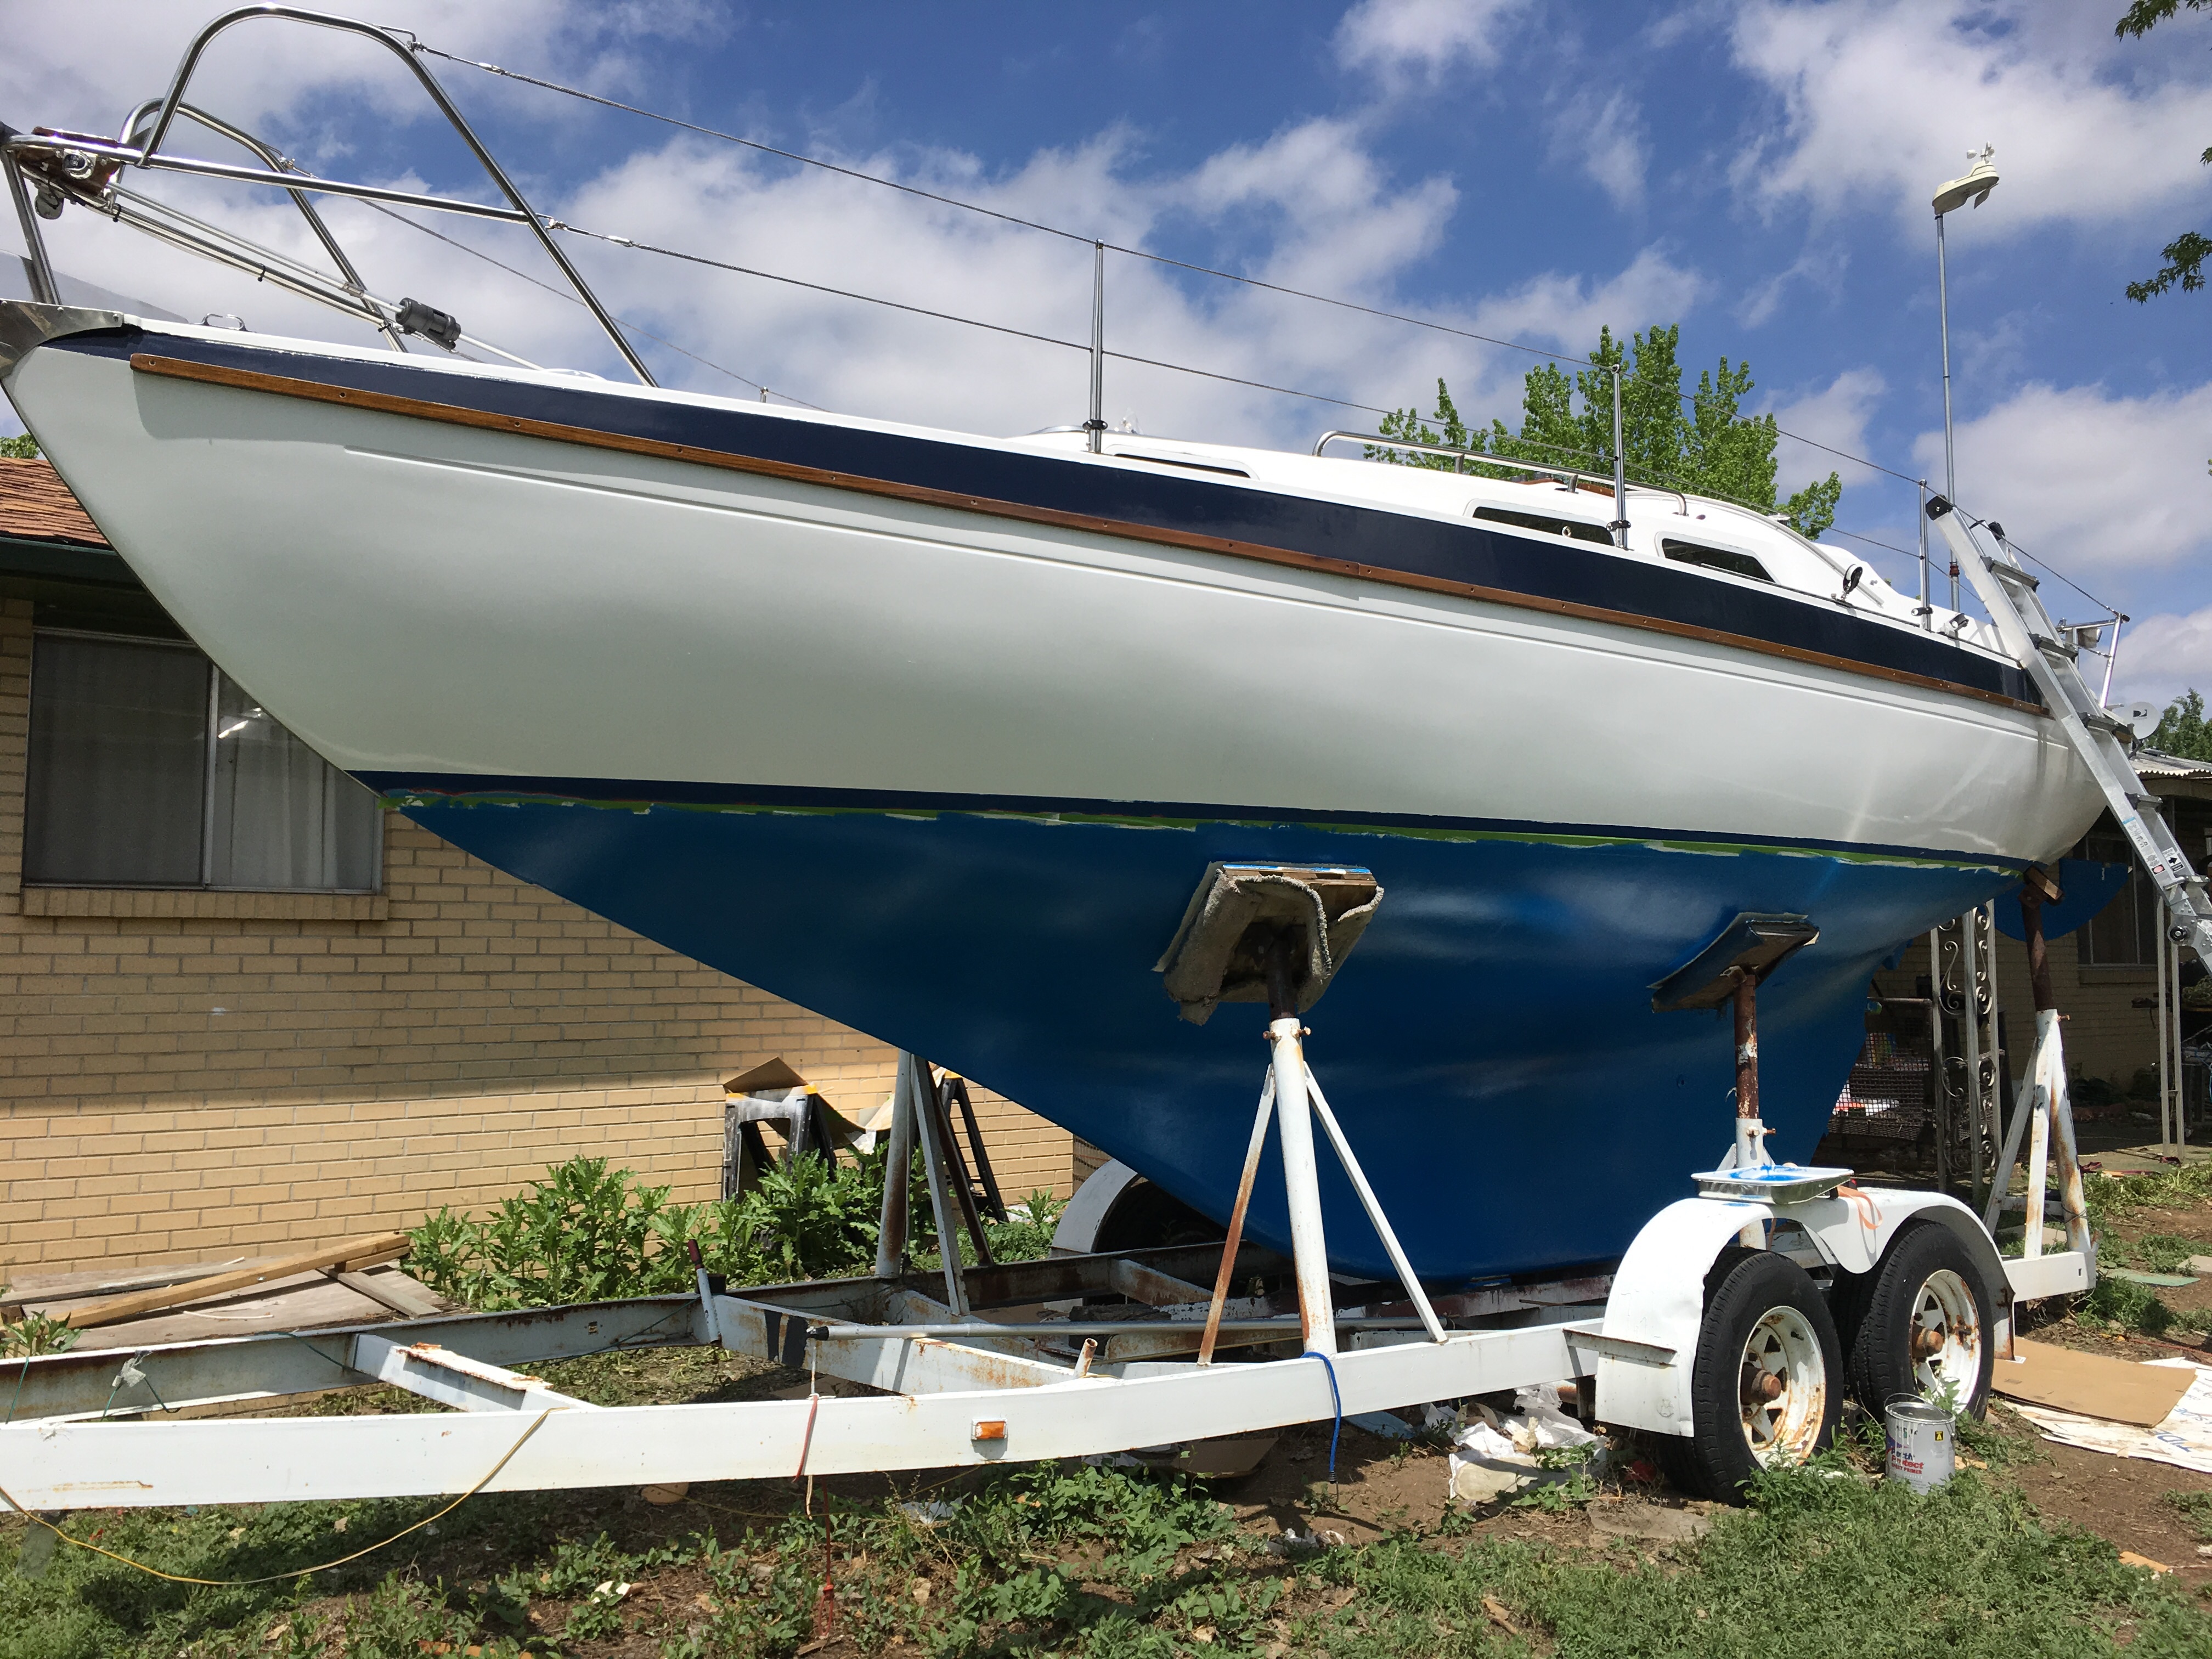
I finally finished the boot stripe. I need to touch up a couple of spots of bottom paint where the rudder keepers get attached but it’s pretty much ready for the water. I need to test run the engine before we take it to the lake, and of course pack it up for travel, but the list is empty. It has taken 807 days to get here, or 2 years, 2 months, and 16 days. A ton of money, loads of blood, sweat, and tears. I hope it floats straight.
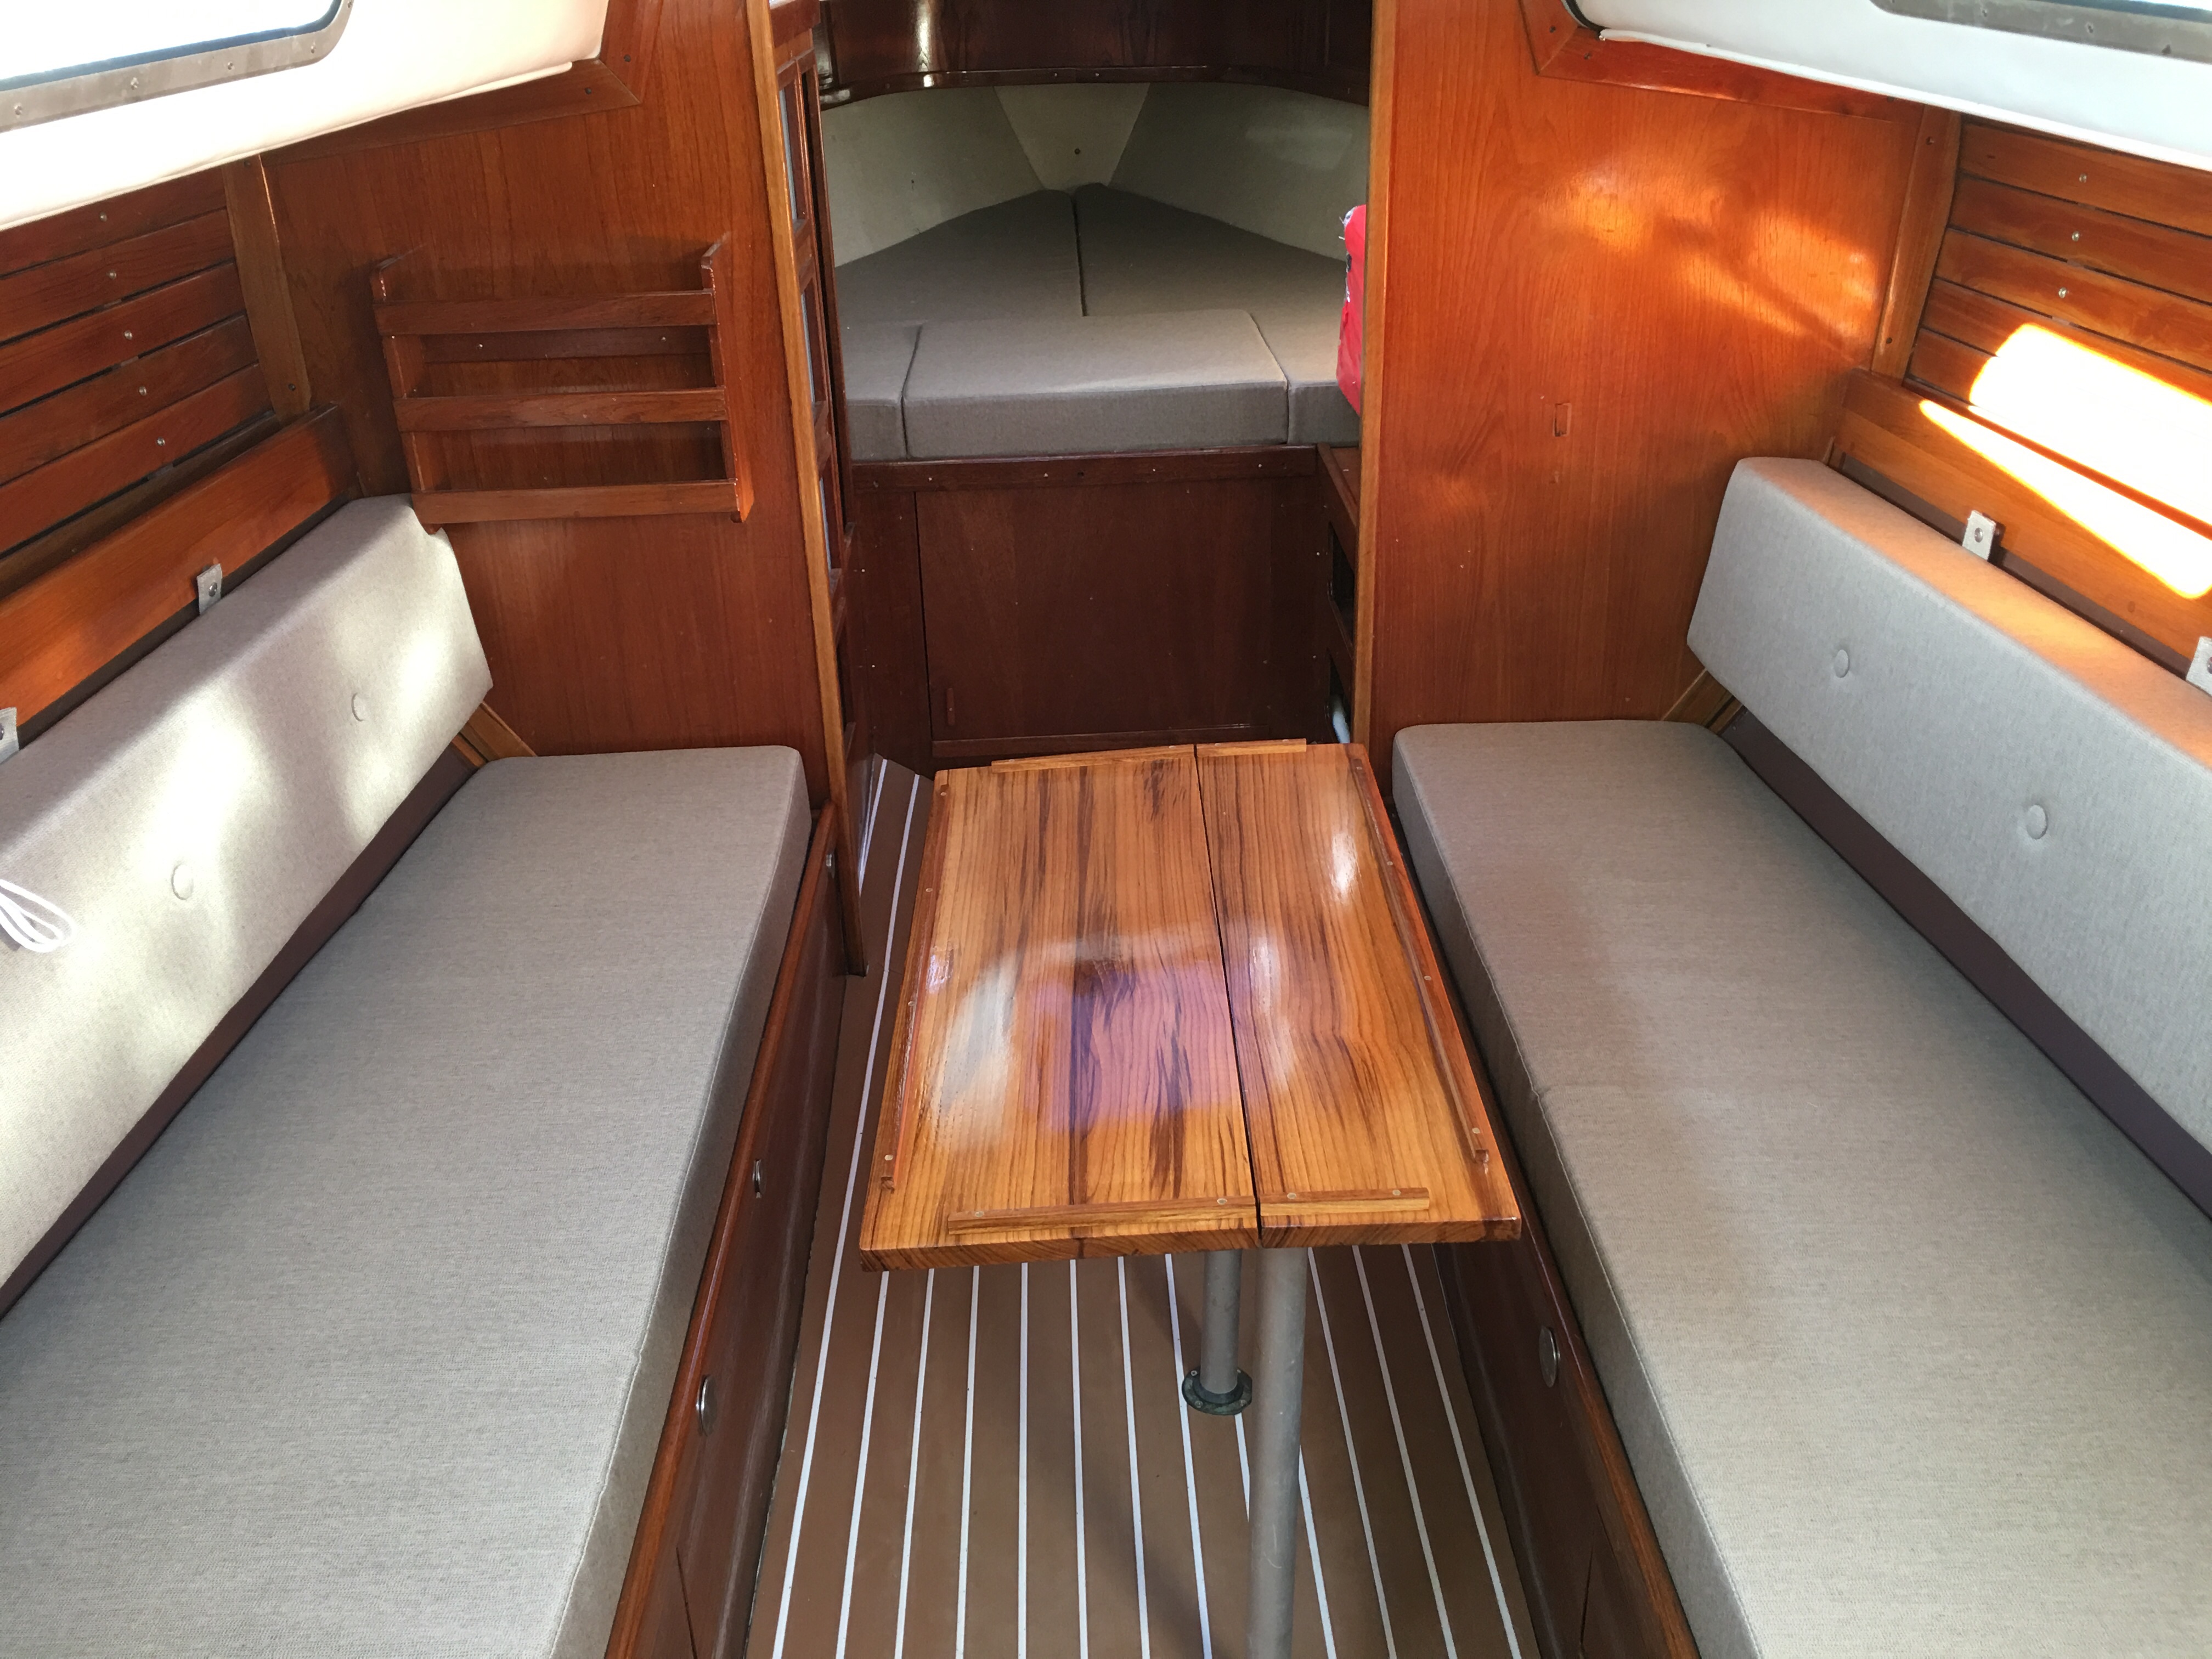
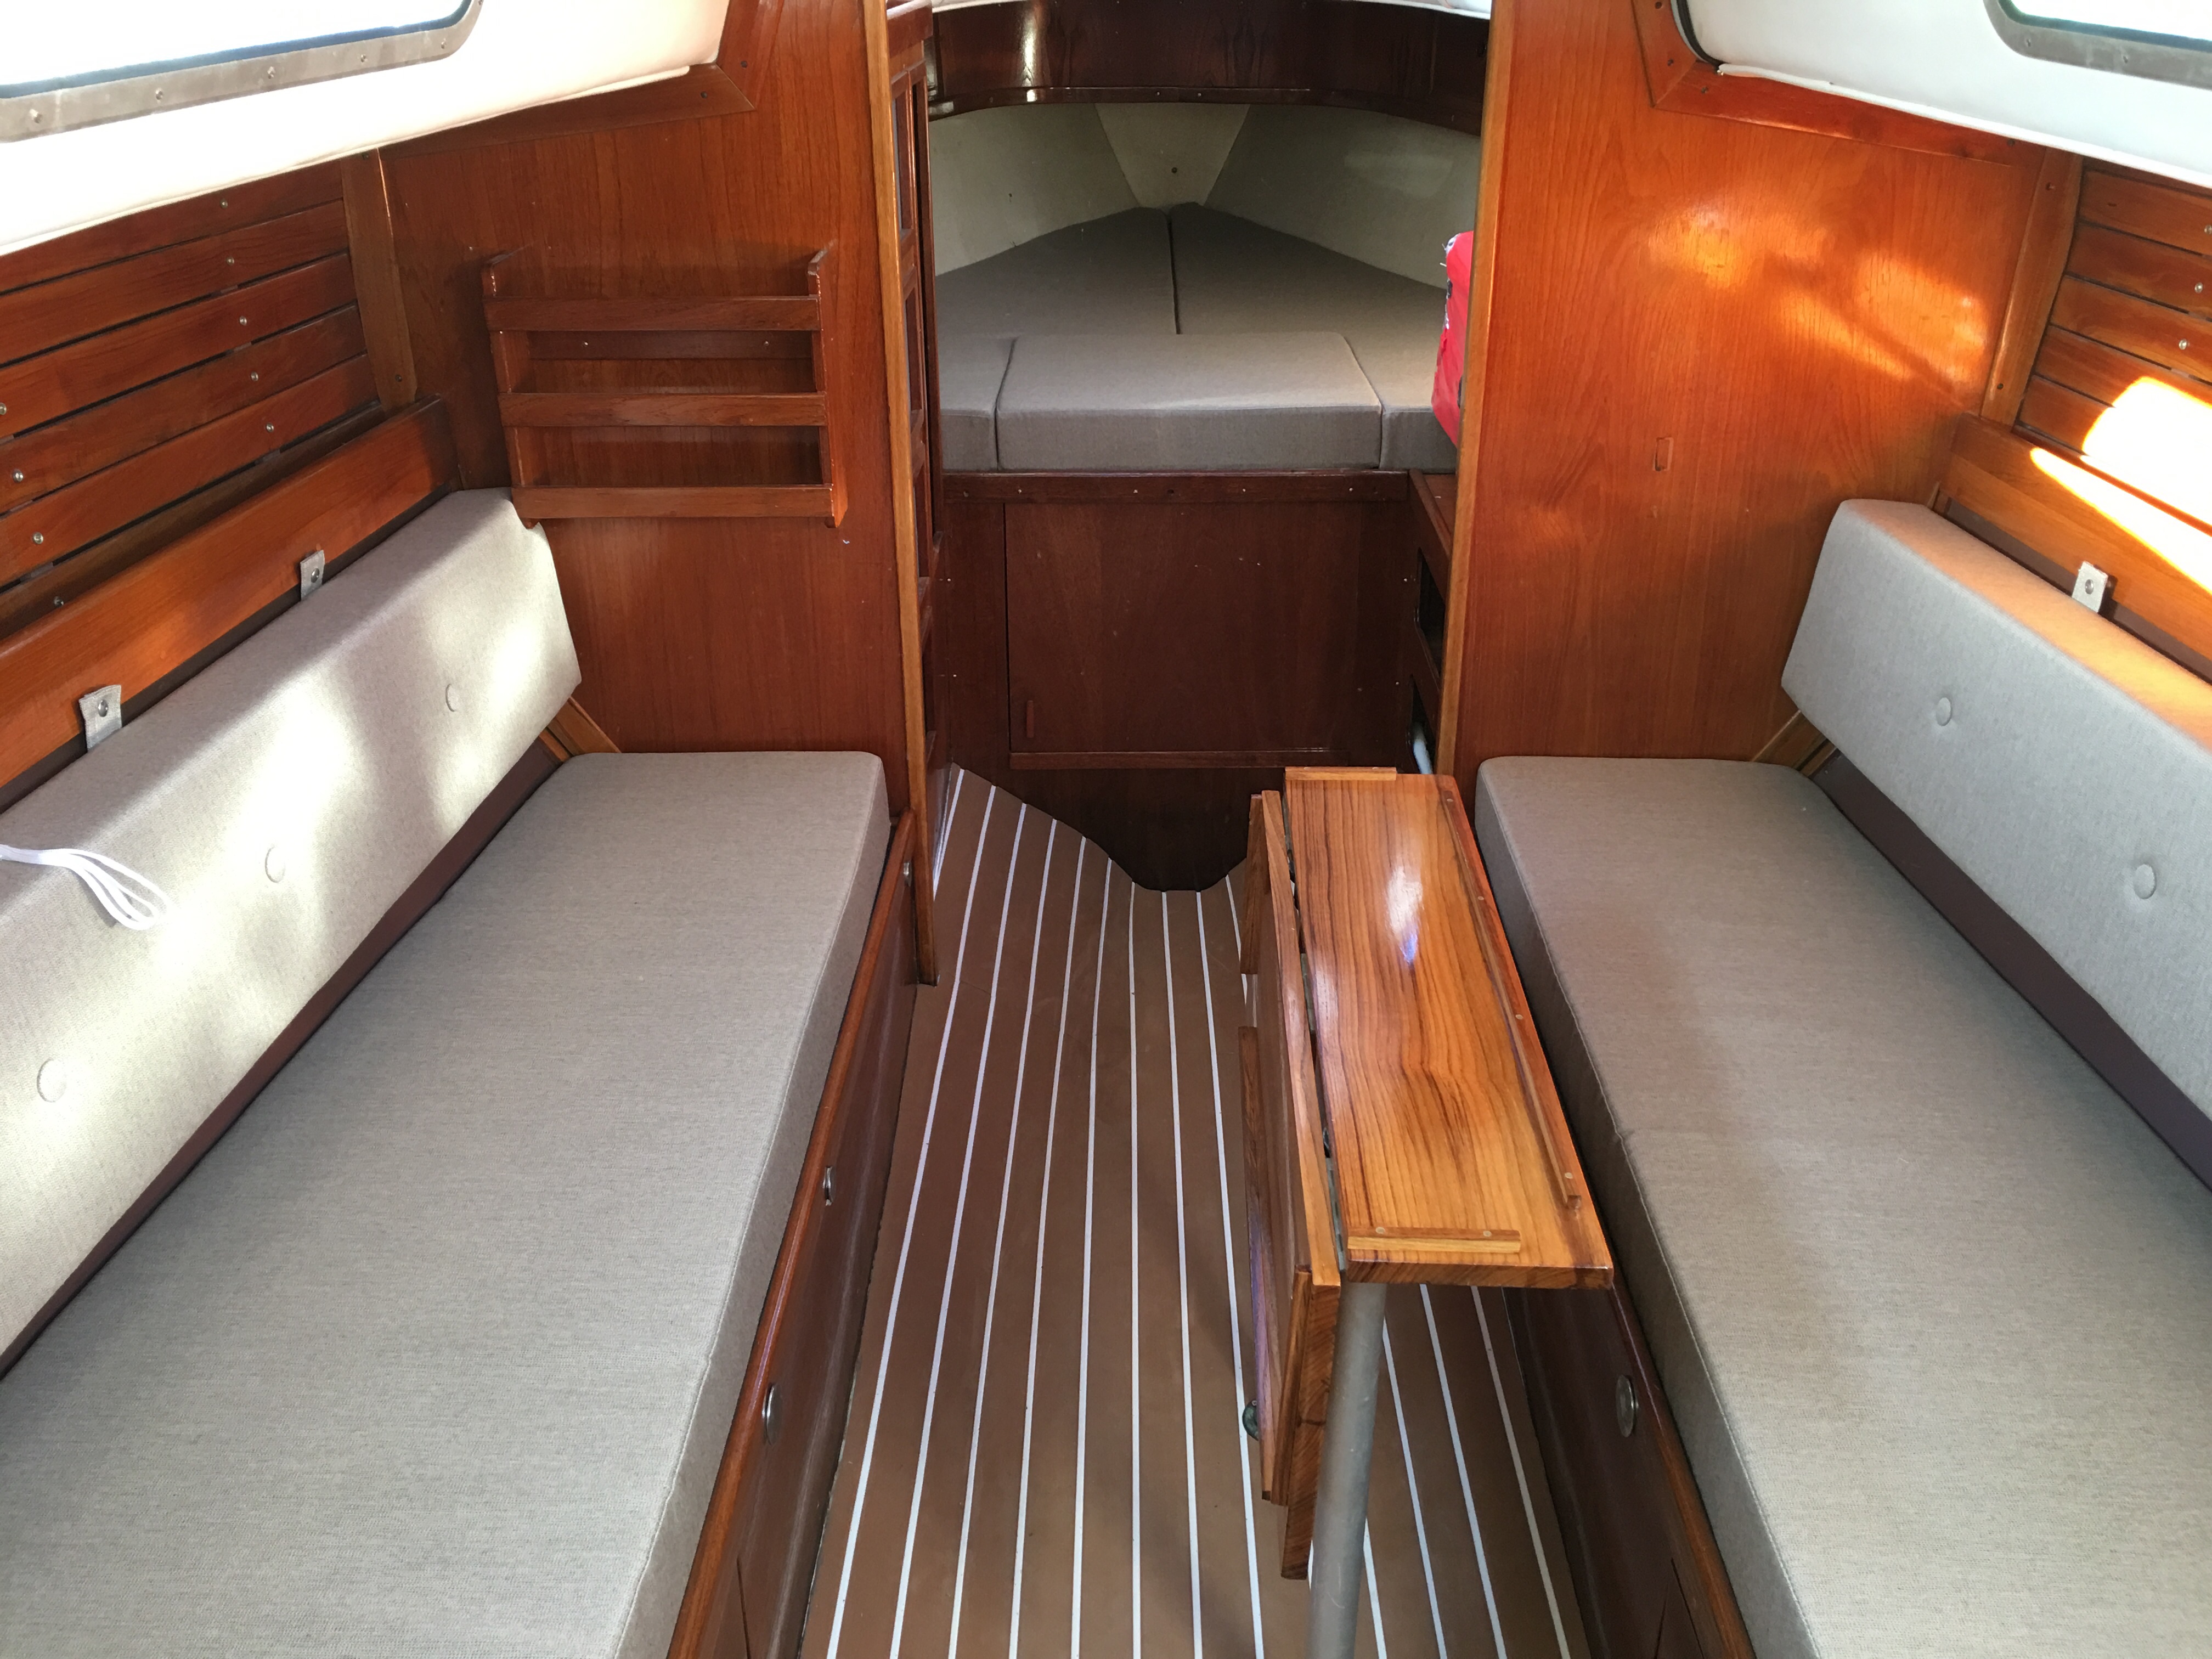
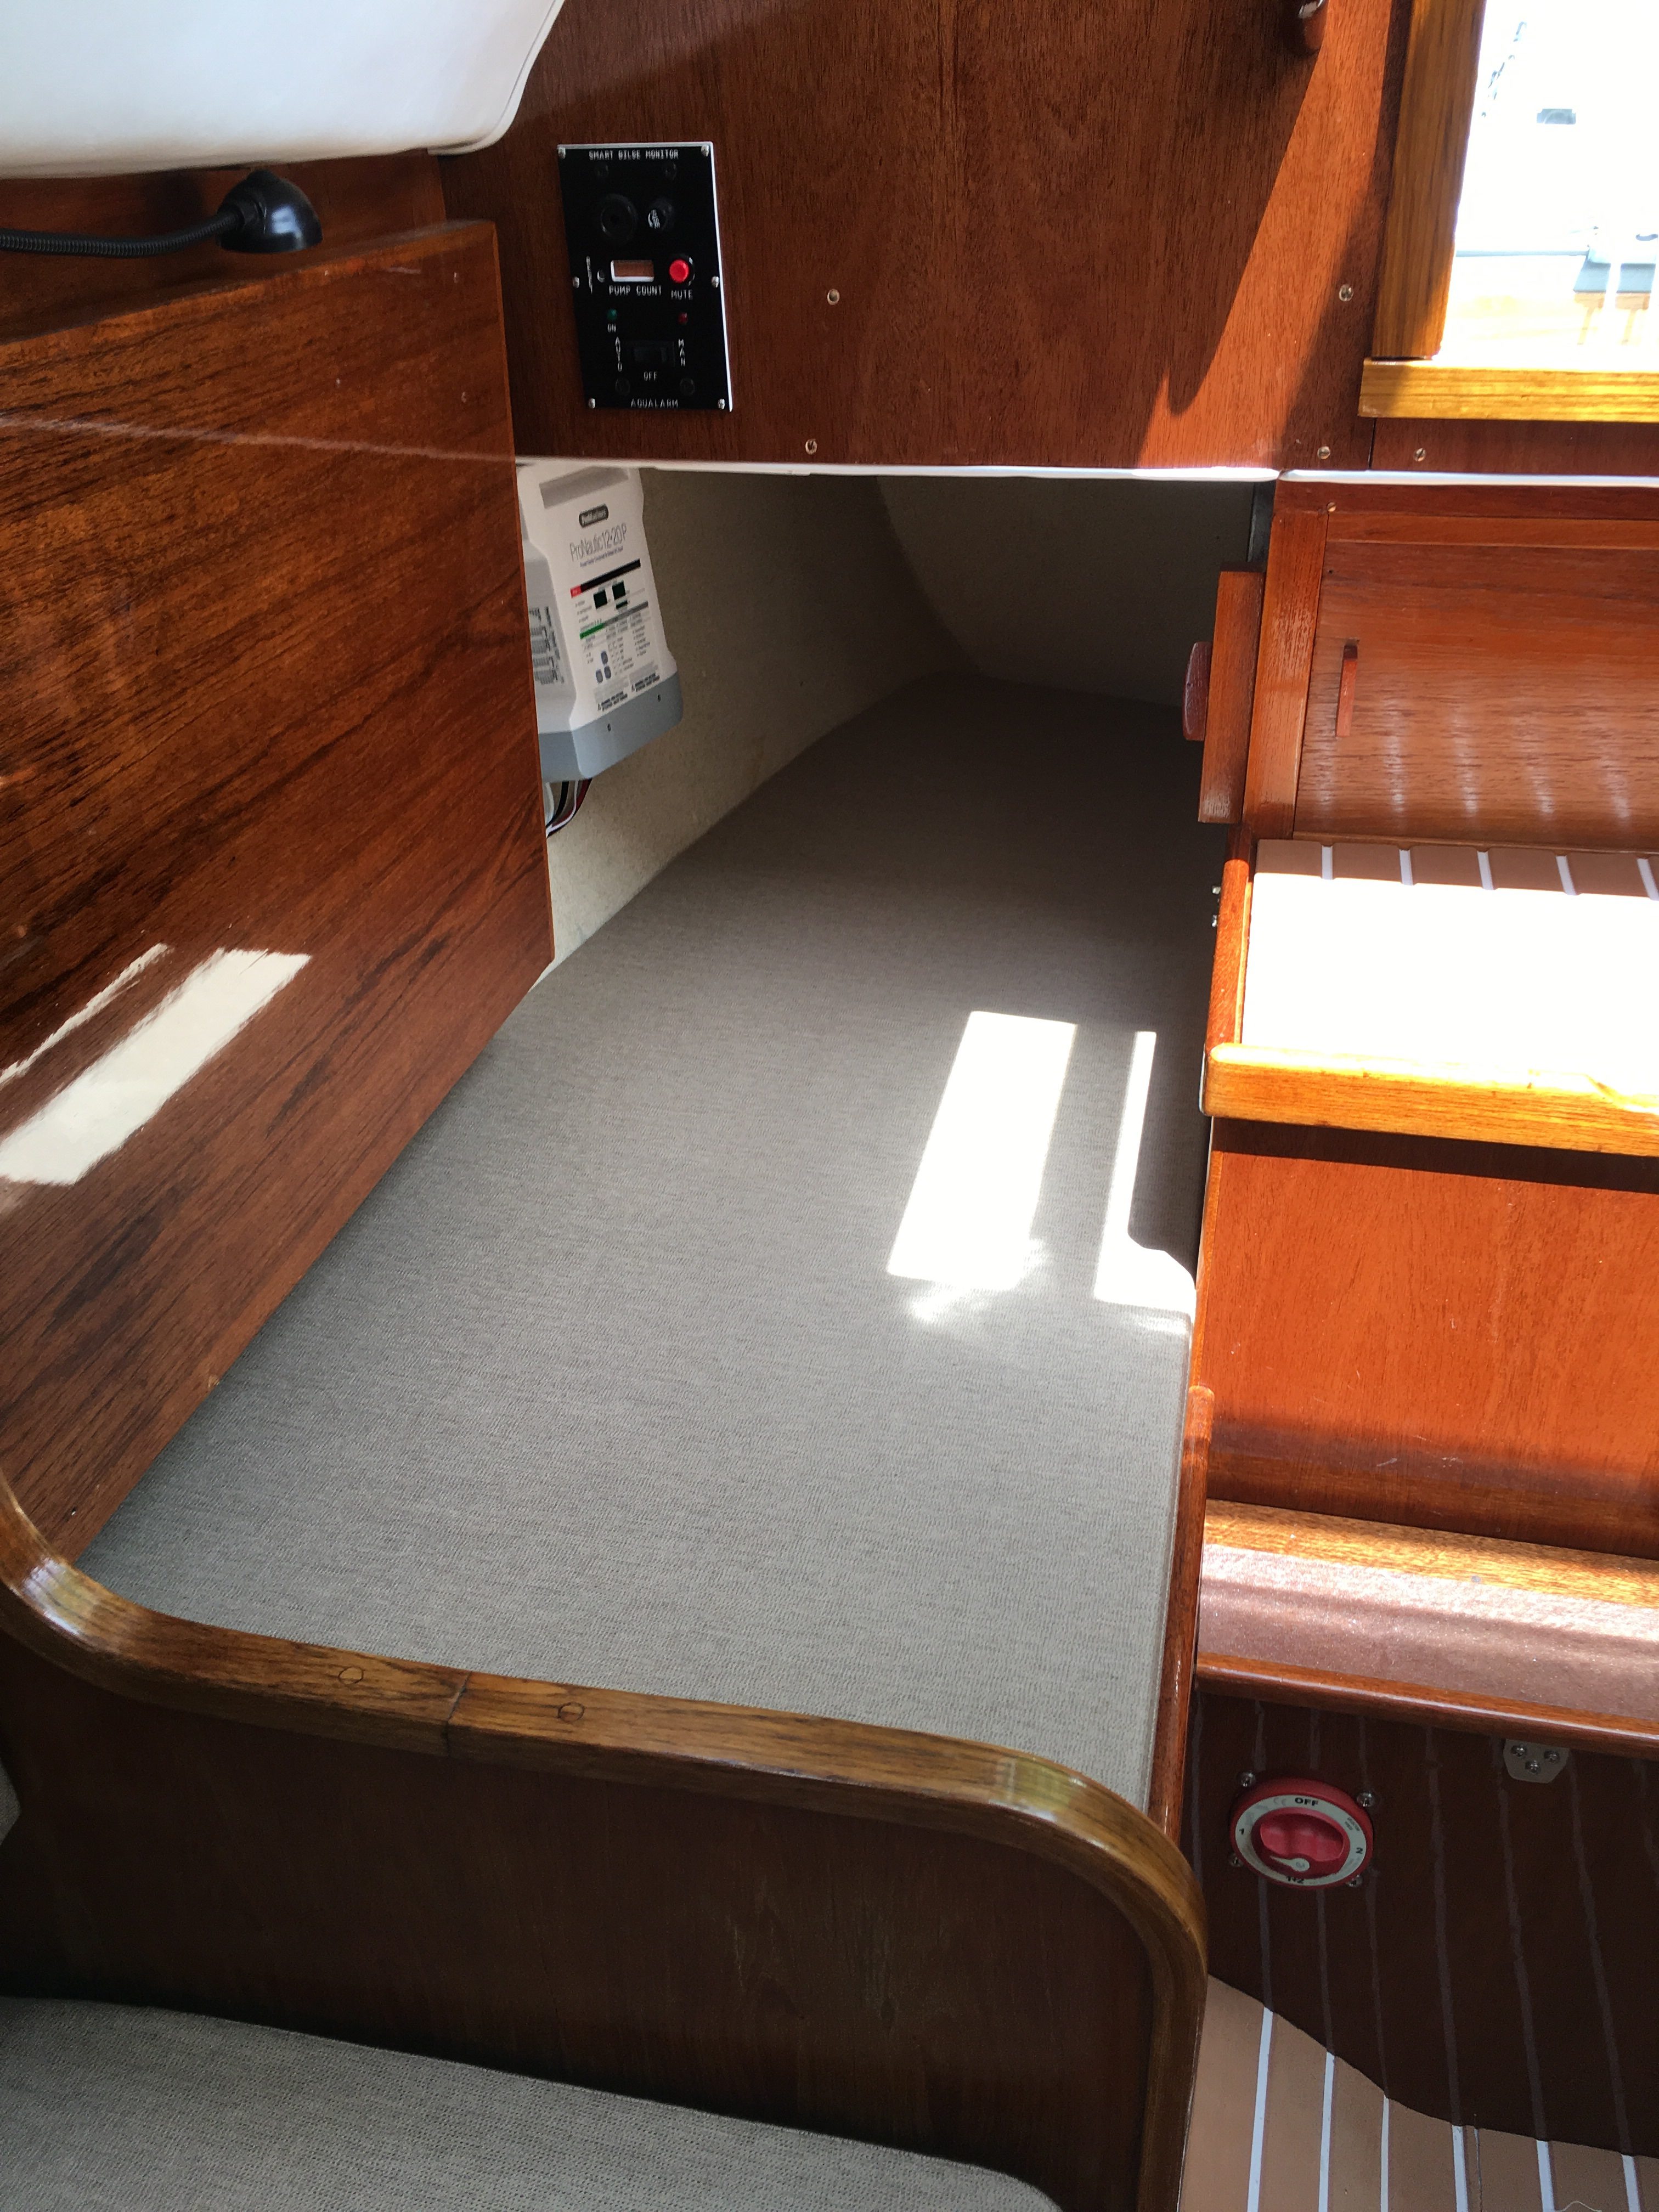
Oh what a nice table.
The table for placing adult beverages upon is finished. I’ll have to adjust the support a little bit as it sags a little. But otherwise it turned out really nice. The original was laminated (plywood). This replacement is solid teak.
Money has been spent.
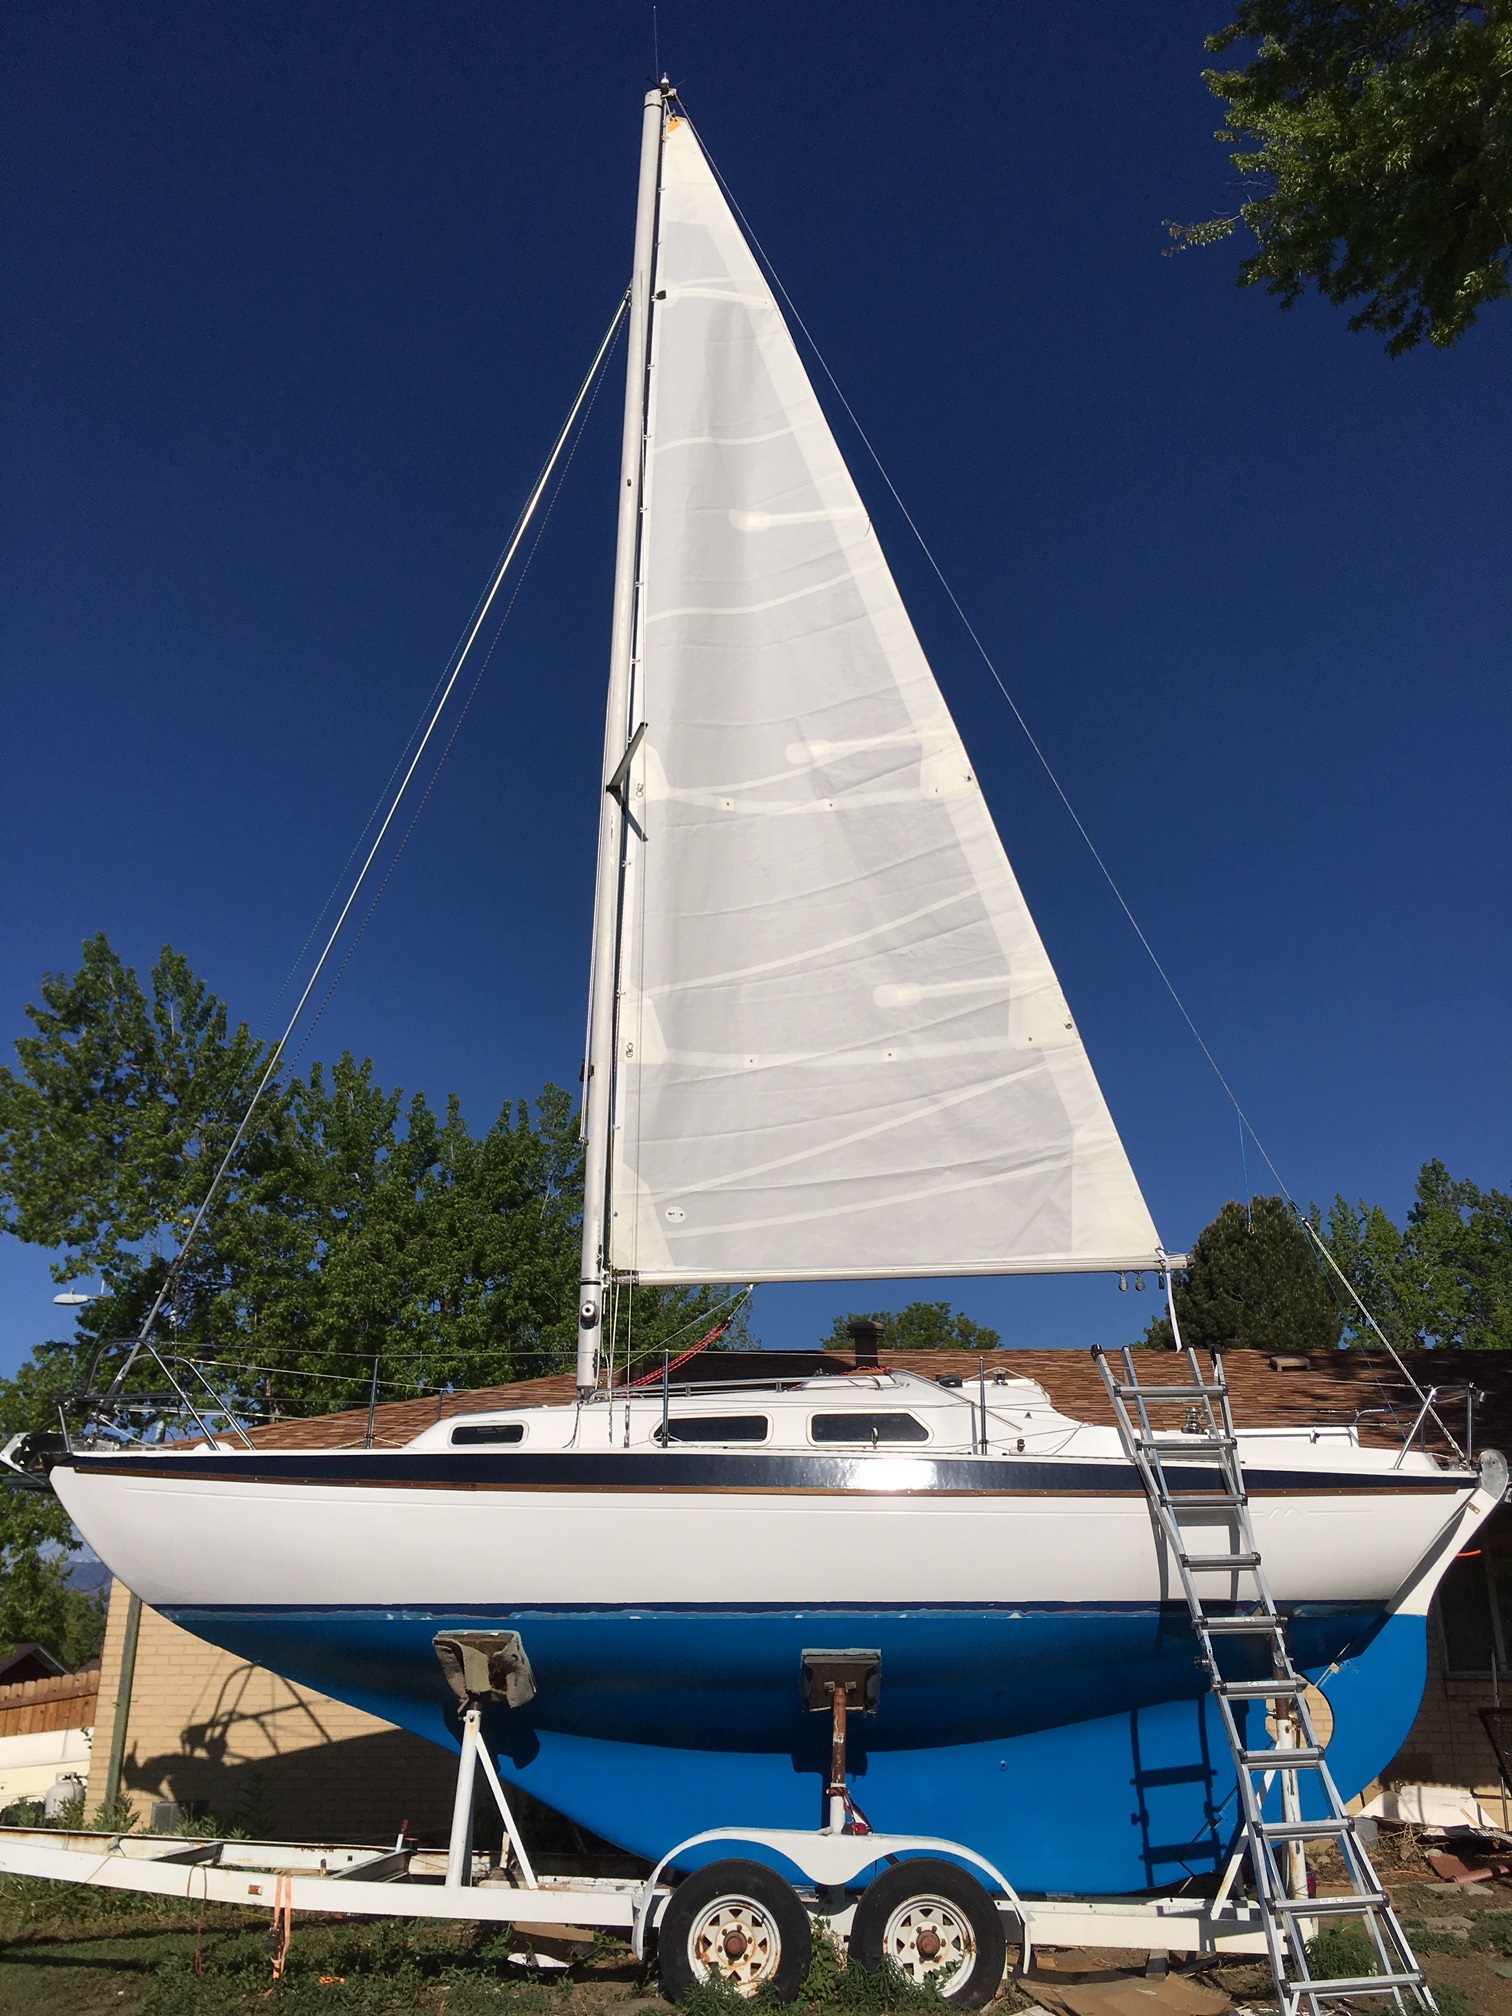
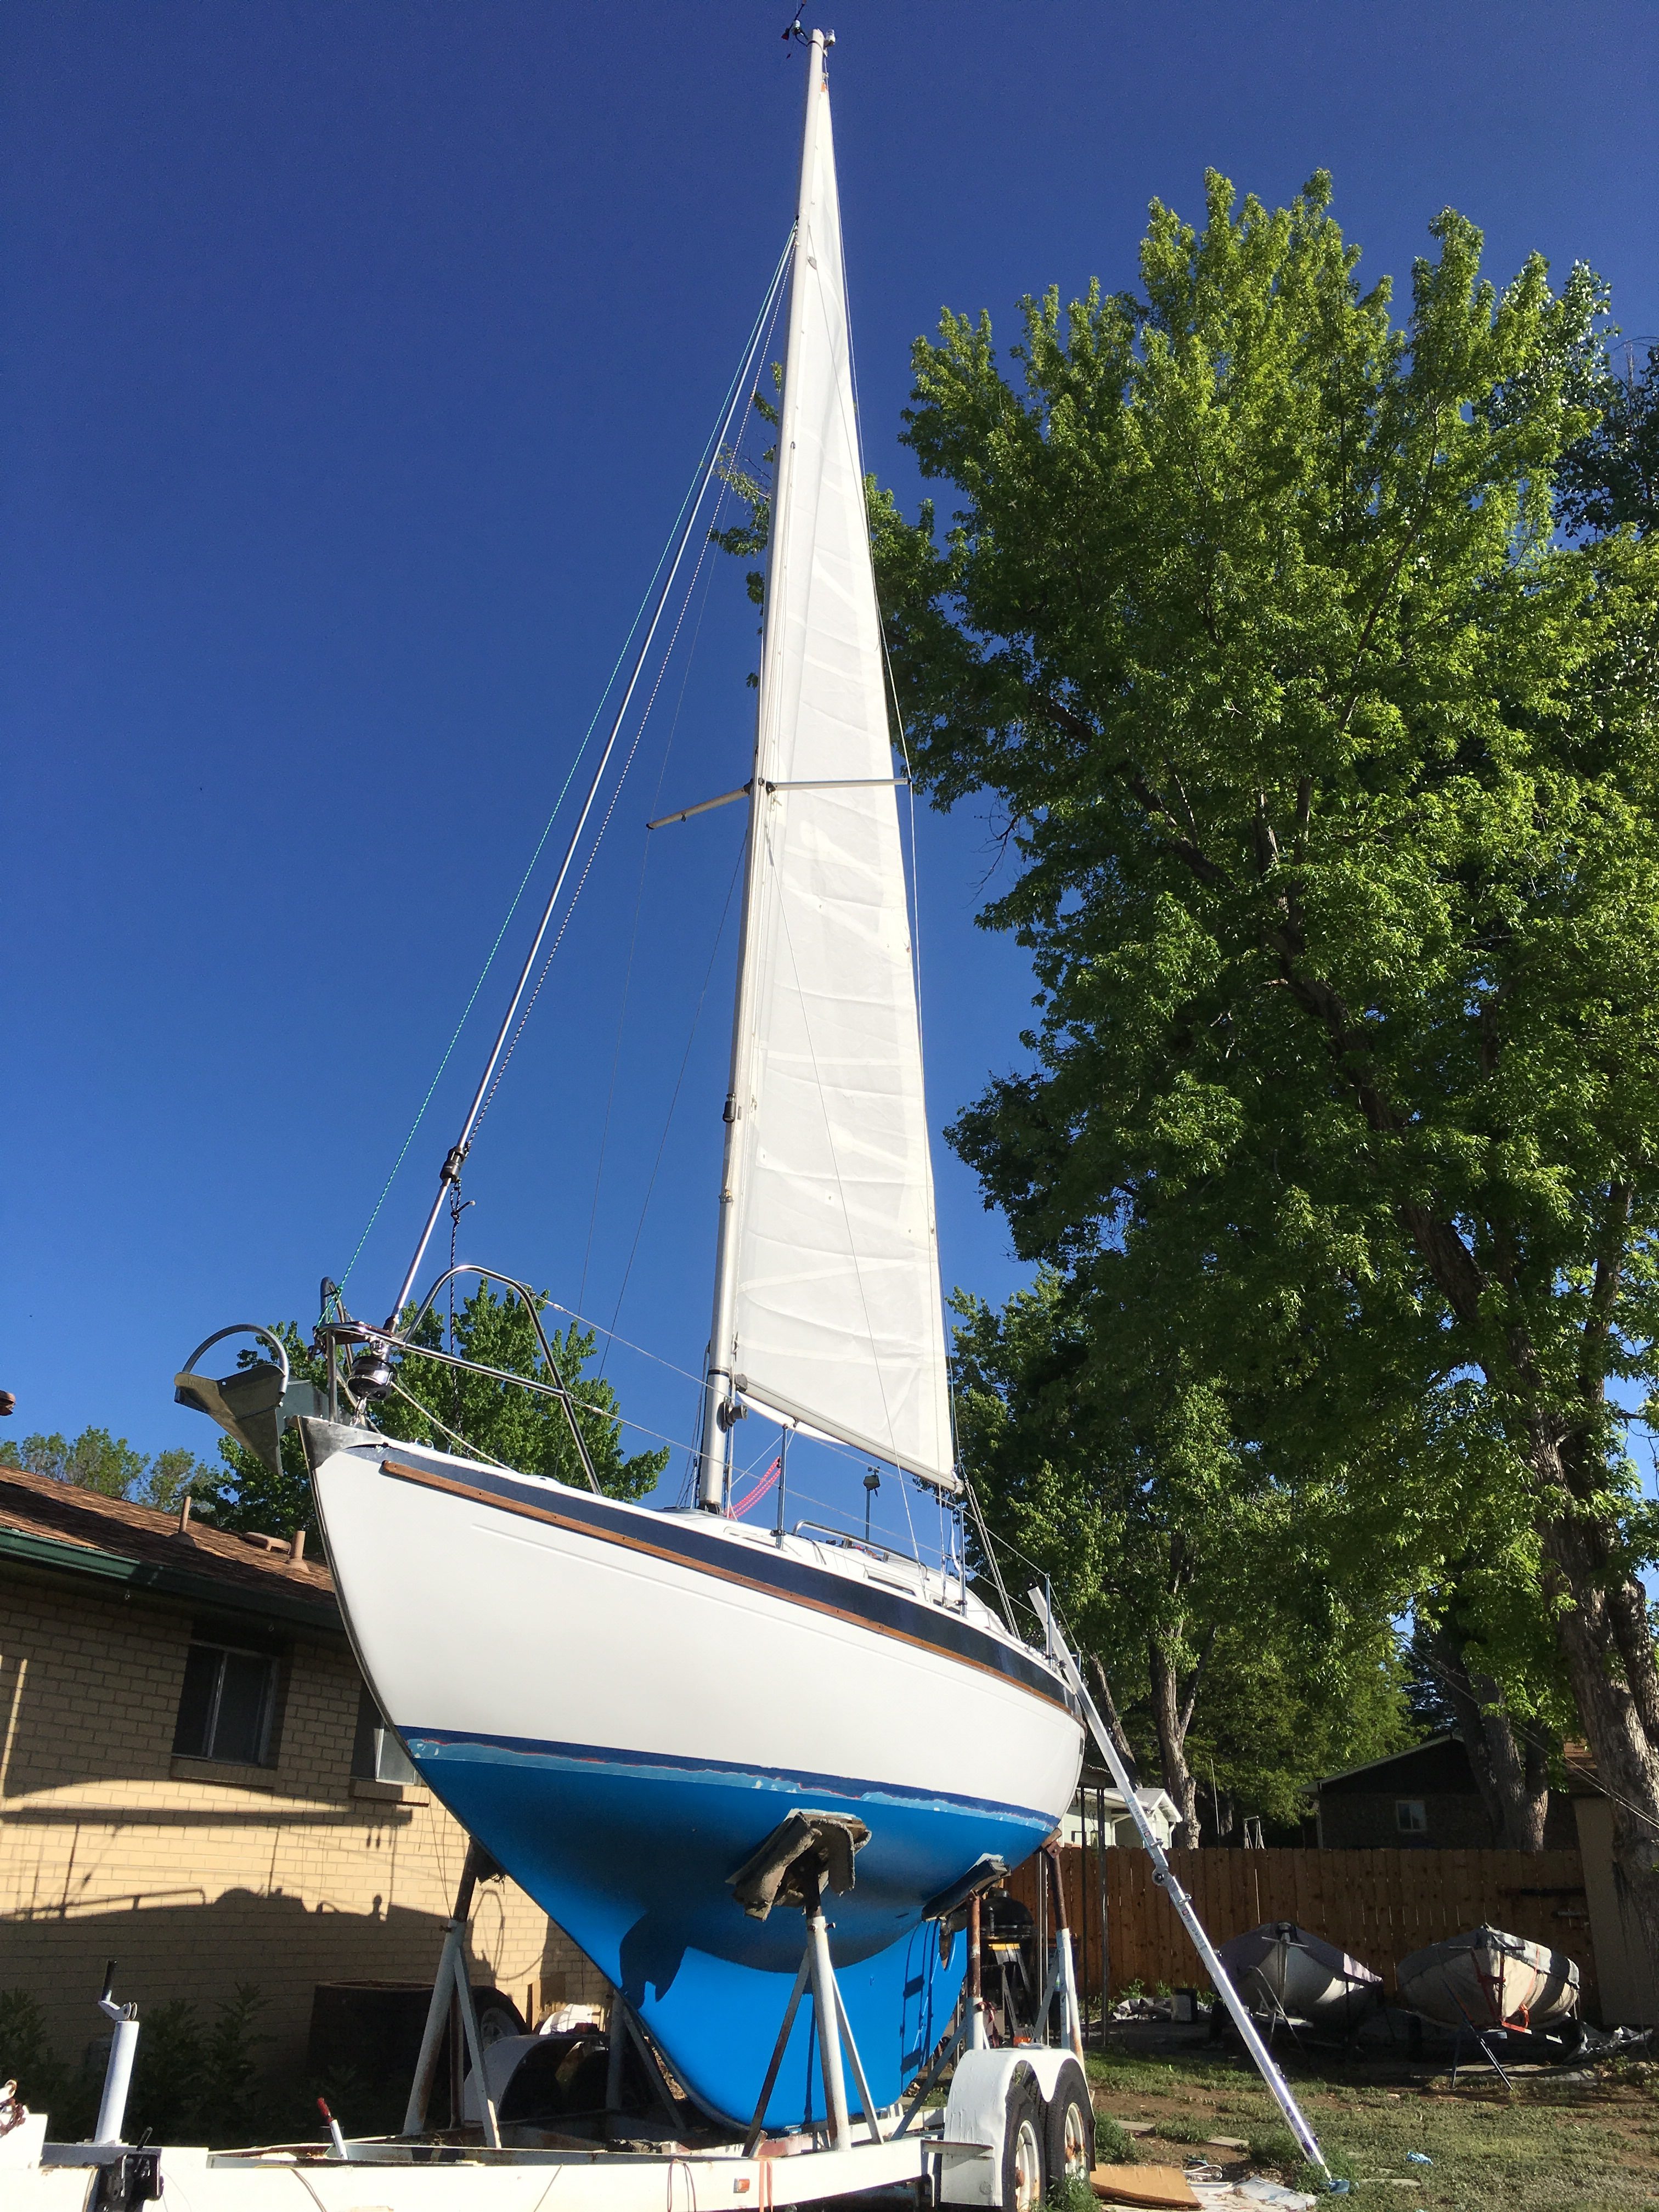
Sail up and cushions are here!
I had to get the main up to see where the Reefs sit and to set the height of the goose neck. Looks great. Hasse & Co did an amazing job. Once I lowered it I realized folding it back up is not a 1 person job. That’s a lot of canvas. This picture makes the mast look short due to wide angle effect.
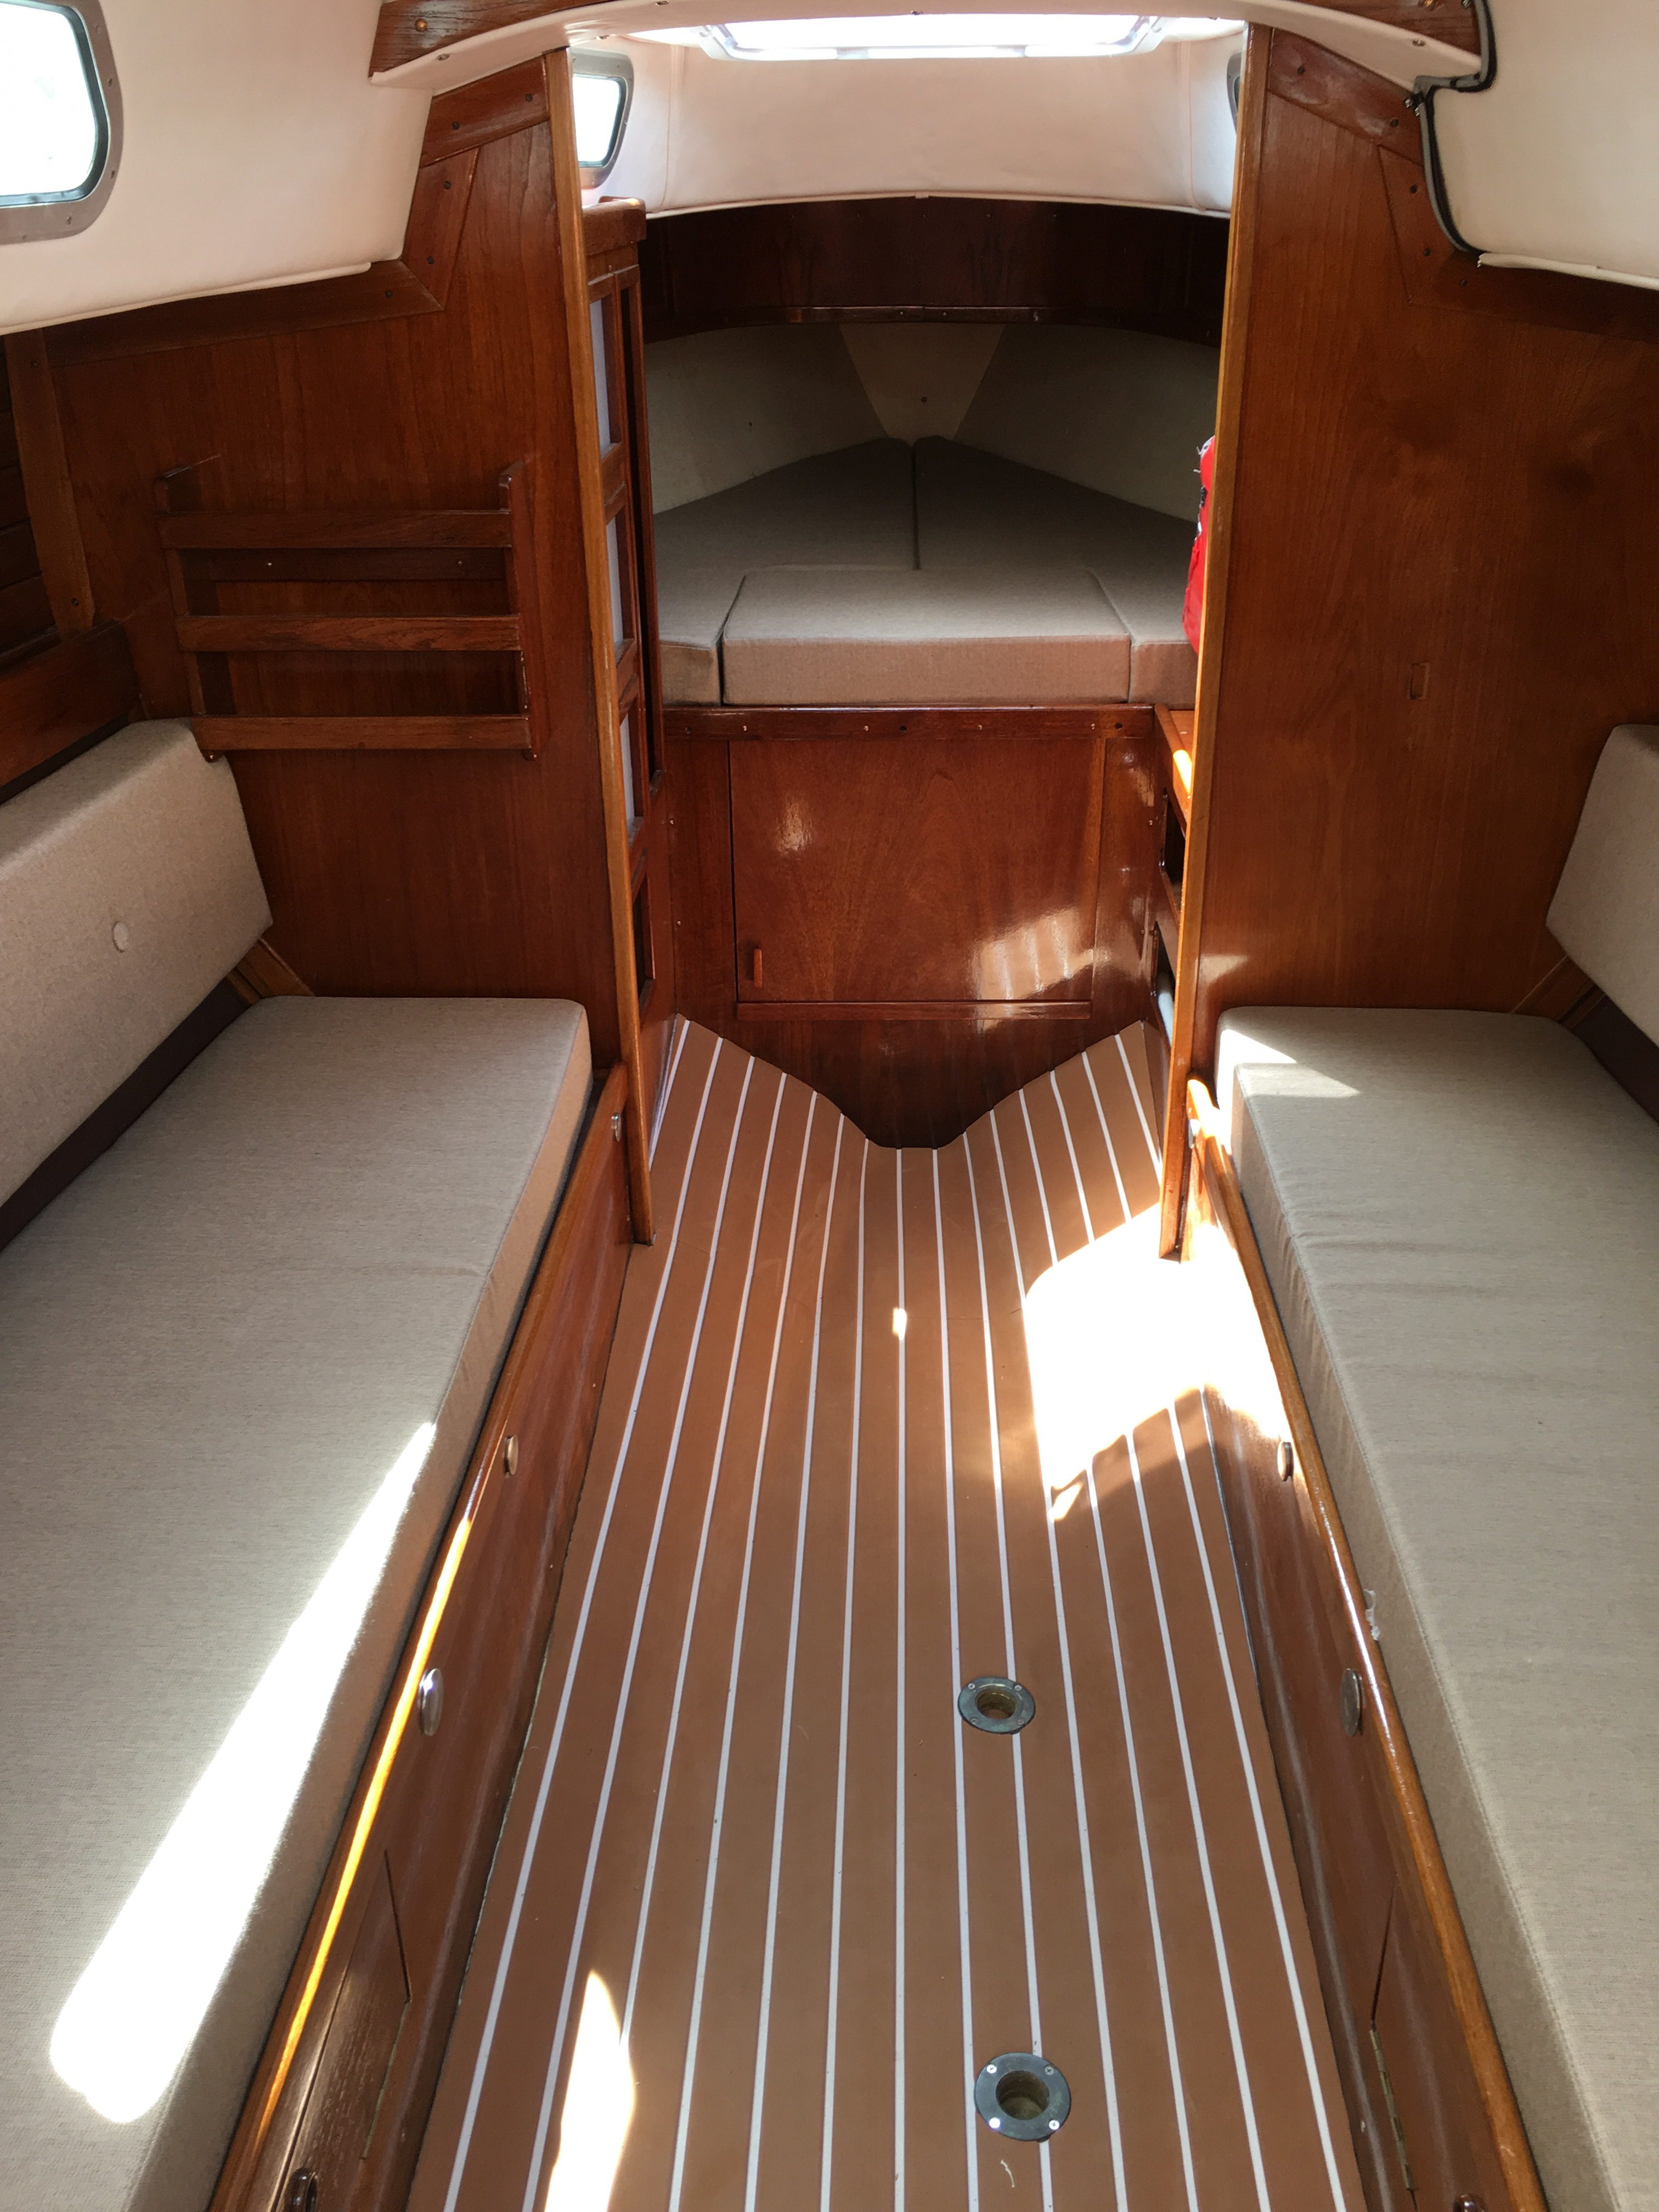
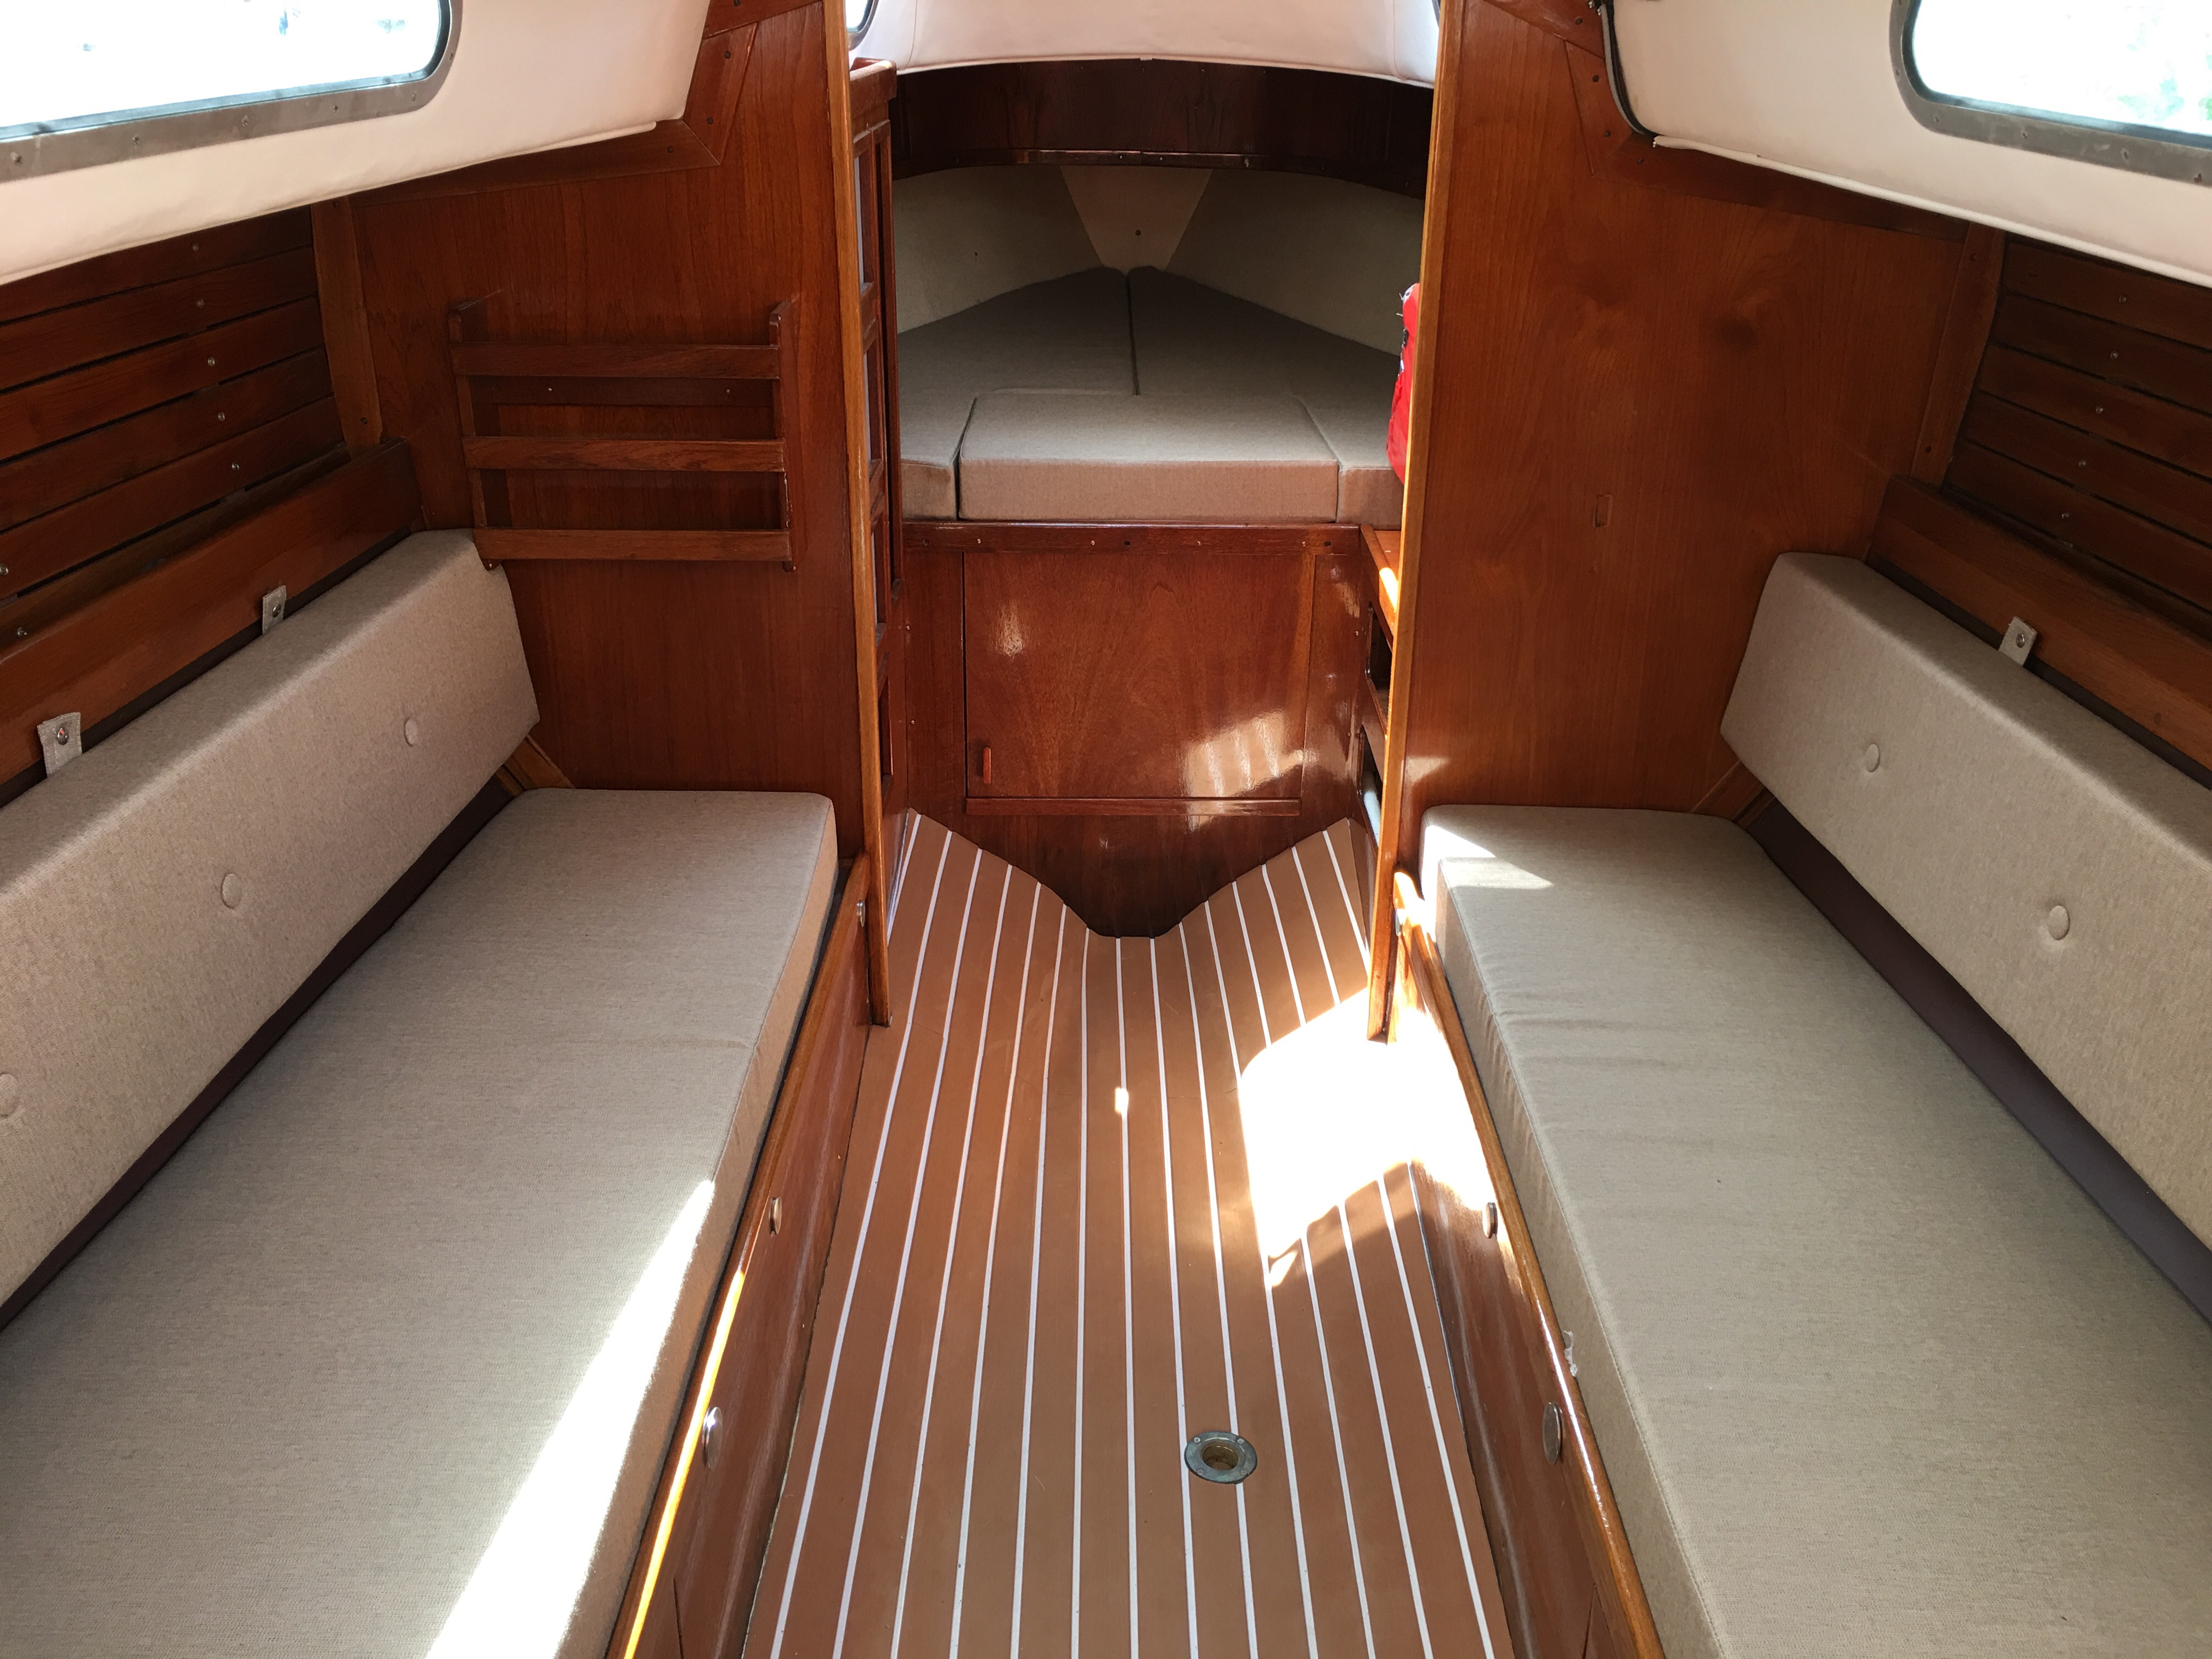
And our cushions are done! Amazing work by Burt Revell down in south Denver. He delivered the cushions this morning and they look outstanding. Everything fits. Very pleased with this as the interior is now really done.
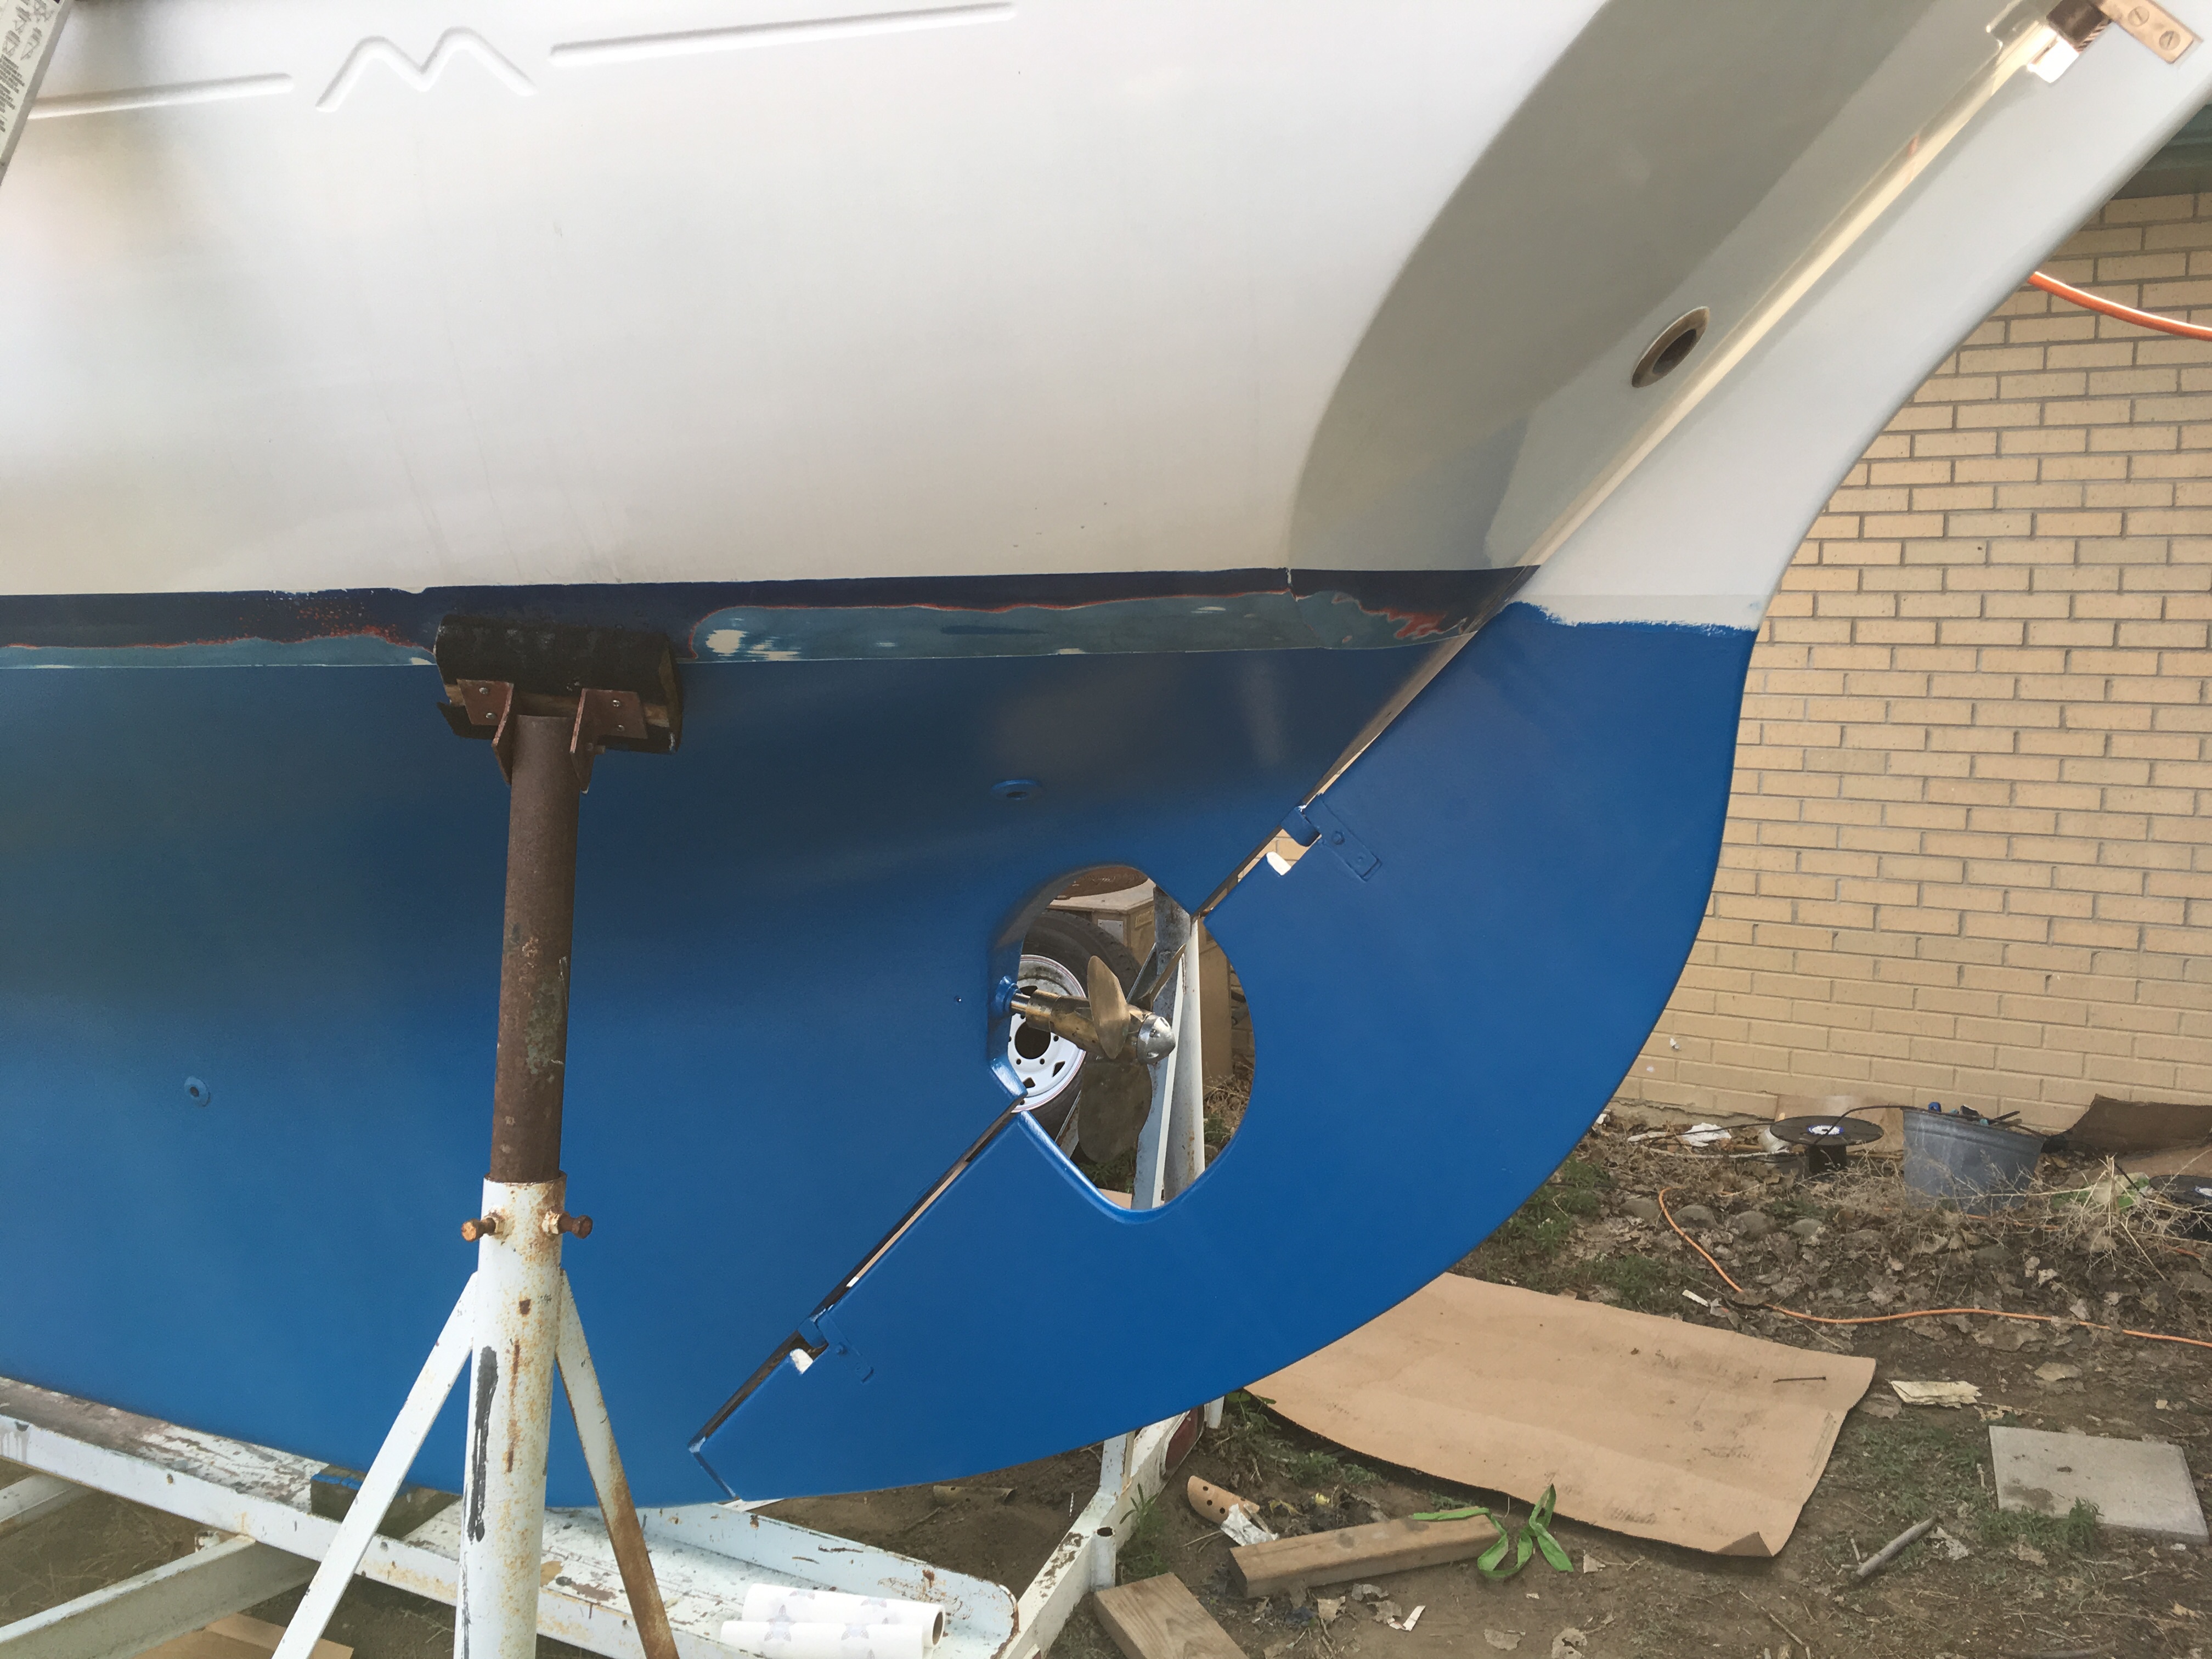
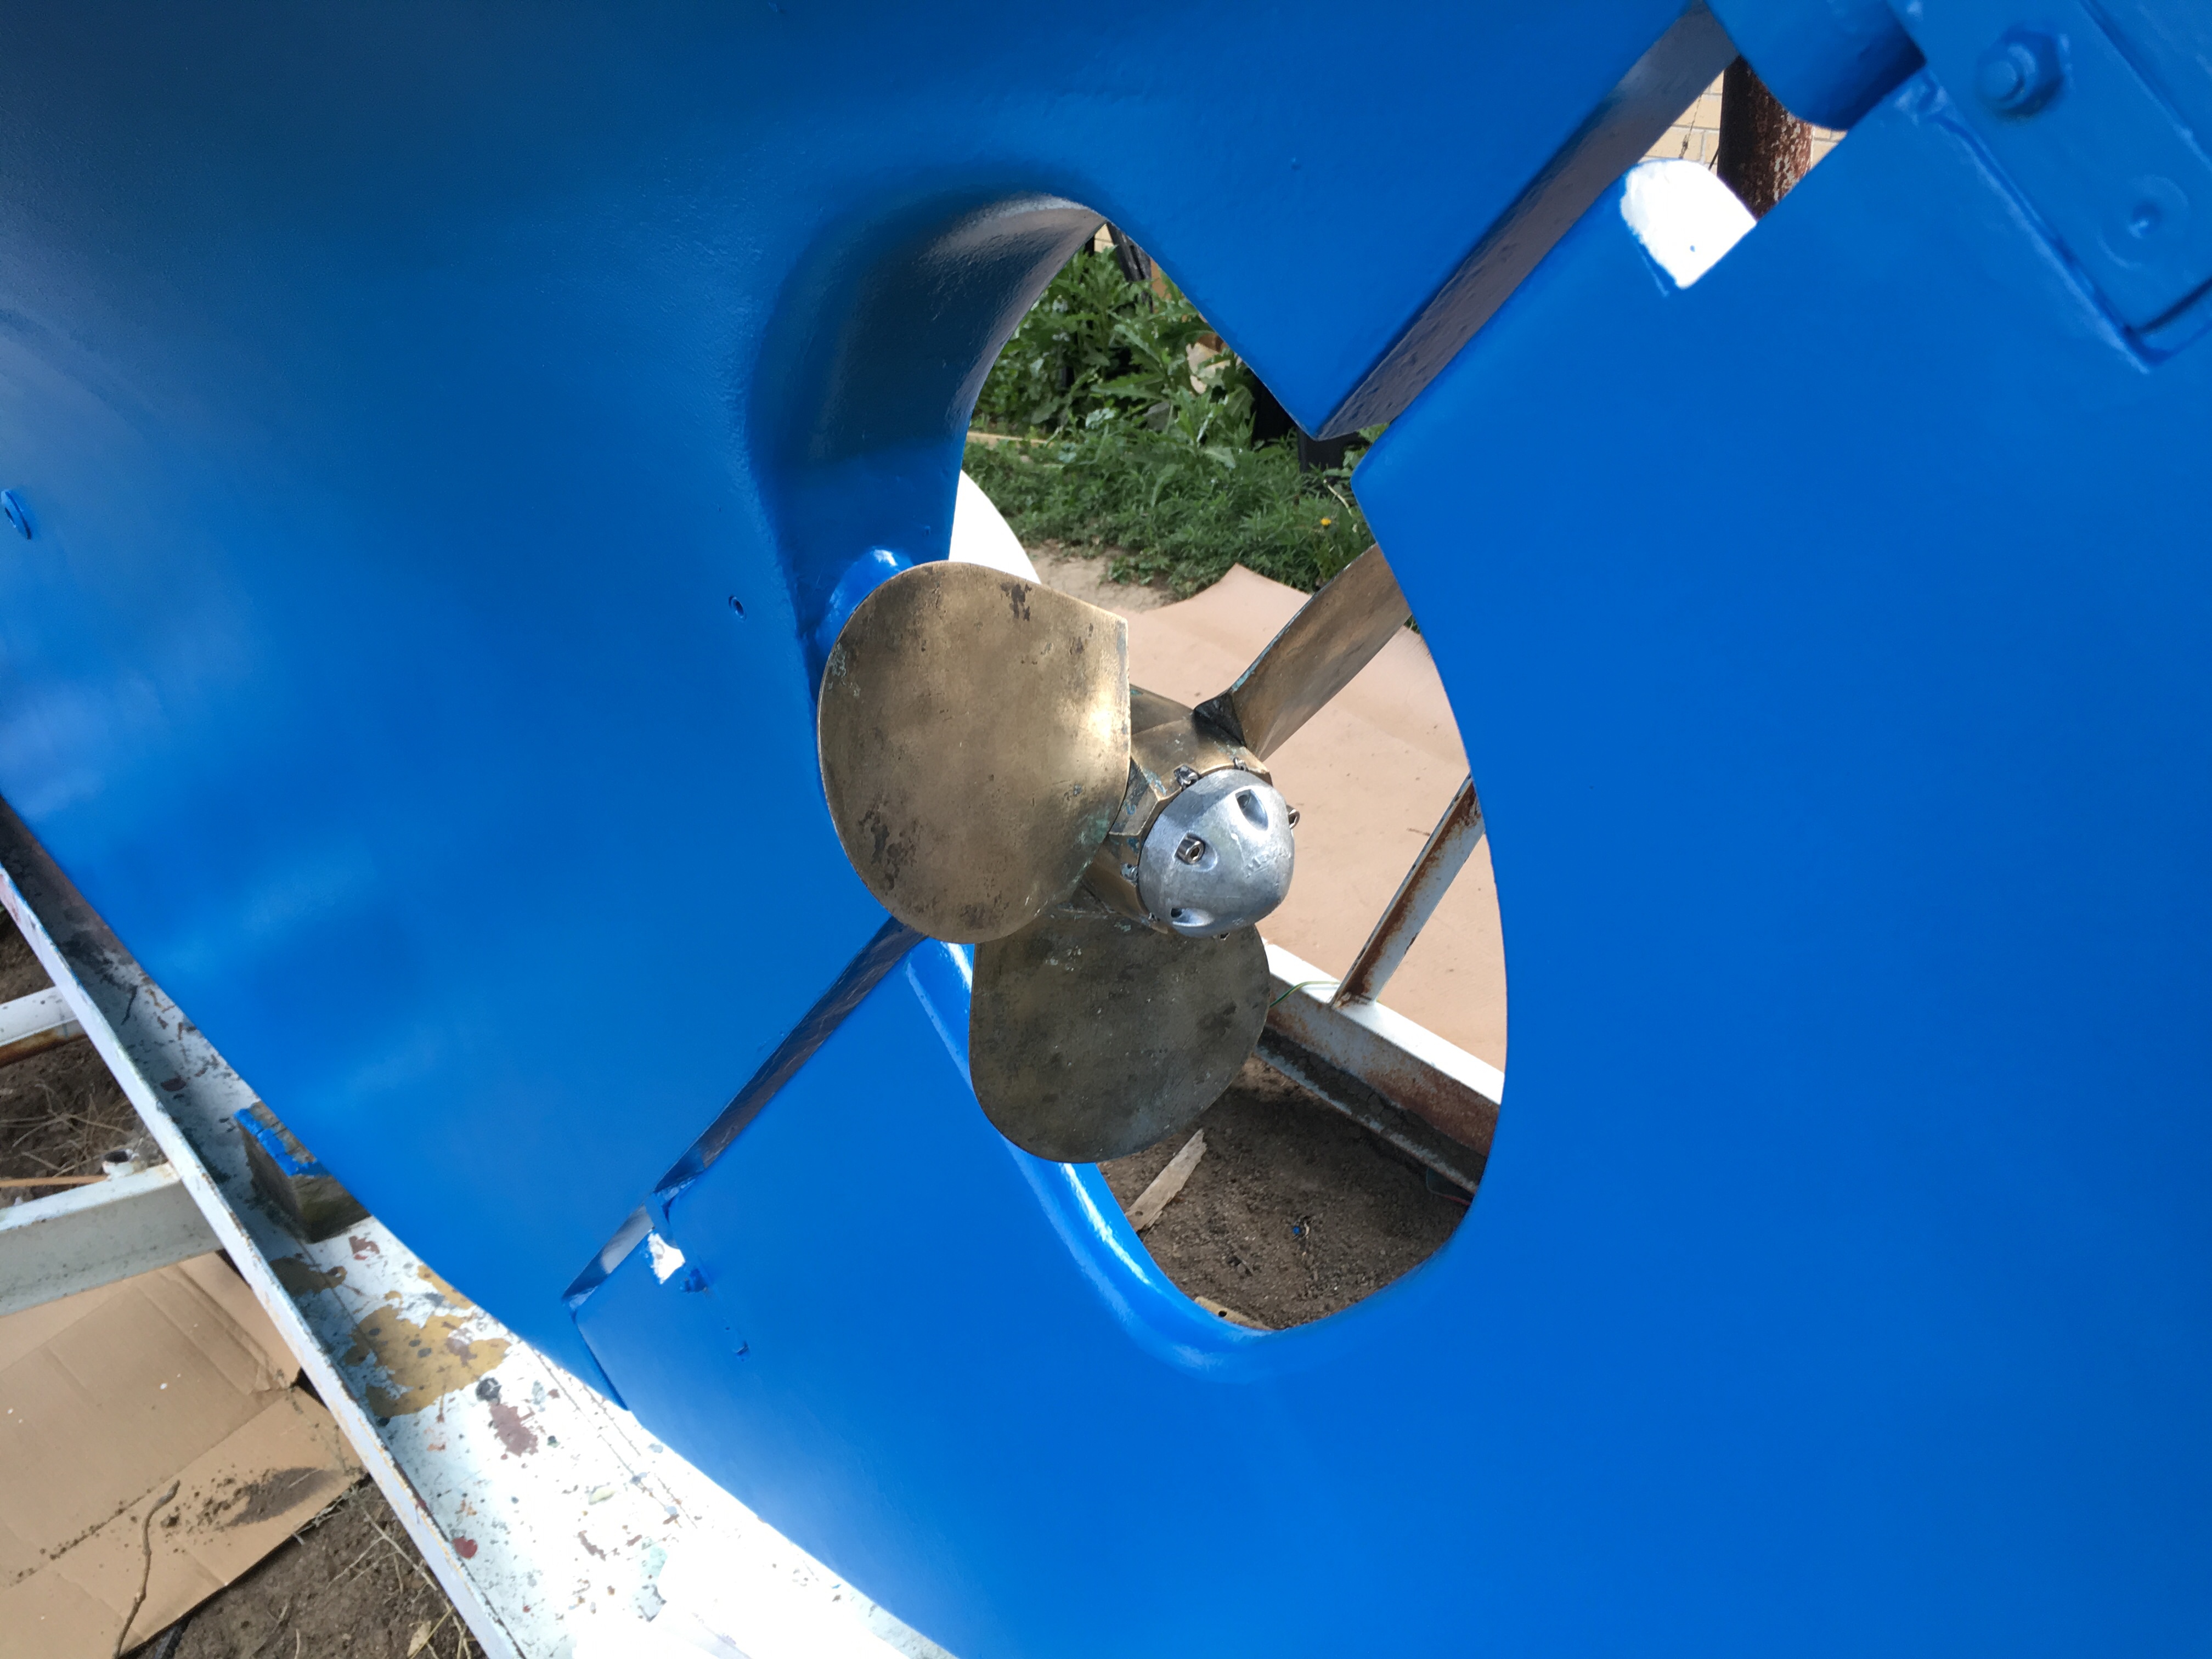
Prop and rudder on
Some thoughts on the application of Pettit Protect
The manual for this paint is a bit lacking. It has a lot of information about the timing and whatnot but not that much about the actual doing of it.
When you roll this stuff on, DO NOT go back and roll over it if you feel like a spot is thin or you want to touch it up. You’ll put a bunch of texture into it. Apparently this stuff kicks fairly fast and if you’re a perfectionist like me you’ll go back and add a little here or there, or want to touch up a spot, or even something out. Don’t give into that temptation because if you do you’ll be even more conflicted later when you realize your boat bottom now resembles the walls of a 70s ranch style house.
Honestly it’s not that bad, but it bugs me because there are spots where I could have done a better job. What I’ll likely do is in a couple of years before I recoat the bottom I’ll sand the spots that annoy me.
The Pettit Vivid bottom paint went on a dream. The instructions said to use a 3/16 nap roller but I couldn’t find any locally so I just used a 1/4″ and rolled it out pretty well. The finish of that bottom paint is really nice, I’m happy I picked it.
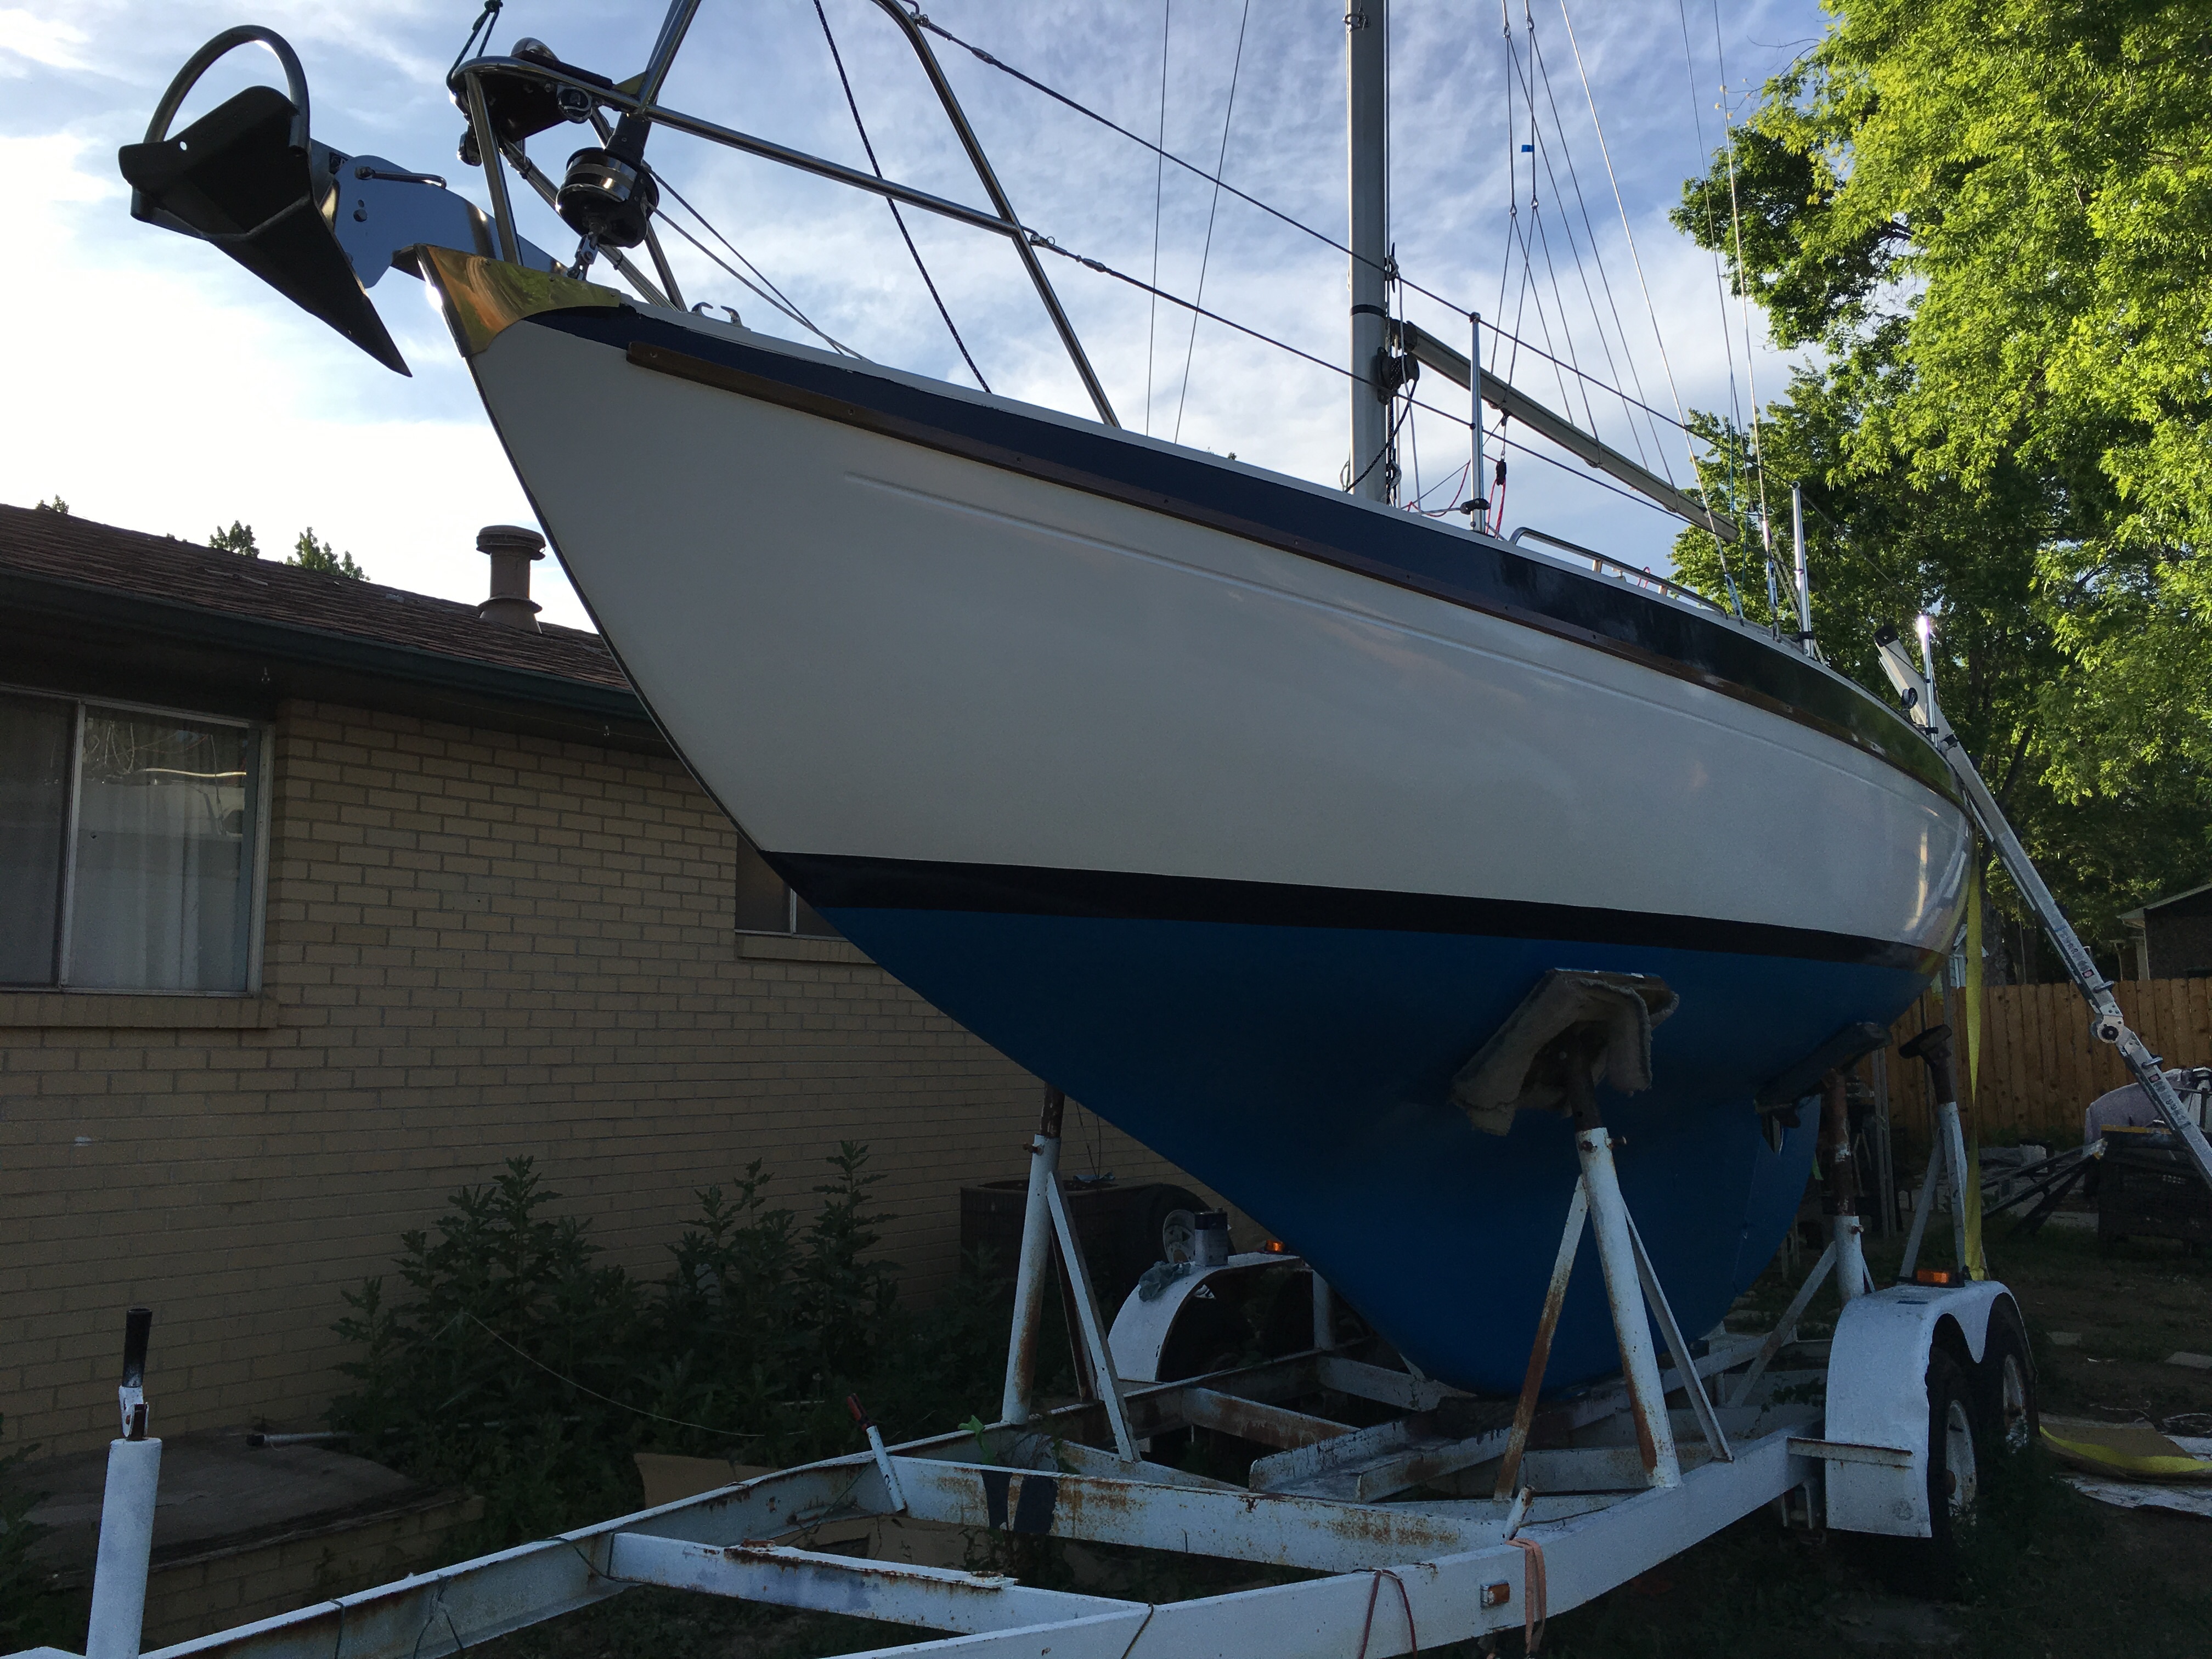
Second coat on.
Paint!!!!
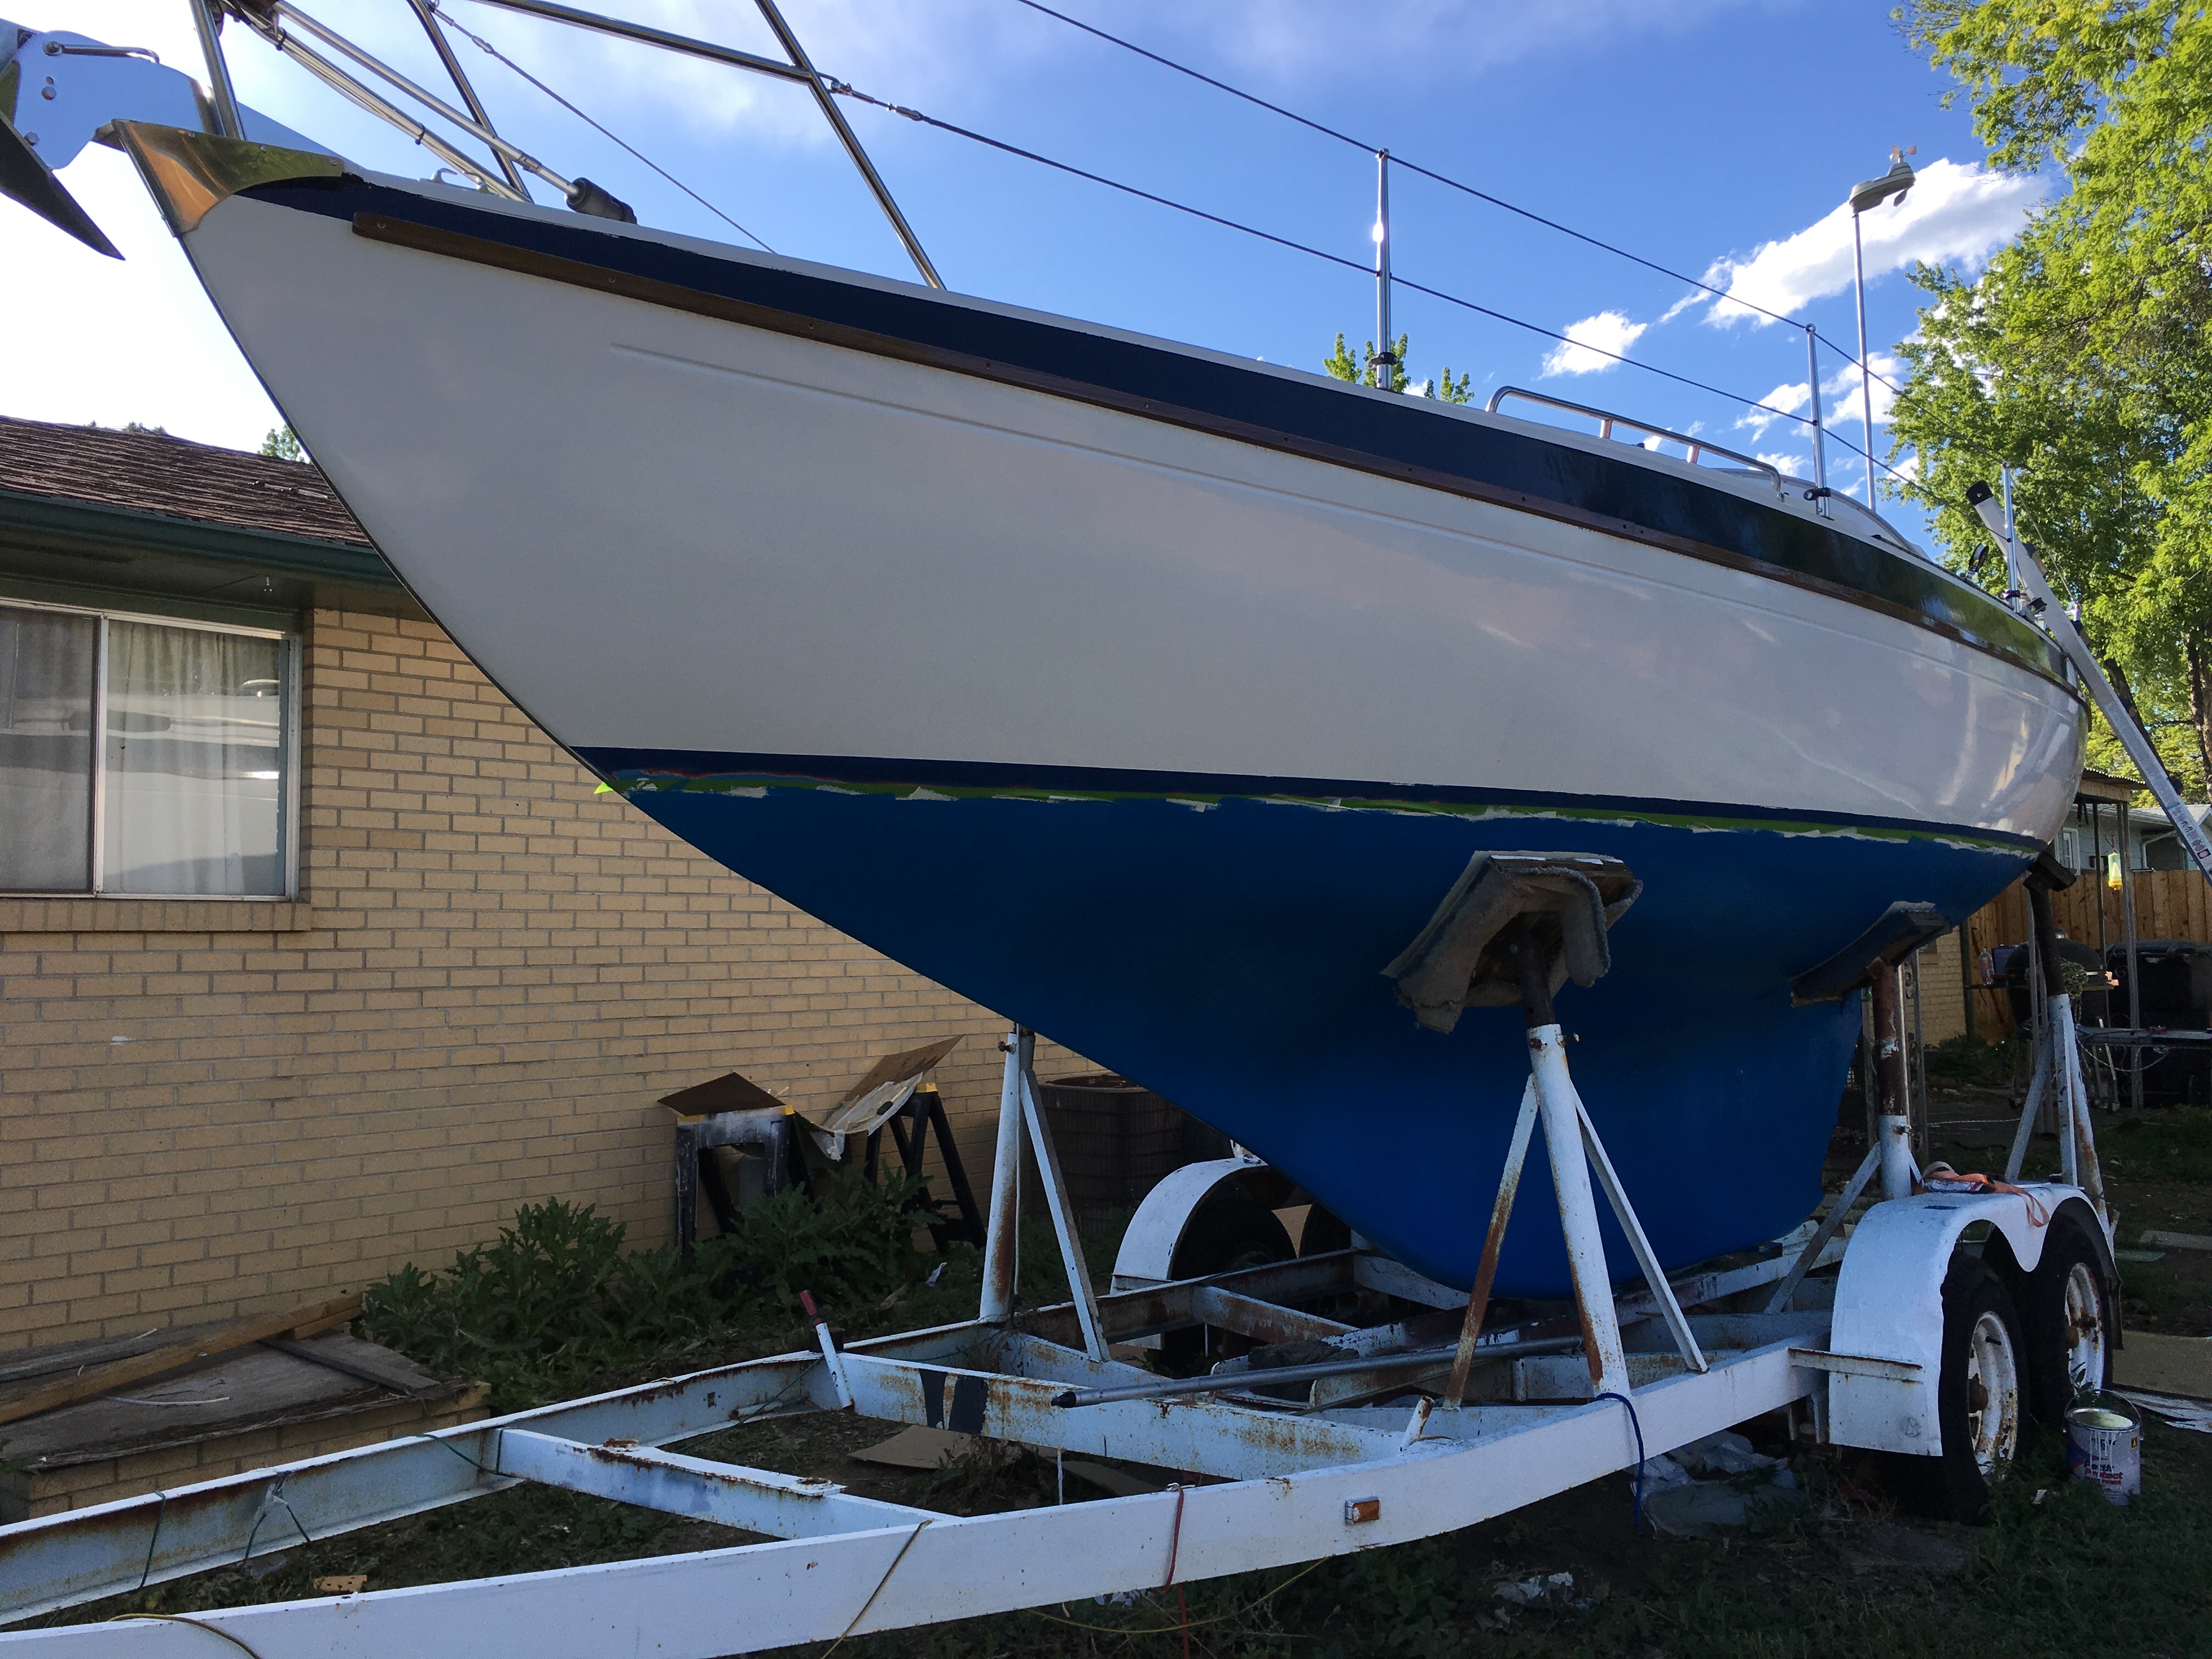
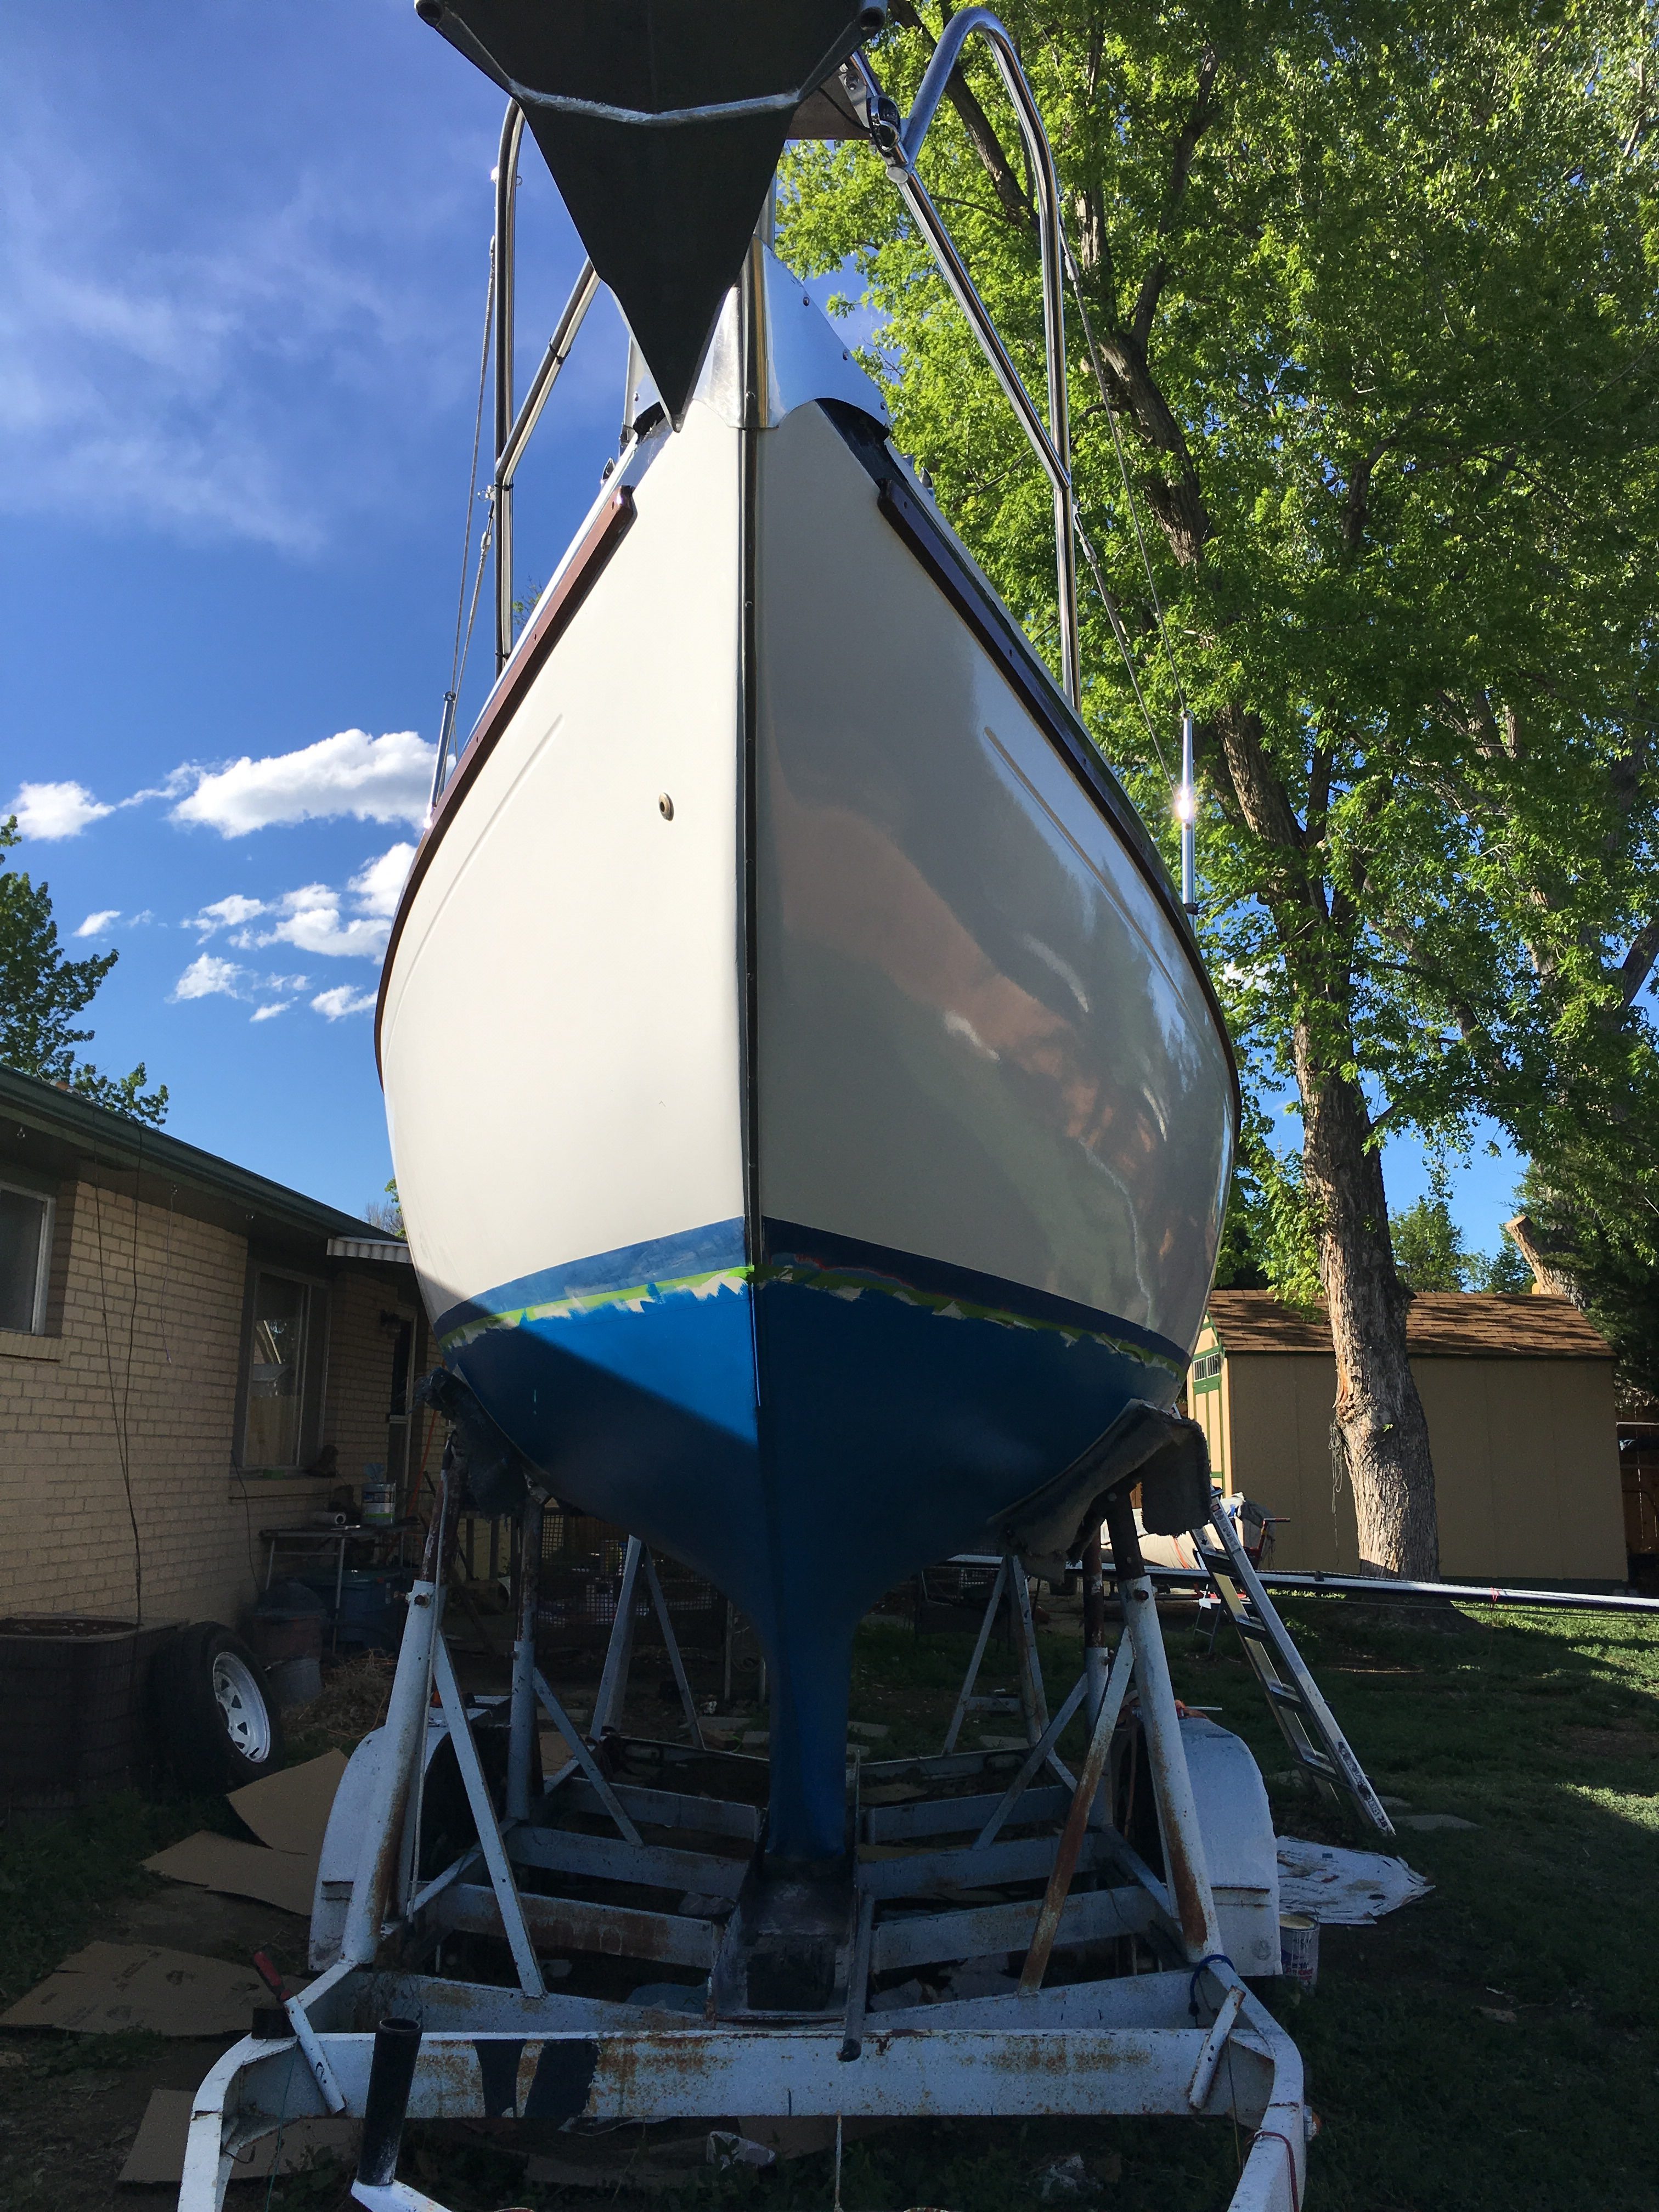
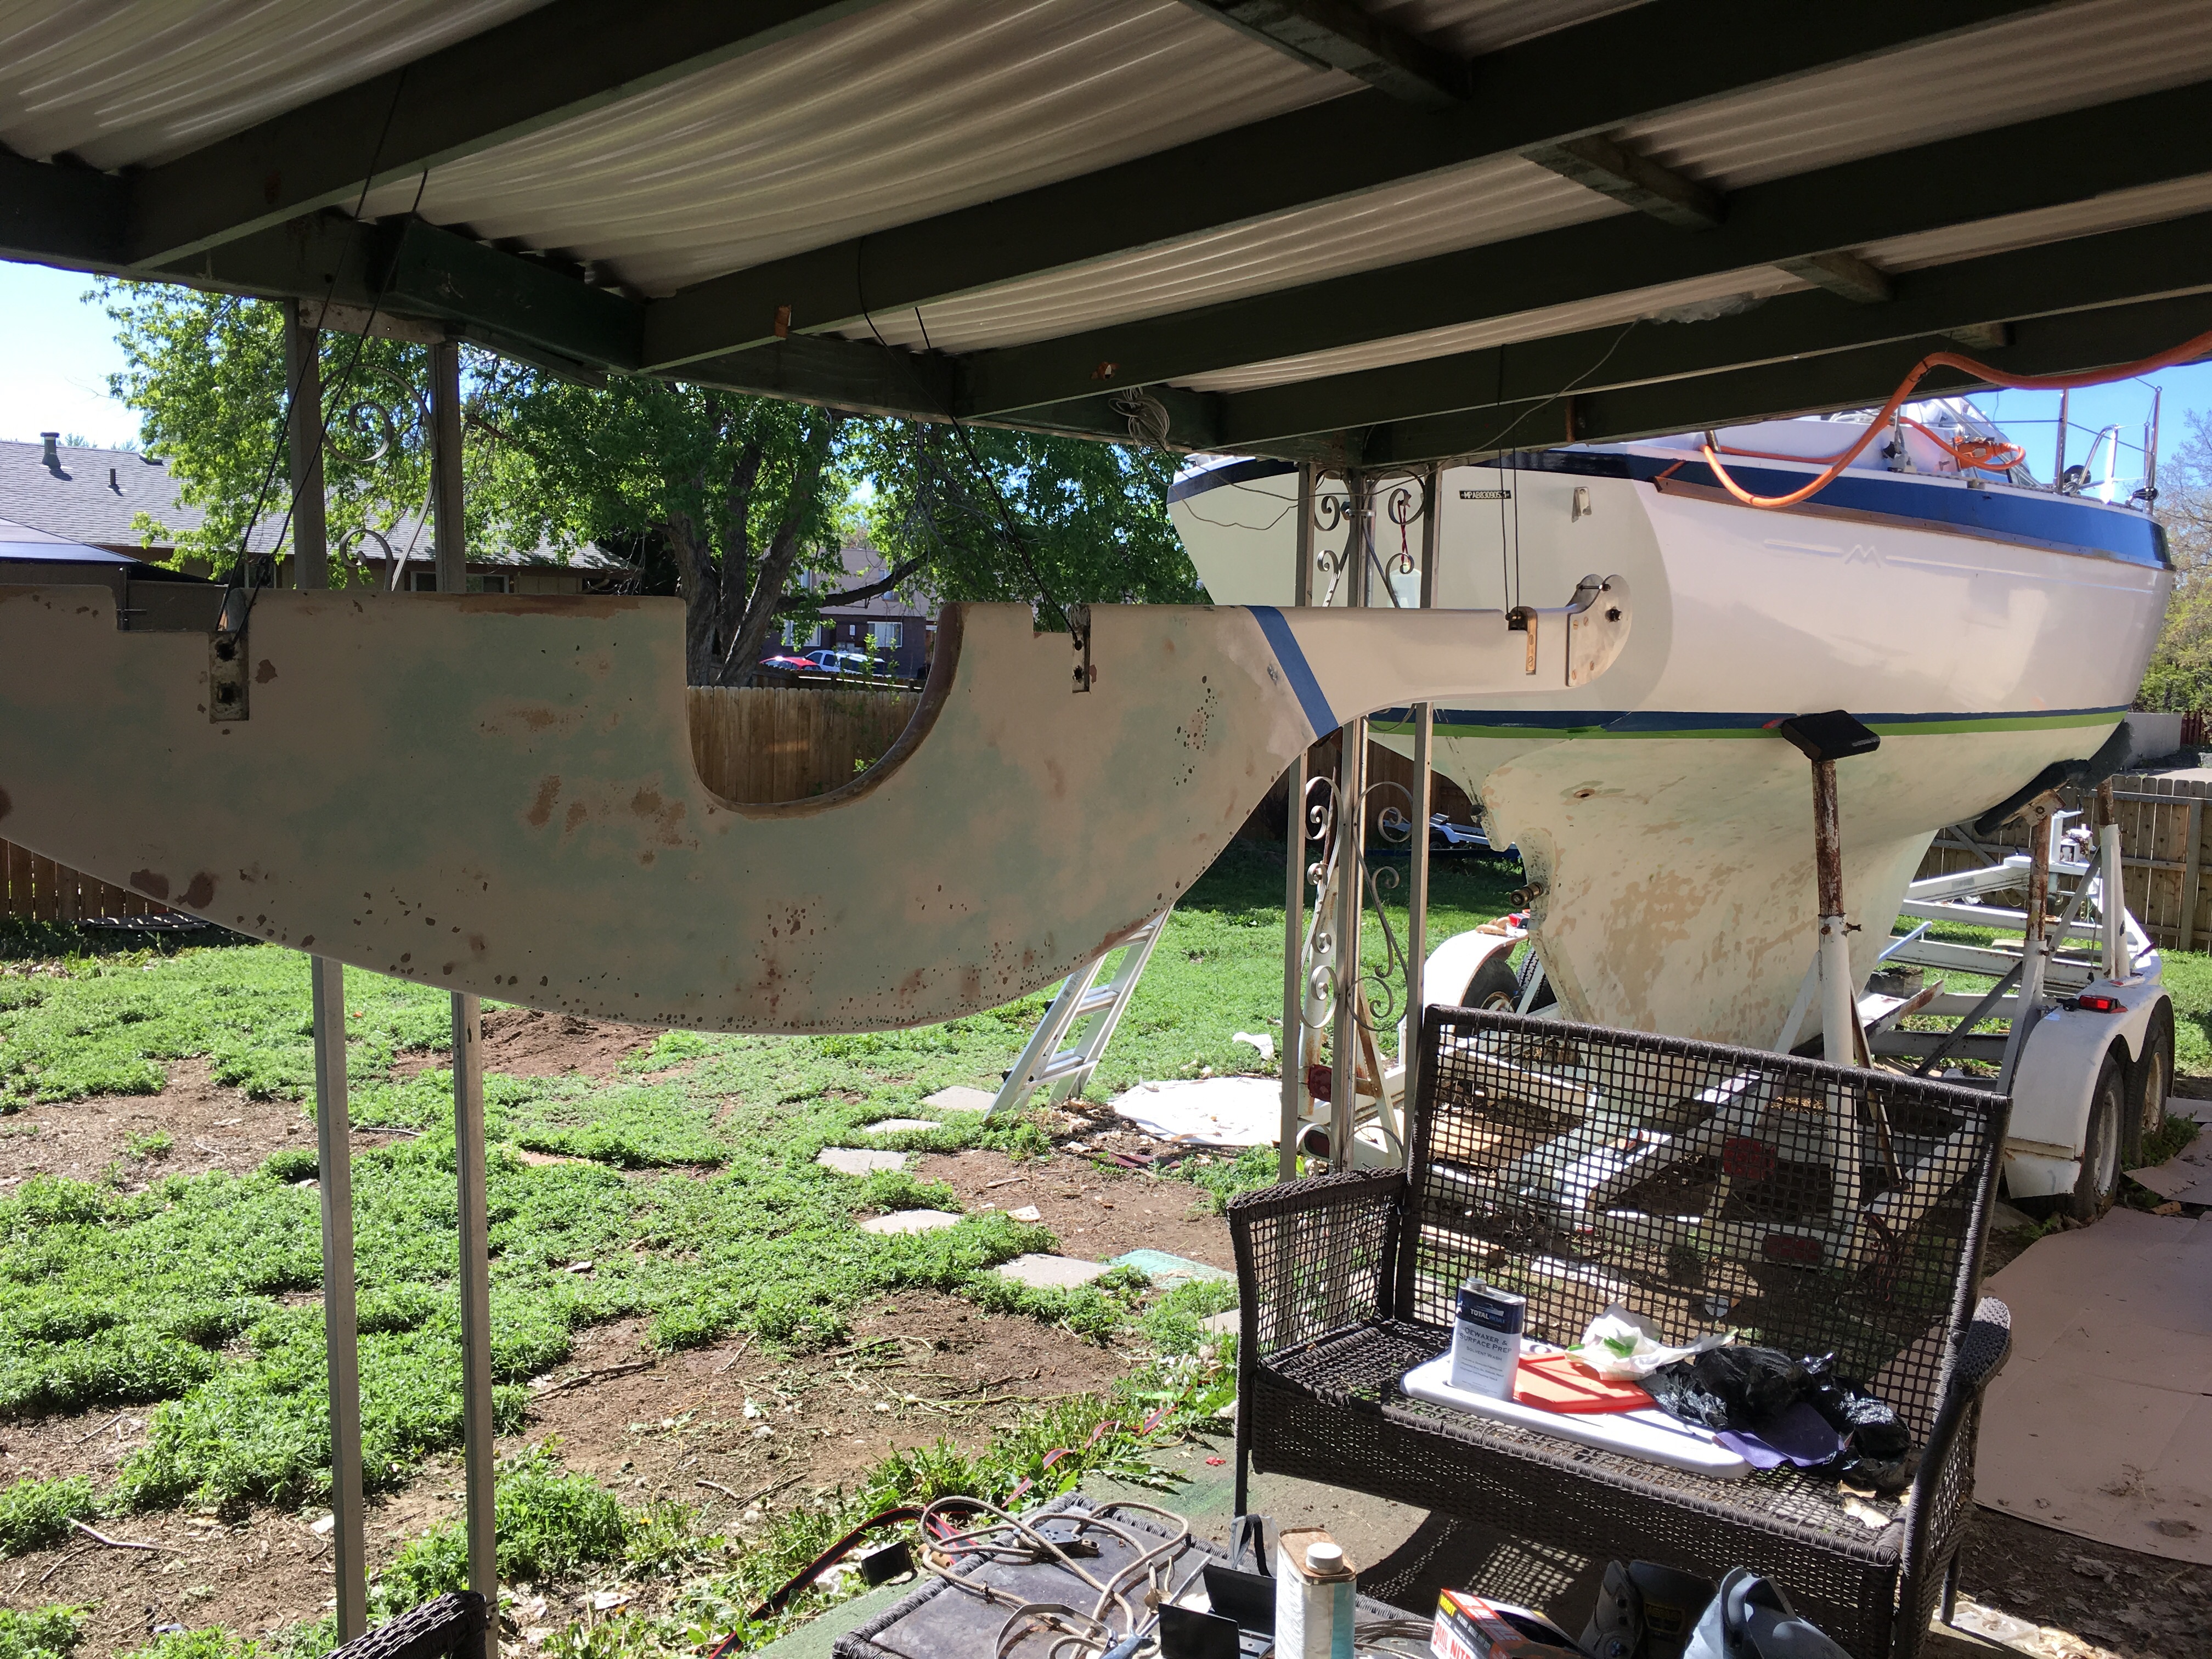
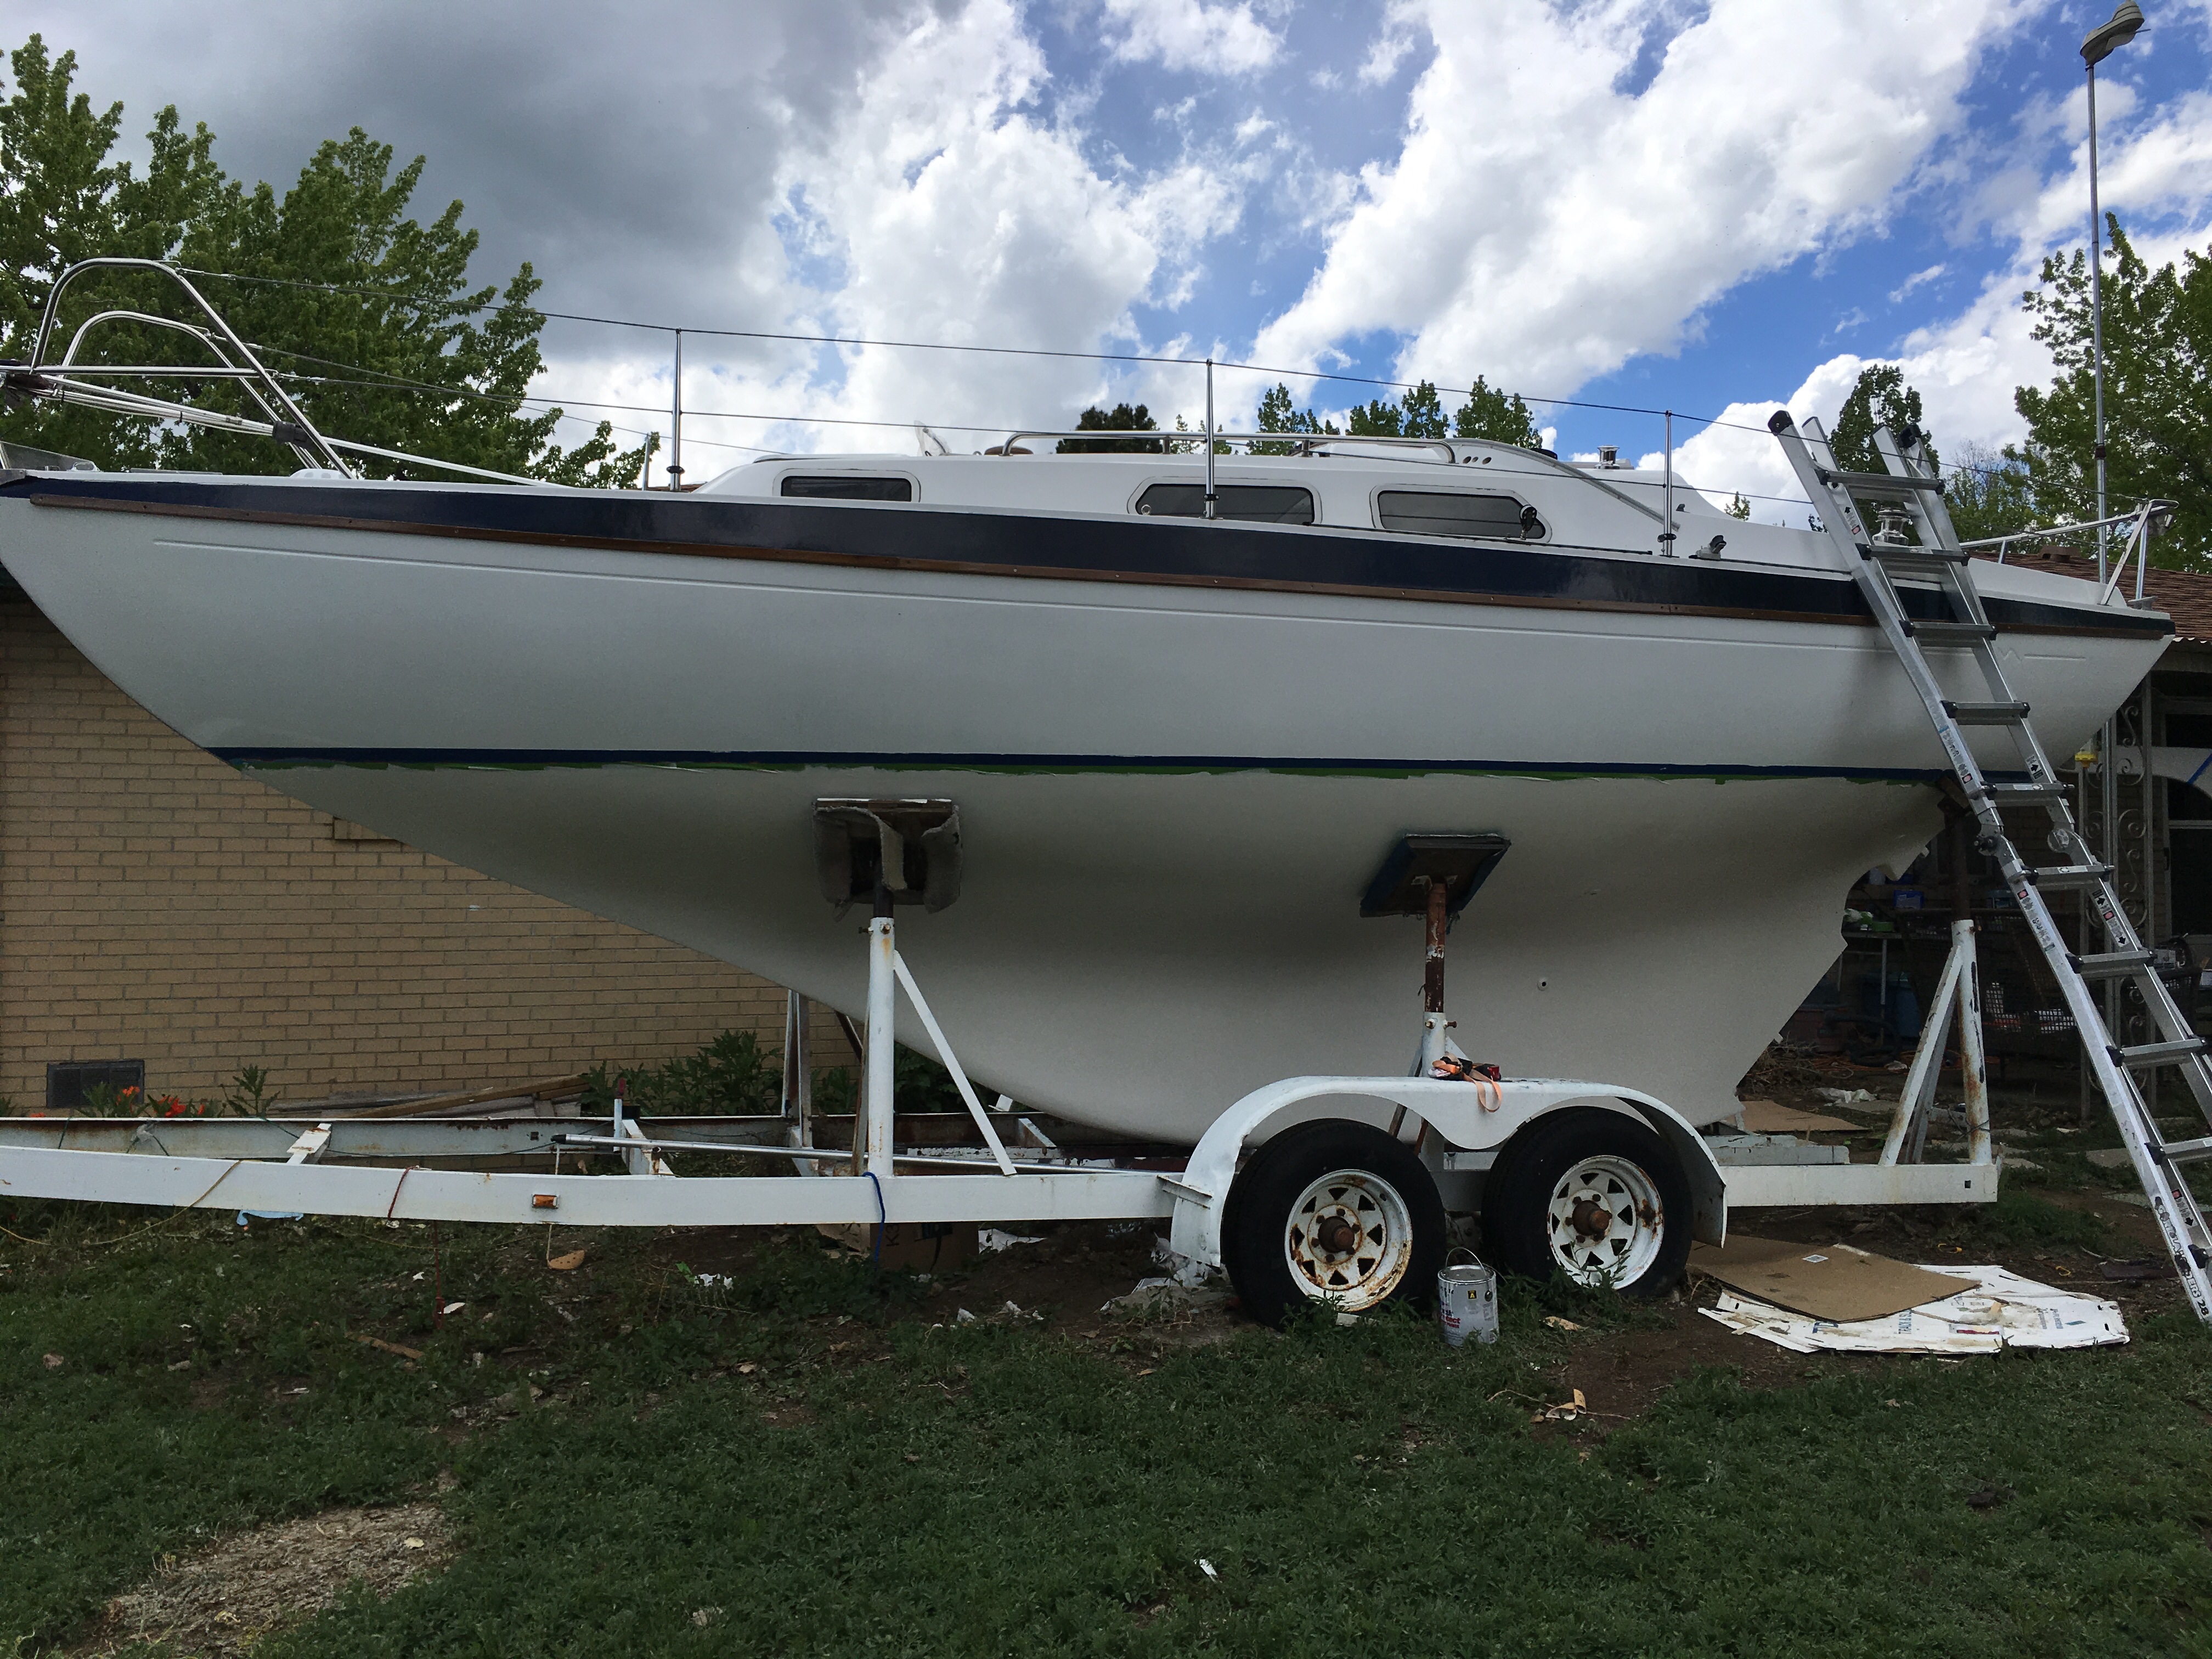
Got started pretty early today, as soon as it was warm enough to paint. I hung the rudder under the porch so we could paint both sides of it without problems.
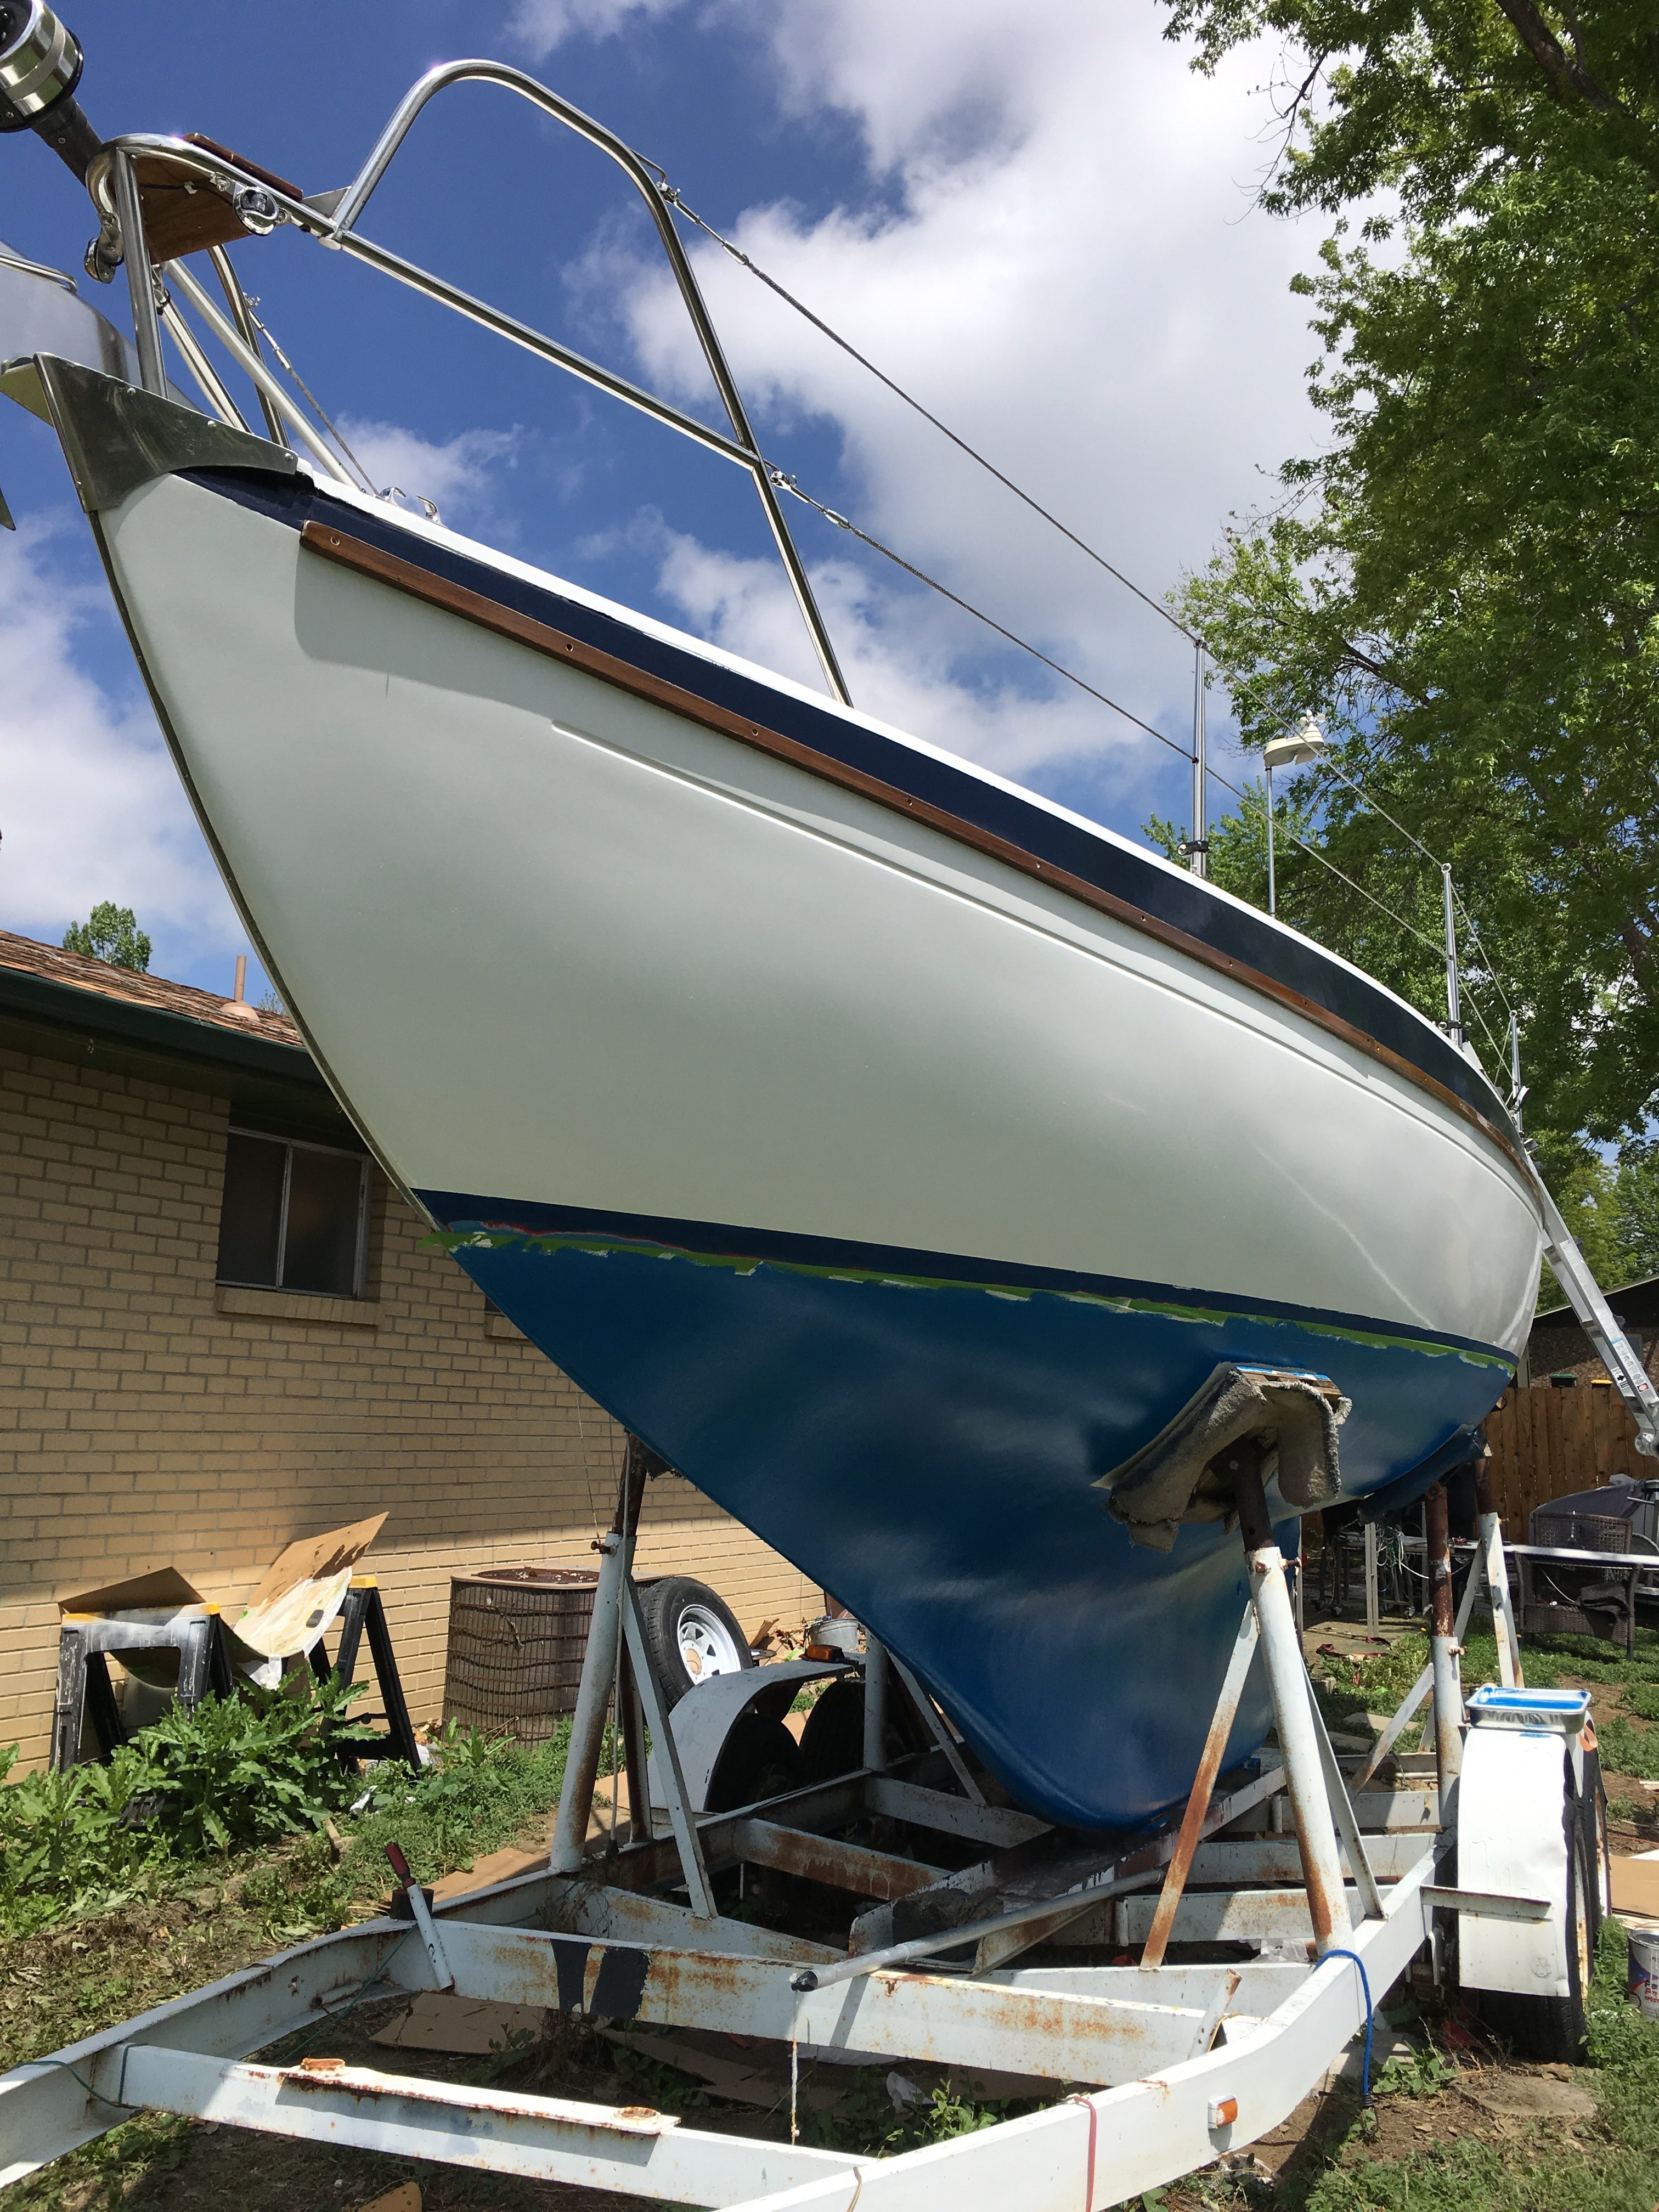
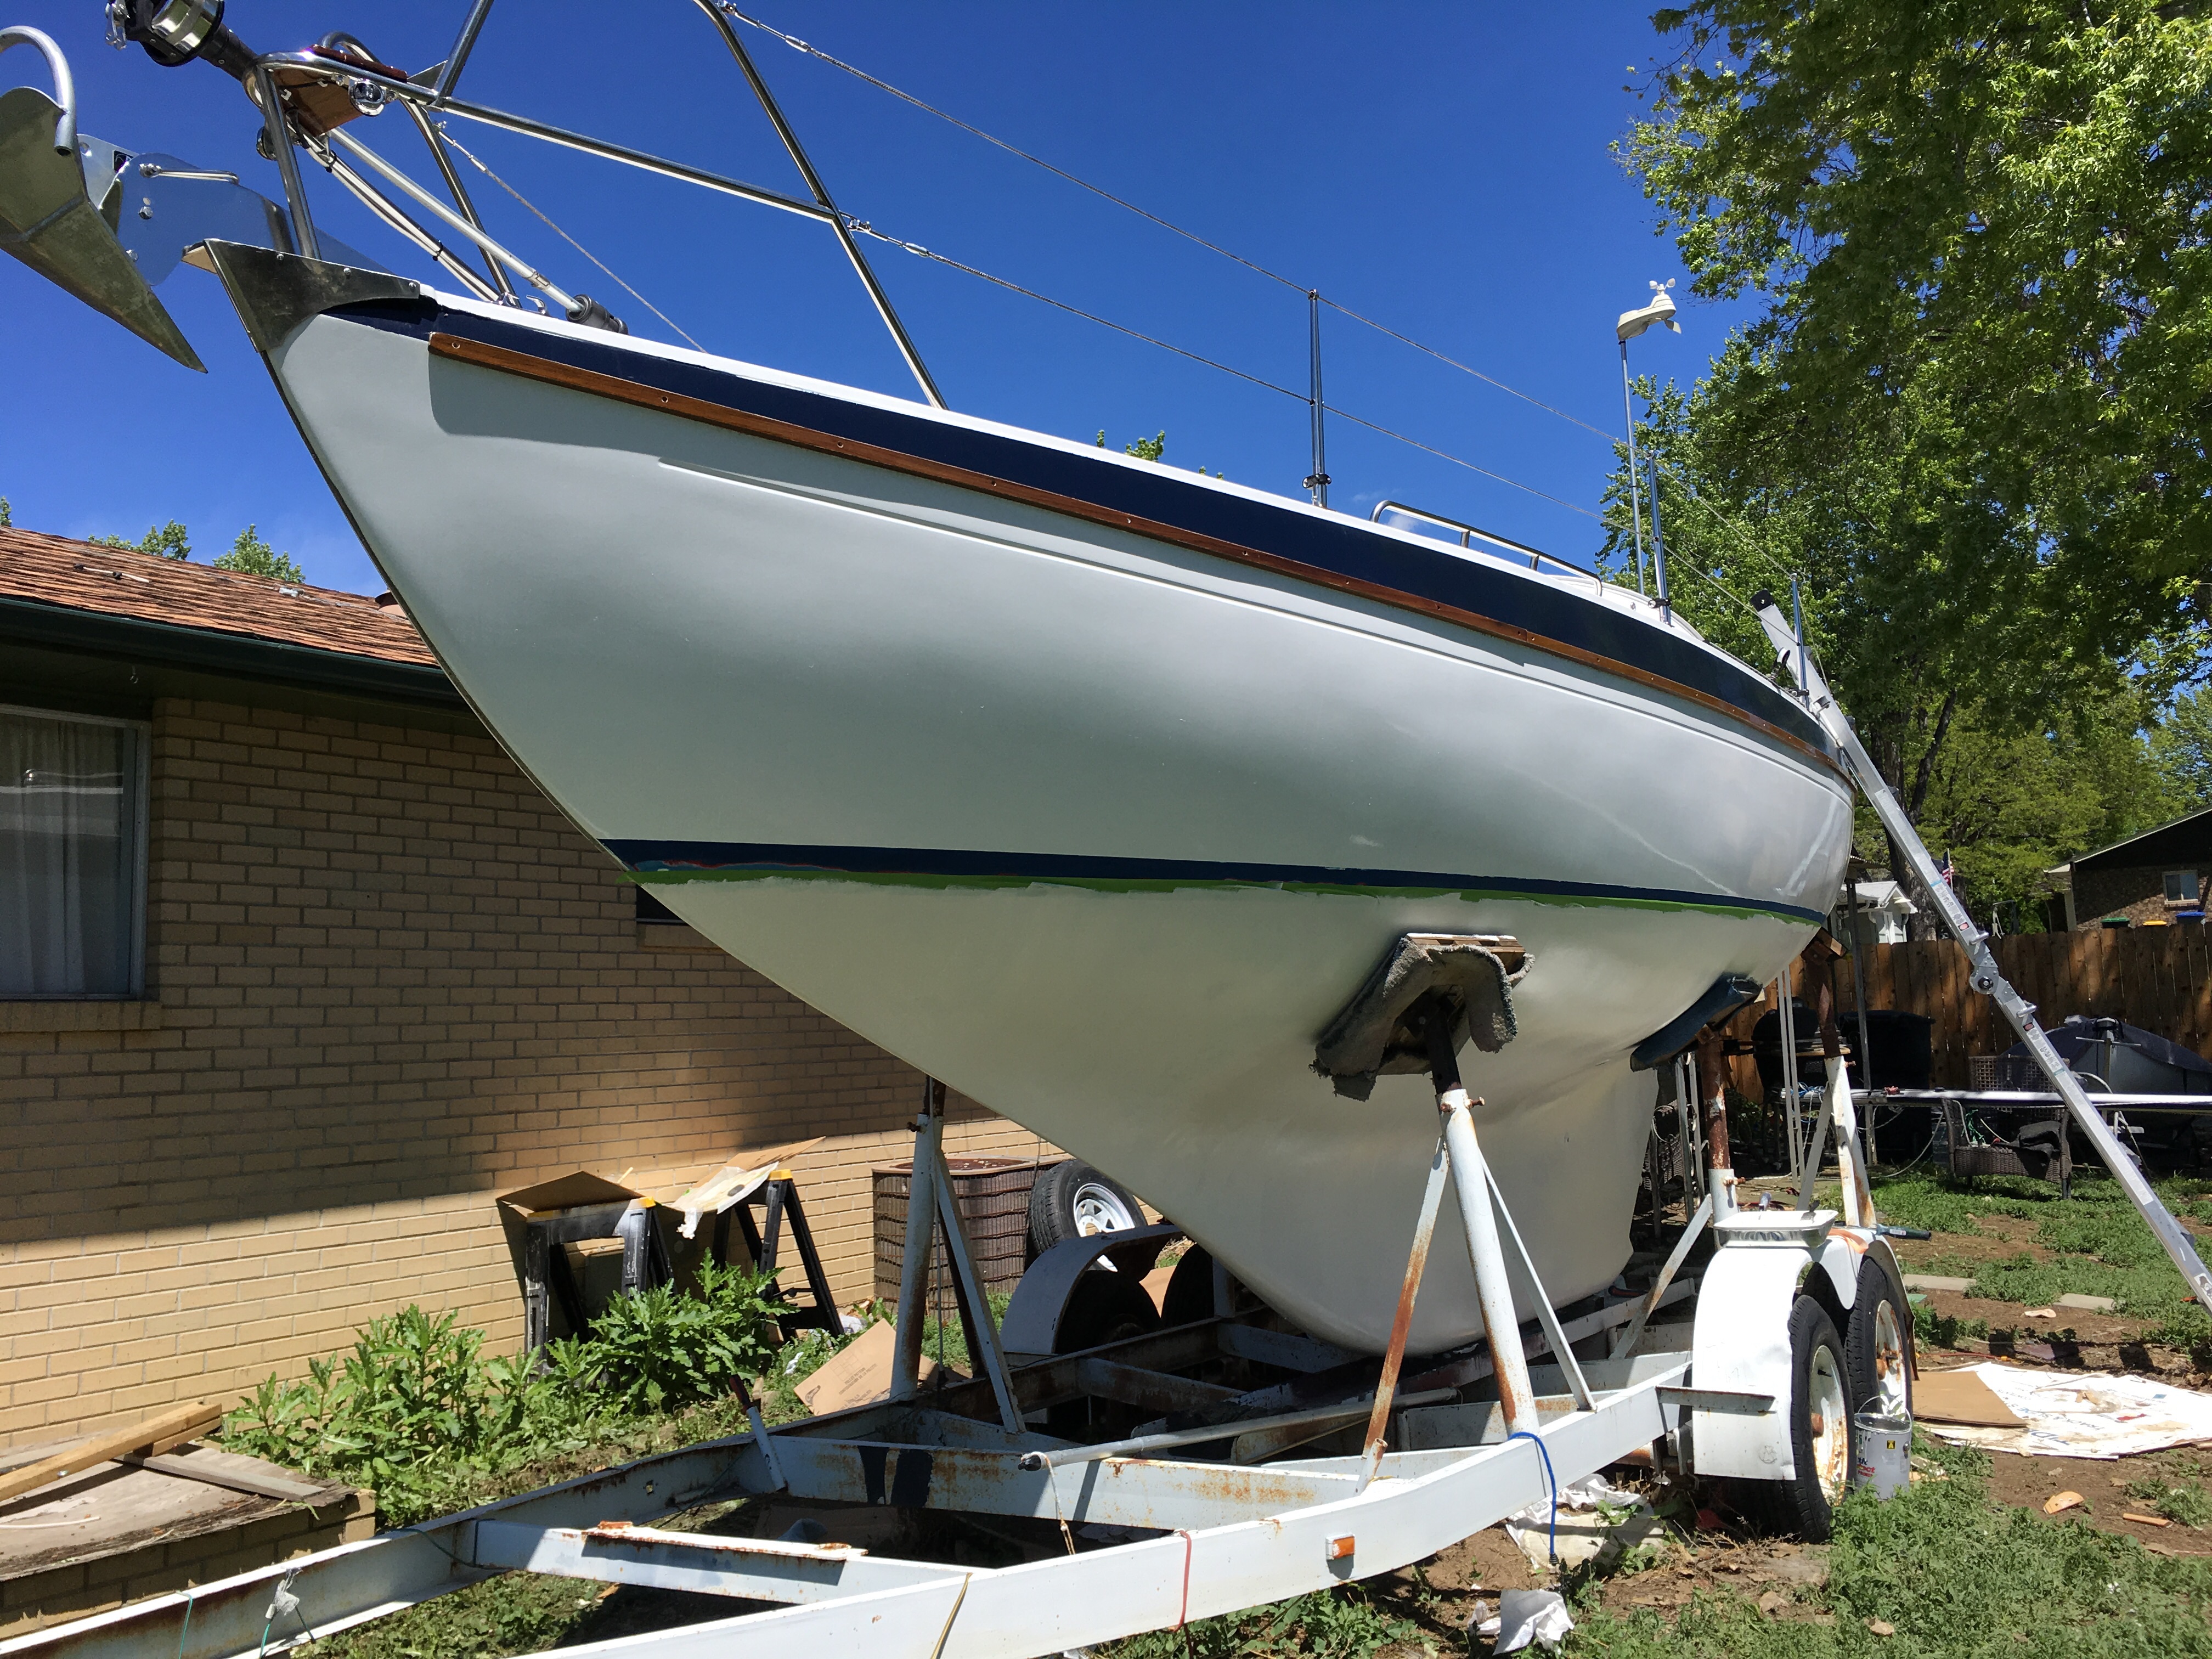
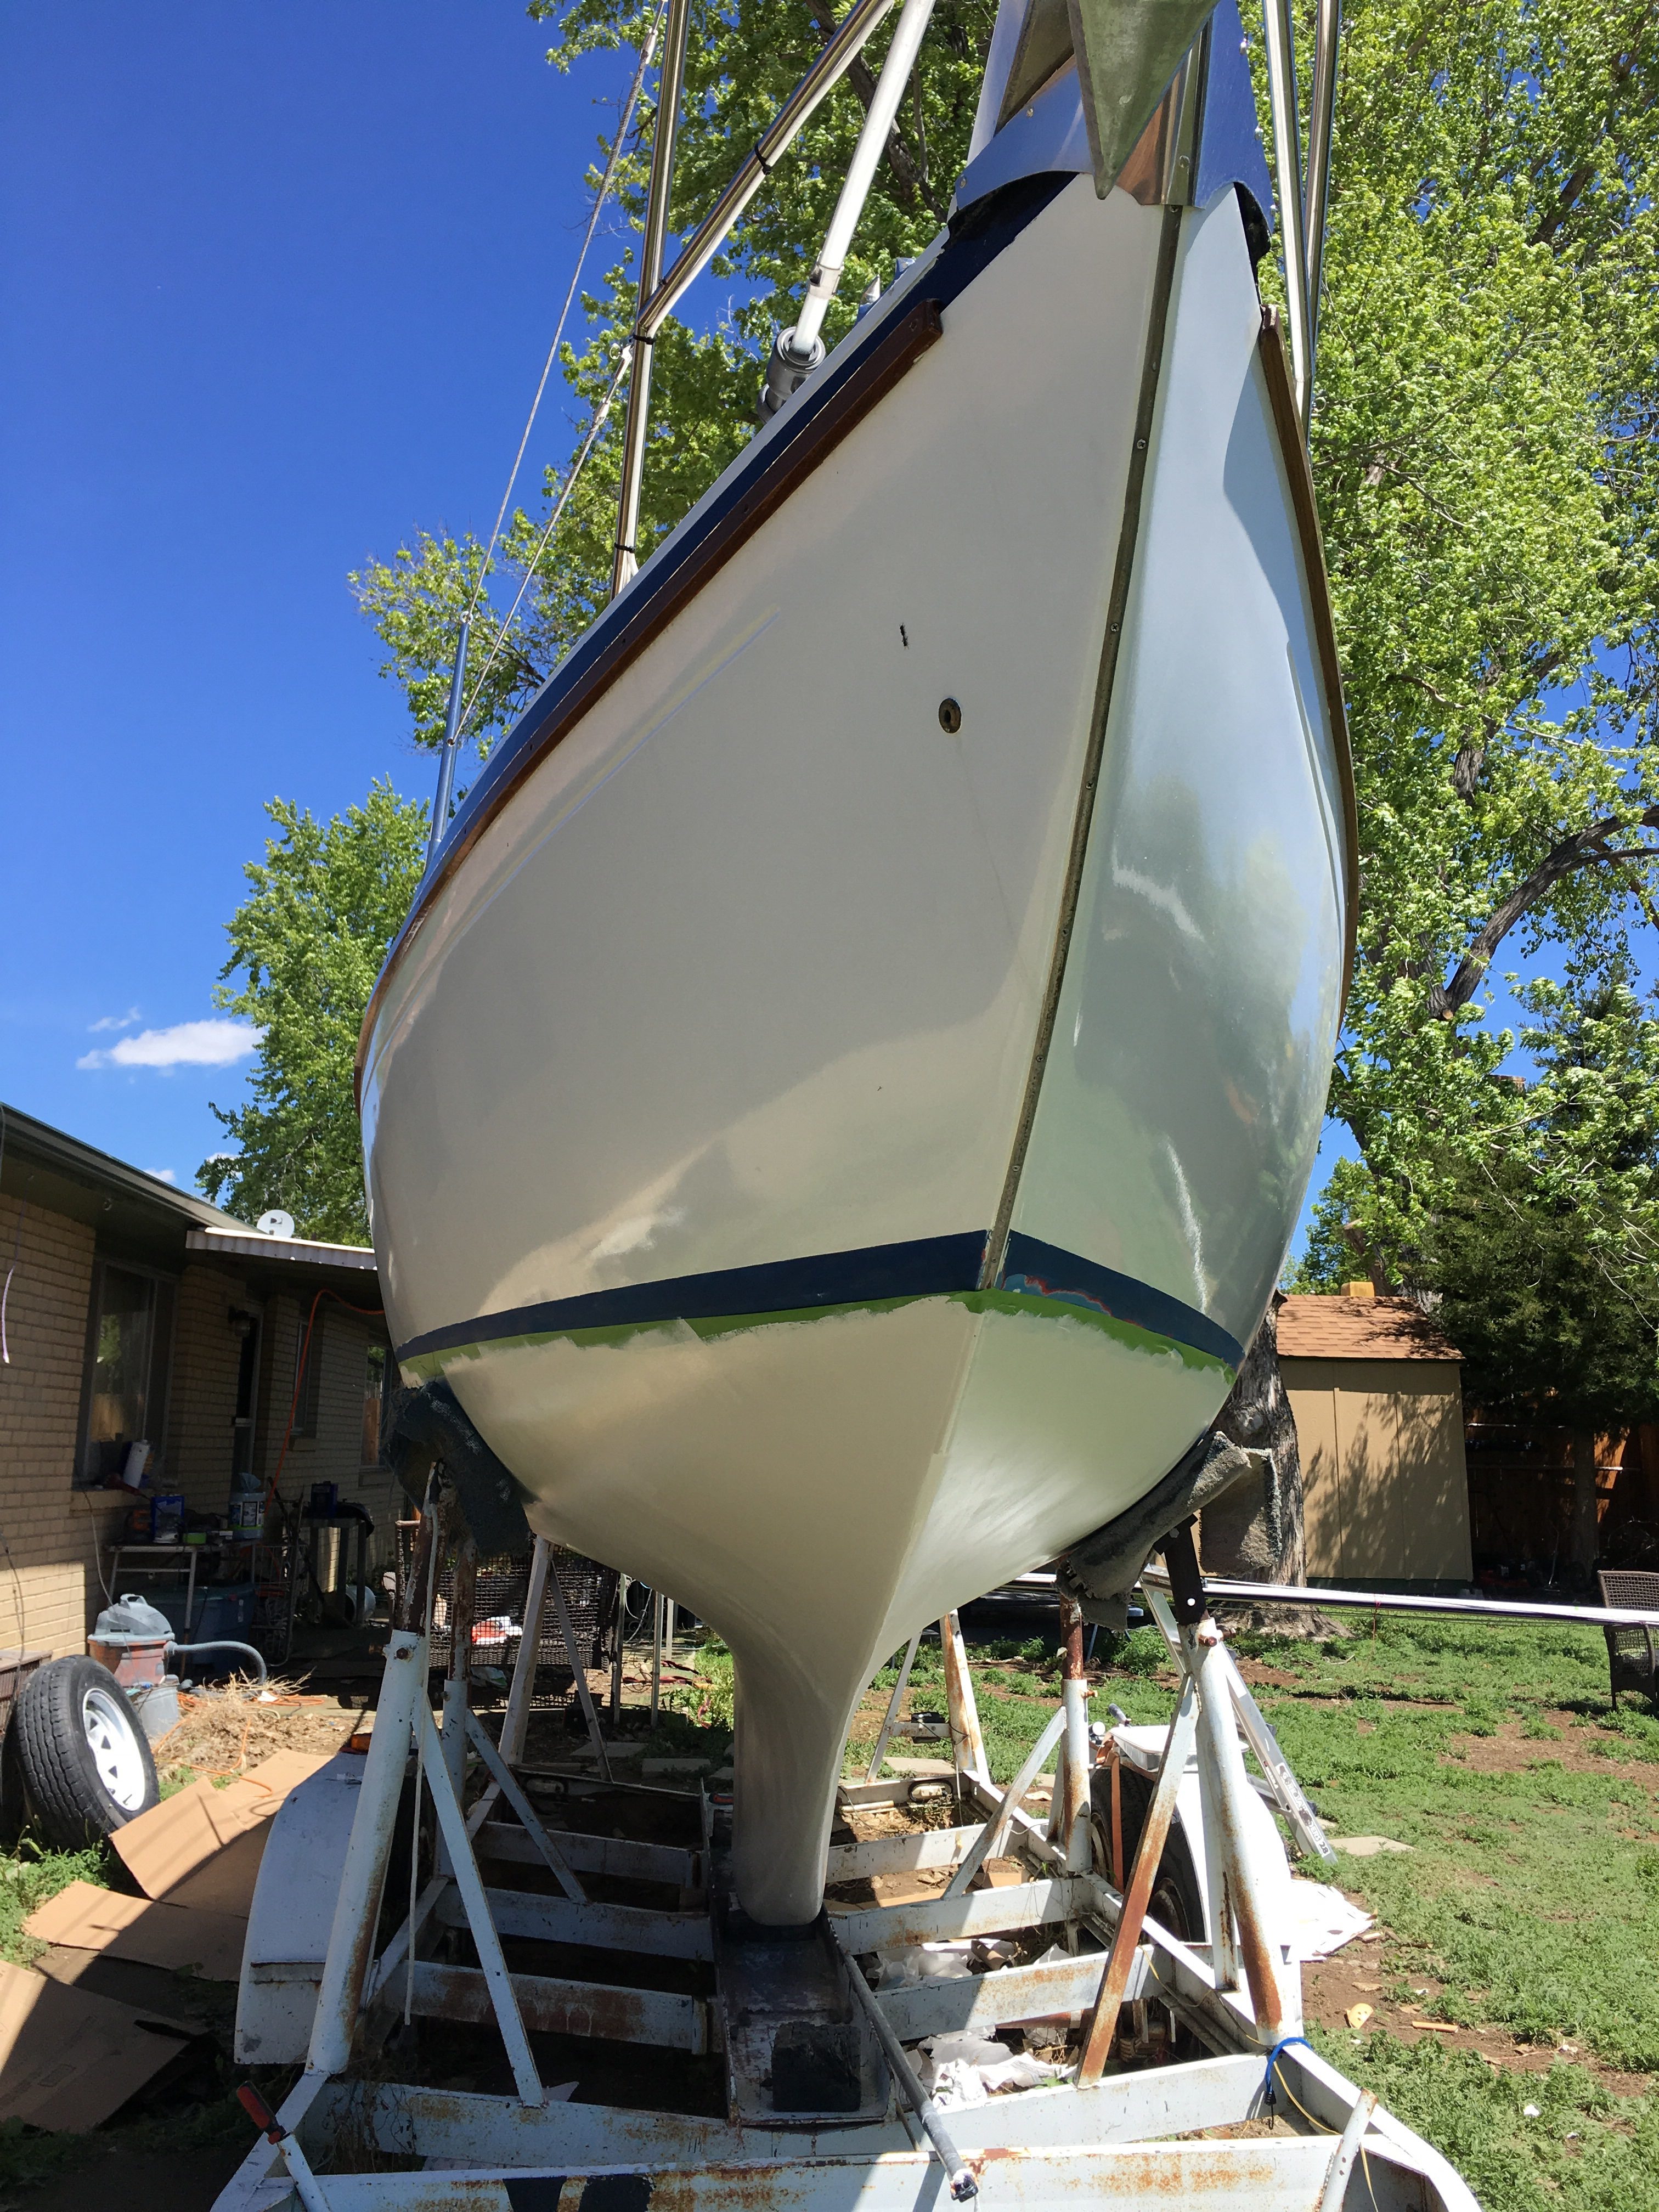
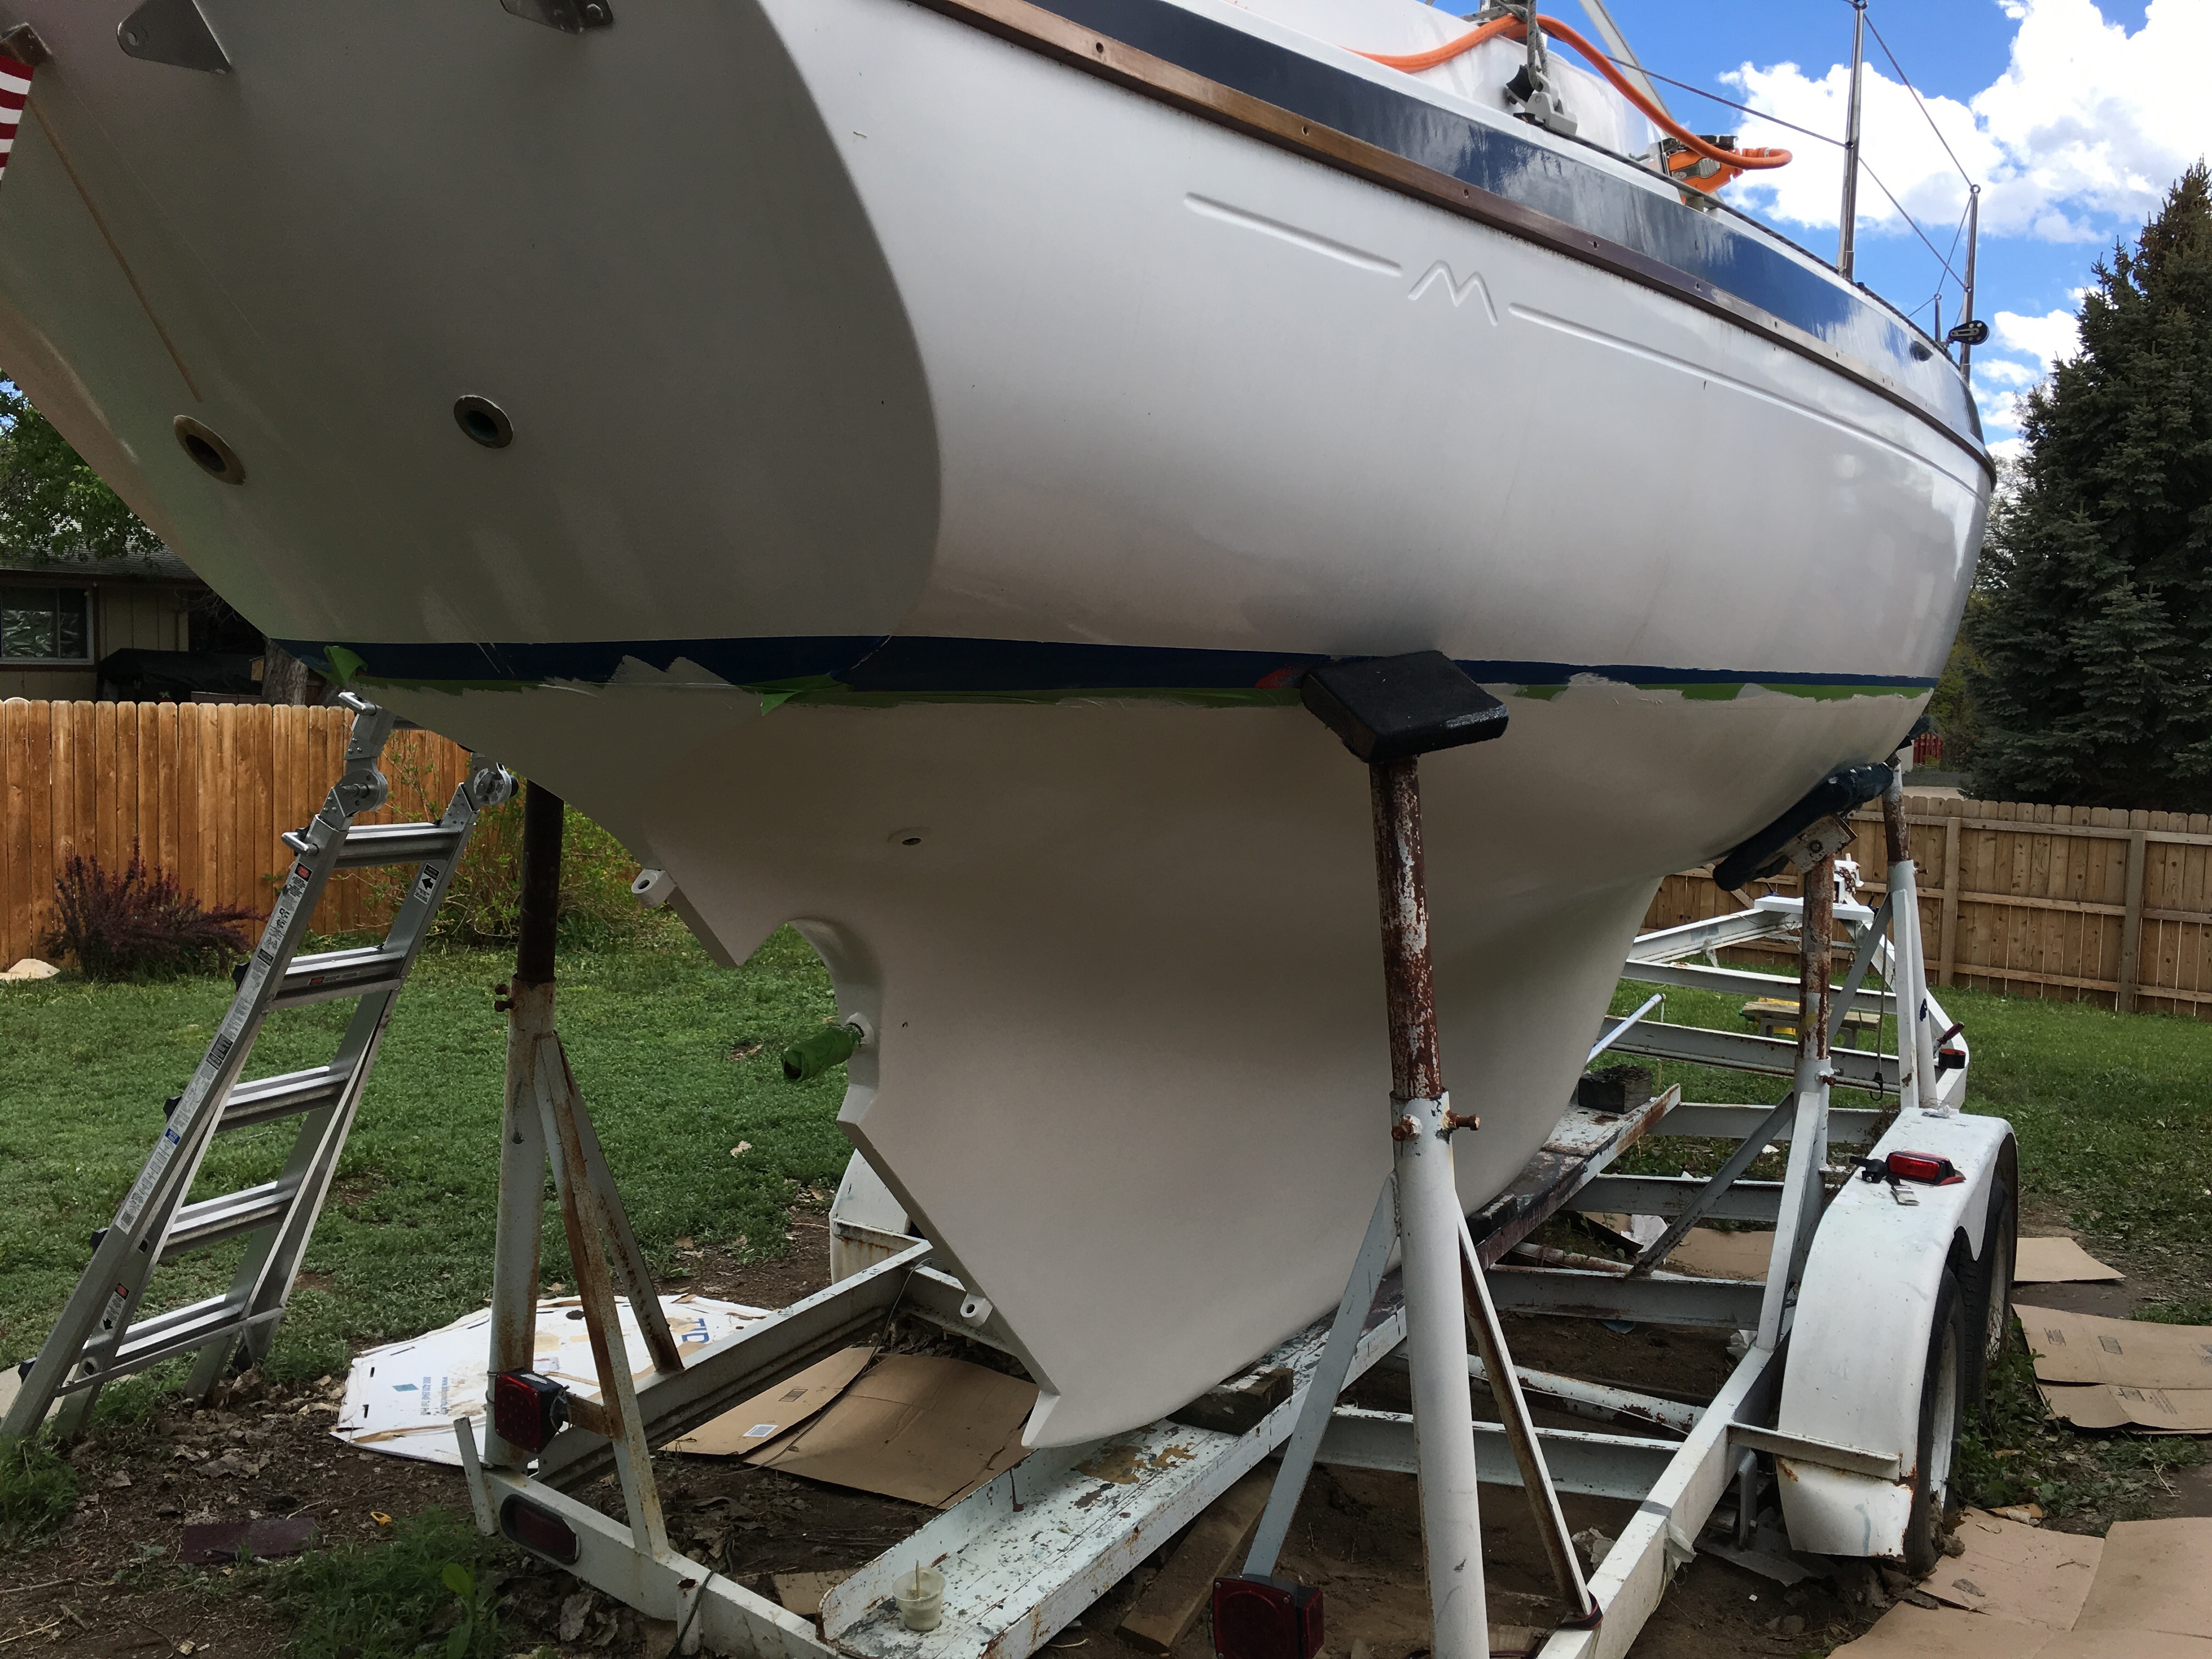
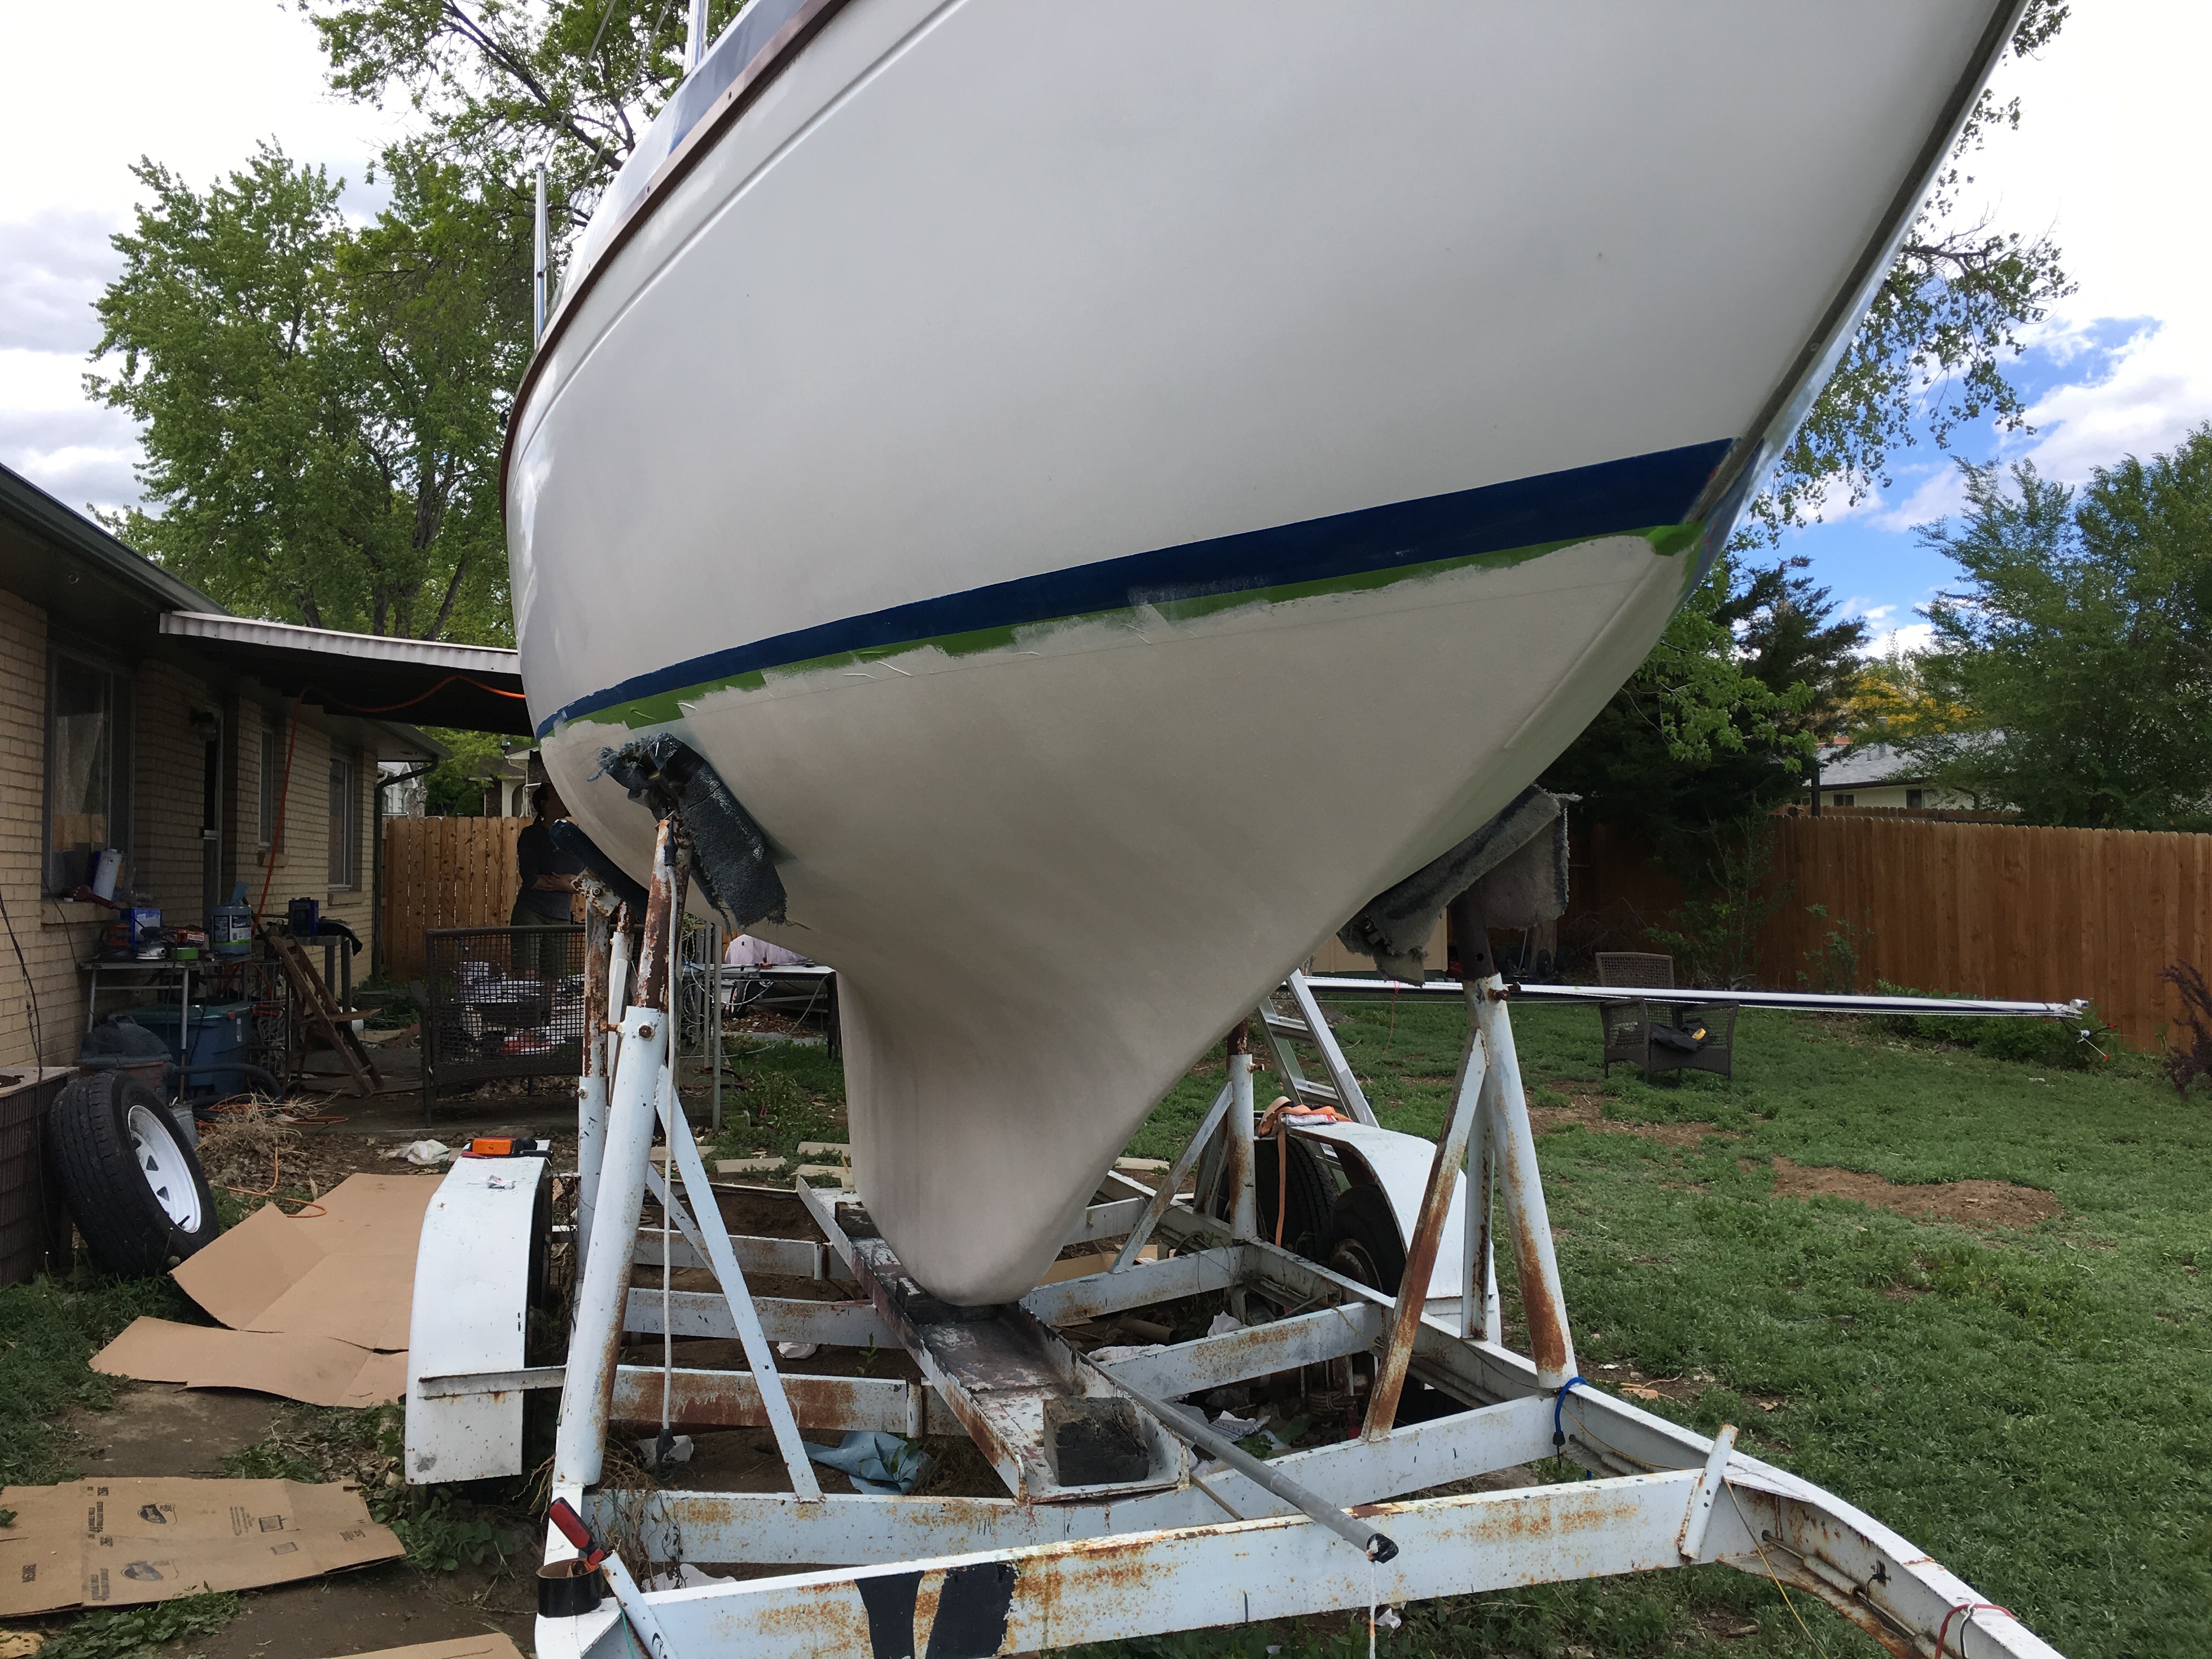
After tape, before paint.
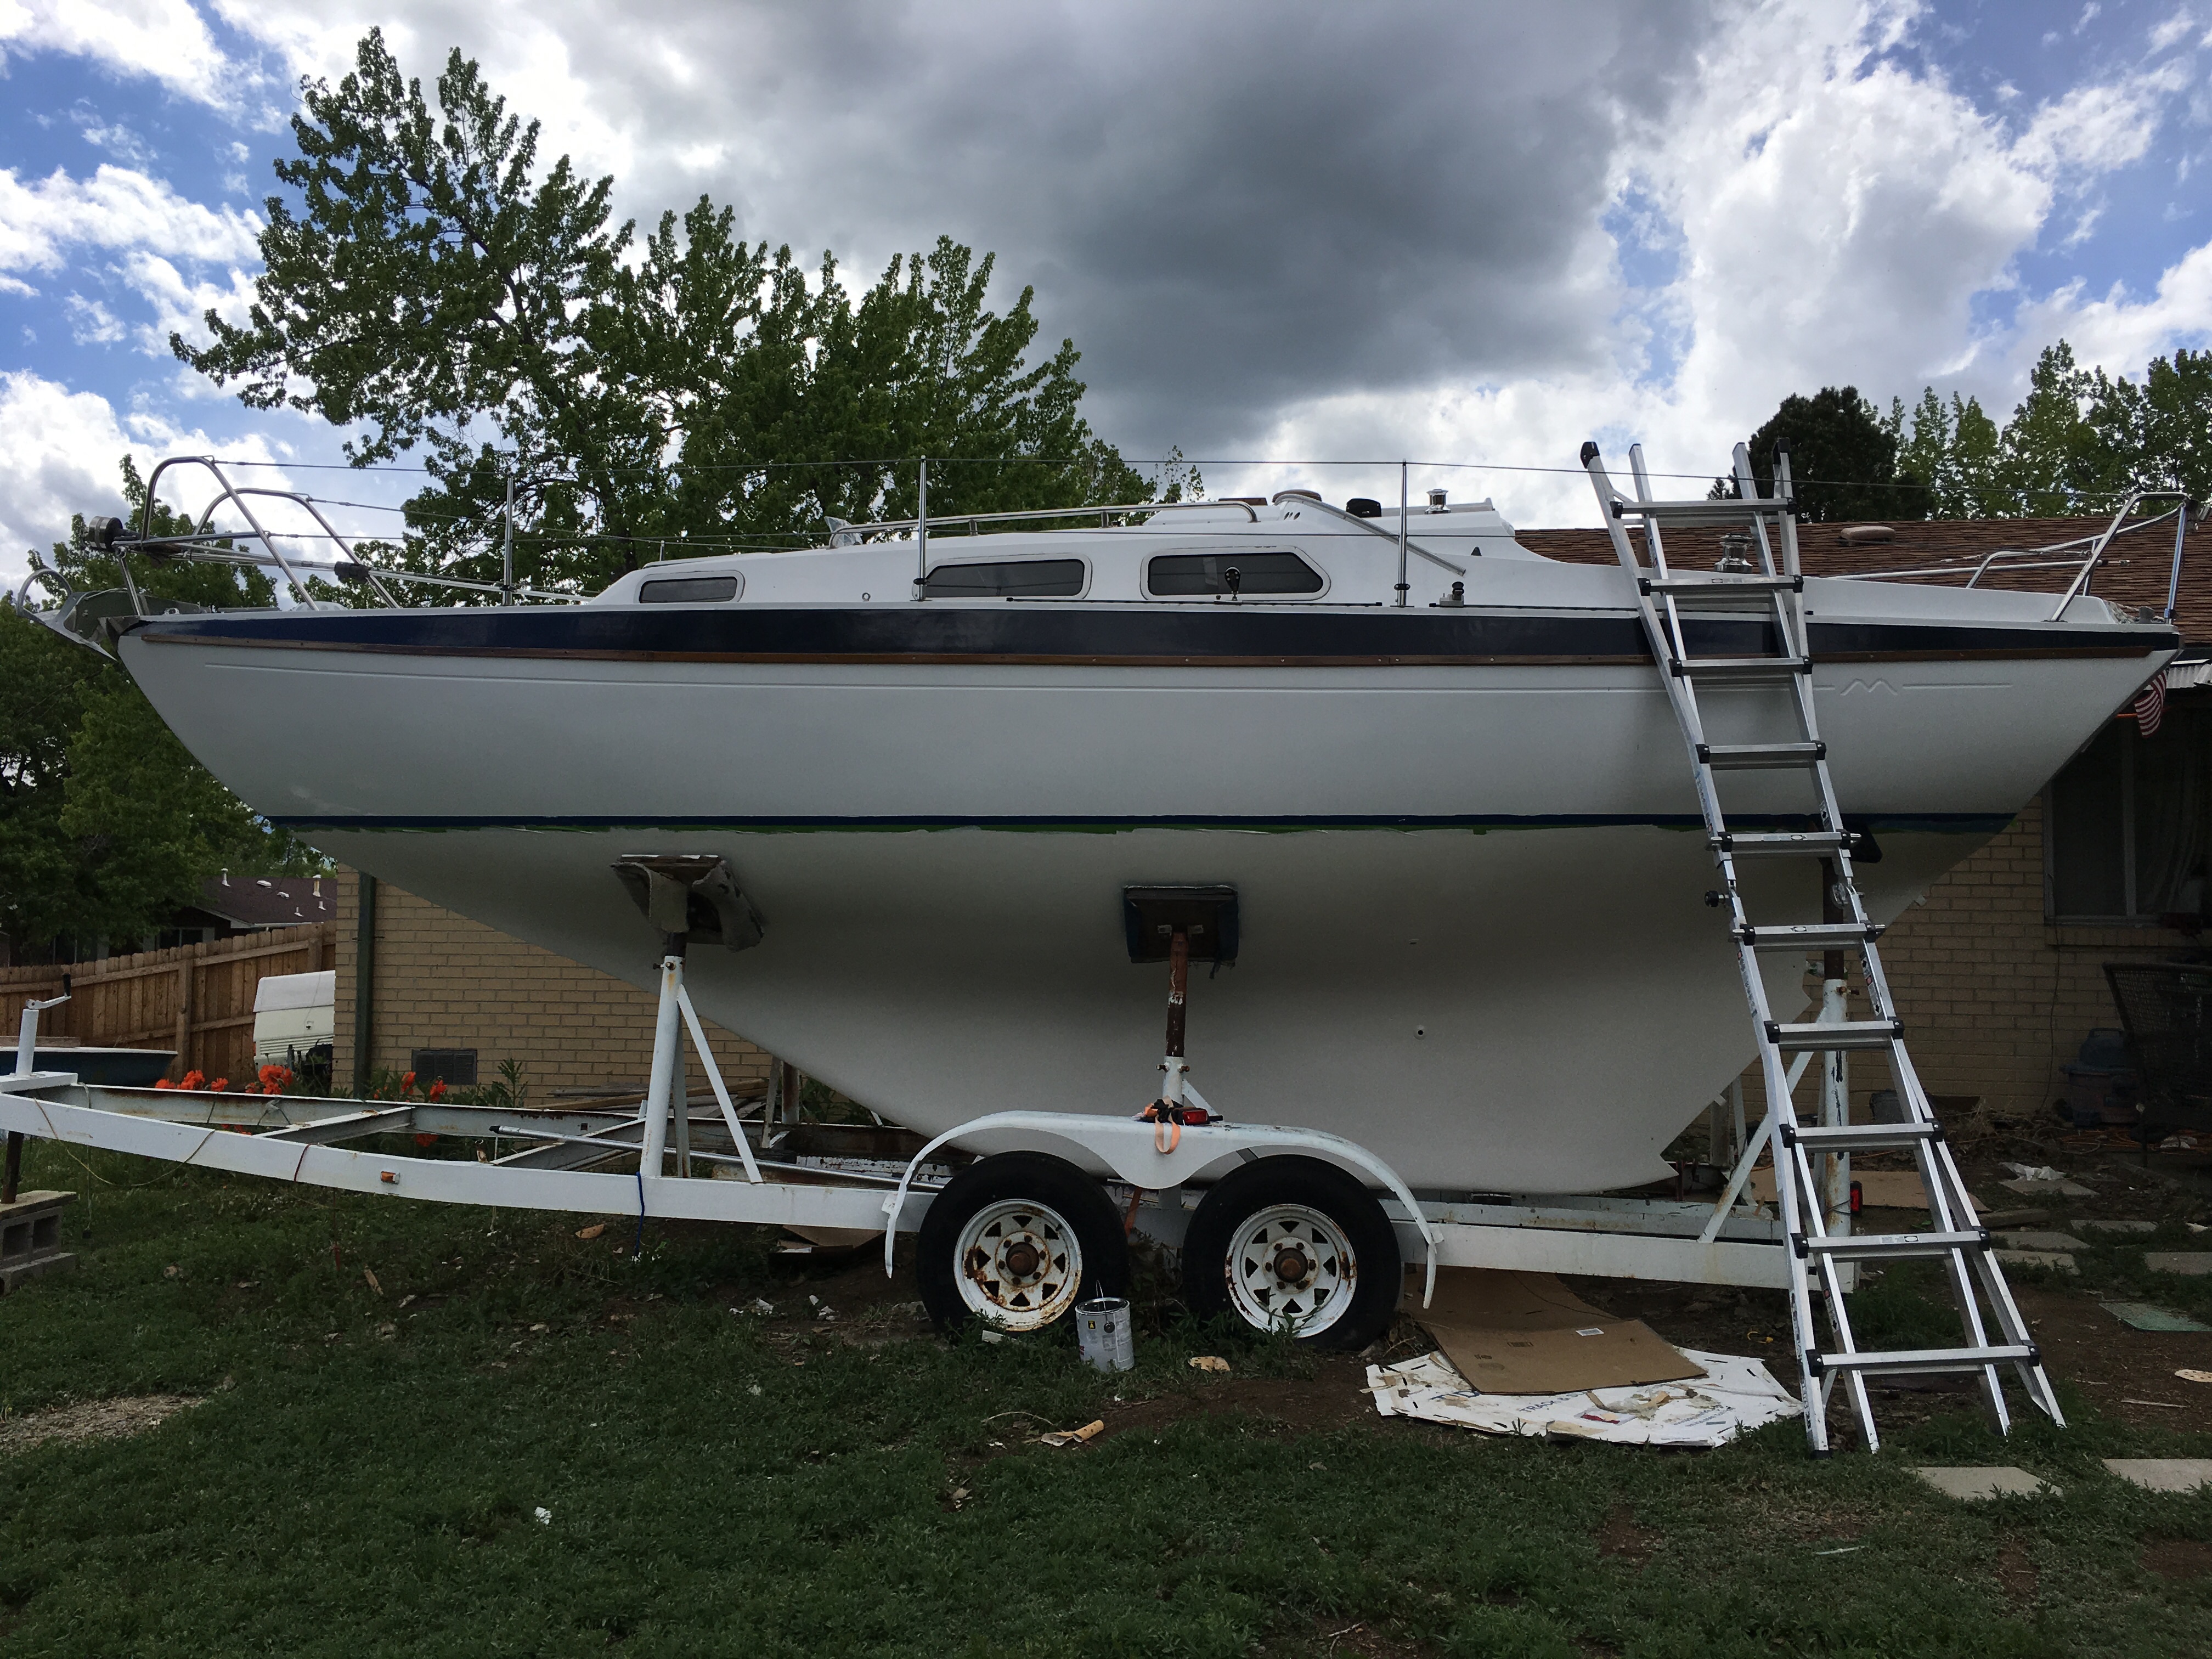
After the first coat of Pettit Protect. This is an epoxy barrier coat that prevents water from being absorbed into the glass, causing blisters. Fiberglass is MOSTLY waterproof. This is supposed to make it really waterproof. We got more texture on this than I’d like, but I can live with it. It’s not a race boat. For some reason I always have a hard time with Pettit primers rolling out really smooth.
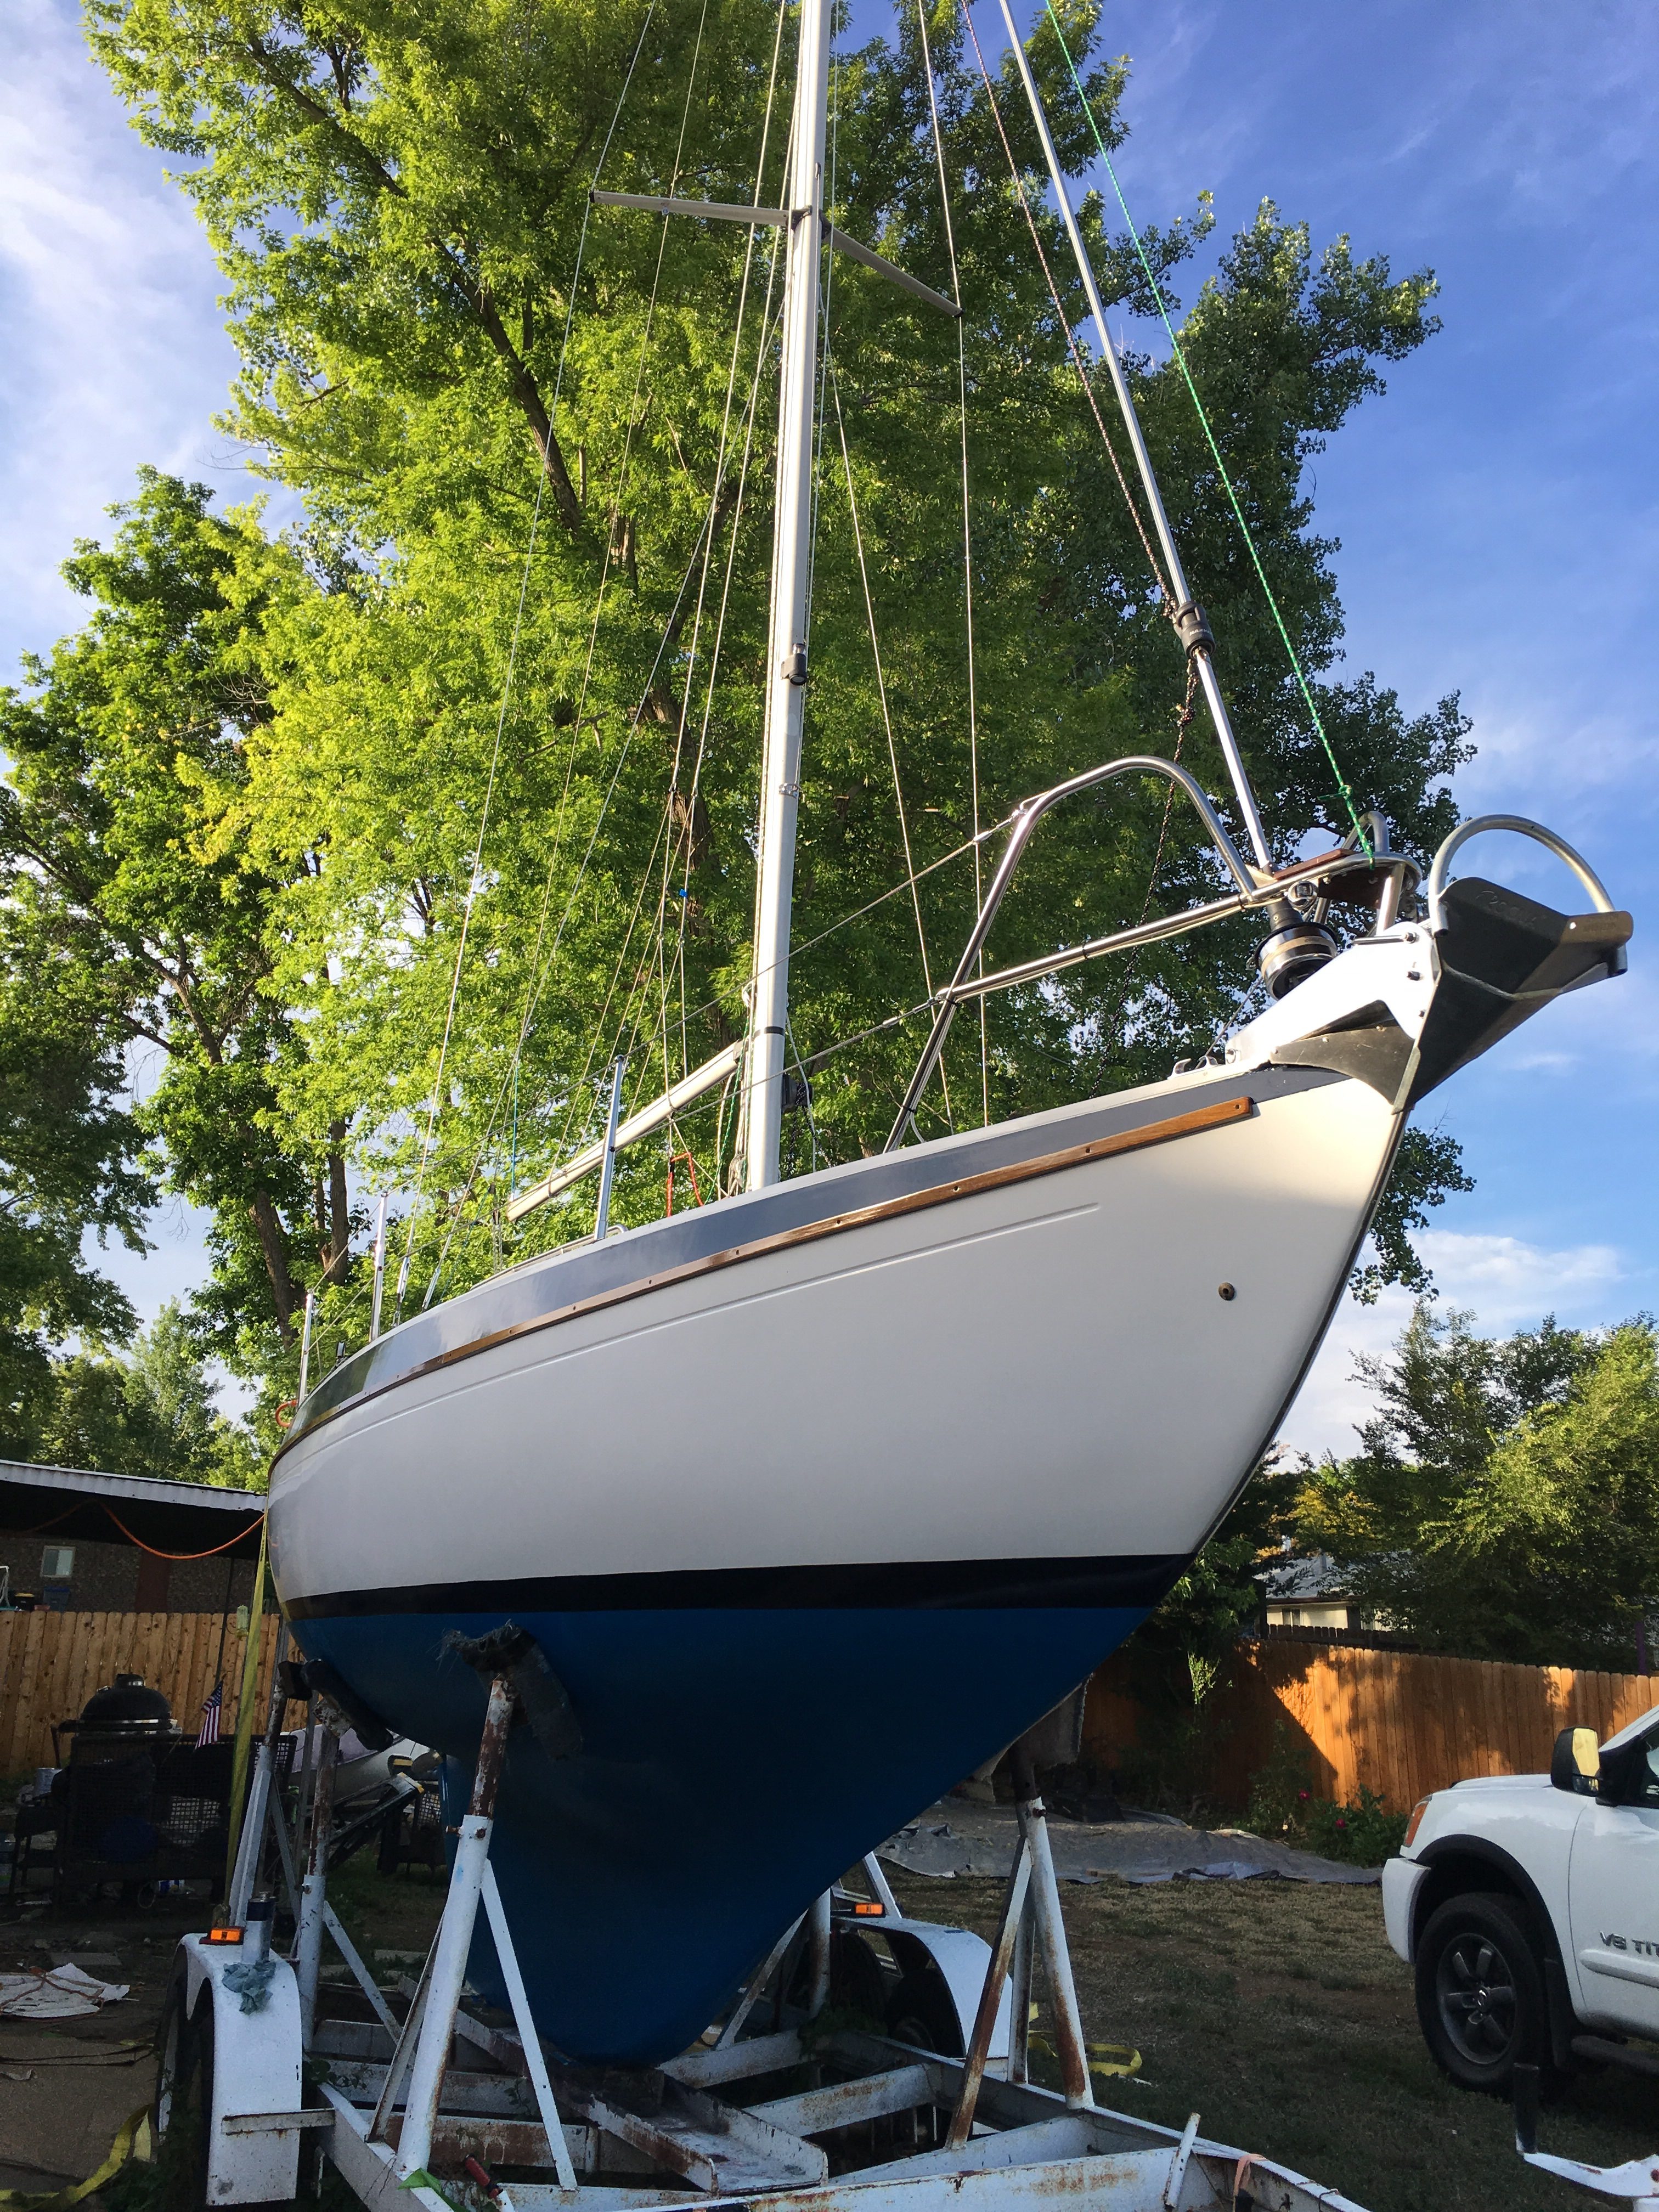
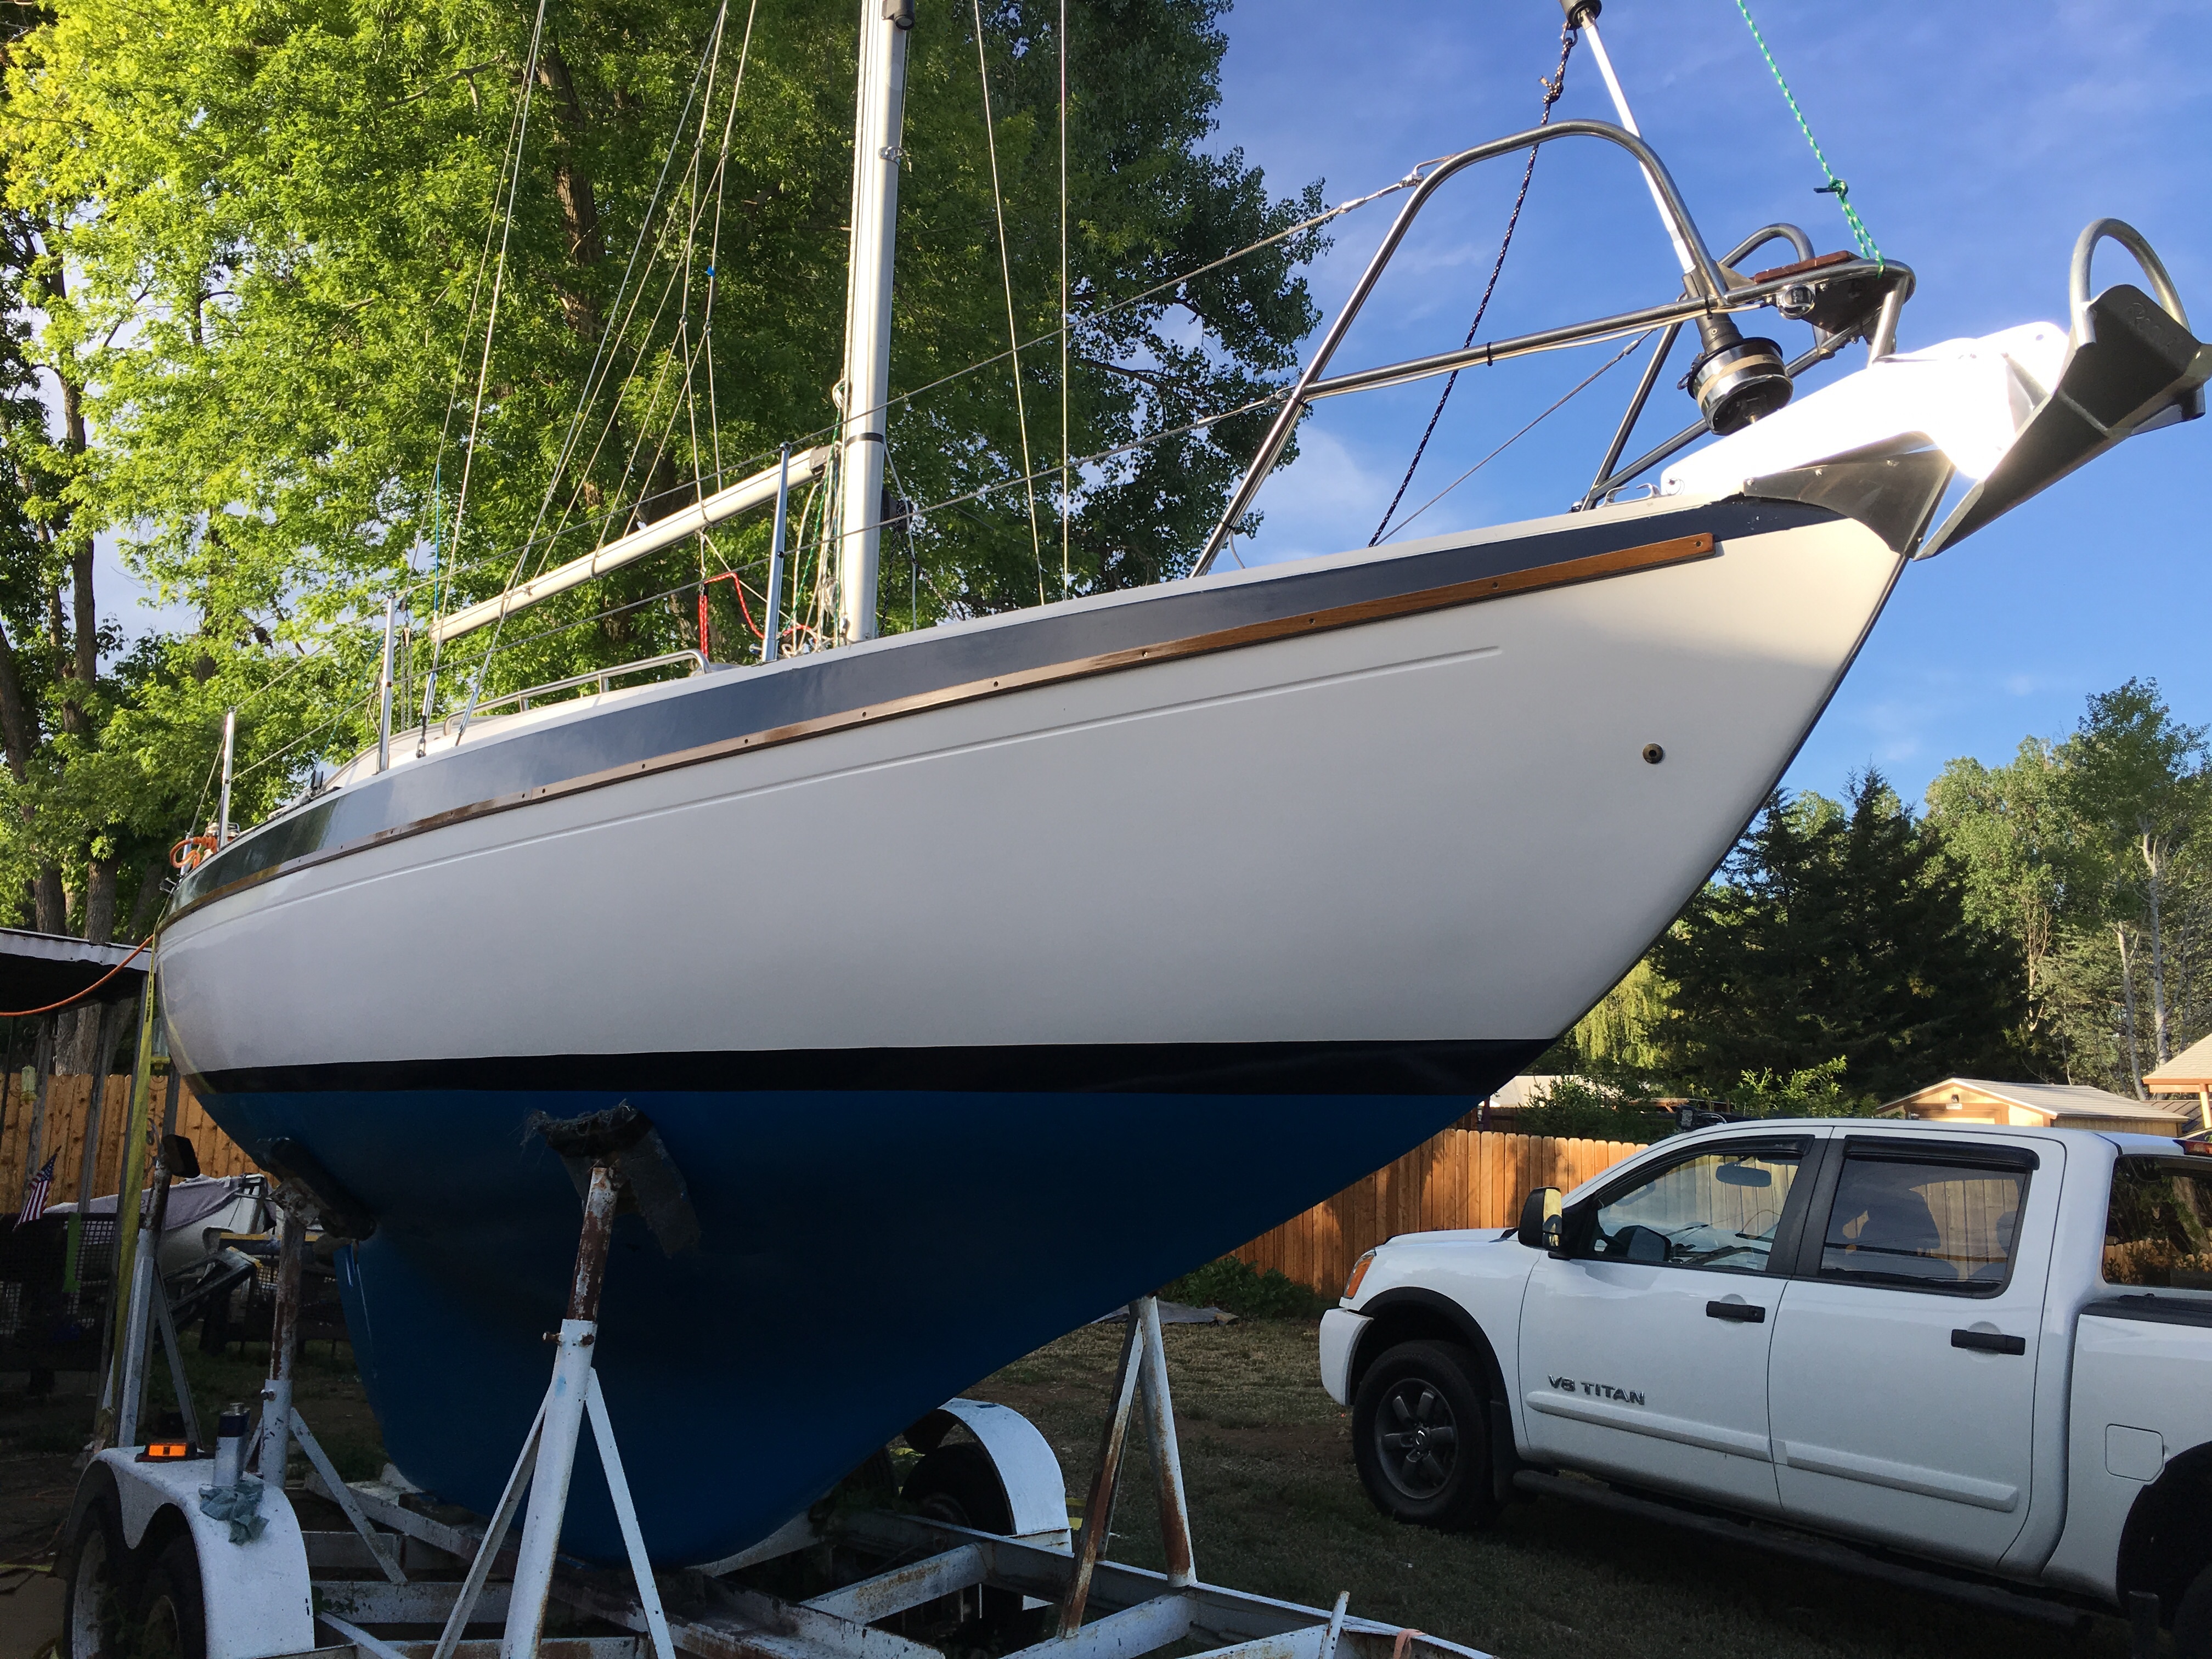
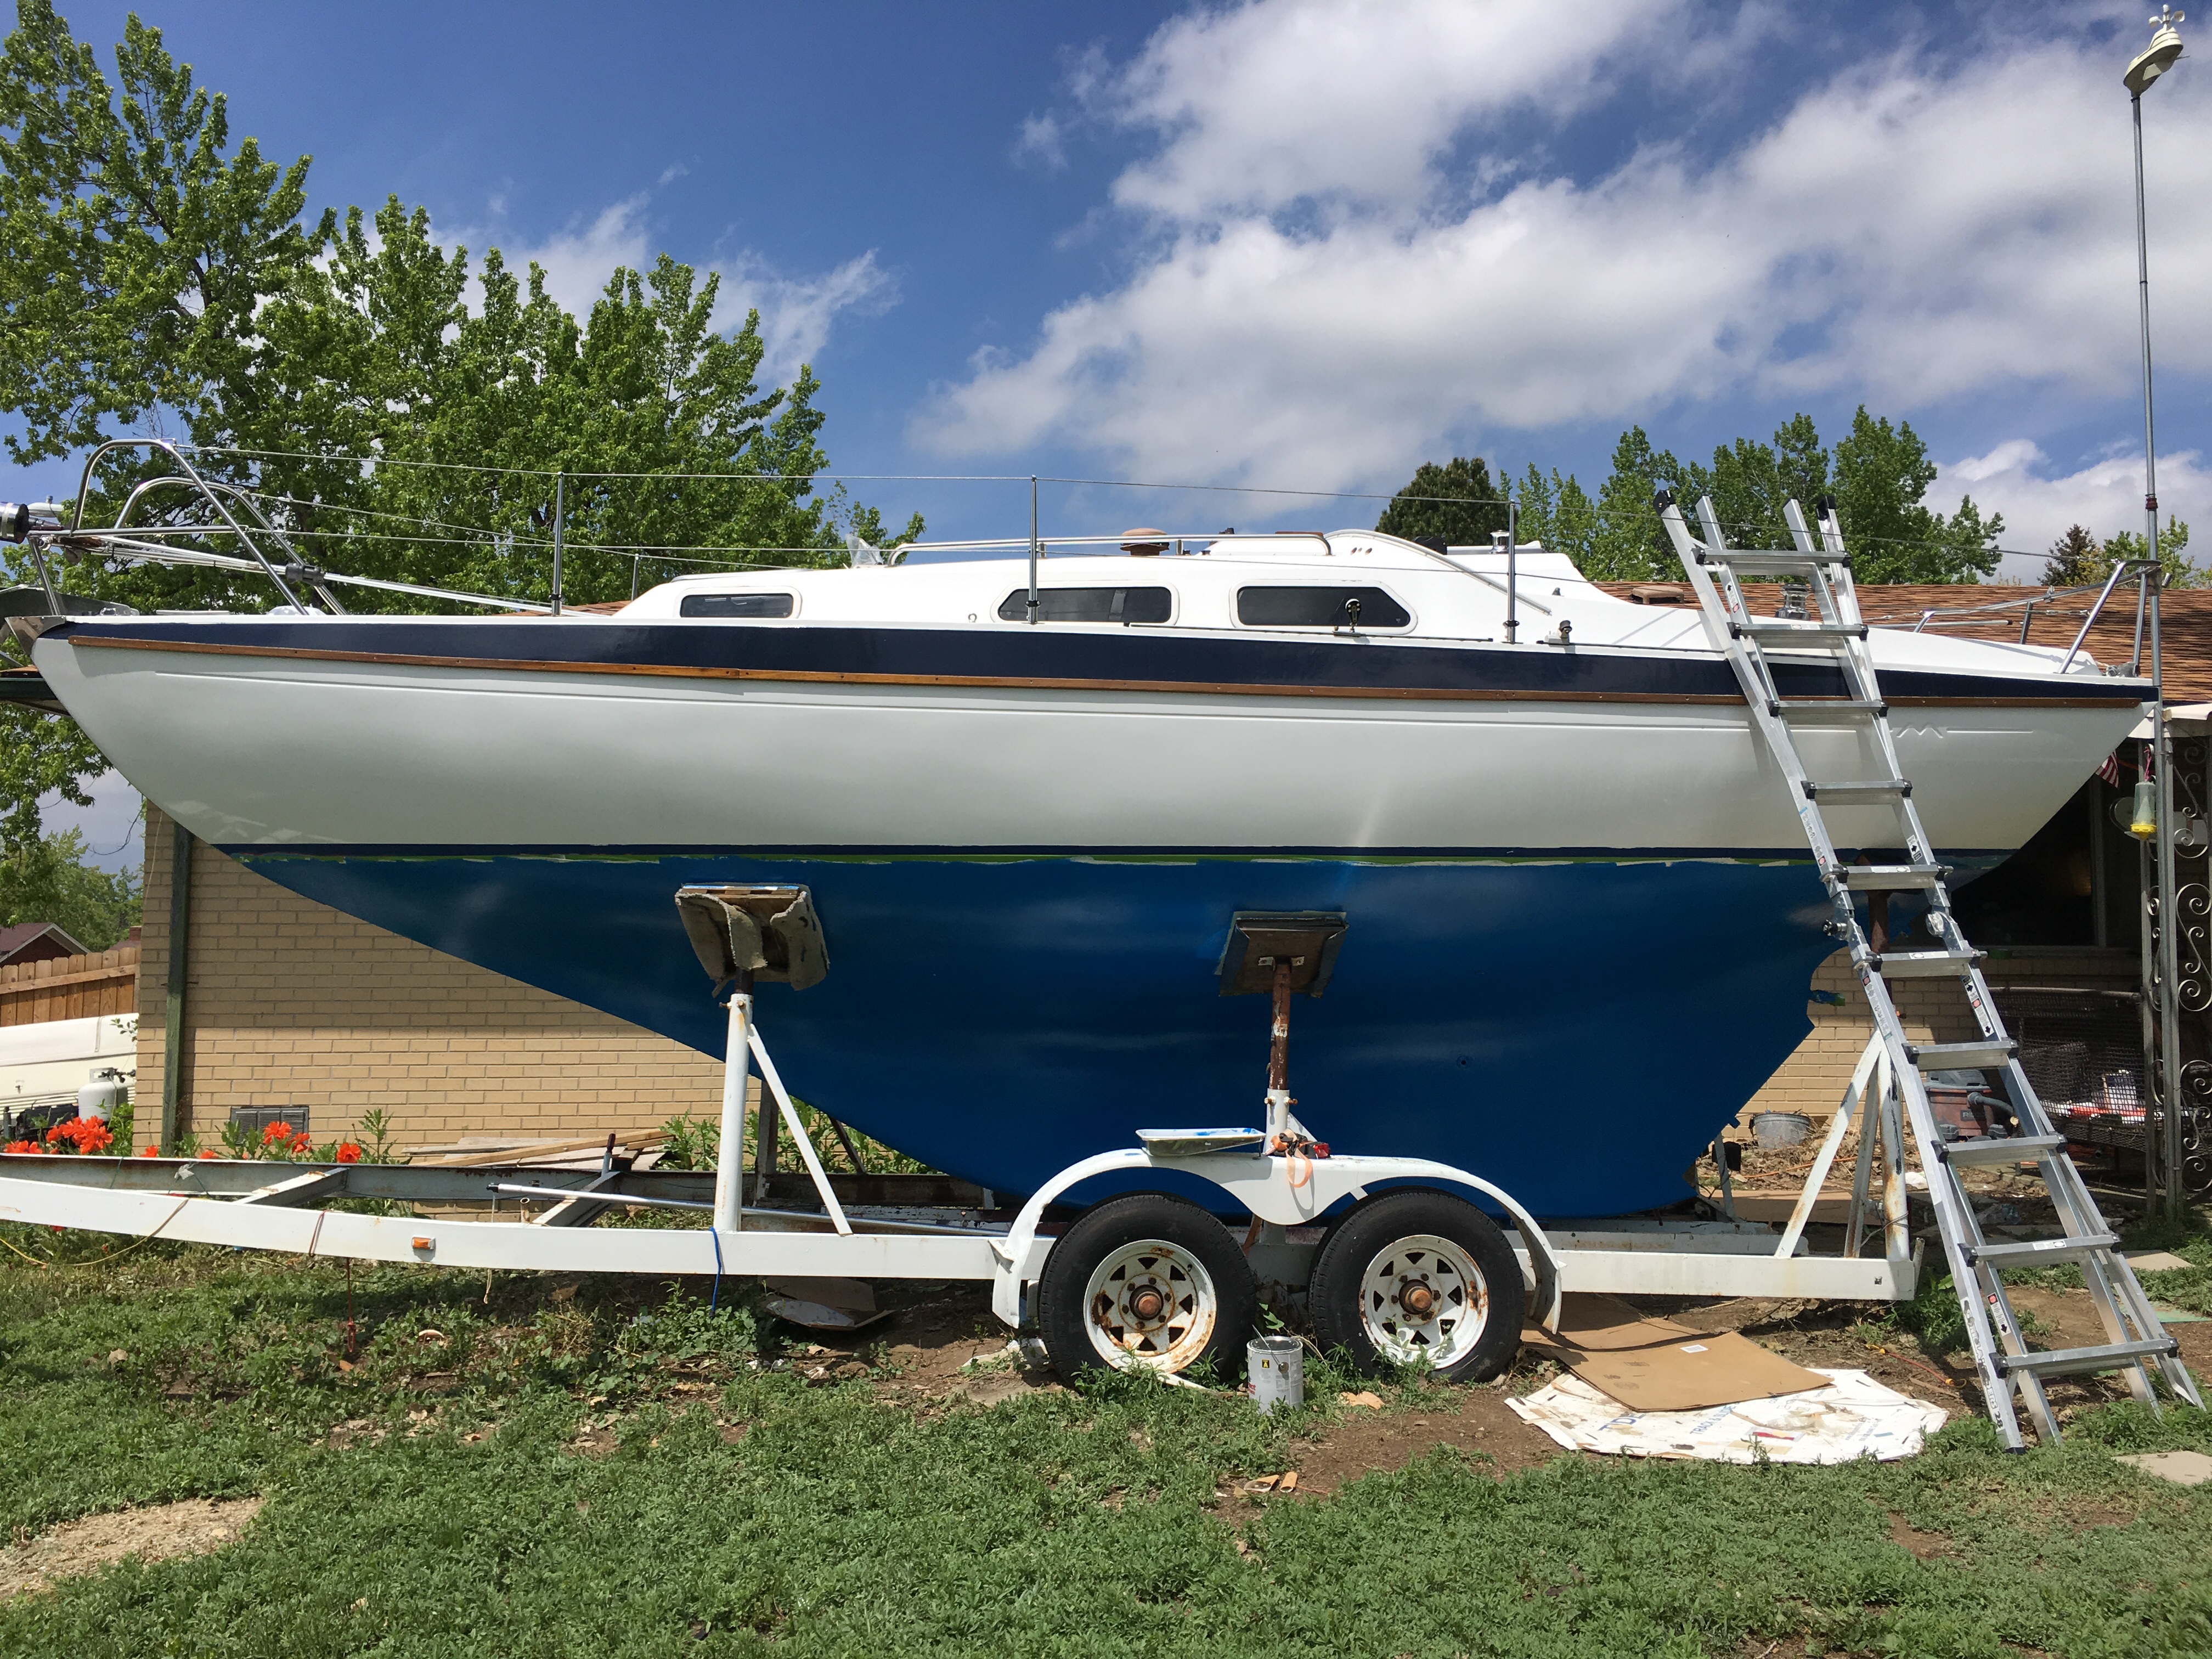
This is after the second coat.

This is after the first coat of Vivid. That is BLUE! Like Caribbean houses blue. I love it.