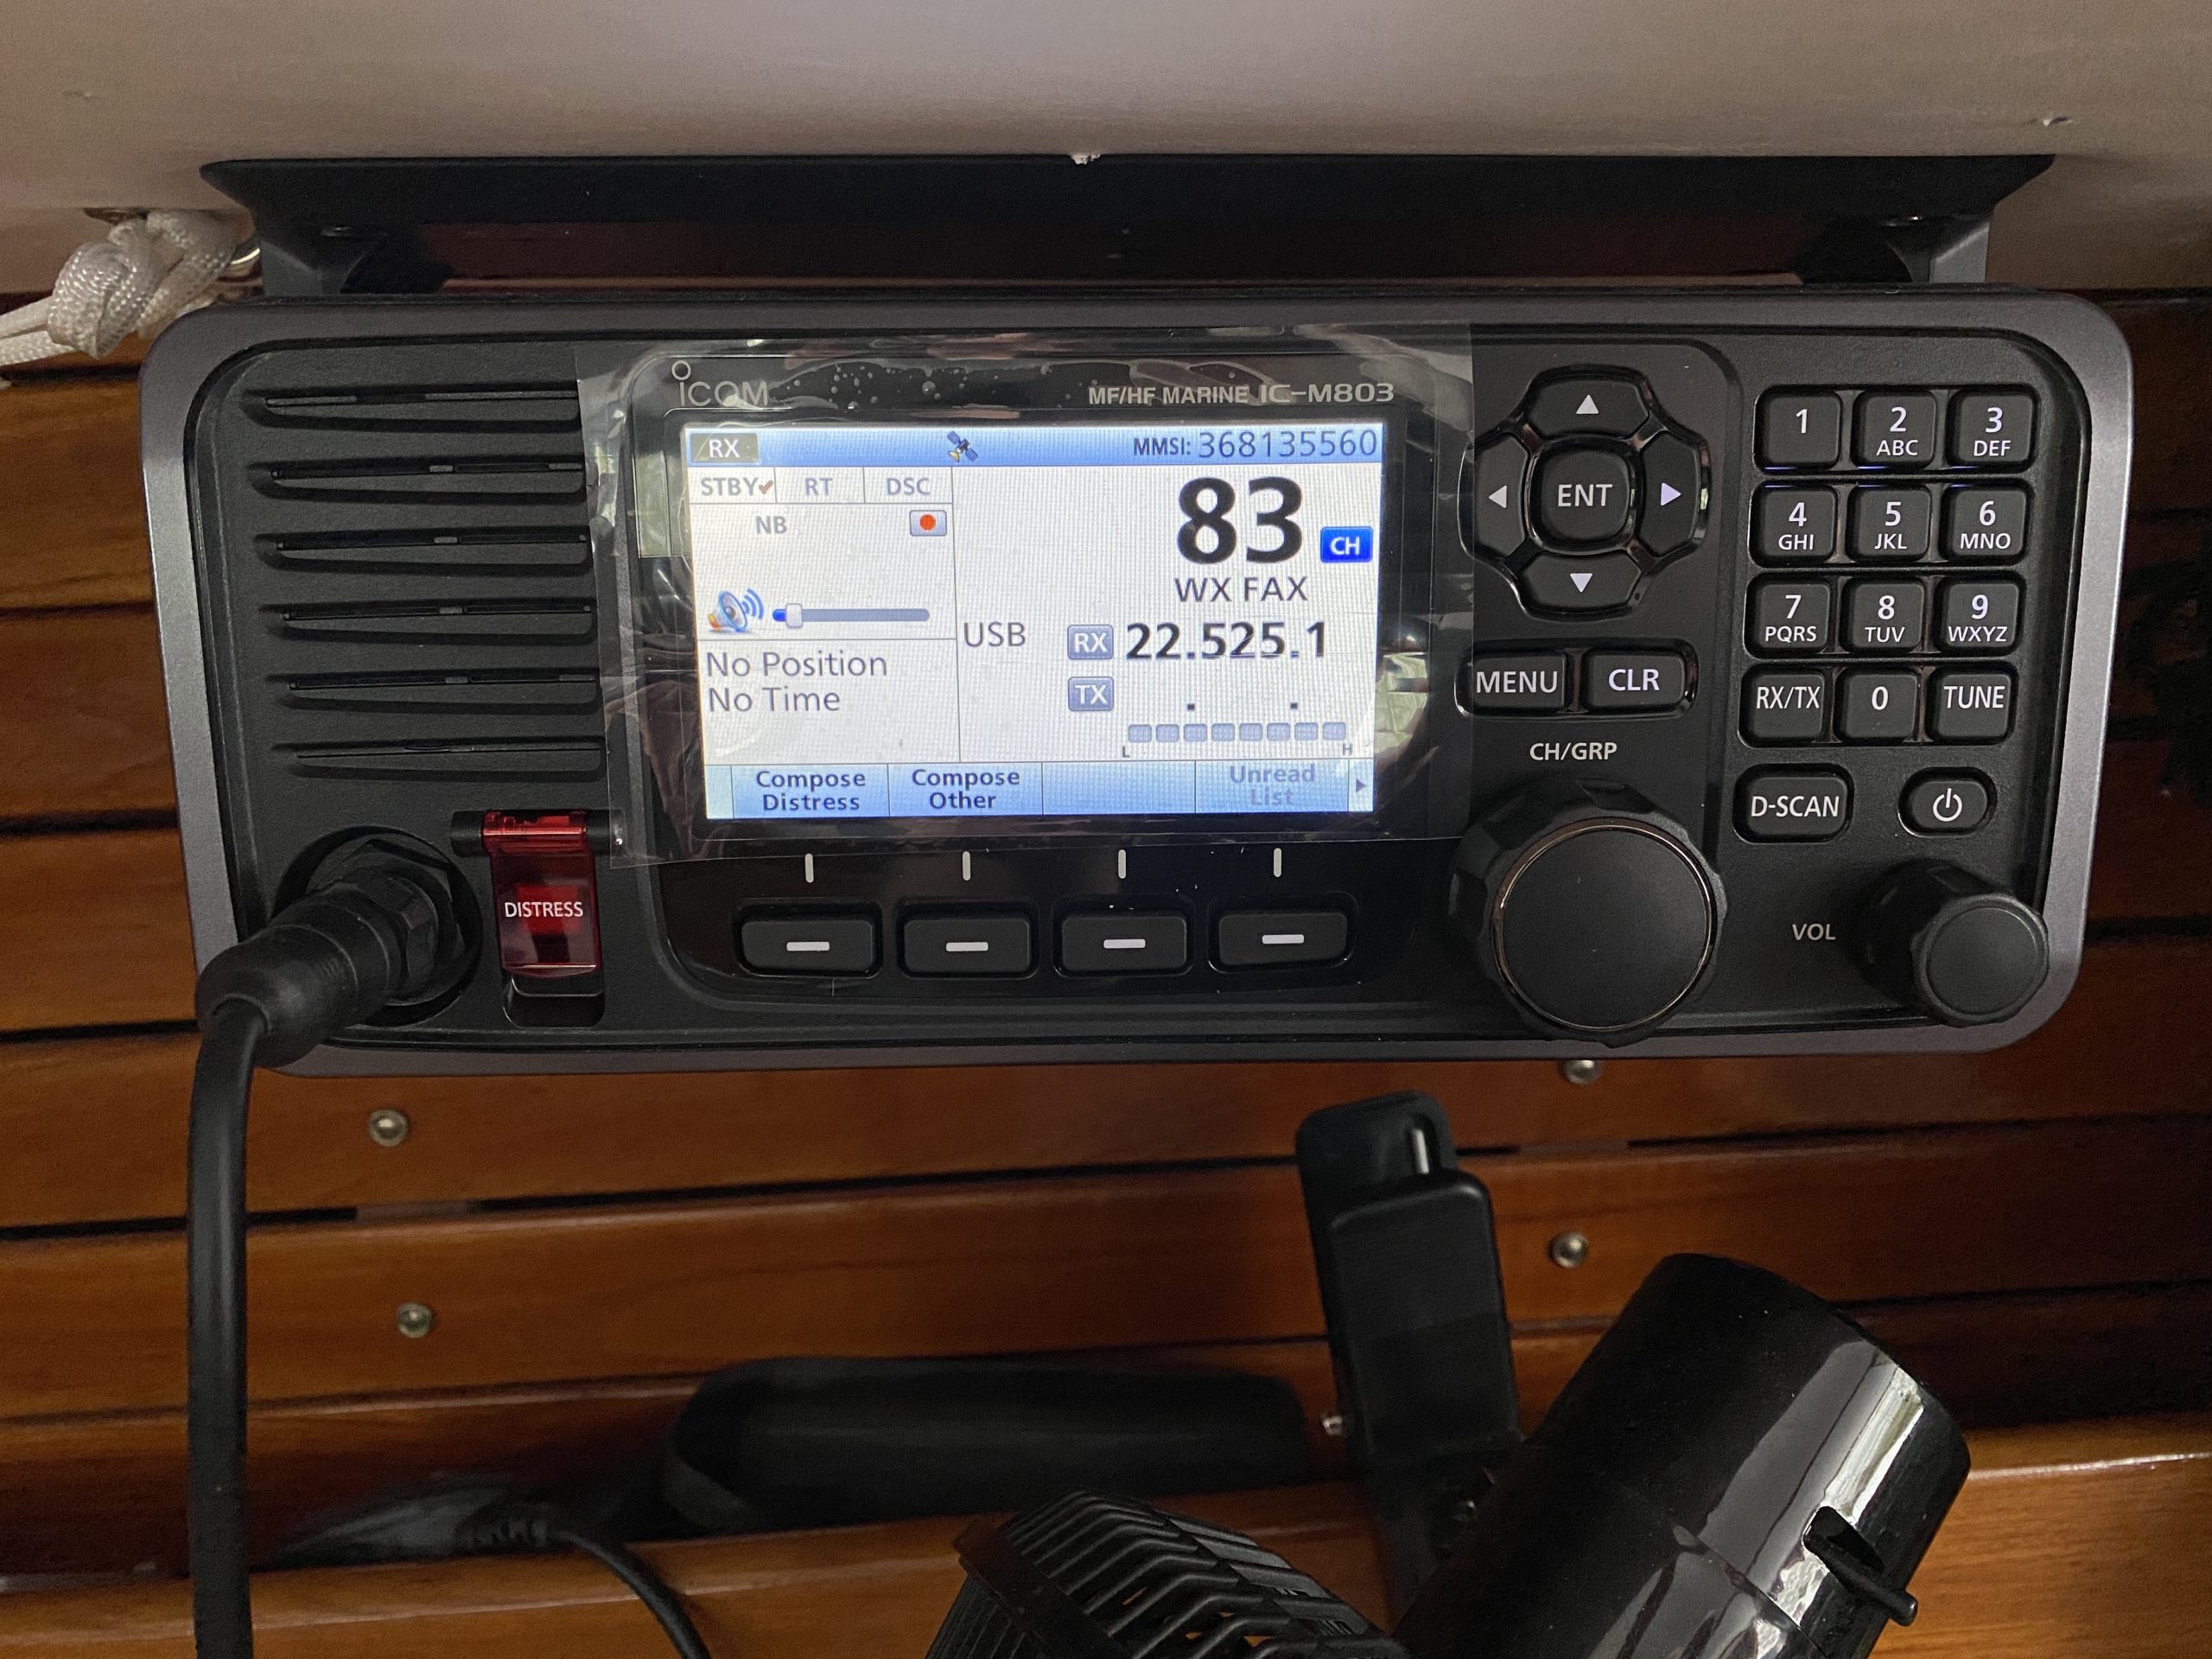
I went a little bonkers this winter… again. The relief at getting a new job and paying off the truck with my severance meant I could get a little spendy so I did. I bought an Icom m803 radio for long range communication. It’s nice, it does ham bands too so I can be ultra nerdy while in the boat. The radio my friend gave me was an older model, very big, and I never found a place it’d fit conveniently but having it solidified the idea that I wanted one so I got one.
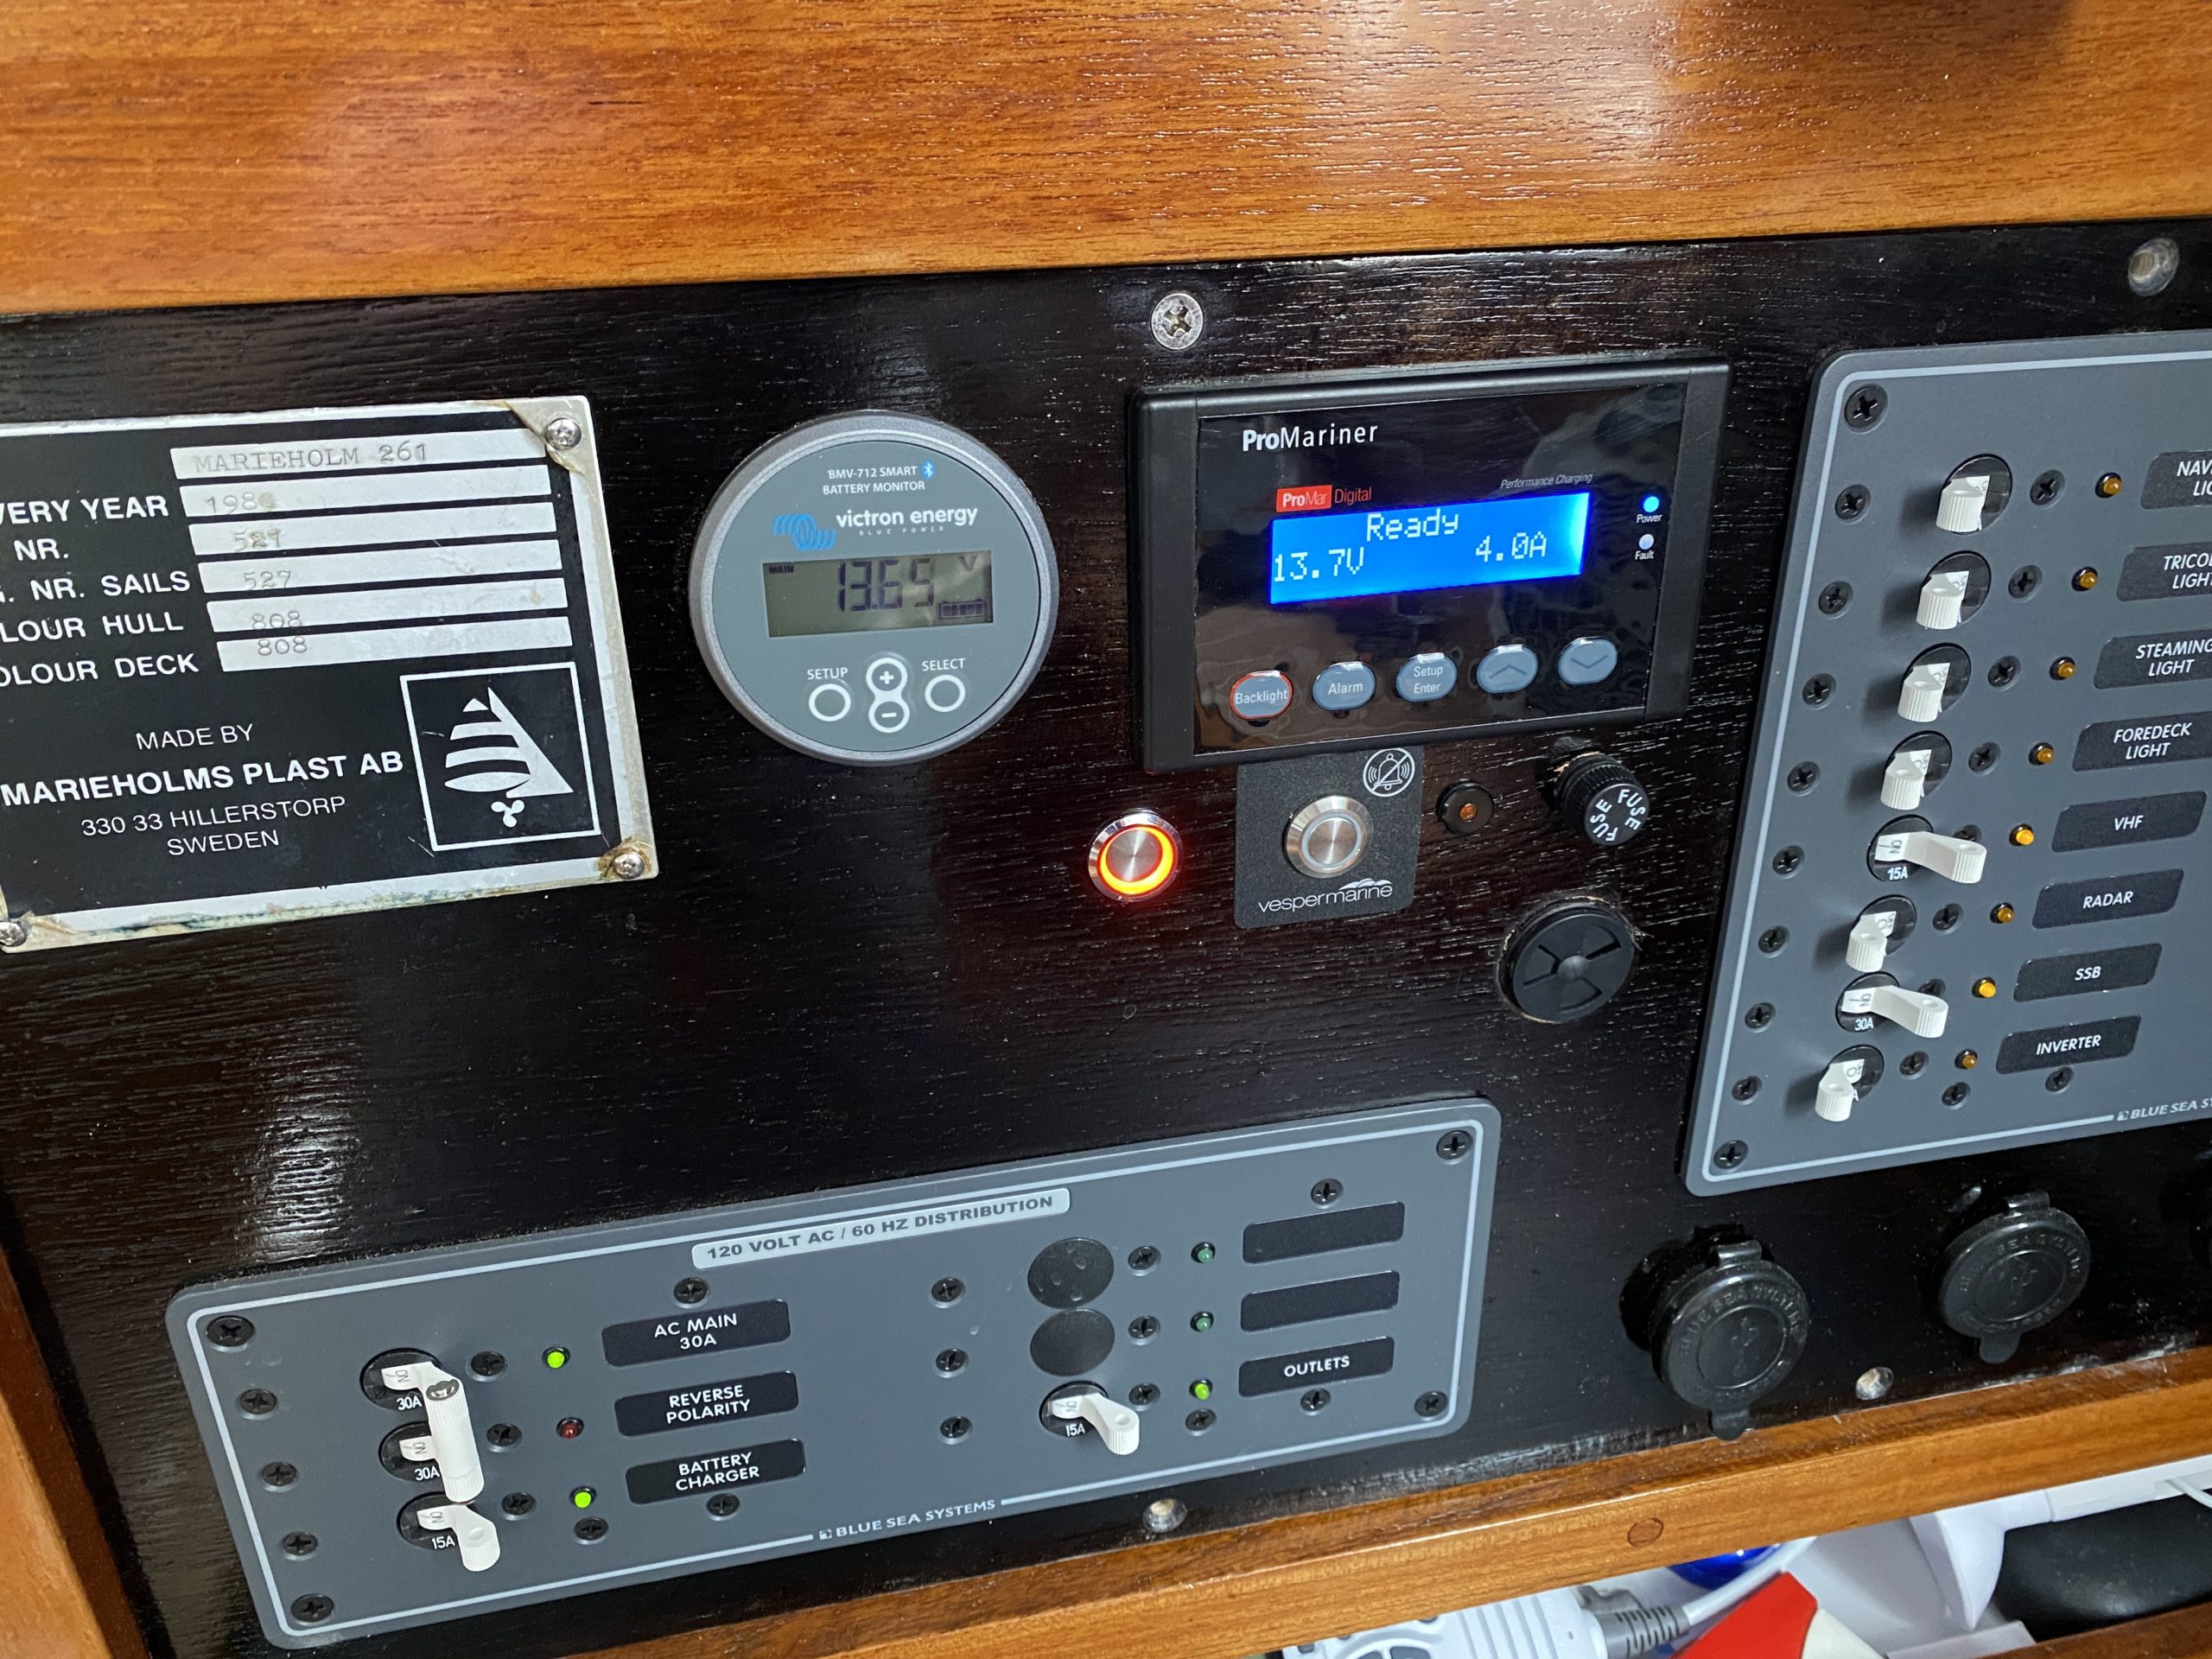
I added a red ring locking pushbutton switch to control the strobe mentioned previously, as well as the mute switch for the Vesper XB-8000 and the alarm buzzer. I removed the old Anderson Power Poles connector now that I won’t be plugging in a ham radio there.
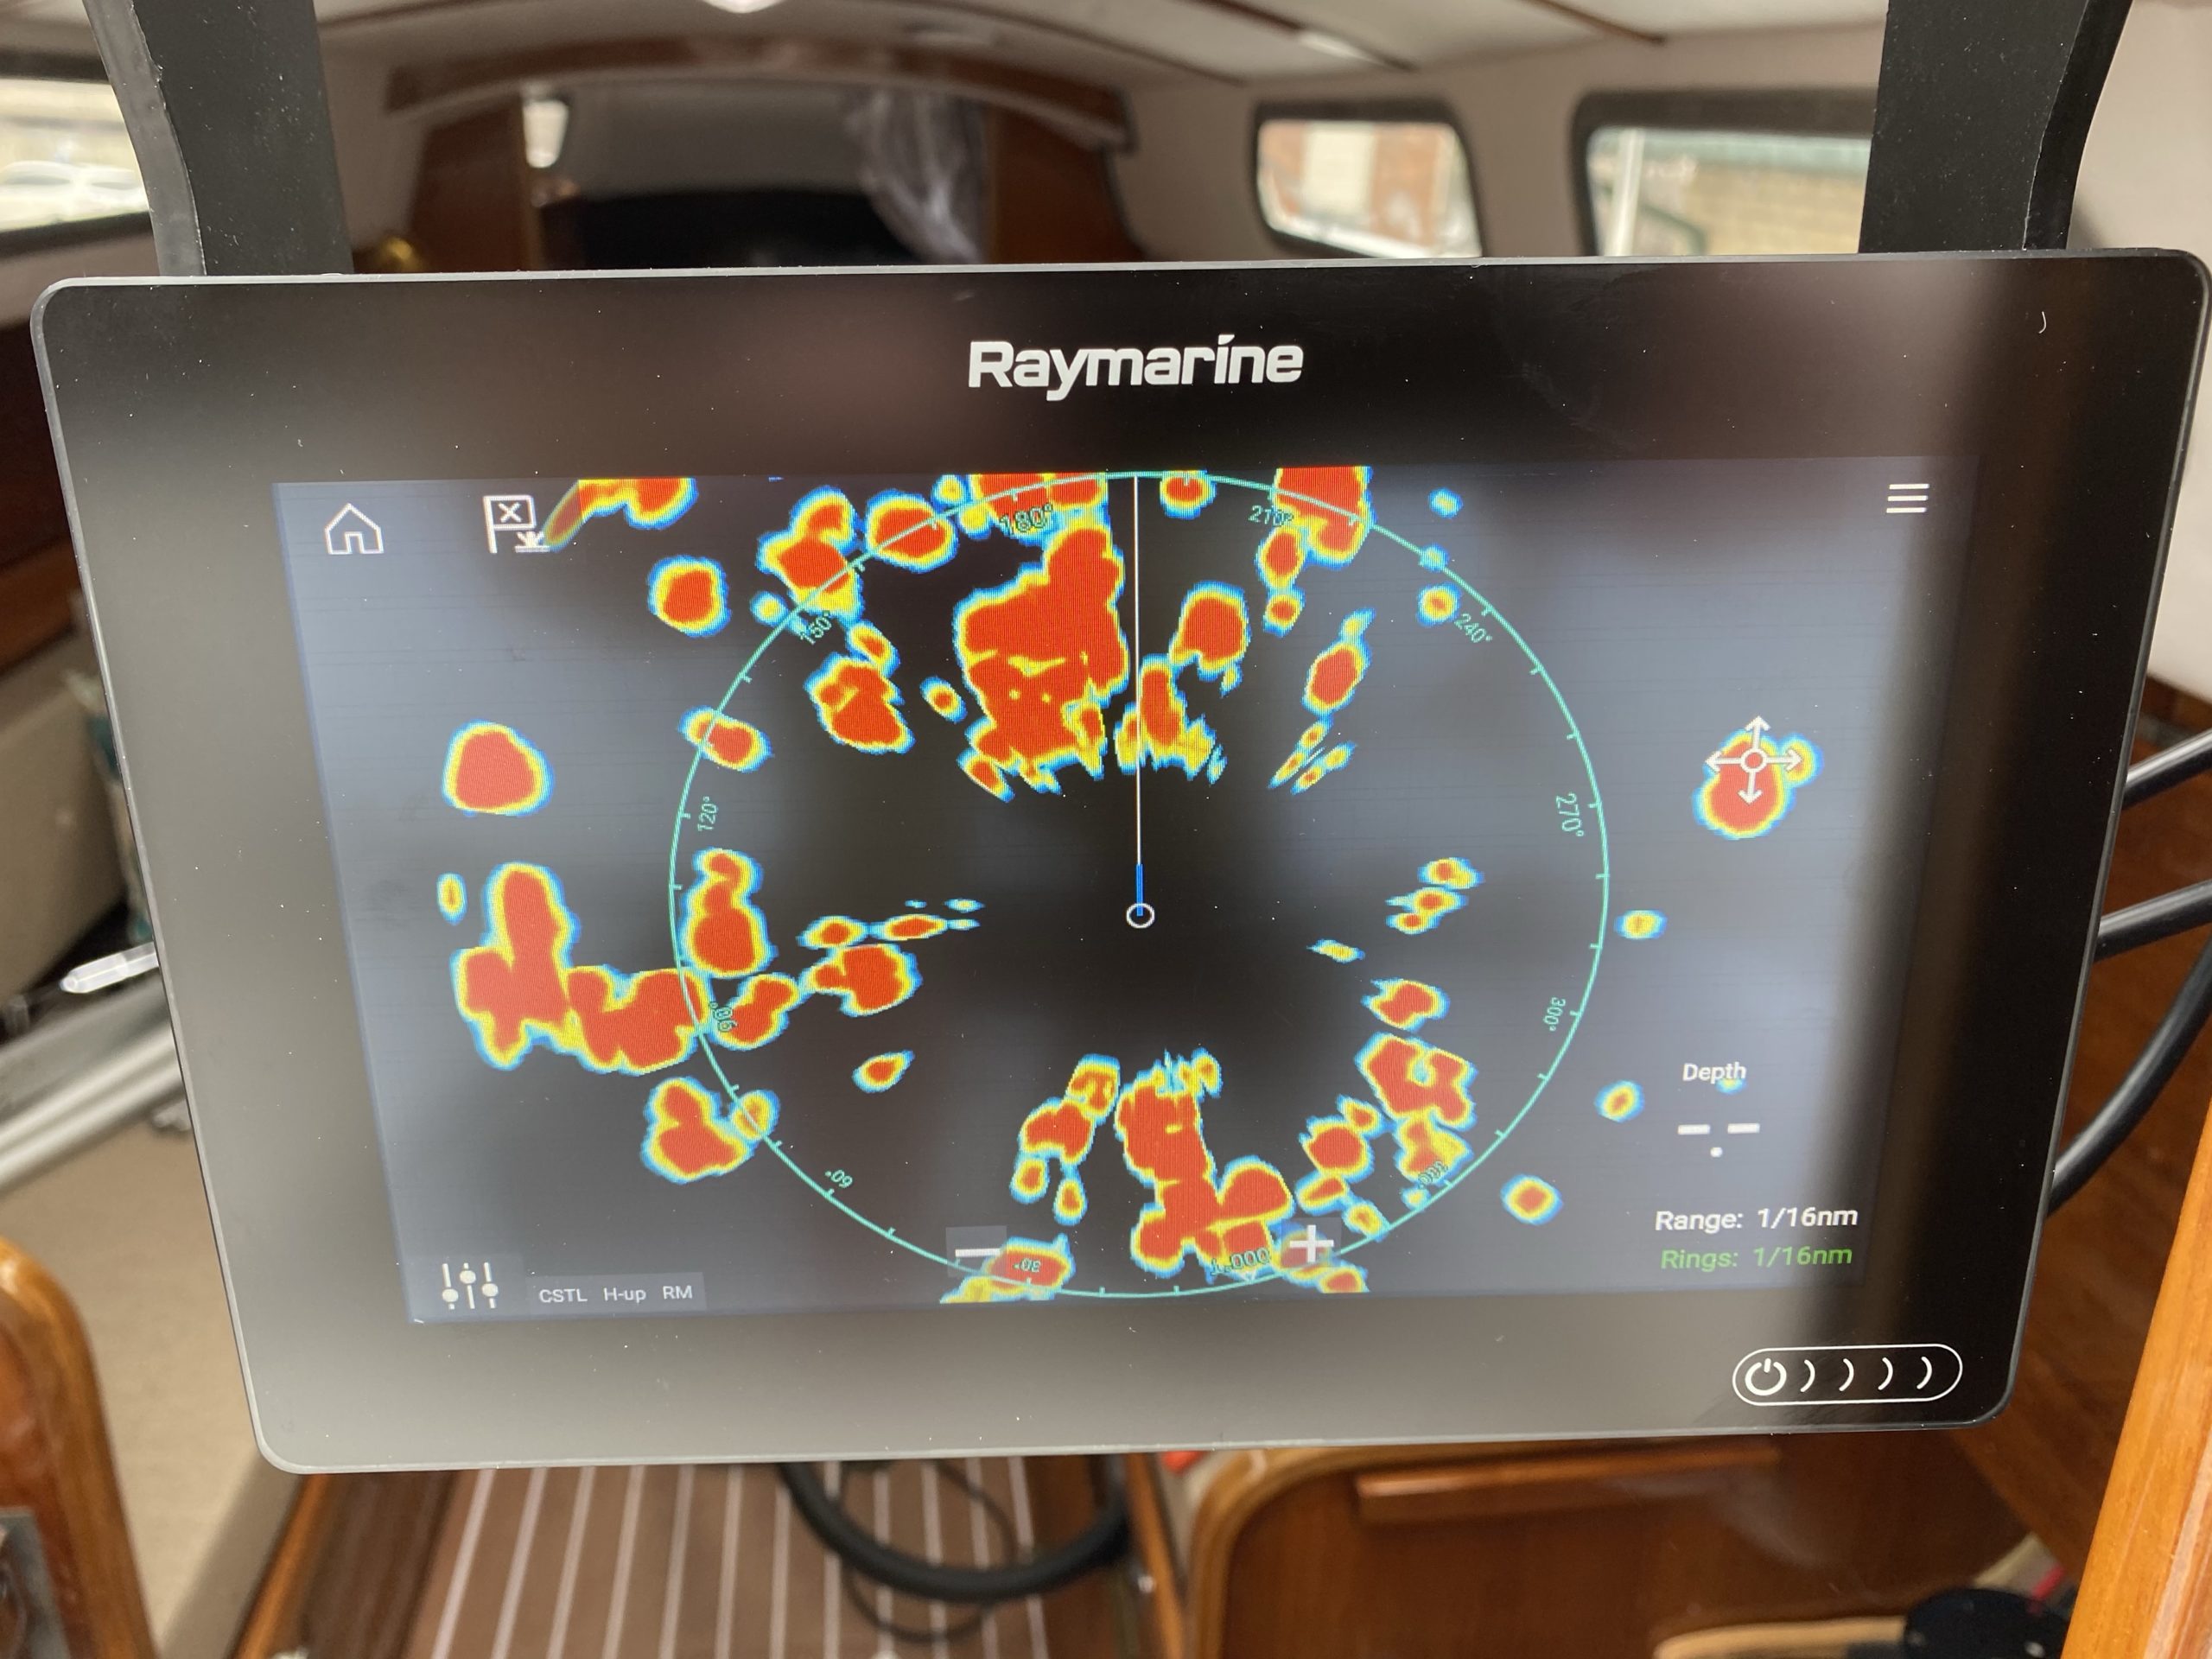
After talking to several people about radar (I know, I know, on this boat, it’s an elevator in an outhouse… but why not?) I knew I wanted one and I also knew I wanted one of the wifi models. My old chart plotter didn’t have wifi so… new chart plotter. Along with a Sirius XM receiver so I can get weather as well. That part is actually pretty useful in the mountains because there’s no internet where the boat is kept and I can never see fronts rolling in. This will help a lot, plus I love the thematic channels.

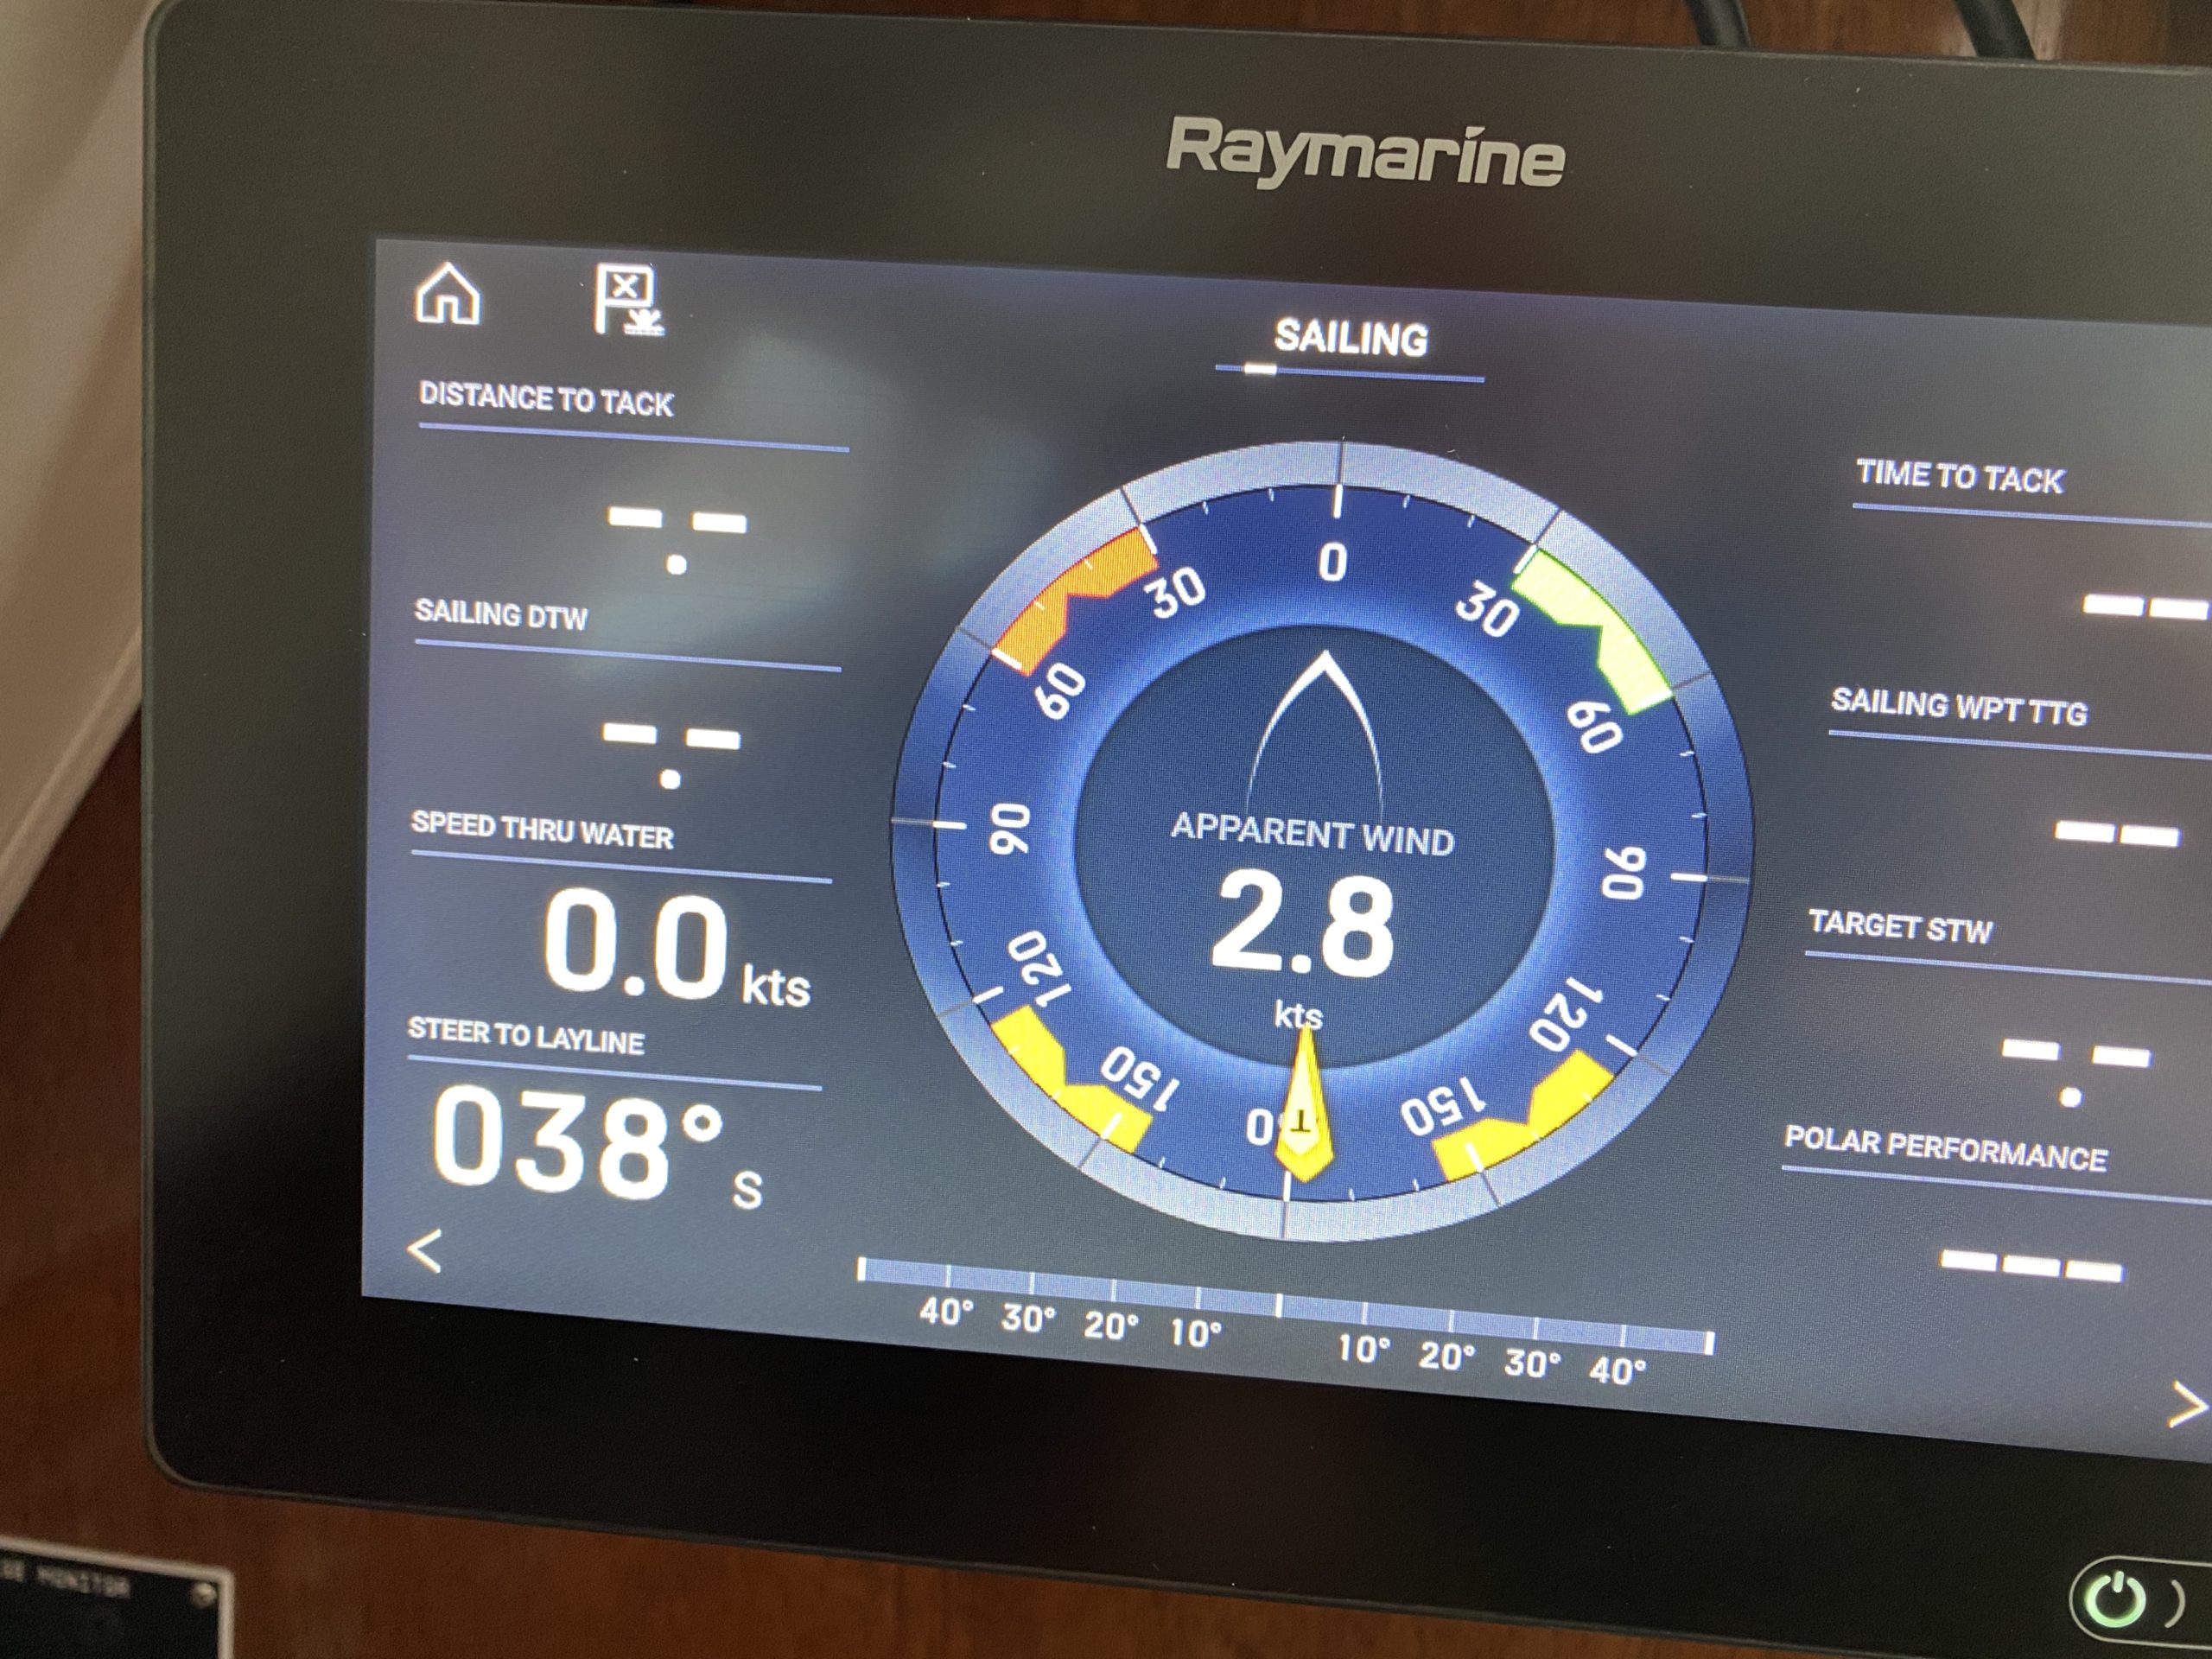
You can see output here from the WS320 wind sensor. It works great where it is now (in the cabin).
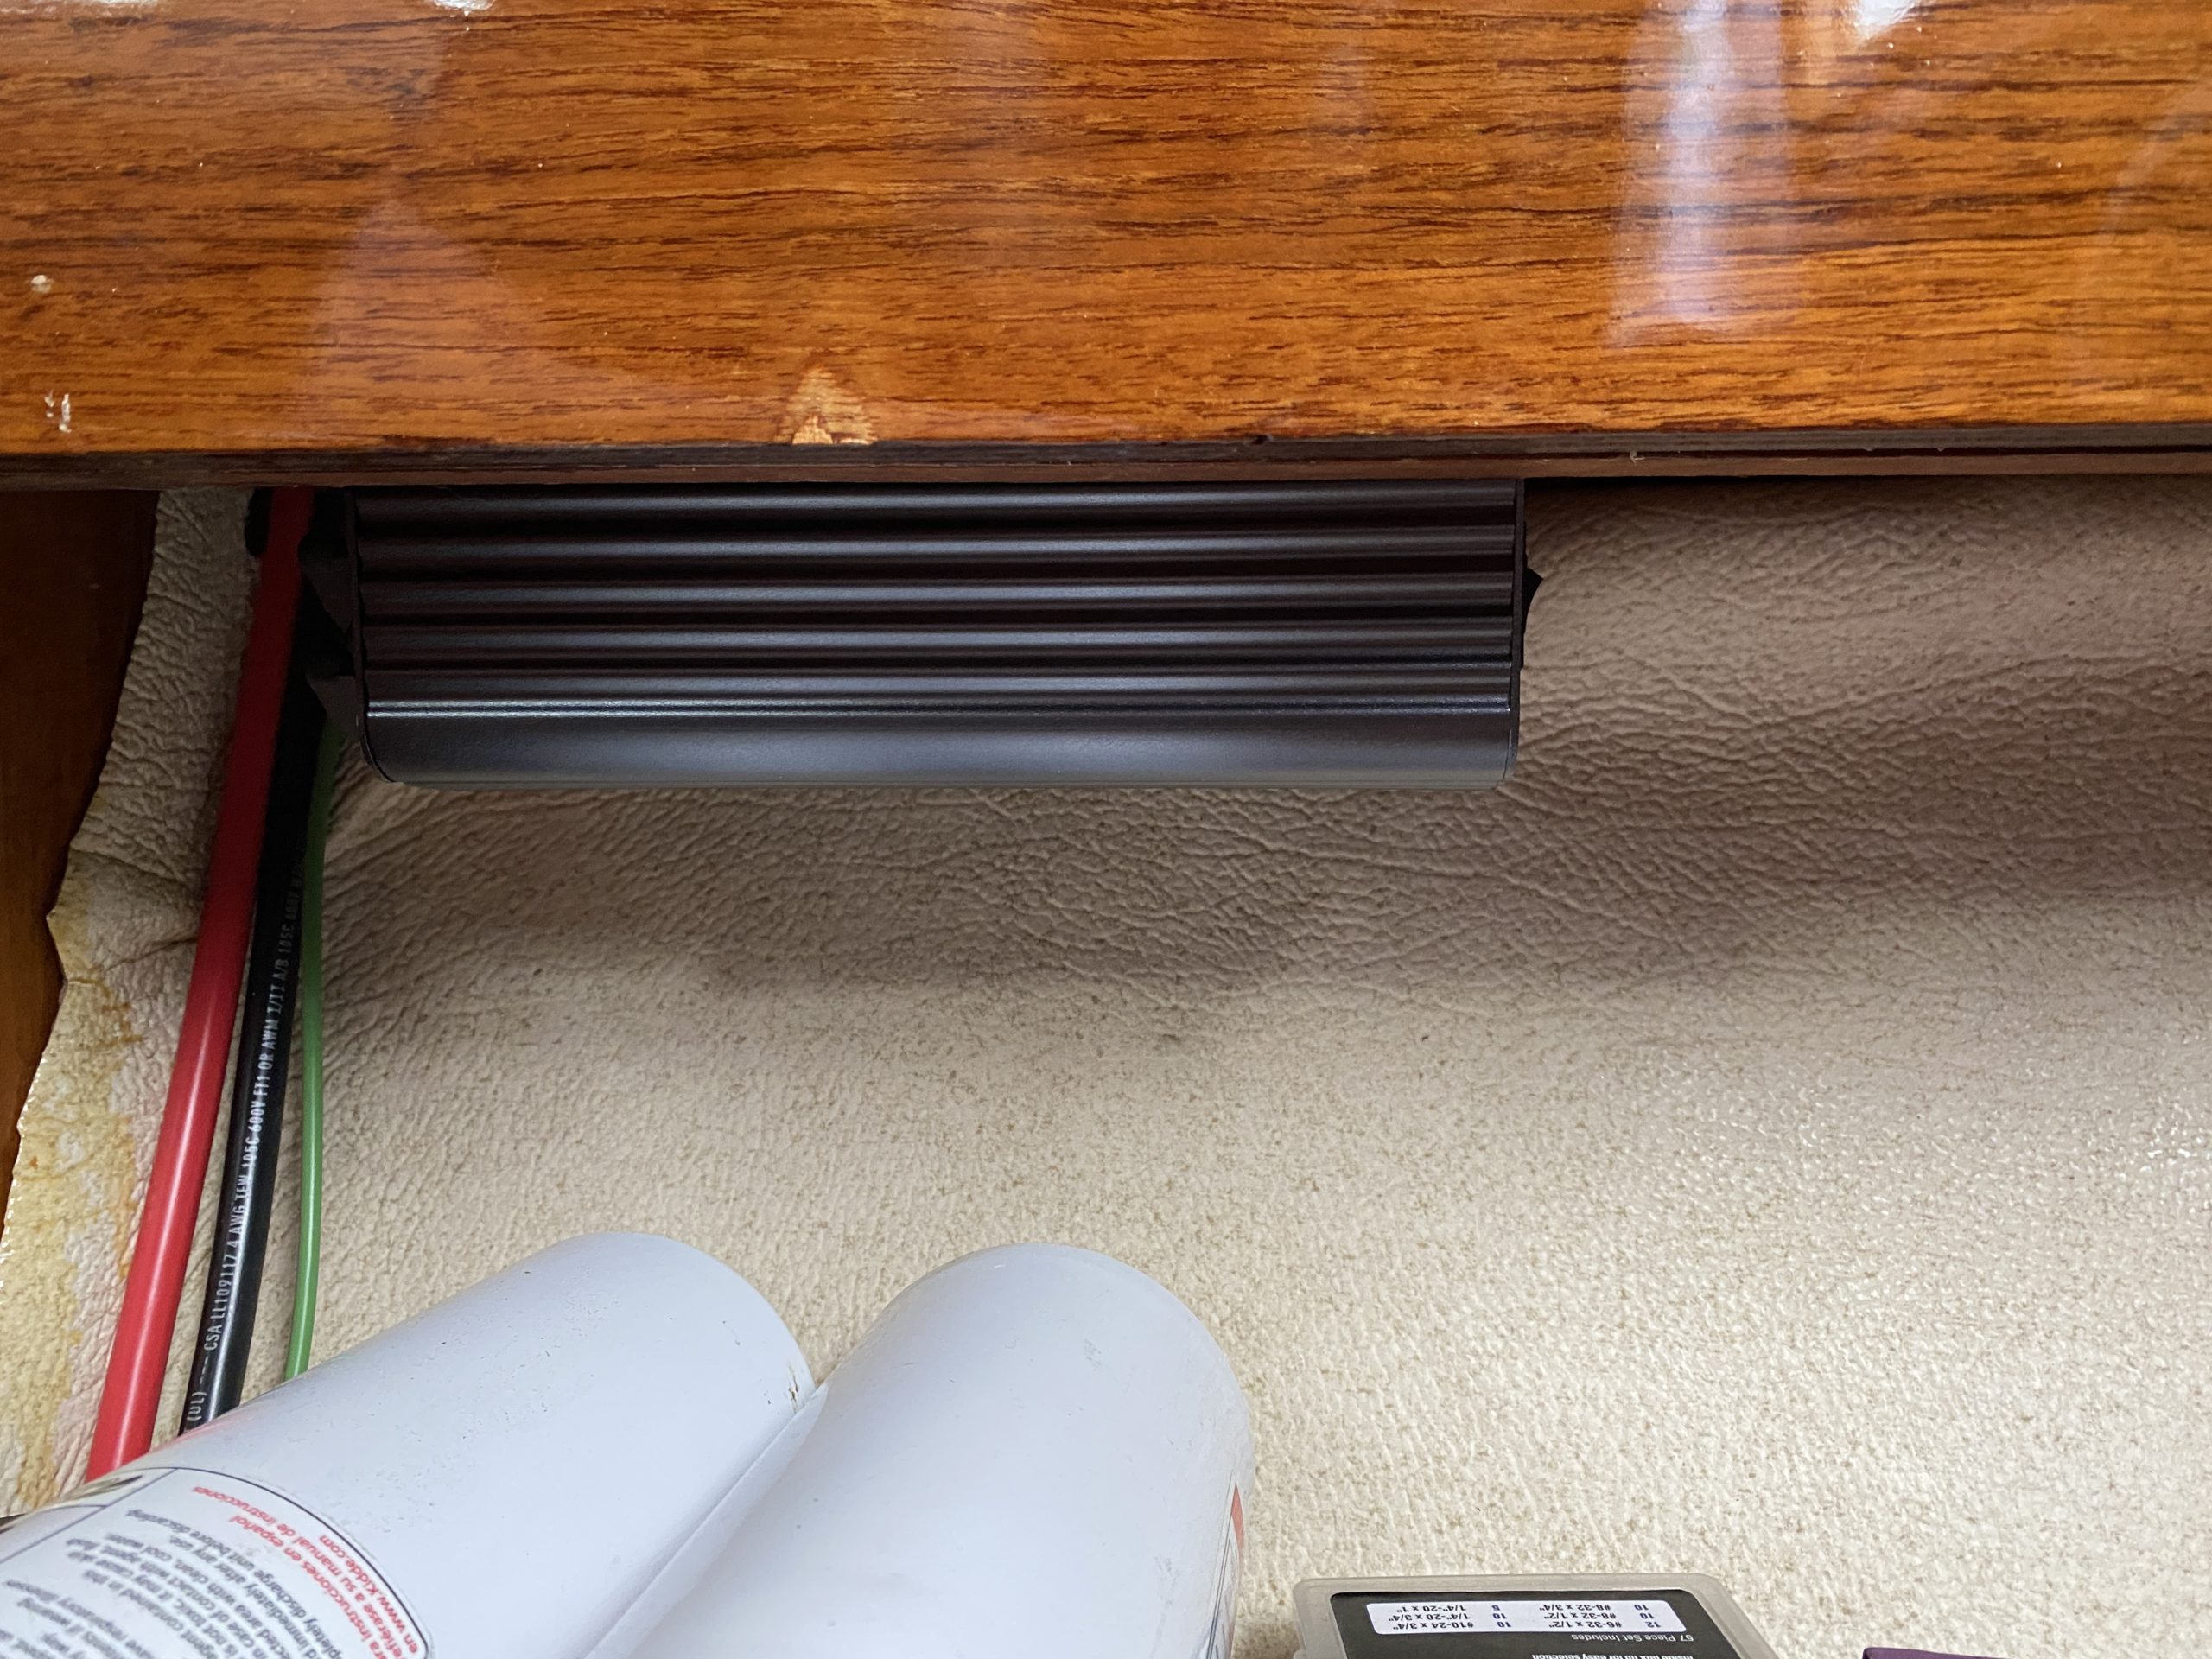
I mounted an inverter under the nav station. It’s only 400w, just enough to charge laptops, run a sewing machine, or maybe a small guitar amp (my wife’s spark amp only draws 140w). I didn’t want a big complicated system because I don’t have a ton of house bank capacity.
The radar works great. I only need to get power to it and the wifi does the rest. Setup was really easy. If I crank the range all the way up I can get a bounce off the Flatirons 14 miles away. What you’re seeing here though is buildings and trees around my house.
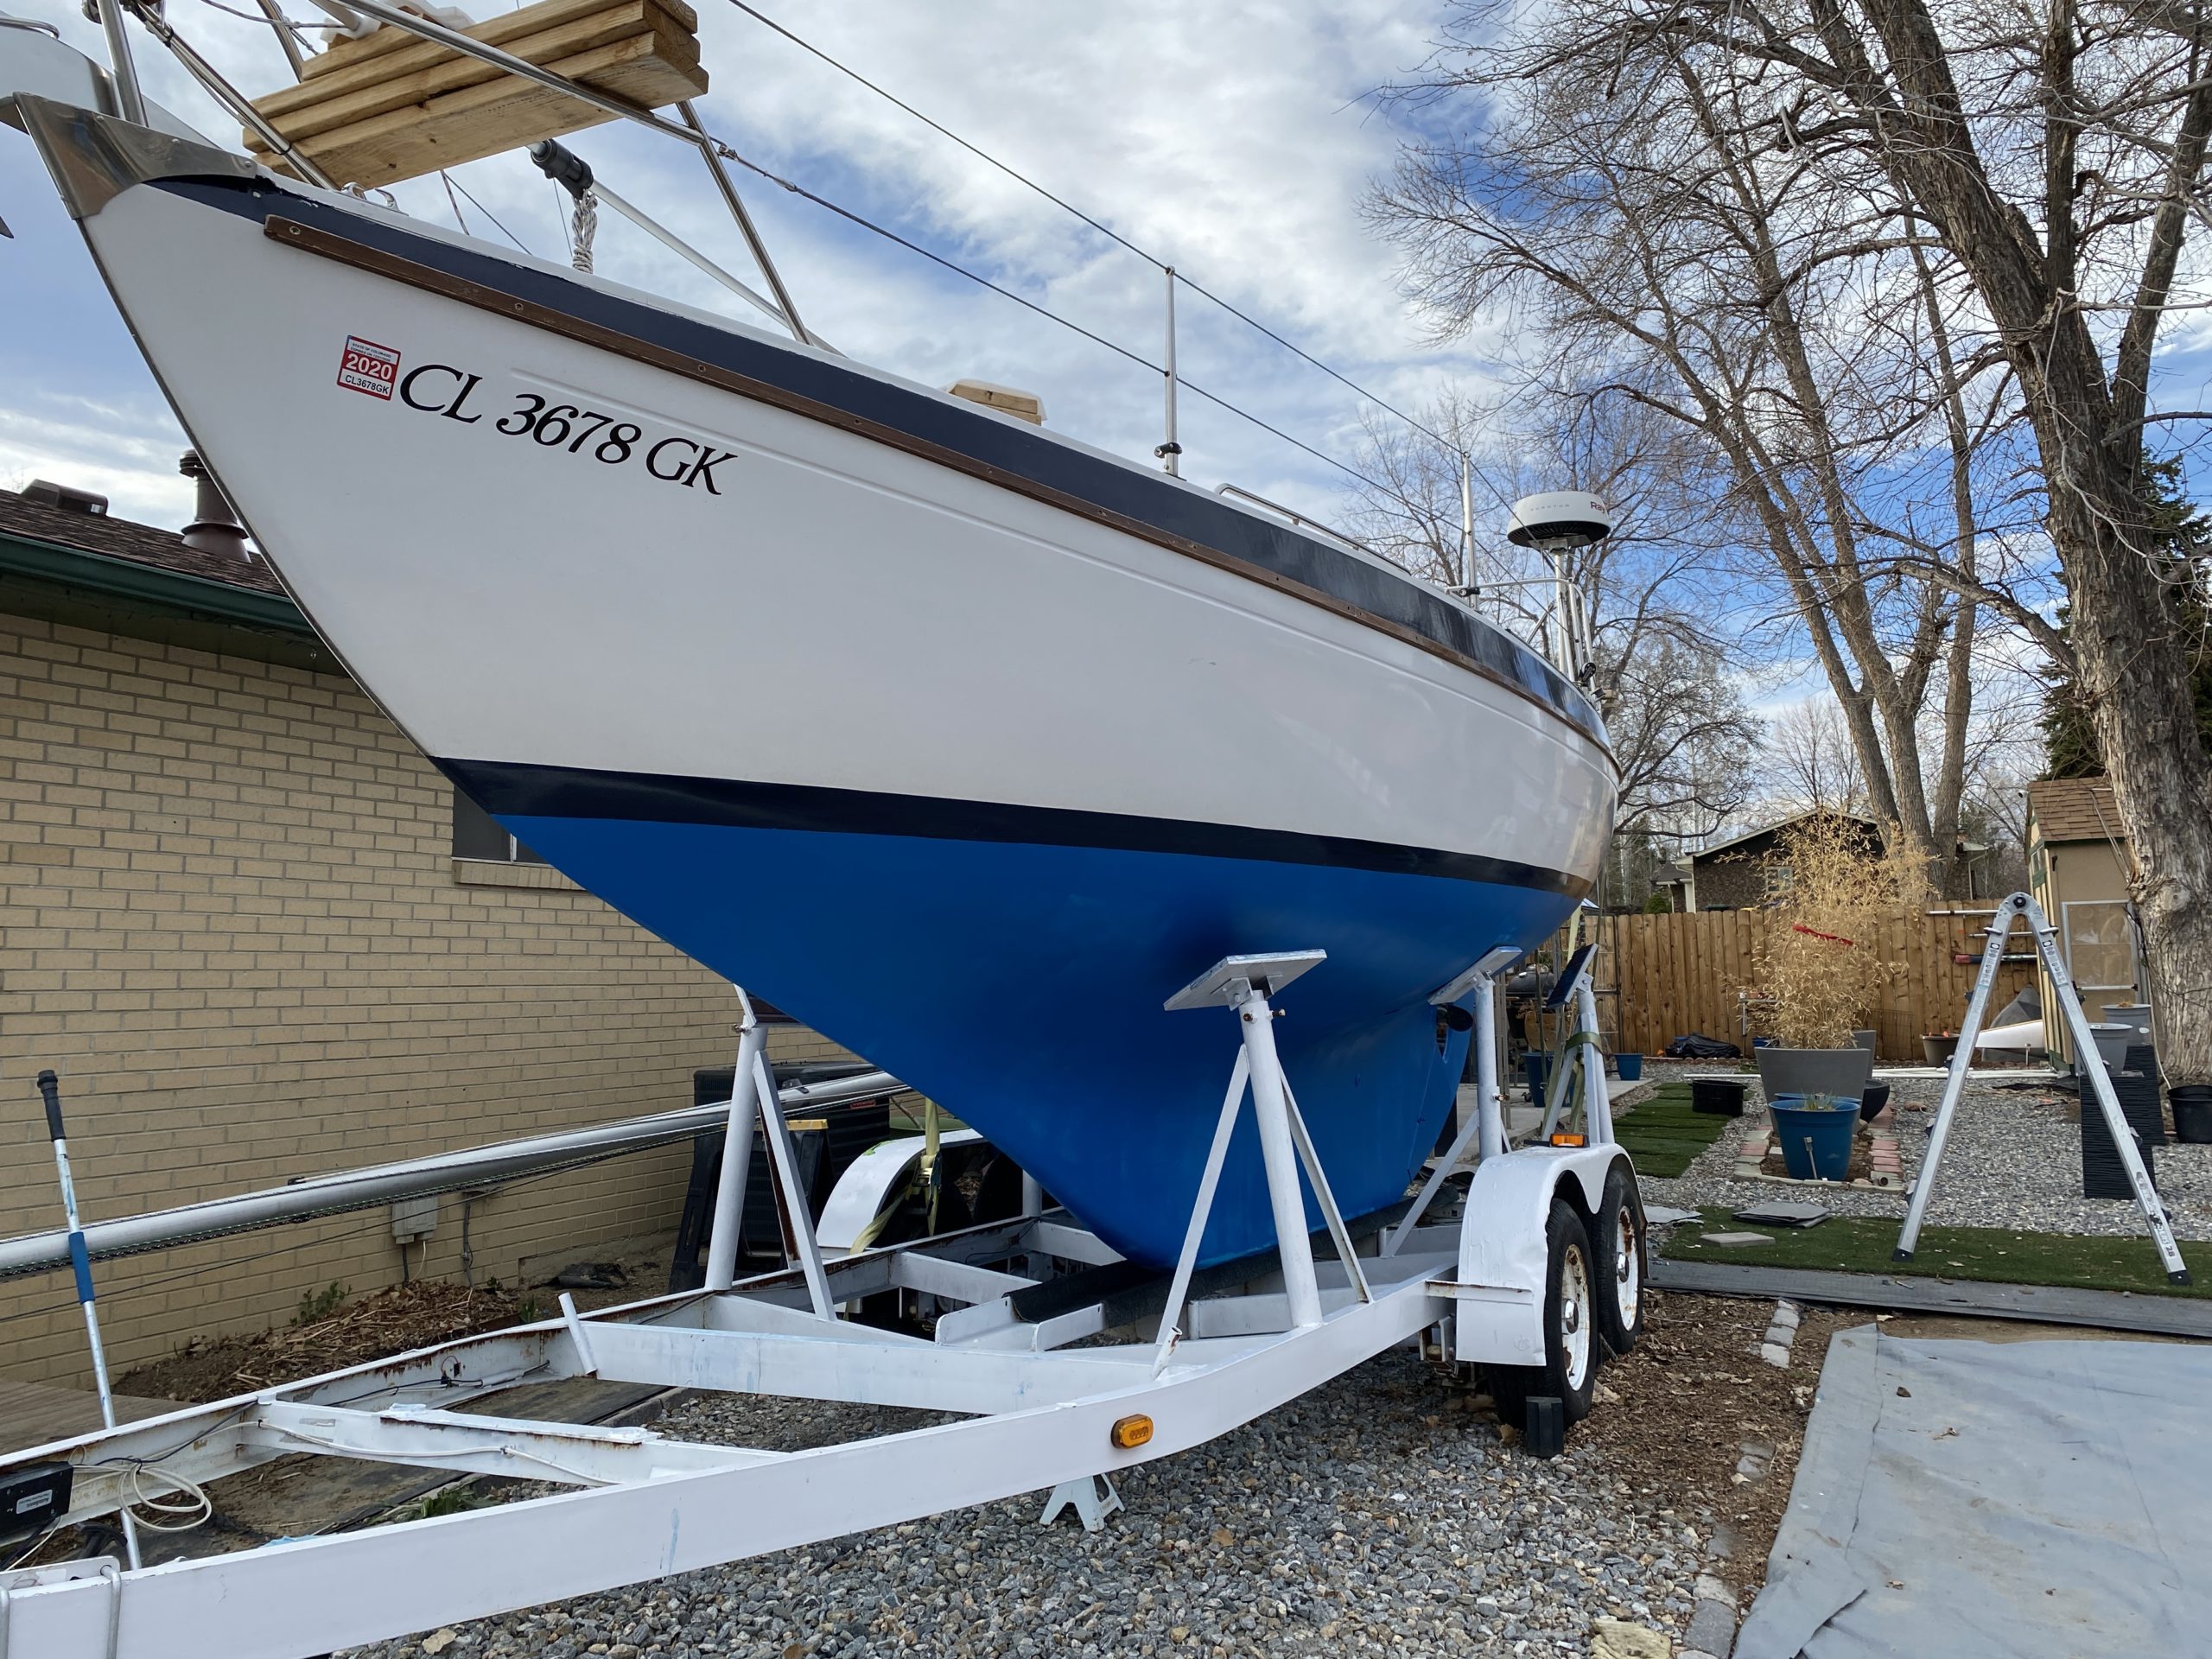
I couldn’t put it on the mast, well, not easily, so I built a pole mount for the back. It has a manual gimbal on it so you can adjust it to match the heel of the boat. Useless here, since we have to tack every minute or so, but fine on the ocean.
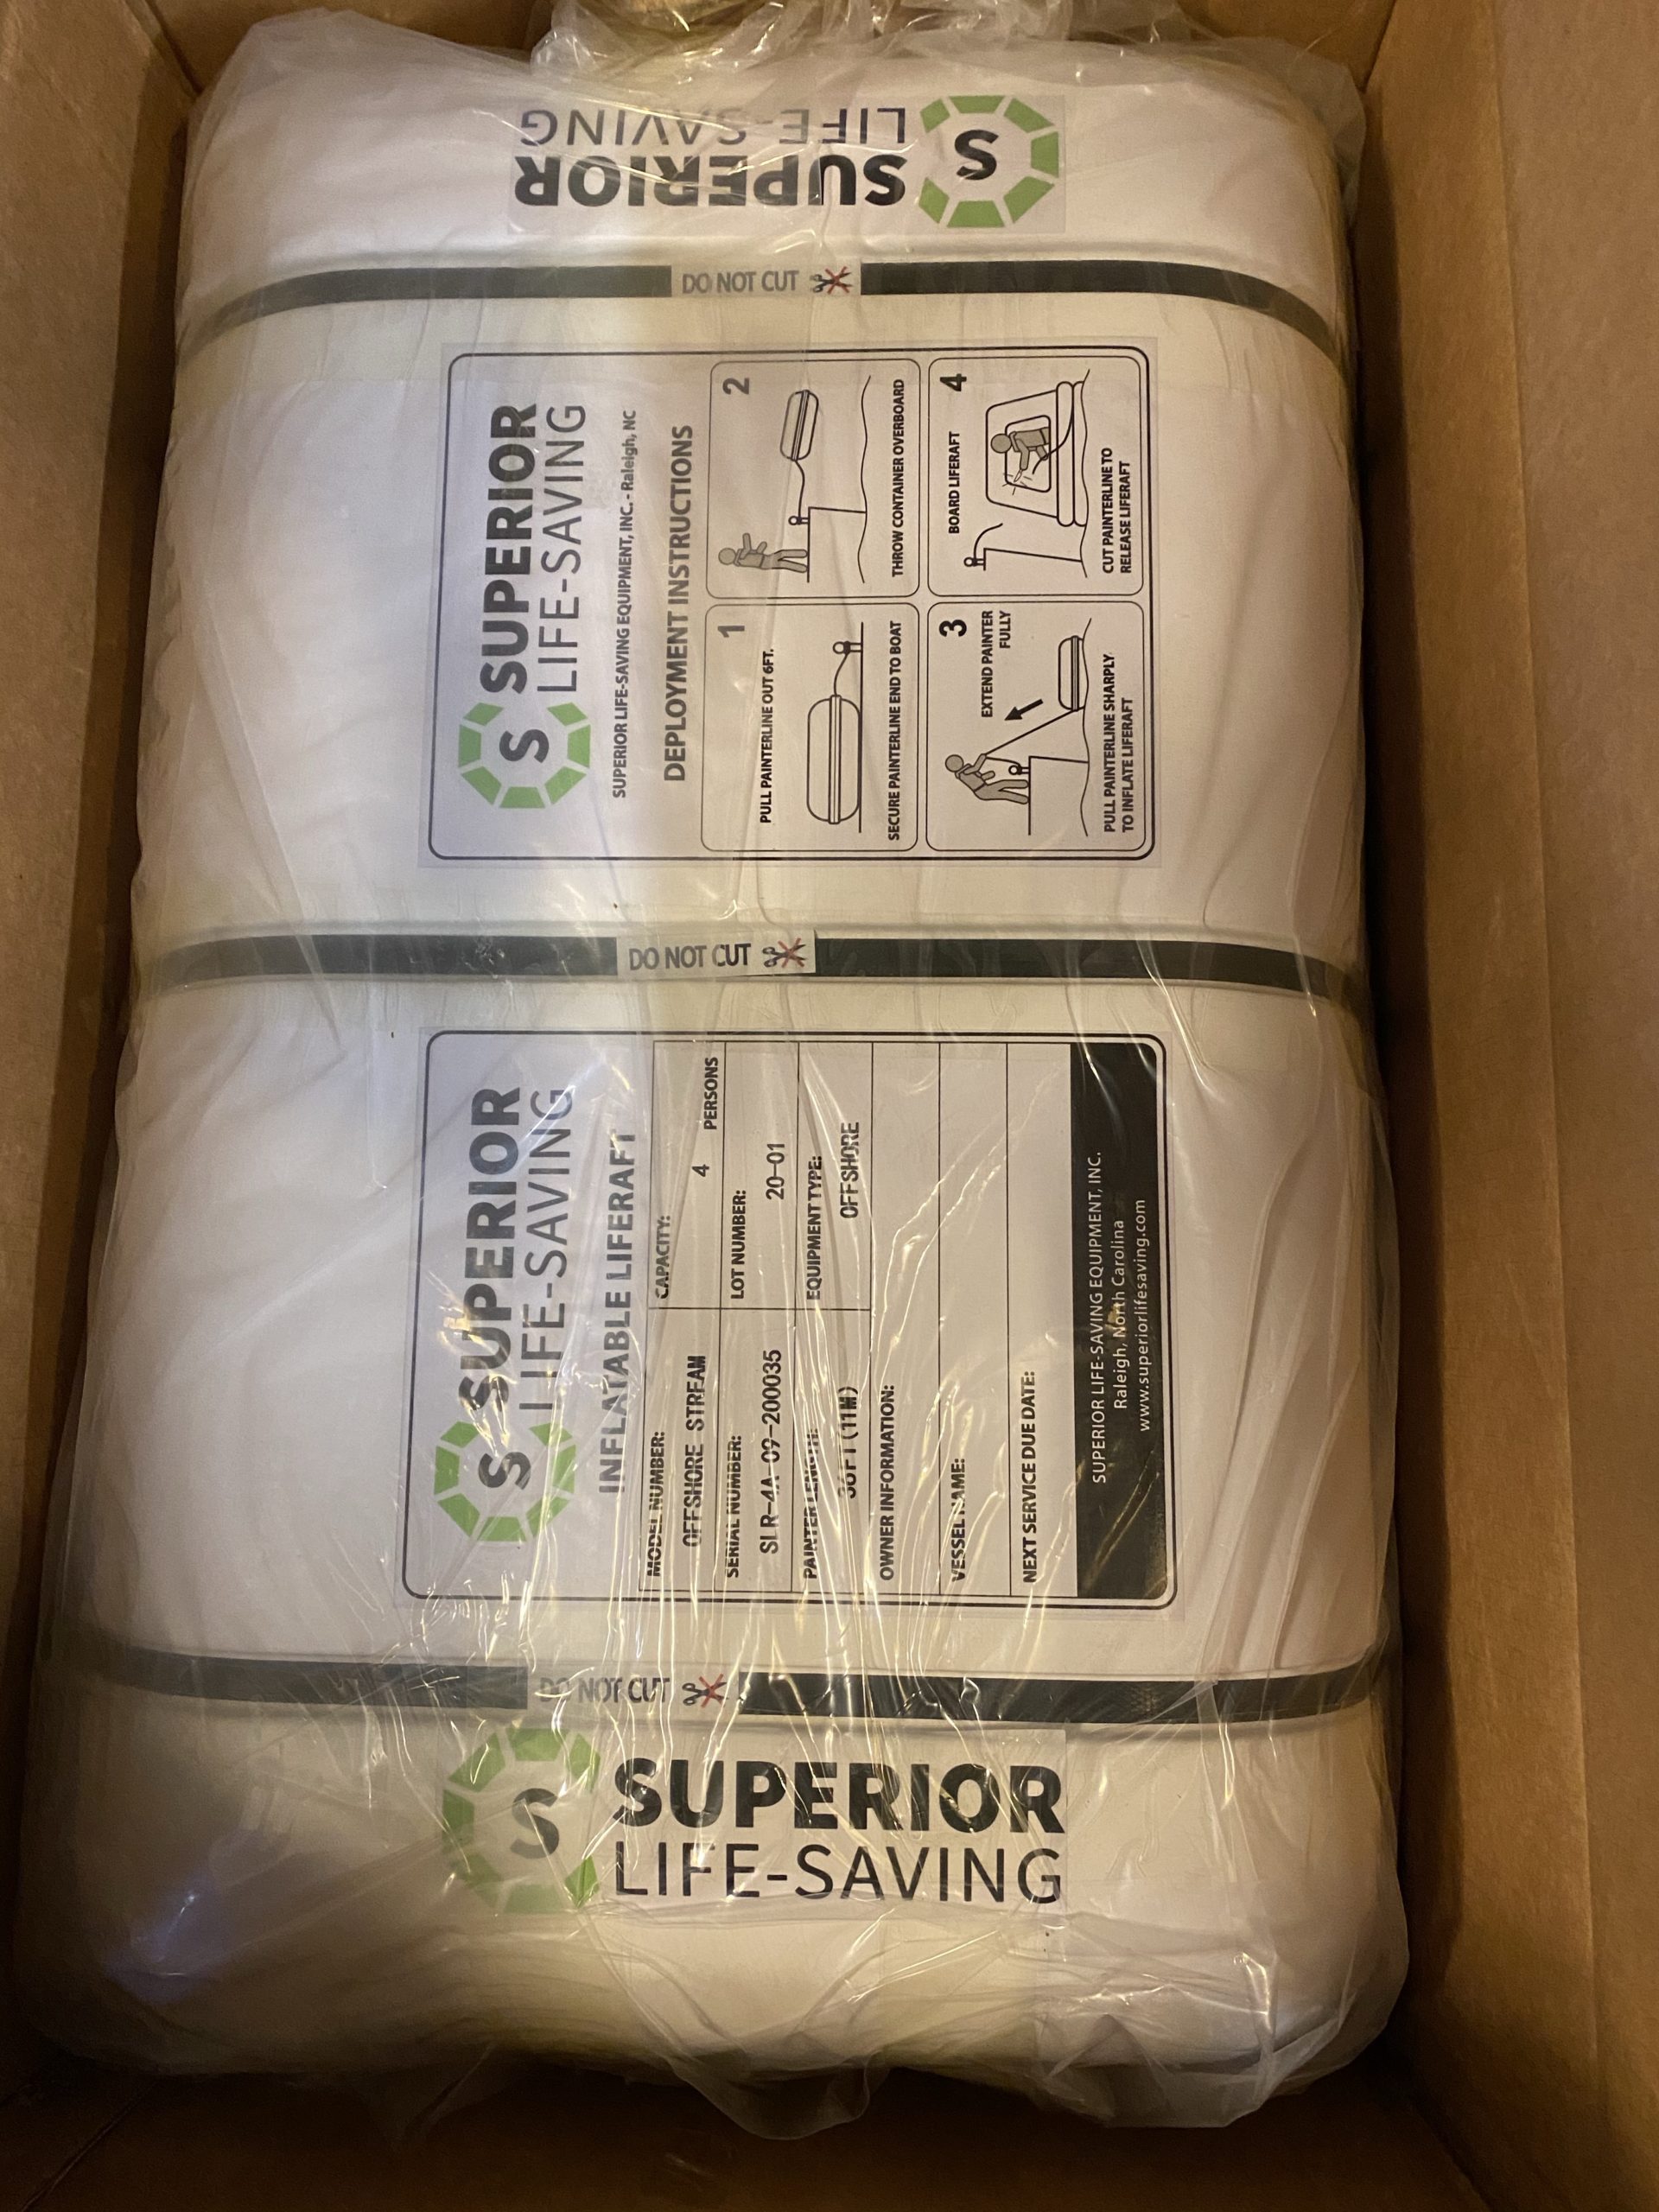
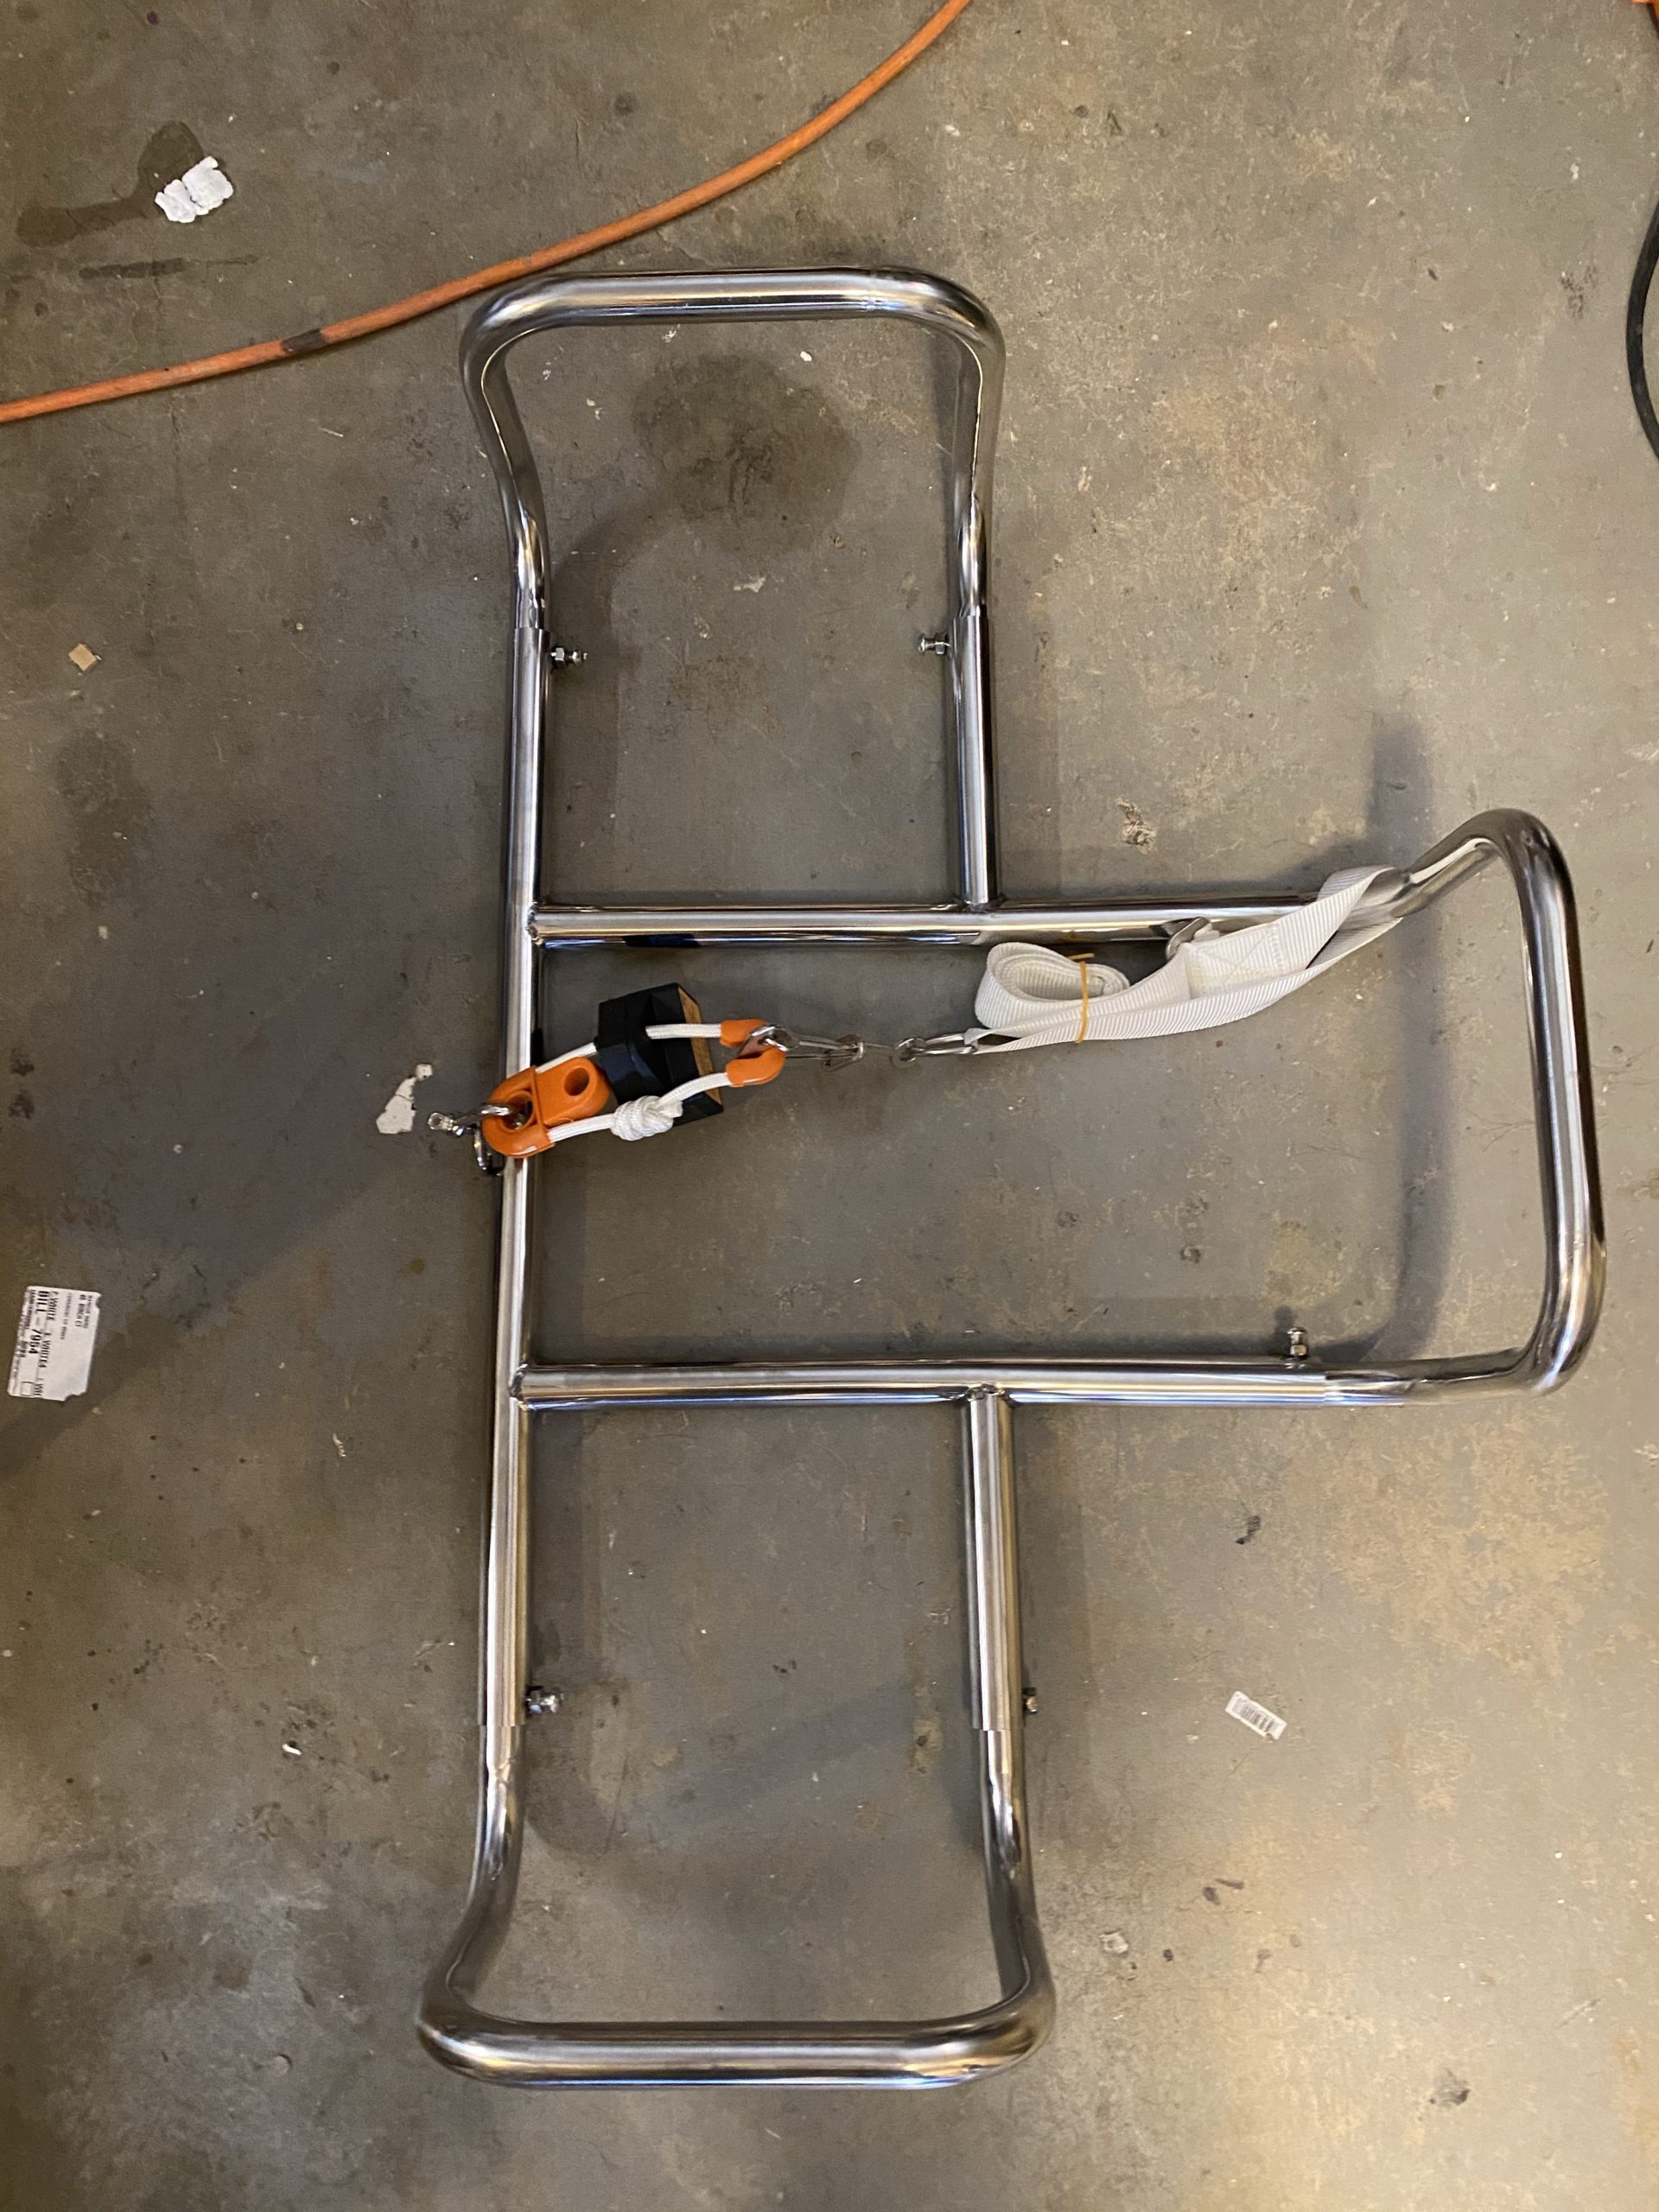
In my final bout of craziness I bought a life raft…. and then realized I can’t really mount it anywhere. It’s huge – and this is the smallest 4 person offshore raft made.
I think I might end up building a proper solar arch to handle the radar, solar panel, and if I do that I may be able to mount the liferaft cradle in there somewhere. I’m not sure where yet, but it’d solve a lot of problems because right now the back of the boat looks like an erector set with all my mounts. I’ll have to build something custom though because most of the rear arches I’ve seen look horrible, way too big. My favorite welder has retired and I don’t have the tooling to bend that much stainless. We’ll see.
The discussion in the comments below are in response to this: http://www.finnusa.org/2022/01/05/rebuilding-the-foredeck-on-a-devoti/
Hi Markus,
Have read your article about Devoti Finn deck repair. Thanks for this information. Very helpful.
Could I please ask you a few questions about layup?
“I layed it up using WEST System epoxy and fibreglass purchased from Fiberglast.com. Layup is a layer of 2 oz glass to prevent print through, 2 layers of 9 oz S-glass and stitched biaxial glass. The finished thickness was spot on. I vacuum bagged the whole thing while it cured.”
“2oz glass”
Was this a mat or fabric? If fabric, then what type of weave ?
“9 oz S-glass and stitched biaxial glass”
1 layer of S-glass and 1 layer of stitched biaxial glass? If so then also please what type of weave s-glass was.
Total layup was 3 layers? Right?
Mat
S-glass
Biaxial
You would make me happy if you could answer this. Sorry for writing here, this is the only way I have found to contact you.
Hi Alex,
All of the glass was woven. Mat uses a binder that’s soluble in polyester but not epoxy. I’ve used it with epoxy with varying success but since mat is not very strong on a deck as thin as this I didn’t want to use it.
This is the 2 oz fabric I used: https://www.fibreglast.com/product/2_oz_Fabric_241
2 layers of 9 oz s-glass: https://www.fibreglast.com/product/Style_6781_S2_Glass_1543
And this is the stitched biaxial: https://www.fibreglast.com/product/saertex-444-gm2-stitched-biaxial-fiberglass-2806
4 layers. The original deck used stiched glass, I could tell from the remnants so I wanted to use it in this for strength since the deck sees heavy loading.
Does that help? Any other questions?
Hi Markus,
That’s amazingly helpful! Thank you so much! I think it’s the only information in the whole world on devoti approximate layup 🙂 Appreciate your help!
Could you please also tell what approximate thickness you’ve got, what clamping force was on the scale (-1 or less), what hardened was used (206 slow?) and what exact Duratec primer has been chosen?
Kind regards,
Alex
I was shooting for .053 and this layup ends up at .052. measuring it with a dial caliper after it was done that’s what it ended up at. Clamping force was 1 bar, about 15 psi or so, that’s about what my pump will draw, it’s not an expensive pump but it gets the job done, I’ve done a lot of vacuum layups with it.
There was some extra glass added around the mast gate, I think 3 more layers of 9 oz to make sure that ended up thick enough to take the load. It’s much thicker than the deck, around .110 if I recall correctly.
I used 206 hardener because I didn’t want to do infusion because it uses a lot of resin. I wanted the slow hardener so I had time to work. I typically lay out each layer of fiberglass and wet it out by hand and then place it on the mold manualy and then vacuum bag it. It uses less resin and lets me make sure there are no wrinkles.
This is the primer I used: https://www.fibreglast.com/product/Duratec_Gray_Surfacing_Primer_1041
I also used this for the mold surfacing.
Thanks a lot! This is really really helpful. And special thanks for providing me with product URLs. I wasn’t sure I will find a way to speak with and it’s unbelievable that this talk ended with this amazing manual from you! Many, many, many thanks! Finn community is the best! Good luck with all your projects, Markus!
P.S: If you have Facebook, Instagram or something I would be happy to follow you
Oh I don’t have facebook or insta anymore, I deleted them in December. No worries, just sail your Finn!!
Sure will do 🙂
Have found your email in my inbox. Thanks a lot!